
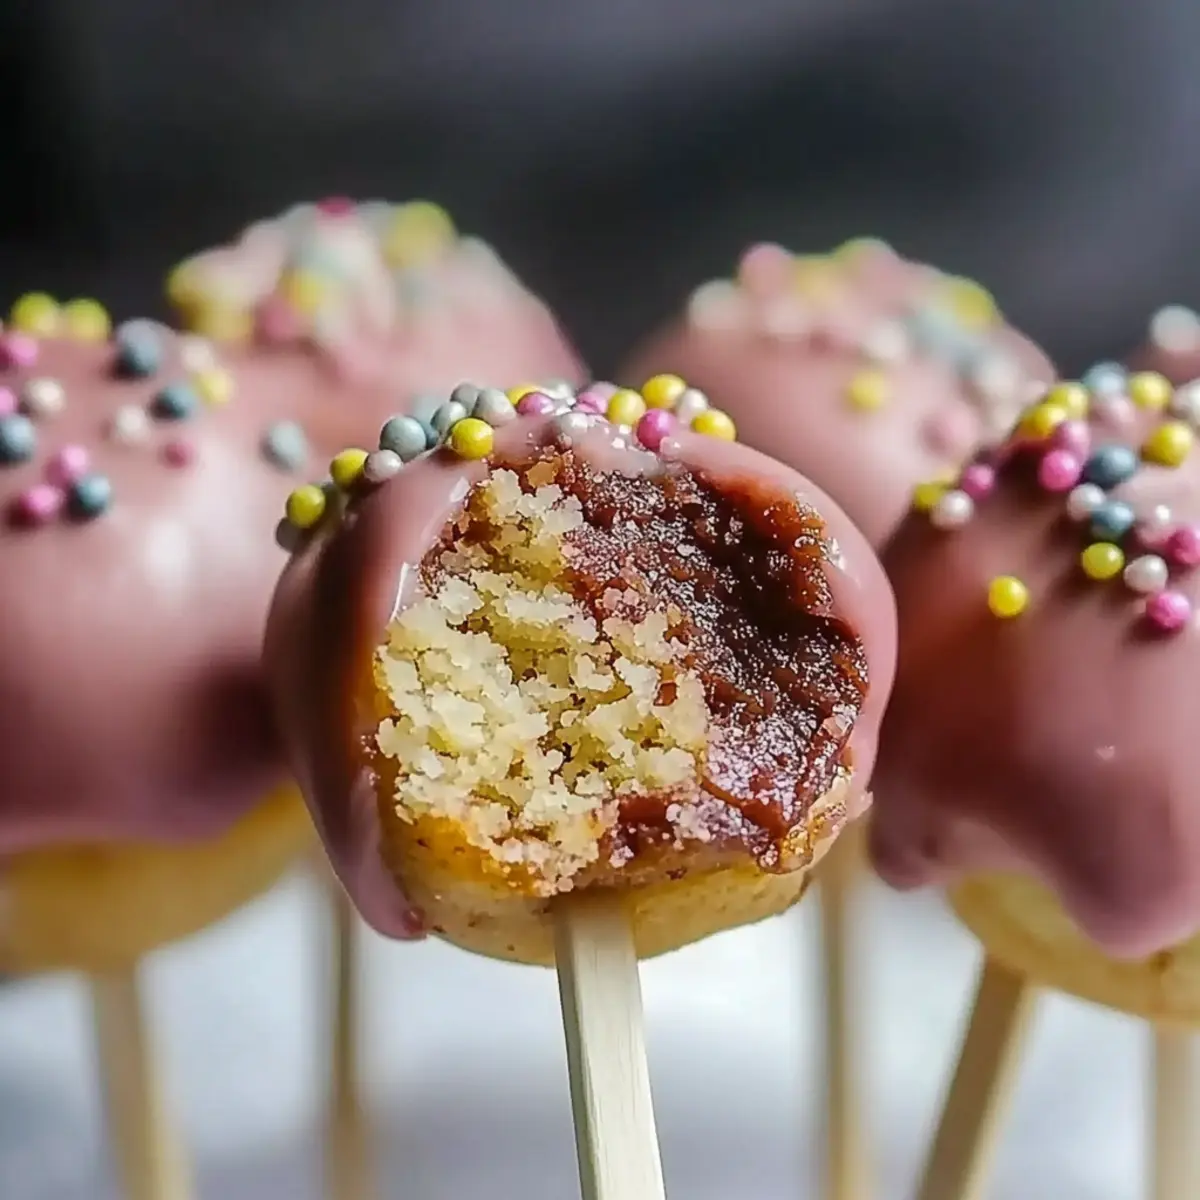
As I strolled past my favorite café, the delightful aroma of freshly baked cake pops captured my attention—those little bites of joy just waiting to be indulged in. Inspired by the beloved Starbucks cake pop, I decided to bring that magic into my own kitchen. This irresistible recipe for cake pops not only allows for quick prep but also offers a fun way to elevate your dessert game and impress friends or family. With simple steps and the freedom to customize flavors and decorations, these cake pops can easily transform any gathering into a sweet celebration. Ready to roll up your sleeves and create a treat that’s a hit at every party? Let’s dive into making these delectable bites of happiness!
What makes these cake pops irresistible?
Fun to make: Rolling these cake pops into perfect little bites is a great activity to enjoy with friends or kids.
Flavorful freedom: With endless combinations of cake and frosting flavors, you can personalize them to suit any taste!
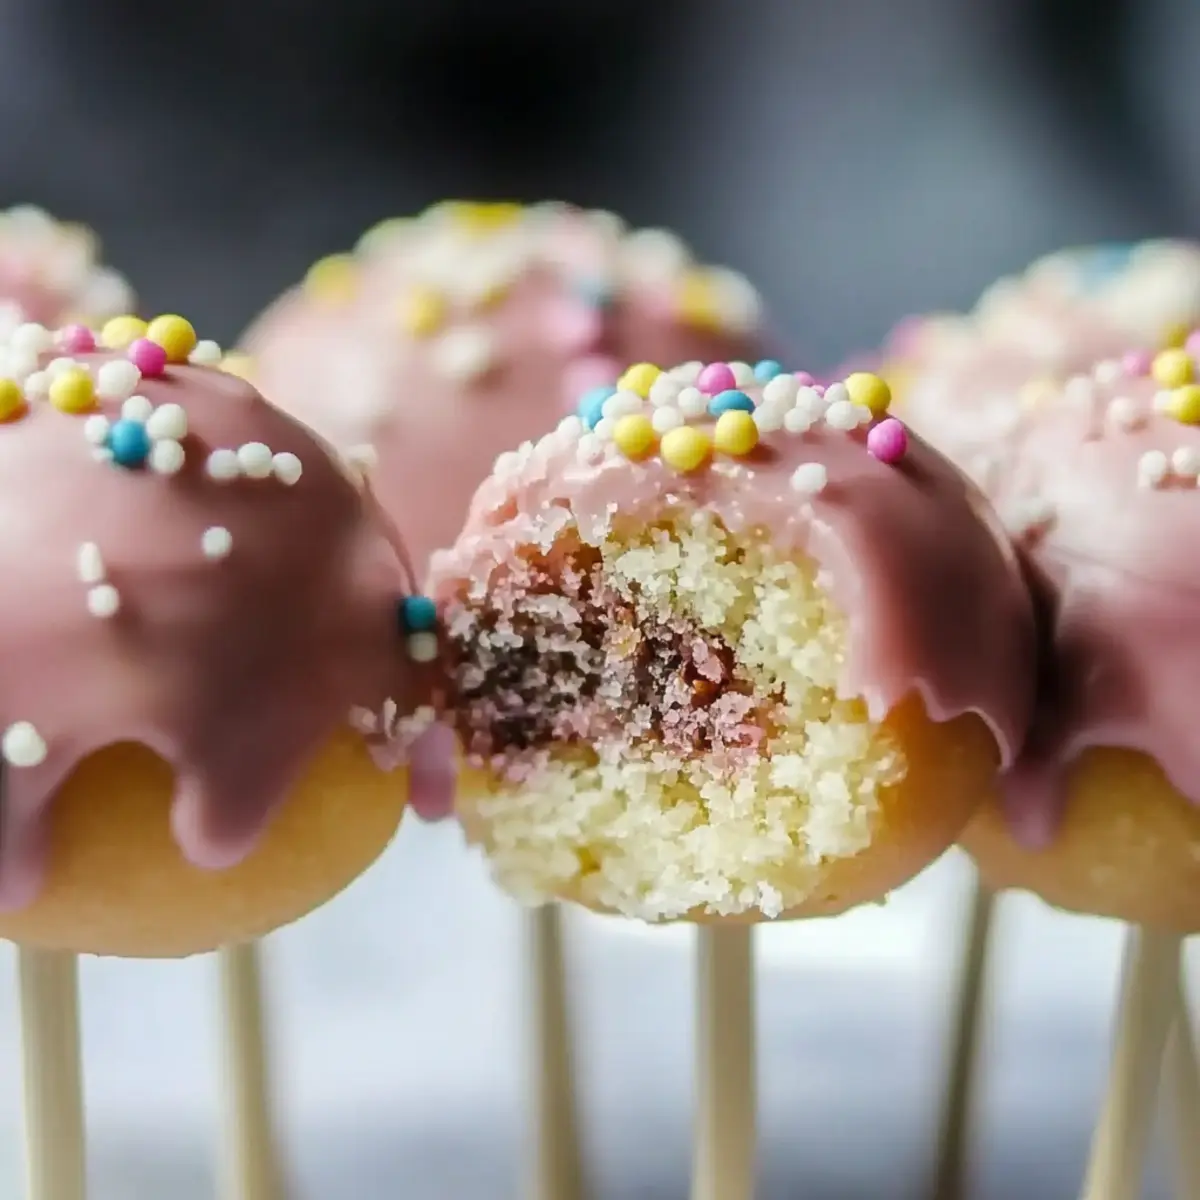
Impressive presentation: These brightly decorated treats are sure to steal the show at any event, from birthday parties to holiday gatherings.
Quick prep time: In just 15 minutes of prep and a little chilling, you can whip up 20 delightful cake pops!
No baking required: Use a store-bought cake mix or your favorite homemade recipe to save time and effort.
Try pairing these cake pops with your favorite drink or check out our easy cake recipes to explore more scrumptious options!
Cake Pop Ingredients
For the Cake
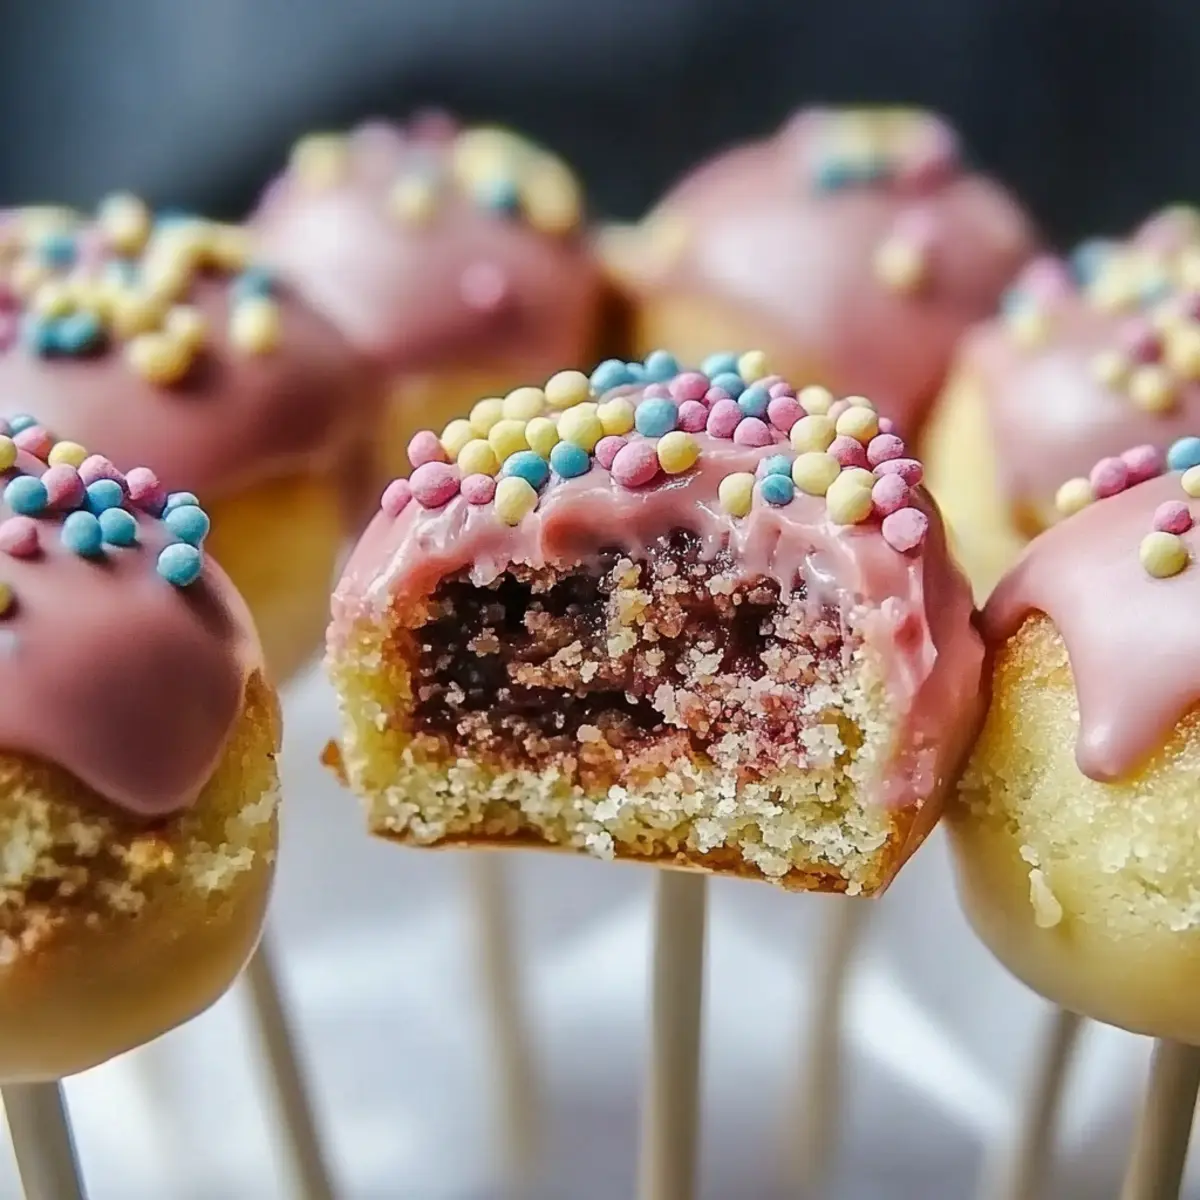
• Cake mix – Use your favorite flavor for the base, be it chocolate, vanilla, or red velvet!
• Eggs – Helps to bind the cake, adding moisture and richness to each bite.
• Water – Necessary for the cake mix to create a fluffy texture; check the package for the exact amount.
• Oil – Adds moistness; vegetable or canola oil works perfectly.
For the Frosting
• Store-bought frosting – Simple and convenient for mixing—a great way to enhance flavor and creaminess.
• Butter – If you prefer homemade frosting, this is essential for a rich taste; cream it well to avoid lumps.
For the Coating
• Candy melts – Choose colorful melts for that delightful coating; they make the cake pops visually appealing!
• Sprinkles – Optional, but a fun way to add texture and whimsy to your cake pops!
Get ready to create these delightful cake pops that bring joy to every celebration in your home!
Step‑by‑Step Instructions for Cake Pops
Step 1: Bake the Cake
Start by preparing your cake according to your chosen recipe or the cake mix instructions. Preheat your oven as directed, and pour the batter into a greased baking pan. Bake until a toothpick inserted in the center comes out clean, usually 25–30 minutes, then let the cake cool completely on a wire rack before crumbling.
Step 2: Crumble the Cake
Once your cake has cooled, crumble it into a large bowl using your hands or a fork until it resembles fine crumbs. This step is crucial for making the perfect cake pops. The texture should be light and fluffy, not too dry. Ensure there are no large chunks left, as they can affect the rolling process later on.
Step 3: Mix in the Frosting
Add your choice of frosting to the crumbled cake and mix thoroughly using your hands or a spatula until the mixture is well-combined. You want a moist and dough-like consistency that holds together easily. If the mixture feels too dry, add a little more frosting. Aim for enough moisture to help form perfect balls that won’t crumble apart.
Step 4: Shape the Cake Pops
Take small portions of the mixture and roll them into balls about 1 inch in diameter. Work quickly so the mixture doesn’t warm up too much—this will help maintain shape. Set each ball on a baking sheet lined with parchment paper as you finish rolling, ensuring they are well-formed for the next steps in creating your delightful cake pops.
Step 5: Chill the Cake Balls
Place the shaped cake balls in the refrigerator for at least 30 minutes. Chilling helps them firm up, making them easier to dip in the later steps. You can also freeze them for about 15 minutes if you’re short on time. Proper chilling will prevent your cake pops from falling apart during coating.
Step 6: Melt the Candy Coating
While the cake balls chill, melt your candy melts according to package instructions. Use a microwave-safe bowl and heat them in short intervals, stirring between each one until smooth and fully melted. Aim for a velvety consistency that will coat your cake pops evenly and look visually delightful.
Step 7: Insert the Sticks
To attach lollipop sticks, dip the end of each stick into the melted candy coating before inserting it into the center of each chilled cake ball. This technique helps the stick adhere better to the cake pop. Insert each stick approximately halfway into the cake ball, ensuring it’s securely in place for the delicious coating to come.
Step 8: Coat the Cake Pops
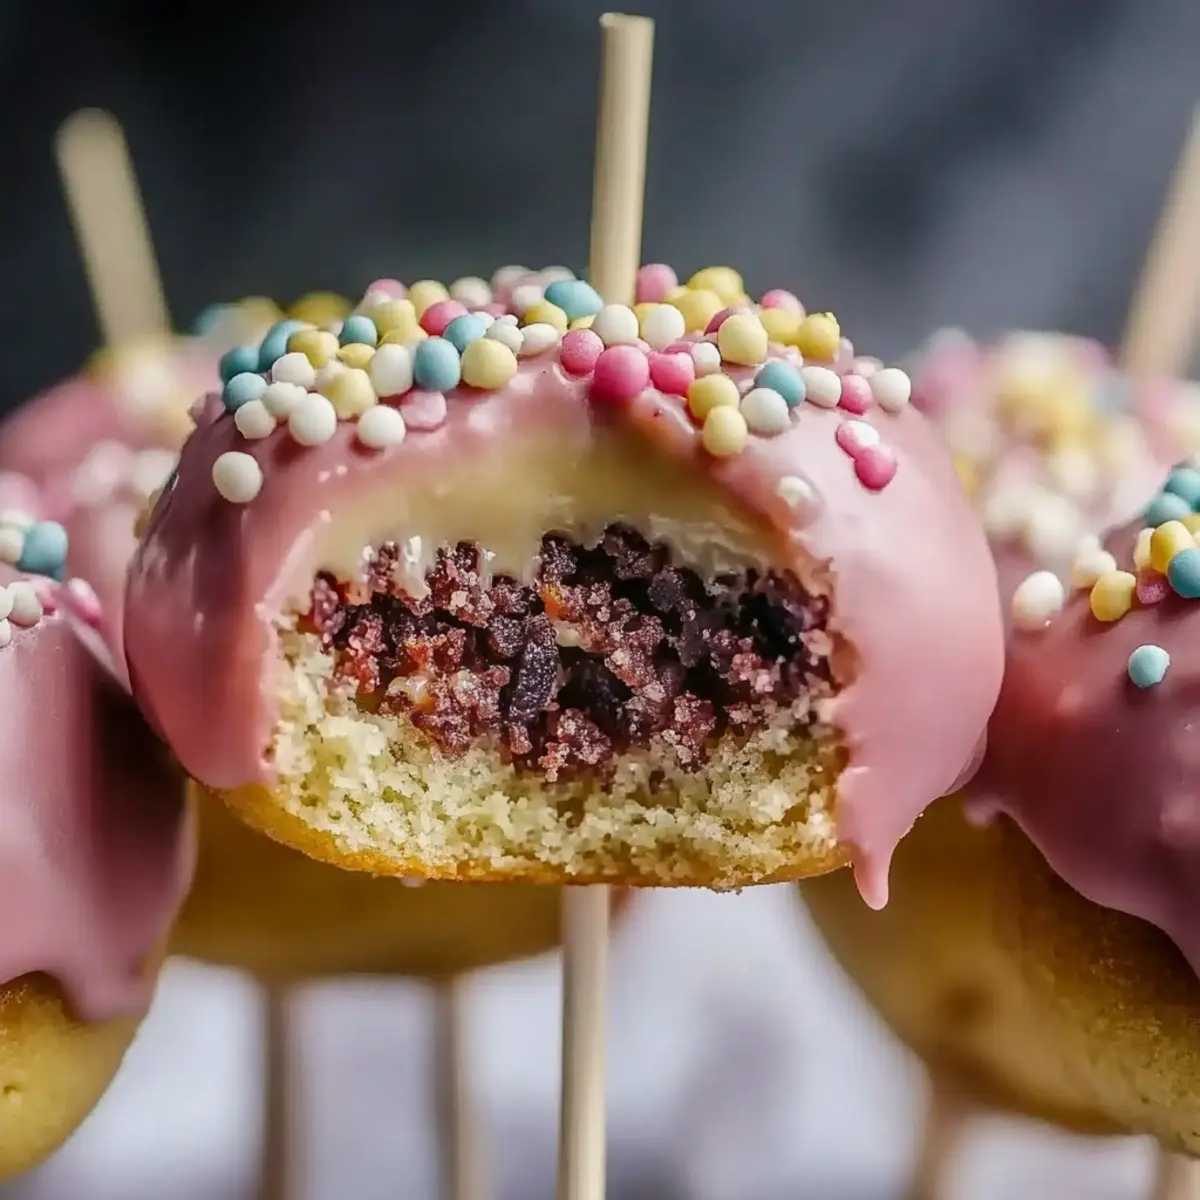
Carefully dip each cake pop into the melted candy coating, ensuring it’s fully submerged. Gently shake or tap the stick to help any excess coating drip off. Visualize a smooth, even layer completely covering the cake pop. This step makes a big impact on the final look and taste of your cake pops!
Step 9: Dry the Cake Pops
Place the coated cake pops upright in a Styrofoam block or a cake pop stand to dry completely. Allow them to sit for about 20–30 minutes until the coating hardens. This is a perfect time to clean up your workspace and prepare for decorating your cake pops with fun toppings!
Step 10: Decorate as Desired
Once the coating has set, unleash your creativity by decorating the cake pops with sprinkles, drizzle melted candy, or even edible glitter. Use additional melted candy to help stick on any decorations. Personalizing your cake pops adds an exciting touch, making them not only delicious but also visually appealing for your celebration!
Cake Pops Variations & Substitutions
Feel free to let your creativity run wild as you explore these delightful twists on cake pops!
-
Gluten-Free: Use a gluten-free cake mix to cater to those with dietary restrictions, ensuring everyone can indulge!
-
Vegan: Substitute eggs with applesauce and use plant-based frosting for a delicious vegan-friendly version.
-
Cheesecake Pops: Mix cream cheese into the crumbled cake for a creamy twist, then coat with chocolate for that cheesecake flavor we all love.
-
Pie Pops: Instead of traditional cake, use crumbled pie to create a sweet surprise in every pop that reminds you of your favorite dessert!
-
Chocolate-Dipped: Use dark, milk, or white chocolate for coating to elevate the indulgence; sprinkle with sea salt for a savory contrast.
-
Spiced Delight: Add a pinch of cinnamon or nutmeg to the cake mixture for a warm, cozy flavor reminiscent of fall baking.
-
Nutty Crunch: Incorporate chopped nuts, like almonds or hazelnuts, into the cake mix for added texture and a delightful crunch.
-
Coconut Bliss: Roll your cake pops in shredded coconut after coating for a tropical twist and delightful chewiness.
Transform these bite-sized treats into personalized delights that resonate with your loved ones. And if you're in the mood for more sweet creations, be sure to check out our easy cake recipes for more inspiration!
Expert Tips for Cake Pops
-
Chill Well: Ensuring cake balls are well-chilled before coating helps maintain their shape during dipping. Don’t skip this crucial step!
-
Consistent Size: Roll the cake balls consistently to ensure even baking and a uniform appearance. This makes your cake pops not only taste great but look fabulous too!
-
Quality Coating: Use high-quality candy melts for a smooth coating that adheres well. Cheaper alternatives might not melt correctly and can result in a disappointing finish.
-
Stick Insertion: Dip the tips of your lollipop sticks into the melted candy before inserting them into the cake pops. This secures the stick better and prevents it from pulling out when you eat them!
-
Decorate Immediately: Once coated, decorate your cake pops right away before the coating hardens. This allows sprinkles or drizzles to stick beautifully.
Enjoy the delightful journey of making these cake pops, and watch as they bring smiles to the faces of those you love!
Make Ahead Options
These delightful cake pops are perfect for meal prep enthusiasts looking to save time on busy days! You can prepare the cake balls up to 24 hours in advance. Simply follow the steps to bake the cake, cool, crumble, and mix in the frosting. Once you’ve rolled the mixture into balls, chill them in the refrigerator to firm up. For longer storage, freeze the uncoated cake balls for up to 3 months. When you're ready to finish, simply thaw in the refrigerator overnight, dip them in melted candy, and let them set for a quick and satisfying treat that’s just as delicious as freshly made!
How to Store and Freeze Cake Pops
Room Temperature: Store cake pops in an airtight container at room temperature for up to 3 days. Be sure to keep them away from direct sunlight to maintain freshness.
Fridge: If you want to keep them longer, place the cake pops in the fridge for up to 1 week. Just ensure they’re in an airtight container to prevent them from drying out.
Freezer: For longer storage, freeze the cake pops for up to 2 months. Wrap each one individually in plastic wrap, then place them in a zip-top bag. Thaw in the fridge overnight before enjoying!
Reheating: There’s no need to reheat cake pops! Enjoy them straight from the fridge, or let them come to room temperature for a little while for the perfect bite.
What to Serve with Starbucks Cake Pops
Indulging in these delightful cake pops opens up a world of flavors and textures that make every gathering just a little sweeter.
-
Rich Hot Chocolate: A warm, creamy drink that balances the sweetness of cake pops perfectly. Top it with whipped cream for extra indulgence!
-
Fresh Fruit Platter: Bright, seasonal fruits add a refreshing contrast to the cake pops, creating a colorful and healthful option on your dessert table.
-
Fluffy Cupcakes: Serve alongside mini cupcakes in complementary flavors for a delightful dessert pairing; both are sure to please any sweet tooth!
-
Vanilla Ice Cream: The cool creaminess of vanilla ice cream is a classic choice that pairs wonderfully with the soft cake texture of these pops.
-
Sparkling Lemonade: A fizzy citrus drink enhances the festive vibe, providing a tart and refreshing balance to the sweetness of the cake pops.
-
Chocolate Dipped Strawberries: These elegant bites add a luxurious touch, offering another layer of sweetness and decadence to complement your cake pops.
-
Gourmet Coffee: A rich cup of coffee, whether it’s a bold espresso or a creamy latte, is a delightful match, cutting through the sugar and enhancing the overall experience.
Add one or more of these pairings to take your cake pop enjoyment to new heights, ensuring delicious moments that linger long after the last bite!
Starbucks Cake Pop Recipe FAQs
How do I choose the best cake for my cake pops?
Absolutely! When selecting a cake, aim for a moist texture. If you're using a mix, look for one that includes pudding for extra moisture. For homemade cakes, ensure it's well-baked and fluffy—overbaking can lead to dry cake, which won't form well into balls. Flavors like chocolate, vanilla, or red velvet work beautifully.
How long can I store cake pops, and what's the best method?
You can keep cake pops in an airtight container at room temperature for up to 3 days. If you place them in the fridge, they can last about a week! Just be sure to store them in a container that seals tightly to prevent drying out. For freezing, wrap each pop in plastic wrap and store them in a zip-top bag for up to 2 months. Thaw them overnight in the fridge before indulging!
Can I freeze cake pops? If so, how?
Absolutely! Here’s a simple step-by-step:
- Allow your cake pops to cool and dry completely.
- Wrap each pop individually in plastic wrap to protect them.
- Place the wrapped pops in a zip-top freezer bag, squeezing out excess air.
- Label with the date! They can stay frozen for up to 2 months.
- When you're ready to enjoy them, transfer the bag to the fridge overnight for gentle thawing.
What should I do if my cake pops won’t hold their shape?
If your cake pops are falling apart, it might be because the cake mixture is too dry or the balls weren’t chilled long enough. Ensure to add enough frosting to achieve a dough-like consistency, and chill them for at least 30 minutes. If they’re still too soft, consider chilling them longer or even placing them in the freezer for a quick fix before coating.
Are cake pops safe for pets or people with allergies?
When making cake pops, be mindful of any allergies among your guests! Standard recipes contain gluten (from the cake mix) and dairy (in the frosting), which could be a concern. For your furry friends, avoid sharing cake pops altogether—many ingredients, like chocolate and certain sweeteners, can be harmful to dogs. Always use allergy-friendly substitutes if needed, like gluten-free cake mixes or dairy-free frosting.
Delicious Cake Pops That Bring Joy to Every Celebration
Ingredients
Equipment
Method
- Bake the Cake: Prepare your cake according to the recipe or mix instructions, then bake until a toothpick inserted in the center comes out clean.
- Crumble the Cake: Once cooled, crumble the cake into fine crumbs in a large bowl.
- Mix in the Frosting: Add frosting to the crumbs and mix until a moist, dough-like consistency is achieved.
- Shape the Cake Pops: Roll mixture into balls about 1 inch in diameter and place on a lined baking sheet.
- Chill the Cake Balls: Refrigerate cake balls for at least 30 minutes to firm up.
- Melt the Candy Coating: Melt candy melts in short intervals, stirring until smooth.
- Insert the Sticks: Dip each lollipop stick in melted candy before inserting into each cake ball.
- Coat the Cake Pops: Dip each cake pop into melted candy coating, ensuring even coverage.
- Dry the Cake Pops: Place upright in a stand to dry for 20-30 minutes until coating hardens.
- Decorate as Desired: Personalize cake pops with sprinkles, drizzle, or glitter.
Leave a Reply