
As I was rummaging through my pantry the other afternoon, my gaze landed on a jar of store-bought pickles—that very moment I knew I had to make my own Canned Dill Pickles. There’s something truly satisfying about crafting these crunchy delights right at home, and the process is surprisingly quick too! Beyond their ease of preparation, these pickles can elevate any meal, adding that perfect tangy zing to sandwiches or salads. Plus, you can make a big batch and preserve them for later, turning your summer bounty into a year-round treat. Are you ready to dive into the world of homemade pickles and tantalize your taste buds this season? Let's get started!
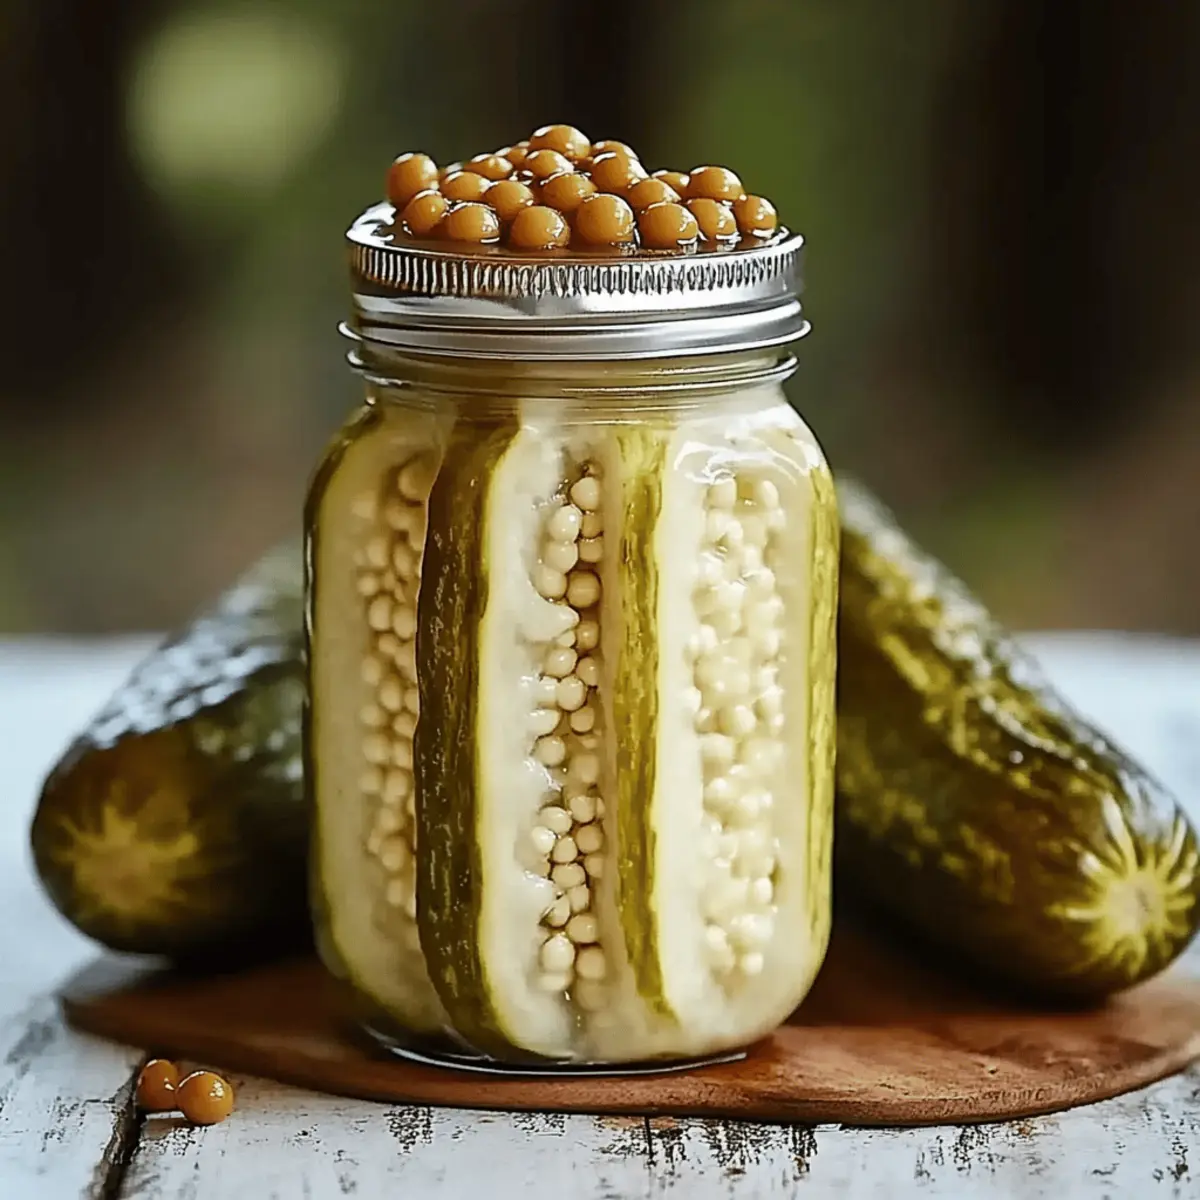
Why Make Your Own Canned Dill Pickles?
Satisfying the craving for something crisp and tangy is easier than you think! Quick to prepare, this recipe takes just 30 minutes of your time, with a week of waiting that’s totally worth it. Flavorful garlic and fresh dill infuse each bite—way better than store-bought. Preserving your summer bounty means you can enjoy a burst of freshness all year long. Plus, crowd-pleasing pickles are perfect for barbeques and gatherings, impressing guests with your homemade skills! Dive deeper into the world of pickling by checking out my guide on pickling essentials. Happy canning!
Canned Dill Pickle Ingredients
Ready to pickle? Here are your essentials!
For the Brine
- 4 cups water – This forms the base of your pickling solution.
- 1 cup white vinegar – Adds tang and preserves the pickles.
- 2 tablespoons salt – Enhances flavor and aids in preservation.
- 2 tablespoons sugar – Balances the vinegar’s tartness for a perfect taste.
For the Pickles
- 4 pickling cucumbers – Choose firm, fresh cucumbers for optimal crunch.
- Garlic cloves – Infuse your pickles with a punch of flavor; adjust quantity to your liking!
- Fresh dill sprigs – Essential for that iconic dill pickle taste; use as much as you desire!
Get ready for that satisfying crunch with your homemade canned dill pickles!
Step‑by‑Step Instructions for Canned Dill Pickle
Step 1: Sterilize Your Jars
Begin by sterilizing your jars and lids to ensure a safe canning process. Place them in a large pot of boiling water for about ten minutes. This step is crucial as it prevents contamination, allowing your homemade Canned Dill Pickles to stay fresh and delicious. After sterilizing, carefully remove the jars with tongs and set them aside to cool.
Step 2: Prepare the Cucumbers
Wash your pickling cucumbers thoroughly under cool water to remove any dirt or impurities. Depending on your preference, cut them into spears or slices. Aim for uniform sizes so they pickle evenly. The fresher your cucumbers, the crunchier your Canned Dill Pickles will be—look for firm, blemish-free specimens for the best results.
Step 3: Make the Brine
In a large pot, combine 4 cups of water, 1 cup of white vinegar, 2 tablespoons of salt, and 2 tablespoons of sugar. Place the pot over medium-high heat and bring the mixture to a rolling boil. Stir occasionally until the salt and sugar fully dissolve, which should take about 5 minutes. The brine should be fragrant and clear, ready to enhance your pickles!
Step 4: Layer the Flavor
While the brine is heating, begin layering cucumber slices into your sterilized jars. Add garlic cloves and fresh dill sprigs between the layers for maximum flavor infusion. Fill each jar snugly but not overly packed. This will allow the brine to circulate well, giving your Canned Dill Pickles that signature taste.
Step 5: Pour the Hot Brine
Once the brine is ready, carefully pour it over the packed cucumbers until they are fully submerged, leaving about half an inch of space at the top of the jar. This space is essential for expansion during processing. Make sure to cover the cucumbers completely with the hot brine to ensure even pickling.
Step 6: Seal the Jars
Tightly seal each jar with its lid, ensuring that no sauce seeps out. This part is important, as a good seal will help keep the pickles safe from spoiling. Wipe the rims of the jars with a clean cloth to remove any drips and ensure a proper seal for your Canned Dill Pickles.
Step 7: Process the Jars
Carefully place the sealed jars back into the pot of boiling water, ensuring they are fully submerged. Process them for about ten minutes, which will help to seal the jars properly and enhance preservation. Keep an eye on the pot and adjust the heat as necessary to maintain a steady boil throughout.
Step 8: Cool and Cure
After processing, use tongs to carefully remove the jars from the boiling water. Place them upright on a clean kitchen towel or cooling rack to cool completely. Allow the jars to sit in a cool, dark place for at least a week, as this resting period is essential for full flavor development in your Canned Dill Pickles.
Expert Tips for Canned Dill Pickle
-
Cucumber Selection: Choose firm, fresh pickling cucumbers. Soft or blemished ones will lead to soggy pickles—definitely not what you want!
-
Brine Balance: Ensure proper salt and sugar levels in your brine. Too little salt can compromise preservation, while too much can ruin the flavor of your Canned Dill Pickles.
-
Layering Flavors: Don't skimp on garlic and dill! These aromatics infuse crucial flavor into your pickles, enhancing that delicious, homemade taste.
-
Proper Sealing: Seal jars tightly to create a vacuum. A good seal prevents spoilage—check rims for any brine or residue before closing.
-
Cool and Cure: Patience is key! Allow your pickles to cure in a cool, dark place for at least a week for optimal flavor. The longer, the better!
Canned Dill Pickle Variations & Substitutions
Get creative and make this Canned Dill Pickle recipe truly your own with these delightful tweaks!
-
Spicy Kick: Add red pepper flakes or sliced jalapeños for a zesty heat that elevates the flavor profile wonderfully. Just a pinch can turn your pickles into a spicy sensation!
-
Herb Blend: Try substituting fresh dill with other herbs like tarragon or cilantro for a unique twist. Each herb brings its own charm, taking your pickles on a fresh flavor adventure!
-
Sweet and Sour: Swap the sugar for honey or maple syrup for a touch of natural sweetness. The sweetness pairs surprisingly well with the tangy brine, creating a delightful balance.
-
Garlic Infusion: Increase the garlic cloves for a potent garlic flavor, or try roasted garlic for a sweeter, more mellow garlic essence. Roasted garlic enriches each bite and adds depth to your pickles.
-
Vegetable Medley: Spice things up by adding other vegetables like carrots or radishes to the jars. This adds variety and color, making your pickles not only tasty but visually appealing too!
-
Citrus Zest: Add lemon or lime zest to the brine for a bright, refreshing flavor. The citrus notes can elevate your pickles to another level of deliciousness that’s perfect for summer meals!
-
Smoky Flavor: Use smoked paprika in the brine for an unexpected smoky twist. It adds complexity and richness, pairing beautifully with sandwiches or burgers!
-
Fermentation: For a naturally fermented version, reduce vinegar and let the jars sit at room temperature for a few days before refrigerating. This method yields pickles with probiotic benefits and a tangy flavor!
These variations provide endless possibilities, so don’t be afraid to experiment and find your unique favorite! Happy pickling!
What to Serve with Canned Dill Pickle?
Add a delightful crunch and tang to your meals with these perfect pairings that complement the irresistible flavors of homemade pickles.
-
Classic Sandwiches:
Layer your favorite meats and cheeses with Canned Dill Pickles for a crunchy, zesty bite that enhances every mouthful. -
Potato Salad:
The tangy flavor of pickles adds depth to creamy potato salads, making your picnic spread unforgettable. -
Charcuterie Board:
Include Canned Dill Pickles alongside cured meats and cheeses; they cut through richness and balance the flavors beautifully. -
Tacos:
Sprinkle chopped pickles over tacos for a surprising pop of flavor and crunch, elevating your taco night experience. -
Salads:
Toss sliced pickles into salads for a refreshing twist, bringing acidity that brightens up all the fresh ingredients. -
Barbecue:
Serve alongside grilled meats at summer barbecues; the brightness of pickles complements smoky flavors perfectly. -
Deviled Eggs:
Add diced Canned Dill Pickles to your deviled egg filling for extra zest that's sure to impress your guests. -
Beer Pairing:
Enjoy a cold lager or pale ale with your pickles; the carbonation and bitterness balance the pickled tang sweetly.
How to Store and Freeze Canned Dill Pickle
Cool Dark Place: Store unopened jars in a cool, dark place for up to one year to preserve the flavors of your Canned Dill Pickles.
Refrigerator: Once opened, refrigerate your jar and consume within two months for the best taste and freshness.
Airtight Seal: Always ensure jars are sealed tightly after each use to keep out air and bacteria that can spoil your pickles.
Make Ahead Options
These Canned Dill Pickles are perfect for meal prep enthusiasts looking to save time! You can prepare the pickling brine (water, vinegar, salt, and sugar) up to 3 days in advance by storing it in an airtight container in the refrigerator. Also, wash and cut the cucumbers into spears or slices ahead of time—just keep them submerged in cold water to prevent browning. When you're ready to make your Canned Dill Pickles, simply layer the cucumber slices with garlic and dill in the jars, pour the chilled brine over them, and process as directed. This way, you’ll have crunchy, flavorful pickles ready to delight your family with minimal effort!
Canned Dill Pickle Recipe FAQs
What type of cucumbers should I use for my canned dill pickles?
Absolutely! For the best results, choose fresh, firm pickling cucumbers—these are smaller and have fewer seeds, providing that ideal crunch. Avoid cucumbers that are soft or have dark spots, as they won't hold up during the pickling process.
How should I store my canned dill pickles?
Store your unopened jars of canned dill pickles in a cool, dark place, such as a pantry or cellar, and they can last up to one year if sealed properly. After opening, keep the jar in the refrigerator and try to finish them within two months for the freshest taste.
Can I freeze canned dill pickles?
I don’t recommend freezing canned dill pickles because the texture can become mushy when thawed. Instead, focus on proper canning and refrigeration to keep them crisp. However, if you want to preserve cucumbers for later, you can slice them and freeze them in a single layer on a baking sheet before transferring them to airtight containers for up to 3 months.
What if my jars didn’t seal properly?
If you notice that the lids of your jars haven't sealed properly, don’t panic! You can reprocess the jars by removing the lids, checking for any residue, and relining with fresh lids. Process them again in boiling water for about 10 minutes, or simply refrigerate them and consume within a couple of weeks instead.
Can my canned dill pickles be pet friendly?
While the pickles themselves are safe for humans, it's important to remember that pickles are high in salt, so they should not be shared with your furry friends—especially dogs. Always stick to pet-safe treats for your pets and enjoy your crunchy goodies guilt-free!
How long should I wait before eating my canned dill pickles?
Great question! While you can technically taste your canned dill pickles after just a week, allowing them to cure for two weeks in a cool, dark place greatly enhances the flavor. The longer they sit, the more intense and delightful the flavors of garlic and dill become!
Canned Dill Pickle: Crunchy Homemade Goodness Awaits
Ingredients
Equipment
Method
- Sterilize your jars and lids in boiling water for about ten minutes.
- Wash your pickling cucumbers thoroughly and cut them into spears or slices.
- In a large pot, combine water, vinegar, salt, and sugar. Heat until boiling.
- Layer cucumber slices, garlic cloves, and dill sprigs into your sterilized jars.
- Pour the hot brine over the cucumbers, leaving half an inch of space at the top.
- Seal the jars tightly with lids and wipe rims to remove any drips.
- Process sealed jars in boiling water for about ten minutes.
- Remove jars to cool and allow to sit for at least a week for flavor development.
Leave a Reply