
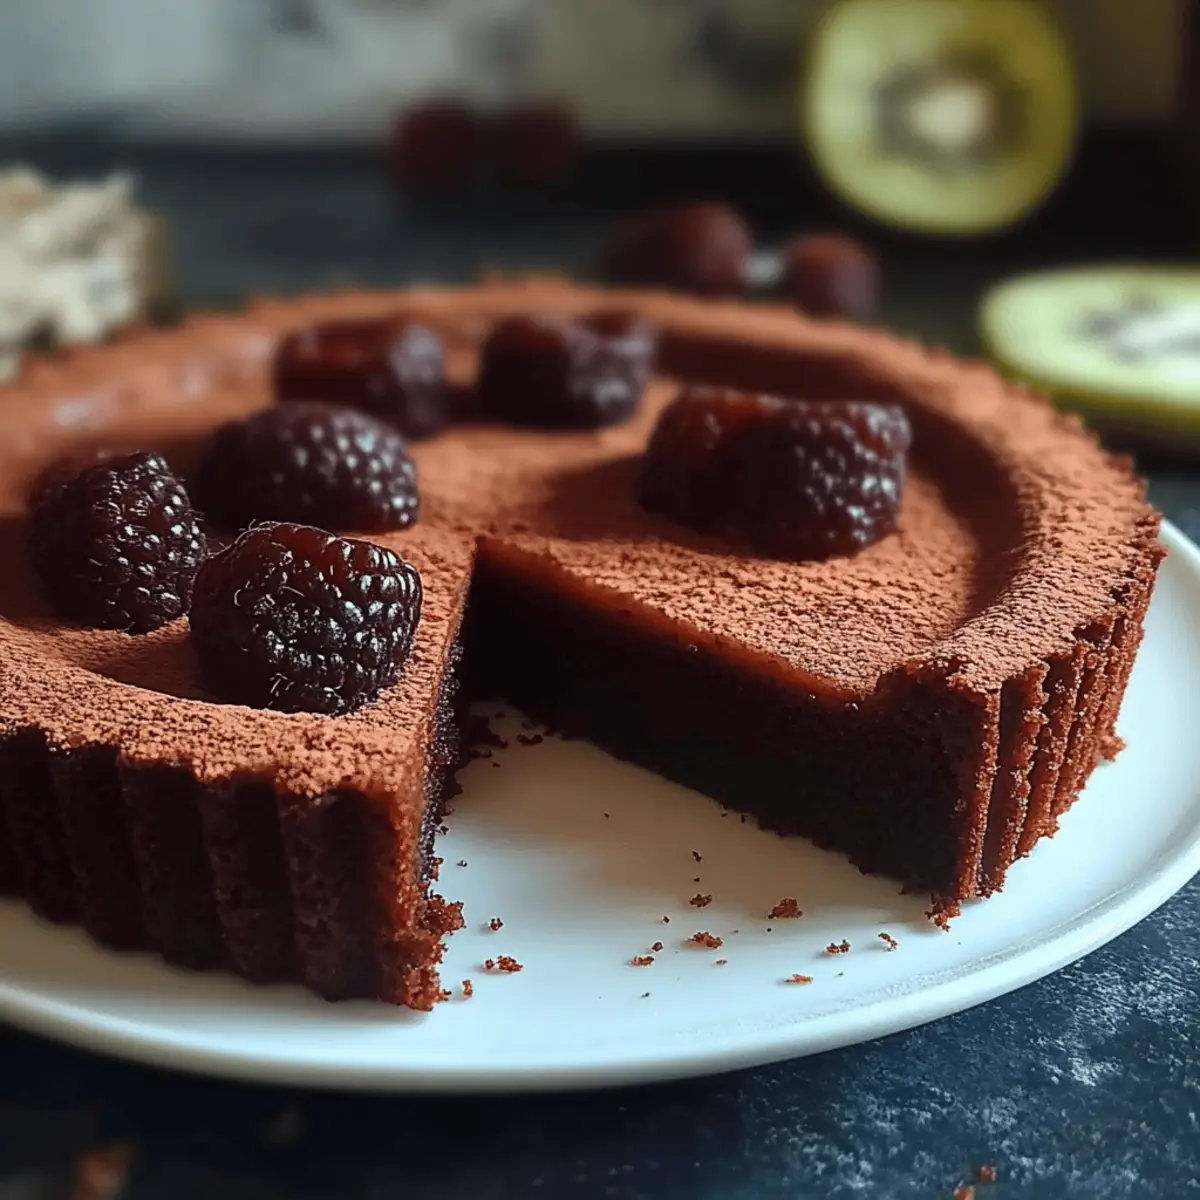
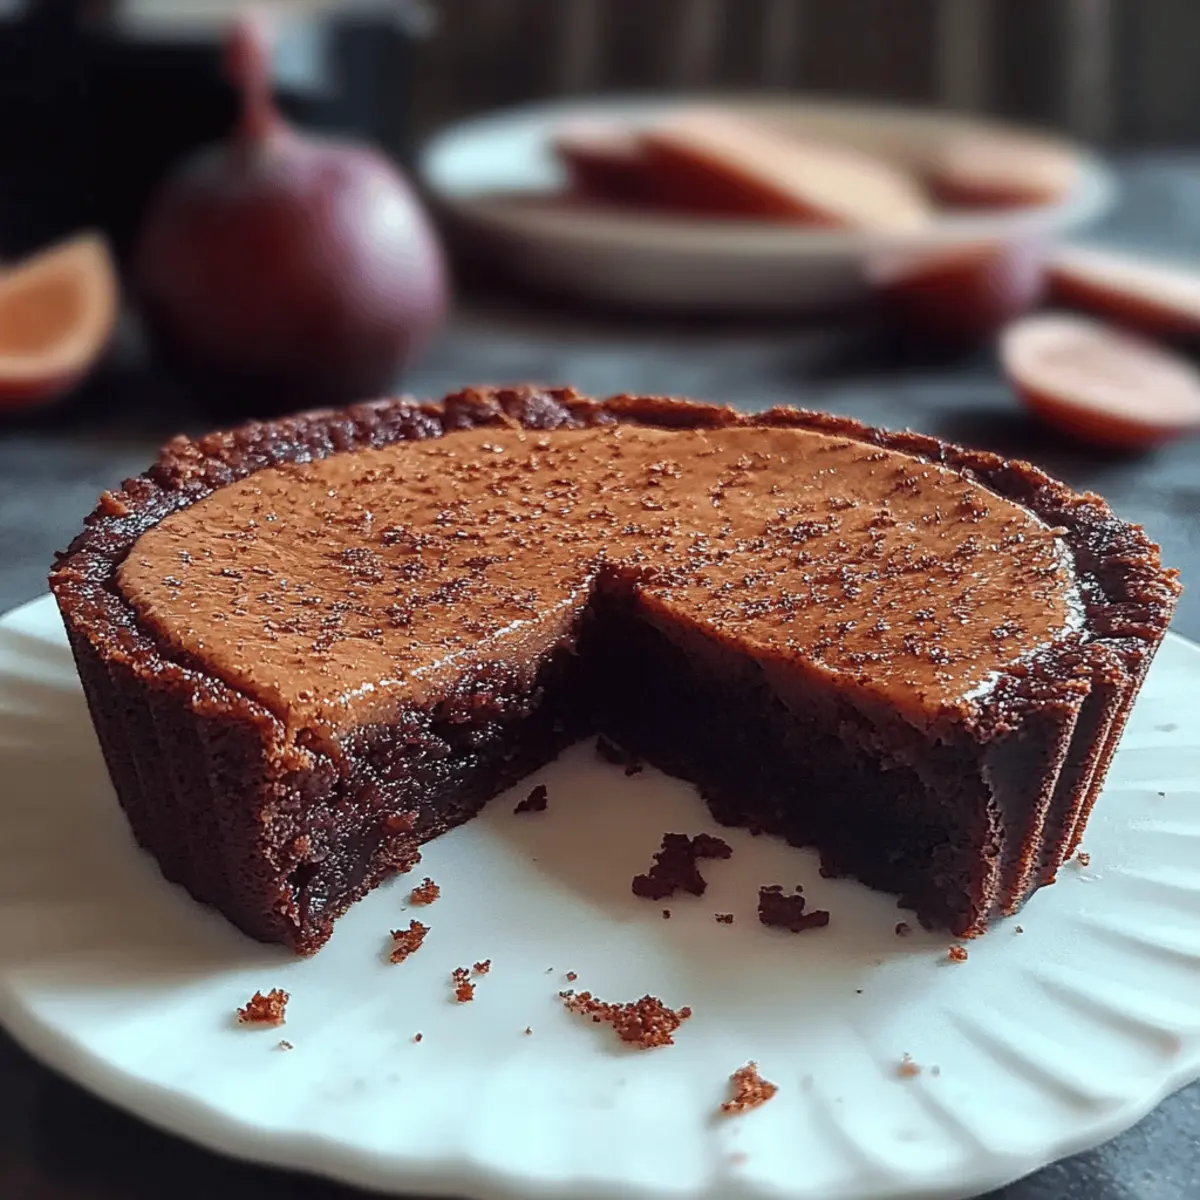
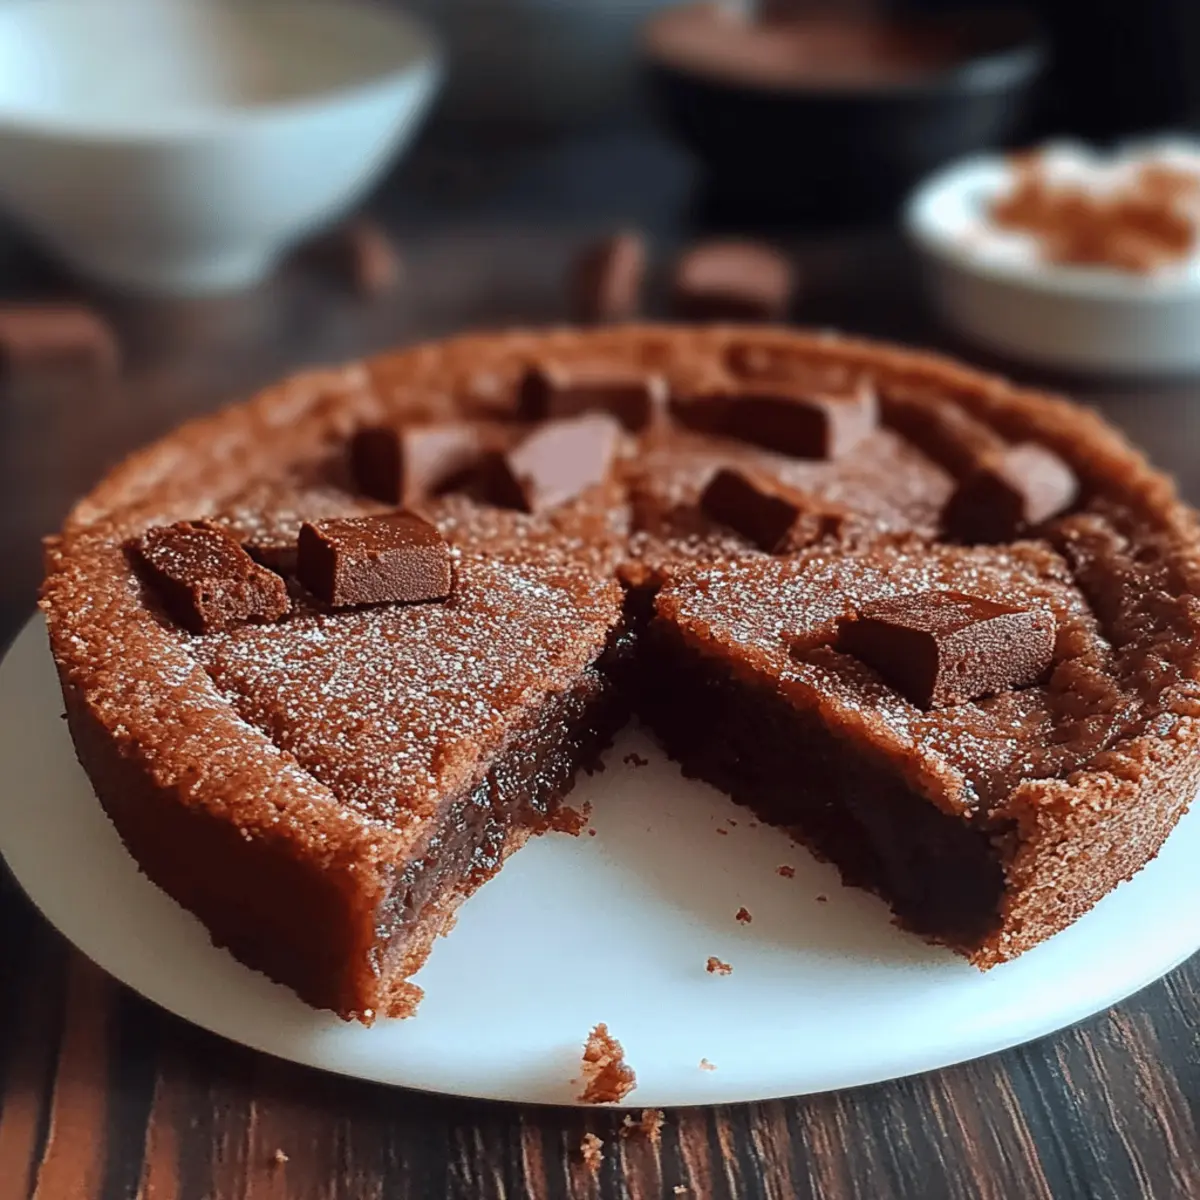
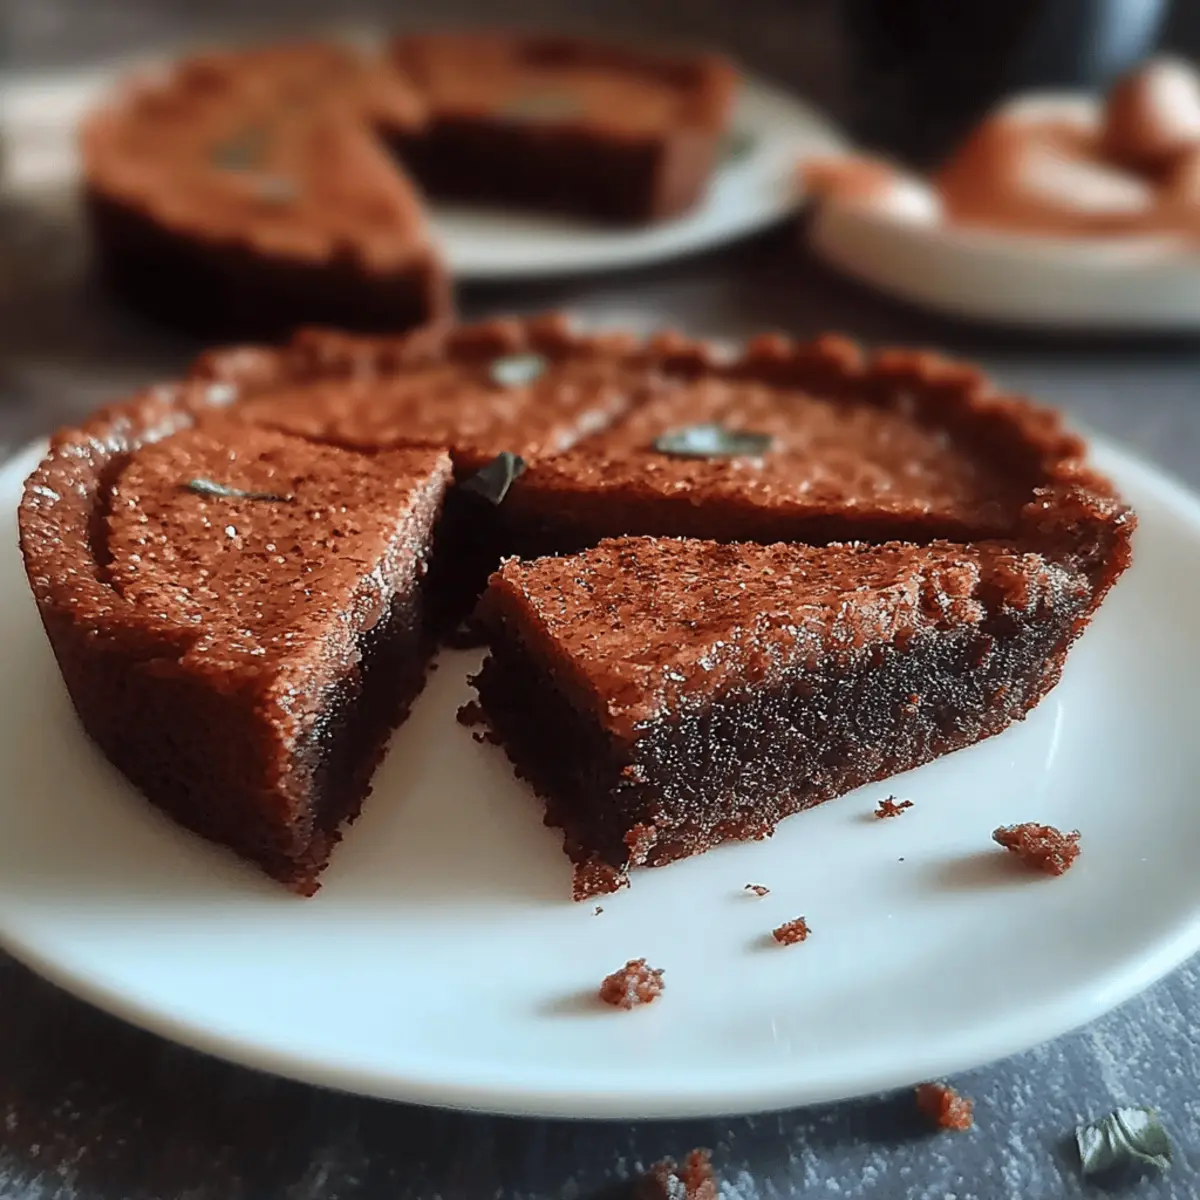
As I sliced through the velvety layers of my Italian Chocolate Tart, I could feel the warmth of the kitchen wrap around me like a comforting embrace. This delightful Crostata al Cioccolato is not just a dessert; it’s a celebration of rich flavors and simple ingredients that's perfect for any occasion. With an easy prep time and a crowd-pleasing appeal, I've found that this tart consistently steals the show at gatherings. Plus, it’s a wonderful way to impress your loved ones without spending hours in the kitchen. Whether you’re a seasoned home chef or just looking to elevate your dessert game, you’ll find that this Italian Chocolate Tart makes everything sweeter. Ready to indulge in a slice of homemade joy? Let’s dive into the recipe!
Why is this Italian Chocolate Tart irresistible?
Decadent layers: This tart features a rich chocolate filling that melts in your mouth, offering a delightful experience with each bite.
Easy preparation: The simple steps ensure that even beginners can create a masterpiece without feeling overwhelmed.
Crowd-pleaser: Perfect for gatherings, this dessert will have your guests asking for seconds and cheering for your baking skills.
Versatile serving: Serve it chilled or warm, and pair it with ice cream or fresh berries for an extravagant twist.
Homemade goodness: Skip the fast food and indulge in a sweet treat made with love, that’s sure to impress. Try it alongside our easy homemade whipped cream to elevate your dessert to new heights!
Italian Chocolate Tart Ingredients
• To create this heavenly Italian Chocolate Tart, gather these essential ingredients that promise a rich and flavorful experience.
For the Tart Shell
- Flour – 200 g – Essential for giving the tart its structure; using all-purpose flour works great!
- Granulated Sugar – 100 g – Adds sweetness to the crust, balancing the rich chocolate filling.
- Cocoa Powder – 40 g – Imparts a deep chocolate flavor to the shell, enhancing the overall taste of the tart.
- Salt – ¼ teaspoon – A pinch helps elevate the sweetness and brings depth to the flavors.
- Cold Butter – 120 g – Using cold butter is key to achieving a flaky crust; cut it into small pieces for easier incorporation.
- Egg – 1 – Provides richness and binds the ingredients together effectively.
- Egg Yolk – 1 – Adds moisture and a tender texture to the crust.
For the Chocolate Filling
- Milk – 400 ml – Creamy base for the filling, contributing to its luscious consistency.
- Egg Yolks – 4 – Enriches the filling and helps it thicken beautifully.
- Granulated Sugar – 80 g – Sweetens the filling and balances the cocoa's intensity.
- Flour – 40 g – A thickening agent that contributes to the creamy texture of the chocolate filling.
- Dark Chocolate – 200 g – The star ingredient of this Italian Chocolate Tart; choose high-quality chocolate for the best flavor.
With these ingredients ready, you’re on your way to creating a dessert that will surely warm hearts and satisfy sweet cravings!
Step‑by‑Step Instructions for Italian Chocolate Tart
Step 1: Combine Dry Ingredients
In a large mixing bowl, whisk together 200 g of flour, 100 g of granulated sugar, 40 g of cocoa powder, and ¼ teaspoon of salt until well blended. Make sure there are no lumps. This mixture forms the base of your Italian Chocolate Tart crust, providing a rich chocolate flavor and sweetness that perfectly contrasts with the filling.
Step 2: Incorporate Cold Butter
Add 120 g of cold butter, cut into small pieces, into the dry mixture. Use a pastry cutter or your fingers to blend the butter into the flour mixture until it resembles coarse crumbs, about 3-5 minutes. This step is crucial for achieving a flaky crust, so take your time and don't overwork the dough.
Step 3: Mix in Eggs
Crack in 1 whole egg and 1 egg yolk, then combine everything until a dough forms. Mix gently until just incorporated; avoid over-mixing to keep the crust tender. Once the dough pulls together, it’s ready to be wrapped. Shape it into a disc, wrap in plastic wrap, and refrigerate for at least 30 minutes.
Step 4: Preheat the Oven
While the dough chills, preheat your oven to 180°C (350°F). This temperature is perfect for baking the tart to achieve a nice golden crust. As the oven heats, prepare your tart pan and clear a workspace for rolling out your dough.
Step 5: Roll Out the Dough
On a floured surface, remove the chilled dough from the refrigerator. Roll it out to about 3 mm thick, ensuring it's large enough to fit a 9-inch tart pan. Aim for an even thickness to ensure proper baking. Dust with flour as needed to prevent sticking and keep the dough manageable.
Step 6: Fit the Dough into the Pan
Carefully transfer the rolled-out dough into the tart pan, pressing it gently into the edges. Trim any excess dough hanging over the sides. This will create a clean, beautiful edge for your Italian Chocolate Tart. Prick the bottom of the crust with a fork to prevent any bubbles during baking.
Step 7: Bake the Tart Shell
Place the tart shell in the preheated oven and bake for about 15 minutes, or until the edges are set and lightly browned. Keep an eye on it; the goal is a firm shell that will hold up against the rich chocolate filling. Once done, remove it from the oven and let it cool.
Step 8: Heat the Milk
In a saucepan over medium heat, pour in 400 ml of milk and allow it to heat until just below boiling, stirring occasionally. Take care not to let it boil to avoid scalding. This step provides the creamy base for the decadent filling, ensuring a smooth consistency when mixed with the other ingredients.
Step 9: Prepare the Egg Mixture
While the milk heats, whisk together 4 egg yolks, 80 g of granulated sugar, and 40 g of flour in a separate bowl until smooth. This mixture will create the custard-like filling for your tart. It’s important to ensure there are no lumps for a perfectly creamy texture.
Step 10: Combine Egg and Milk Mixtures
Once the milk is heated, slowly pour it into the egg mixture while whisking constantly. This gradual process tempers the eggs, preventing them from scrambling. After thoroughly combining, pour the mixture back into the saucepan to continue cooking on medium heat.
Step 11: Thicken the Filling
Stir the mixture over medium heat until it thickens, which should take about 5-7 minutes. You will know it's ready when it coats the back of a spoon. This step creates the luscious filling that sets this Italian Chocolate Tart apart, so keep stirring for even cooking.
Step 12: Melt the Chocolate
Remove the thickened mixture from heat and add 200 g of chopped dark chocolate. Stir until fully melted and smooth, creating a rich filling. This chocolate ensures a deep flavor in your tart. Make sure no bits remain; a silky filling is what you desire for the final touch.
Step 13: Fill the Tart Shell
Pour the chocolate filling into the cooled tart shell, spreading it evenly with a spatula. This is your moment! The filling should be glossy and smooth, promising a delightfully rich taste. Make sure the shell is completely cool to avoid compromising the texture.
Step 14: Chill Before Serving
Refrigerate the tart for at least 30 minutes to allow the filling to set properly. This chilling time helps the flavors meld beautifully and gives you that perfect slice when serving. Meanwhile, clean up any remaining utensils and prepare for the delightful taste.
Step 15: Garnish and Serve
Once chilled, you can garnish your Italian Chocolate Tart with chocolate shavings or chopped nuts for extra flair. Use a sharp knife to slice the tart into pieces, revealing its rich, creamy center. Serve it chilled or at room temperature for a slice of homemade joy!
Expert Tips for Italian Chocolate Tart
- Chill the Dough: Always refrigerate the dough for at least 30 minutes to achieve a flaky crust; skipping this step can lead to a tough texture.
- Quality Chocolate Matters: Use high-quality dark chocolate for the filling; the better the chocolate, the richer your Italian Chocolate Tart will taste.
- Monitor Baking Time: Keep an eye on the tart shell while baking; it should be lightly golden, and overbaking can lead to a dried-out crust.
- Proper Cooling: Allow the baked shell to cool completely before adding the filling to prevent it from becoming soggy.
- Even Mixing: Whisk the egg mixture until smooth to avoid lumps in the filling; this ensures a creamy, indulgent consistency in your tart.
What to Serve with Italian Chocolate Tart?
Indulging in a slice of this luscious Italian chocolate tart opens the door to a world of delightful pairing possibilities!
-
Fresh Berries: Juicy strawberries or raspberries provide a refreshing contrast, brightening the rich chocolate flavor with their tartness. Their vibrant colors also enhance the visual appeal of your dessert spread.
-
Homemade Whipped Cream: Light and airy, a dollop of whipped cream adds creaminess that balances the tart's richness, creating a heavenly mouthfeel with every forkful.
-
Vanilla Ice Cream: The classic pairing of vanilla ice cream melting into the chocolate filling creates a delicious warm-and-cool experience that your taste buds will adore.
-
Coffee or Espresso: A strong brew brings out the deep notes of dark chocolate, making each bite even more decadent. Pairing your dessert with a rich cup of coffee elevates the moment.
-
Chocolate Sauce: For the chocolate lovers, drizzling warm chocolate sauce adds an extra luscious layer, taking the indulgence to a whole new level.
-
Pistachio Crumble: This crunchy topping adds texture and a slightly salty touch, enhancing the overall flavor and providing a delightful twist to the classic tart experience.
-
Red Wine: A glass of full-bodied red wine complements the chocolate beautifully, with its bold flavors enhancing the tart's richness, creating a truly sophisticated dessert experience.
-
Fruit Compote: A mix of cooked fruits, especially cherries or figs, creates a sumptuous sweetness that pairs wonderfully with the dark notes of the tart.
Feel free to mix and match these elements to create a memorable dessert experience that your loved ones will cherish!
How to Store and Freeze Italian Chocolate Tart
Room Temperature: Keep the Italian Chocolate Tart covered with plastic wrap or in an airtight container for up to 1 day at room temperature; it's best enjoyed fresh!
Fridge: Store in the refrigerator, covered, for up to 3 days. The tart may lose some crispness but will remain deliciously rich.
Freezer: To freeze, wrap the tart tightly in plastic wrap and aluminum foil, ensuring no air enters. It can be frozen for up to 1 month.
Reheating: For best results, thaw in the fridge overnight before serving. If you prefer it warm, gently heat in a preheated oven at 150°C (300°F) for about 10–15 minutes.
Make Ahead Options
Preparing your Italian Chocolate Tart ahead of time is a fantastic way to save precious minutes on busy days! You can make the tart dough and refrigerate it for up to 3 days before using; just keep it wrapped tightly in plastic wrap to maintain its texture. Additionally, the filled tart can be made up to 24 hours in advance; store it in the fridge, covered, to keep the filling fresh and creamy. When you're ready to serve, allow the tart to chill for at least 30 minutes, then garnish with chocolate shavings or nuts for that final touch. This method lets you enjoy a delectable dessert without the last-minute rush!
Italian Chocolate Tart Variations
Feel free to explore these delightful twists and substitutions to make your Italian Chocolate Tart truly your own!
-
Gluten-Free: Substitute all-purpose flour with a gluten-free flour blend to enjoy this tart without the gluten.
-
Nutty Flavor: Add 100 g of finely chopped nuts like hazelnuts or almonds to the crust for an extra crunch and flavor dimension. The combination of chocolate and nuts is simply divine!
-
Boozy Addition: For an adult twist, stir in a tablespoon of your favorite liqueur, like espresso or orange, into the filling for enhanced depth and sophistication.
-
Fruity Filling: Mix in 100 g of pureed berries or orange zest with the melted chocolate for a fresh, fruity explosion of taste. This variation can brighten up the rich chocolate decadence.
-
Vegan Option: Replace the eggs and milk with plant-based alternatives, using aquafaba for the egg and coconut milk for a creamy filling without any dairy.
-
Spicy Kick: Add a pinch of cayenne pepper or chili powder to the chocolate mixture for a surprising hint of heat that perfectly complements the sweetness.
-
Choco-Coffee Infusion: Incorporate a tablespoon of instant coffee or espresso powder in the chocolate filling to enhance the chocolate flavor, making it richer and more indulgent.
-
Coconut Milk: Swap the milk for full-fat coconut milk, creating a creamy filling with a subtle coconut flavor that pairs wonderfully with chocolate.
Experiment with these variations to discover your favorite combinations, and don’t forget to share your delicious creations! You've already mastered this tart, so why not expand your culinary journey? Pair it with our easy homemade whipped cream or serve with fresh berries for a refreshing contrast. Happy baking!
Italian Chocolate Tart Recipe FAQs
How do I choose the right chocolate for my Italian Chocolate Tart?
Absolutely! For the richest flavor, I recommend using high-quality dark chocolate with at least 70% cocoa content. This type of chocolate will provide a deep, intense chocolate flavor that perfectly complements the creamy filling. Avoid chocolate chips, as they often have stabilizers that may not melt smoothly.
How should I store my Italian Chocolate Tart?
You can store your tart at room temperature covered with plastic wrap or in an airtight container for up to 1 day for the best fresh taste. For longer storage, keep it in the refrigerator for up to 3 days. Just remember, while the tart may lose some crispness in the fridge, it will still be decadently delicious!
Can I freeze my Italian Chocolate Tart?
Certainly! To freeze your tart, wrap it tightly in plastic wrap followed by a layer of aluminum foil to prevent freezer burn. This method will keep it fresh for up to 1 month. When you're ready to enjoy it again, thaw it in the refrigerator overnight. If you crave that warm chocolatey goodness, gently reheat it in a preheated oven at 150°C (300°F) for 10-15 minutes.
What should I do if my tart crust is too flaky or crumbly?
If your crust turns out too crumbly, it may be due to insufficient moisture. Next time, ensure that your butter is cold and well-integrated into the flour mixture. You can also lightly add an extra egg yolk to help bind the dough better, which will make it more pliable for rolling.
Is this Italian Chocolate Tart suitable for people with dietary restrictions?
Great question! This tart contains eggs and dairy, making it unsuitable for those with egg or dairy allergies. However, you can make egg replacements using flaxseed meal or applesauce, and substitute dairy milk with almond or oat milk to cater to different dietary needs. For gluten-free options, use a gluten-free flour blend instead of all-purpose flour.
Decadent Italian Chocolate Tart That Melts in Your Mouth
Ingredients
Equipment
Method
- In a large mixing bowl, whisk together flour, granulated sugar, cocoa powder, and salt until well blended.
- Add cold butter into the dry mixture and blend until it resembles coarse crumbs.
- Mix in 1 egg and 1 egg yolk until a dough forms; refrigerate for at least 30 minutes.
- Preheat the oven to 180°C (350°F) while the dough chills.
- Roll out the chilled dough on a floured surface to fit a 9-inch tart pan.
- Transfer the dough into the tart pan, press gently, trim edges, and prick the bottom.
- Bake the tart shell for about 15 minutes until edges are lightly browned.
- Heat milk in a saucepan until just below boiling.
- Whisk together egg yolks, granulated sugar, and flour in a separate bowl until smooth.
- Slowly pour the heated milk into the egg mixture, whisking constantly. Return to saucepan.
- Stir over medium heat until mixture thickens, about 5-7 minutes.
- Remove from heat, add dark chocolate, and stir until melted.
- Pour the chocolate filling into the cooled tart shell.
- Refrigerate for at least 30 minutes to set.
- Garnish with chocolate shavings or nuts, slice, and serve.


Leave a Reply