
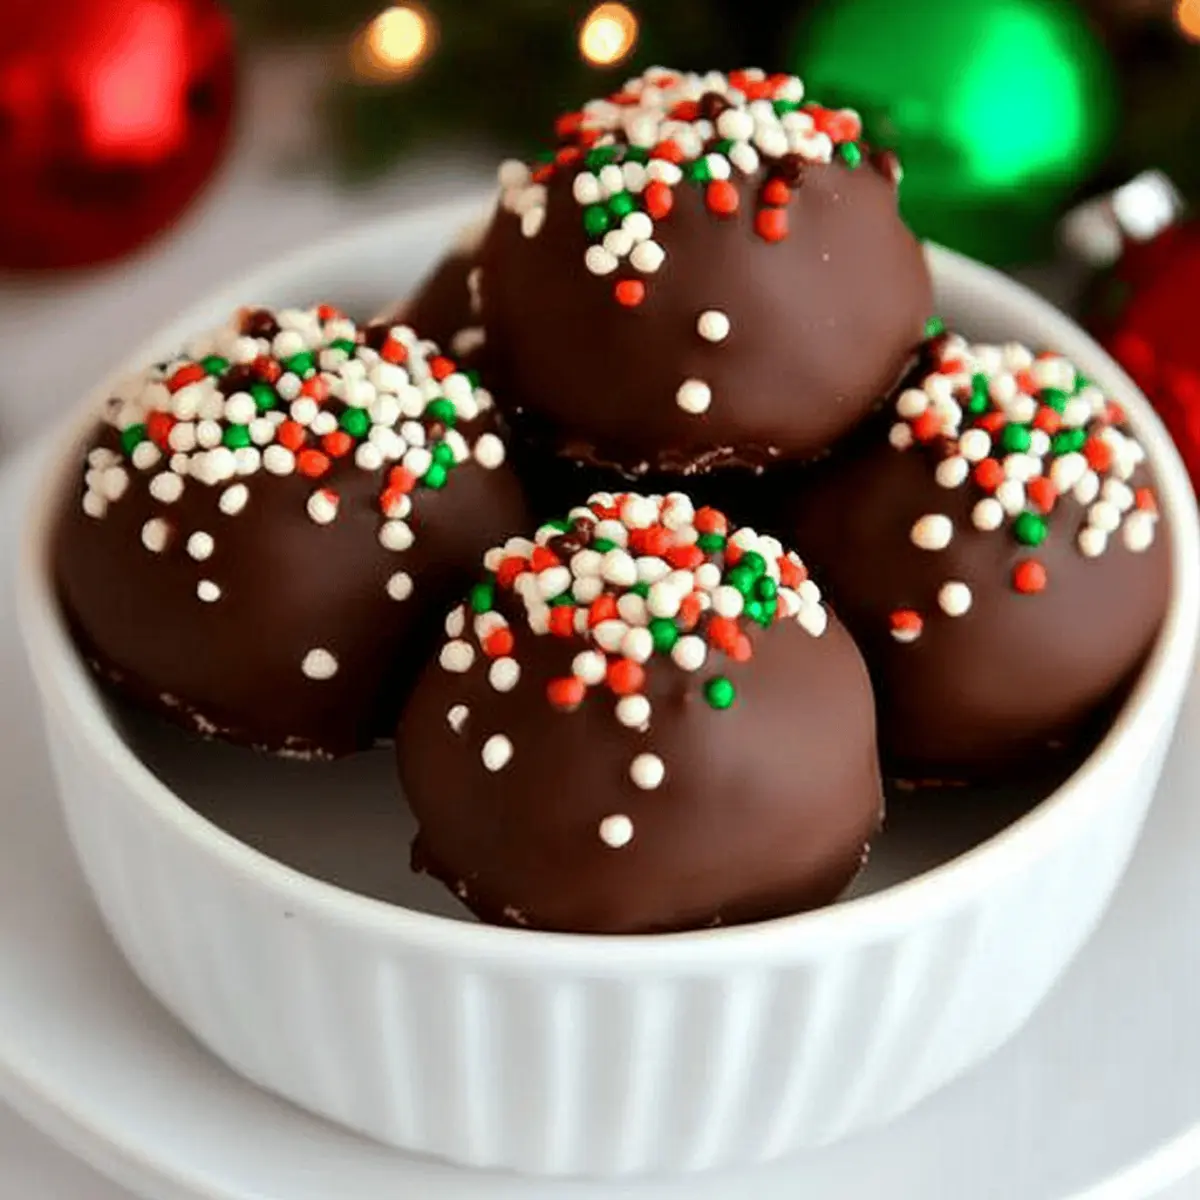
The kitchen filled with the heavenly aroma of warm cinnamon reminds me of holiday gatherings, where laughter mingles with the sweet scent of treats. One of my all-time favorite delights to whip up during this festive season is No-Bake Holiday Oreo Truffles. With only a handful of ingredients, these truffles are a quick and easy dessert that your loved ones will adore. Not only do they require no baking—a lifesaver for busy schedules—but they also offer a decadent treat that’s perfect for cookie exchanges and holiday parties. Just picture the joy on your friends' faces as they pop one of these creamy, chocolate-covered bites into their mouths! Ready to impress the crowd with a sweet surprise? Let’s dive into this delicious recipe.
Why You’ll Love No-Bake Oreo Truffles
Effortless Steps: The magic lies in how simple these truffles are to make! With just a few ingredients and minimal effort, you can whip up a delightful treat anyone would love.
Decadent Flavor: The combination of rich cream cheese and crushed Oreos creates a luscious filling, perfectly complemented by a chocolate coating. Just imagine that heavenly taste melting in your mouth!
No Baking Required: Save time and hassle this holiday season because these truffles require no oven. You’ll have a delicious dessert without the stress of traditional baking!
Versatile Treat: Whether you need a sweet gift for a neighbor or a crowd-pleasing snack for your holiday party, these truffles are sure to impress. Pair them with other festive delights like Sugared Cranberries for a well-rounded treat spread!
Fun for All Ages: Get the family involved in the fun! Rolling and dipping in chocolate is a perfect activity for both kids and adults, creating lasting memories together this season.
Show-Stopping Presentation: Once you finish coating the truffles, you can easily customize their look with decorative sprinkles. They’re not just delicious—they’re also a visual treat!
No Bake Holiday Oreo Truffles Ingredients
• Create these delightful no-bake holiday treats with ease!
For the Truffles
- 16 Oreo cookies – You'll need crushed Oreos to form the base of these delicious bites.
- 8 oz cream cheese – Soften the cream cheese for a smooth, creamy texture that binds the truffles together.
- 1 teaspoon vanilla extract – A splash of vanilla enhances the overall flavor, making each bite irresistible.
For the Coating
- 1 ½ cups chocolate chips – Melted chocolate chips provide a rich, decadent exterior that perfectly complements the sweet filling.
- Sprinkles or crushed Oreos (optional) – Adding a fun topping gives your truffles a festive flair and makes them even more appealing.
These No Bake Holiday Oreo Truffles are sure to be a hit at your holiday gatherings, combining simplicity and deliciousness into one delightful treat! Enjoy the magic of baking without the oven this season!
Step-By-Step Instructions for No Bake Holiday Oreo Truffles
Step 1: Prepare the Oreo Mixture
Start by crushing 16 Oreo cookies into fine crumbs using a food processor or a resealable bag and a rolling pin. In a mixing bowl, combine these crumbs with 8 oz of softened cream cheese and 1 teaspoon of vanilla extract. Use a spatula to blend until the mixture is smooth and well combined, looking like a thick, cookie dough-like consistency. This forms the scrumptious filling for your No Bake Holiday Oreo Truffles.
Step 2: Shape the Truffles
Once your mixture is ready, take a tablespoon of the filling and roll it between your palms to form a smooth ball, about 1 inch in diameter. Set each formed ball on a parchment-lined baking sheet or a plate. Continue this process until all the filling is shaped into truffles. The visual cue here is a nice round shape with a smooth surface, which will add to the truffle’s appeal.
Step 3: Chill the Truffles
Place the prepared truffle balls in the refrigerator for approximately 30 minutes. This chilling time helps firm them up, making them easier to coat with chocolate later. You’ll know they’re ready when they feel firm to the touch. This step ensures that each bite of your No Bake Holiday Oreo Truffles is rich and satisfying.
Step 4: Melt the Chocolate
While your truffles are chilling, melt 1 ½ cups of chocolate chips in a microwave-safe bowl. Heat the chocolate in 30-second intervals, stirring in between until it’s completely smooth and glossy. Make sure not to overheat; this process usually takes about 1.5 to 2 minutes. A smooth, melted chocolate coating is essential for wrapping your delicious truffles.
Step 5: Coat the Truffles
Once melted, take each chilled truffle and dip it carefully into the chocolate, using a fork to roll it around until fully coated. Let the excess chocolate drip off gently back into the bowl. Then, place the chocolate-covered truffles back on the parchment-lined sheet. This step ensures that each No Bake Holiday Oreo Truffle is enveloped in a rich, chocolatey shell, ready for their decorative finish.
Step 6: Add Toppings
Before the chocolate coating sets, feel free to sprinkle some crushed Oreos or festive sprinkles on top of your truffles for an extra splash of holiday cheer. This visual cue of vibrant toppings not only enhances their appearance but also adds a bit of extra texture to each truffle. Allow them to sit at room temperature until the chocolate is completely firm.
Step 7: Store or Serve
Once fully set, transfer your No Bake Holiday Oreo Truffles to an airtight container. They can be stored in the refrigerator for up to one week, or kept at room temperature for shorter periods. These truffles can be enjoyed immediately or made in advance for a festive gathering, making them a delicious and convenient holiday treat to share with family and friends!
How to Store and Freeze No Bake Holiday Oreo Truffles
Fridge: Store your truffles in an airtight container in the refrigerator for up to one week, keeping them deliciously fresh and ready to enjoy at a moment's notice.
Freezer: For extended storage, freeze the truffles in a single layer on a baking sheet until solid. Then, transfer them to a freezer-safe container. They can last up to 3 months.
Thawing: To enjoy frozen No Bake Holiday Oreo Truffles, simply transfer them to the fridge for a few hours, or leave them at room temperature for about 30 minutes before serving.
Presentation: If desired, garnish with additional sprinkles or crushed Oreos after thawing for an eye-catching and festive finishing touch!
No Bake Holiday Oreo Truffles Variations
Feel free to get creative and customize your No Bake Holiday Oreo Truffles with these delightful variations!
- Minty Twist: Add ½ teaspoon of peppermint extract to the mixture for a refreshing holiday flavor.
- Nutty Crunch: Mix in ½ cup finely chopped nuts for an added crunch and rich texture in every bite. Walnuts or almonds work wonderfully!
- Gluten-Free: Substitute regular Oreos with your favorite gluten-free cookies for a treat that everyone can enjoy. Gluten-free guests will thank you!
- Dairy-Free: Use vegan cream cheese and dairy-free chocolate chips to make a deliciously dairy-free version without sacrificing flavor.
- Chocolate Drizzle: Once coated, drizzle some melted white chocolate on top for a stunning visual effect and an extra layer of sweetness.
- Cookie Crust: Before rolling into balls, press the mixture into a lined pan for a solid cheesecake-like dessert that can be sliced and served.
- Spiced Up: Incorporate a pinch of cinnamon or nutmeg into the mixture for warm holiday spices. Imagine the comfort of the season infused in every bite!
- Decadent Layering: Layer crushed Oreos and truffle mixture in small cups, topping with whipped cream for a delightful and elegant dessert presentation.
With these variations in mind, your No Bake Holiday Oreo Truffles can be a personalized masterpiece for every holiday gathering. Enjoy mixing and matching flavors, and don’t forget to pair them with other treats like Sugared Cranberries for an extra festive touch!
What to Serve with No Bake Holiday Oreo Truffles
The joy of the holiday season is amplified when you create a delightful dessert spread that perfectly complements your sweet truffles.
-
Sugared Cranberries: These sparkling treats add a tangy burst of flavor that beautifully contrasts with the rich sweetness of the truffles.
-
Candied Maple Cinnamon Walnuts: Their crunchy texture and warm spices provide a lovely balance, making every bite feel festive and cozy.
-
Reindeer Chocolate Covered Strawberries: With a fun and whimsical presentation, these strawberries add a fresh element and will bring smiles to everyone's faces.
-
Hot Chocolate Bar: Transform your dessert into a full experience with a delicious hot chocolate bar, featuring marshmallows, whipped cream, and peppermint sticks.
-
Coffee or Espresso: The rich, bold flavors of coffee can enhance the chocolatey goodness of your Oreo truffles, making for a gourmet pairing.
-
Christmas Cookie Platter: Offer a variety of seasonal cookies alongside your truffles, inviting guests to mix and match delicious treats for a perfect holiday feast. Each cookie will add a different texture and flavor, elevating the dessert experience!
-
Festive Cheese Board: To contrast sweet with savory, a cheese board featuring sharp cheeses, fruits, and nuts can provide a delightful intermission between bites.
-
Sparkling Cider: Raise a toast with some bubbly sparkling cider that ensures everyone remains in high spirits!
Crafting the ideal holiday dessert table is an art, and these pairings will help you create a beautiful and flavorful spread that guests will talk about long after the festivities end.
Make Ahead Options
These No Bake Holiday Oreo Truffles are the perfect treat for busy home cooks looking to save time during the holiday rush! You can prepare the truffle mixture and chill it up to 24 hours in advance; simply follow the first three steps and keep your shaped truffles covered in the refrigerator. For best results, coat them in chocolate just before serving to maintain that luscious, smooth finish. If prepared in advance, simply melt your chocolate, dip the chilled truffles, and let them set momentarily—voilà! You’ll have decadent truffles just as delightful as if they were made fresh that day, making your holiday gatherings even sweeter!
Expert Tips for No Bake Holiday Oreo Truffles
• Use Softened Cream Cheese: Ensure the cream cheese is at room temperature for a smoother mixture, making it easier to combine with crushed Oreos.
• Chill for Firmness: Don’t skip the chilling step! Refrigerating the truffle balls for about 30 minutes helps them hold their shape and makes coating them easier.
• Avoid Overheating Chocolate: Melt chocolate chips in short intervals and stir frequently to prevent burning. A smooth, glossy coat is key to delicious No Bake Holiday Oreo Truffles.
• Customize Your Toppings: Get creative! Use festive sprinkles or even crushed peppermint for a holiday twist. This not only enhances appearance but adds texture too.
• Store Properly: Keep your truffles in an airtight container in the fridge. They’ll stay fresh for up to a week, making them a perfect treat for holiday gatherings!
No Bake Holiday Oreo Truffles Recipe FAQs
How do I choose the best Oreos for this recipe?
The classic Original Oreo cookies work perfectly for these truffles. Their creamy filling and rich chocolate cookie base create the ideal flavor combination. You can also experiment with flavored Oreos if you’d like a twist, but I recommend sticking to the classic for that traditional taste!
Can I store No Bake Holiday Oreo Truffles at room temperature?
Absolutely! For short durations, you can keep them at room temperature, but I recommend storing them in the refrigerator for optimal freshness. They’ll stay delicious for about one week in an airtight container in the fridge, or you can enjoy them within 3 days if left out.
What’s the best way to freeze No Bake Holiday Oreo Truffles?
For the best results, freeze your truffles in a single layer on a baking sheet until solid, about 1–2 hours. Then, transfer them to a freezer-safe container, separating layers with parchment paper. They can remain frozen for up to 3 months. When you’re ready to enjoy them, just thaw in the fridge for a few hours or at room temperature for about 30 minutes.
How can I troubleshoot if my chocolate coating won’t stick?
If your chocolate coating isn’t adhering properly, it may be due to the truffles being too warm or wet. Make sure to chill the truffles for the recommended 30 minutes after shaping and before dipping. Additionally, ensure your melted chocolate is properly tempered and not too thick; a smooth consistency will help it adhere well.
Are No Bake Holiday Oreo Truffles safe for those with allergies?
It depends on the specific dietary restrictions! These truffles contain dairy from cream cheese and chocolate, so they're not suitable for vegans or those with lactose intolerance. Always check labels when selecting chocolate chips to ensure they meet any allergy needs, especially for nuts and gluten. If you have anyone with strict dietary restrictions, consider using allergy-friendly alternatives!

Decadent No Bake Holiday Oreo Truffles You’ll Adore
Ingredients
Equipment
Method
- Start by crushing 16 Oreo cookies into fine crumbs using a food processor or a resealable bag and a rolling pin.
- In a mixing bowl, combine the crumbs with 8 oz of softened cream cheese and 1 teaspoon of vanilla extract. Blend until smooth.
- Take a tablespoon of the filling and roll it into a 1-inch ball. Set on a parchment-lined sheet.
- Chill the truffle balls in the refrigerator for about 30 minutes until firm.
- Melt 1 ½ cups of chocolate chips in a microwave-safe bowl, heating in 30-second intervals until smooth.
- Dip each chilled truffle in the melted chocolate until fully coated and place back on the baking sheet.
- Before the coating sets, sprinkle some crushed Oreos or festive sprinkles on top.
- Once set, transfer the truffles to an airtight container. Enjoy or store in the fridge for up to a week.


Leave a Reply