
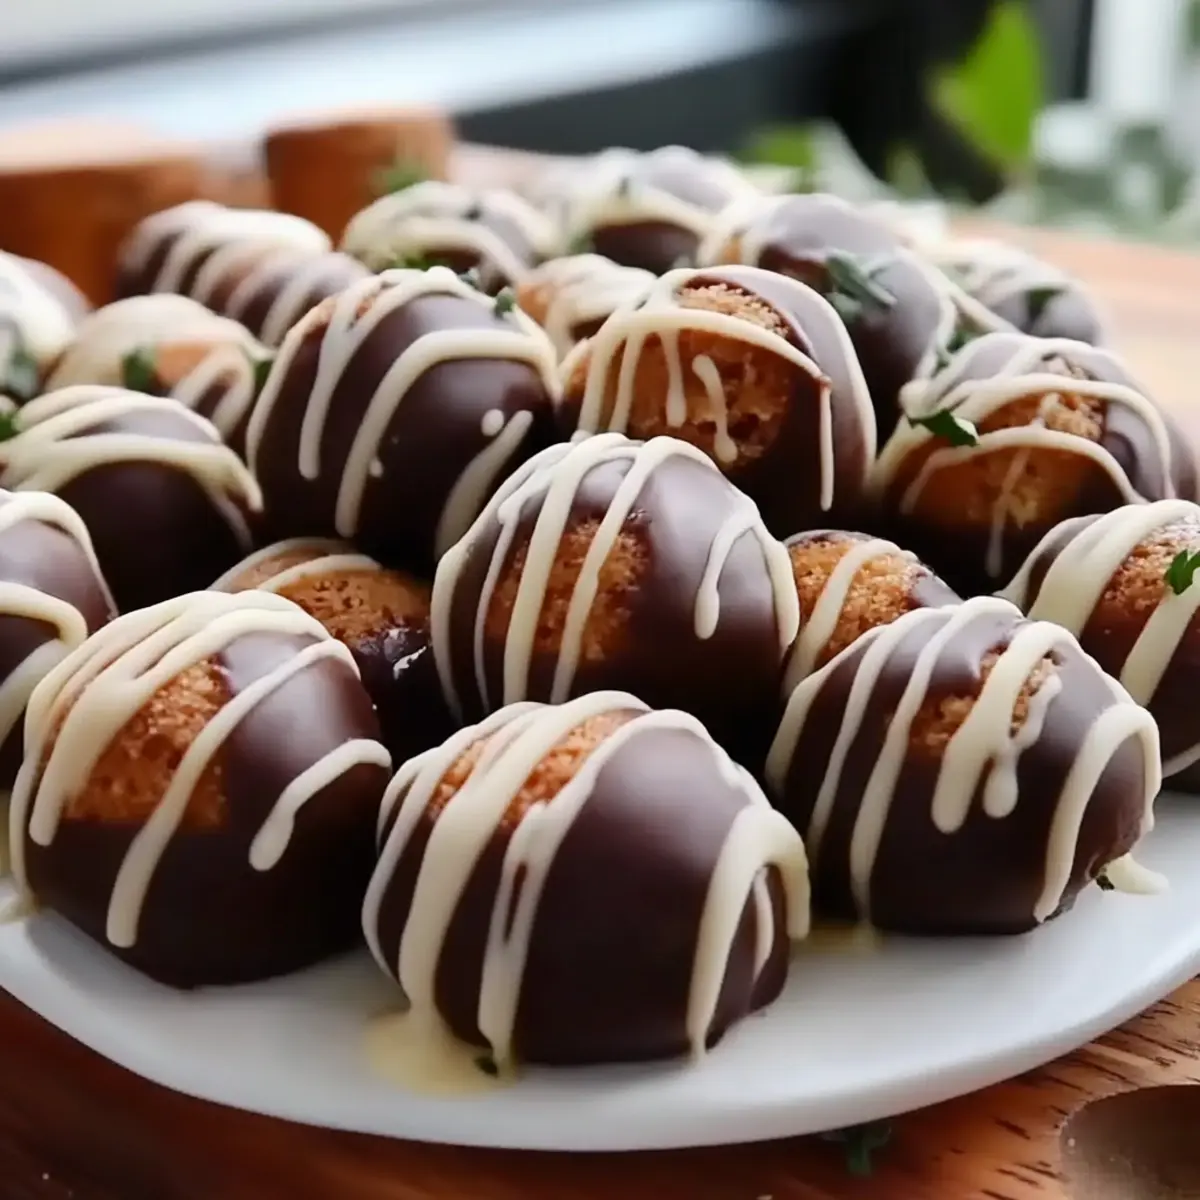
While browsing through my pantry one afternoon, I stumbled upon a forgotten package of Nutter Butter cookies. Suddenly, a lightbulb went off—I could transform these delightful cookies into something extraordinary! That’s how I came to create these irresistible Nutter Butter Truffles, a recipe that requires just 15 minutes of prep and zero baking. Perfect for those busy days when you crave something indulgent yet homemade, these truffles effortlessly combine the beloved flavors of peanut butter and chocolate. Plus, they’re incredibly easy to make, allowing you to whip up a delicious treat that will impress friends and family alike. With just a handful of simple ingredients, you'll craft these little bites of joy that are ready to be devoured. Curious about how these sweet gems come together? Let’s dive into the recipe!
Why Are Nutter Butter Truffles So Irresistible?
Simplicity reigns supreme with this recipe—there’s no baking required, and it takes just 15 minutes to prep! Decadent flavor bursts in every truffle, marrying creamy peanut butter with rich chocolate. Perfect for any occasion, these treats are a crowd-pleaser at parties or a delightful snack at home. Make-ahead magic allows you to prepare them in advance for added convenience. Plus, if you're in the mood for variety, check out our tips on customizing flavors—your taste buds will thank you!
Nutter Butter Truffles Ingredients
Get ready to indulge in the delightful simplicity of Nutter Butter Truffles!
For the Truffles
- Nutter Butter cookies – 16 oz of these delightful cookies form the base and provide a rich, nutty flavor.
- Creamy peanut butter – 1 cup to add that luscious, creamy texture that pairs perfectly with chocolate.
- Powdered sugar – 1 cup to sweeten the mixture and achieve that perfect truffle consistency.
For the Coating
- Chocolate chips – 8 oz for a decadent chocolate coating that brings each truffle to life.
- Coconut oil (optional) – 1 tablespoon helps to thin the chocolate for an even smoother coating.
- Sea salt (for topping, optional) – A sprinkle on top elevates the flavor and balances the sweetness of the Nutter Butter Truffles.
Now that you have the ingredients ready, let the fun begin in transforming these simple items into delightful morsels!
Step‑by‑Step Instructions for Nutter Butter Truffles
Step 1: Crush the Cookies
Begin by crushing the Nutter Butter cookies into fine crumbs. Use a food processor for a quick method, processing until the crumbs are uniform, about 30 seconds. If you don't have a processor, seal the cookies in a zip-top bag and crush them with a rolling pin until finely ground—this may take a minute or two.
Step 2: Create the Filling
In a large mixing bowl, combine the crushed Nutter Butter cookies, creamy peanut butter, and powdered sugar. Mix with a spatula or your hands until the ingredients are well-integrated and a dough-like consistency forms—this should take about 2-3 minutes. The mixture should be thick and sticky, perfect for rolling into balls.
Step 3: Shape the Truffles
With your hands, scoop out small portions of the dough and roll them into 1-inch balls. Place each truffle on a lined baking sheet, ensuring they are spaced apart. This step should take about 5-7 minutes; the truffles should have a smooth surface and hold their shape well.
Step 4: Chill the Truffles
Refrigerate the rolled truffles for about 30 minutes or until firm. This chilling step helps the Nutter Butter Truffles set, making them easier to coat with chocolate later. You'll know they're ready when they feel solid to the touch and slightly firm up.
Step 5: Melt the Chocolate
In a microwave-safe bowl, combine the chocolate chips and coconut oil (if using). Microwave the mixture in 30-second intervals, stirring each time, until it’s completely melted and smooth, which should take about 1-2 minutes total. Make sure there are no lumps; the chocolate should have a glossy sheen.
Step 6: Dip the Truffles
Remove the chilled truffles from the refrigerator. Using a fork, carefully dip each truffle into the melted chocolate, coating it evenly. Let excess chocolate drip off before transferring the coated truffles back to the lined baking sheet—this process should only take a few minutes, but be gentle to maintain their shape.
Step 7: Add Finishing Touches
If desired, sprinkle a pinch of sea salt on top of each chocolate-coated truffle before the chocolate sets. This adds a delightful contrast to the sweetness of the Nutter Butter Truffles and enhances the flavor profile.
Step 8: Final Chill
Refrigerate the truffles for at least one hour until hard. This final chilling ensures that the chocolate coating firms up beautifully and makes the truffles easier to handle. Once they are set, the Nutter Butter Truffles will be ready to serve.
Step 9: Serve and Enjoy
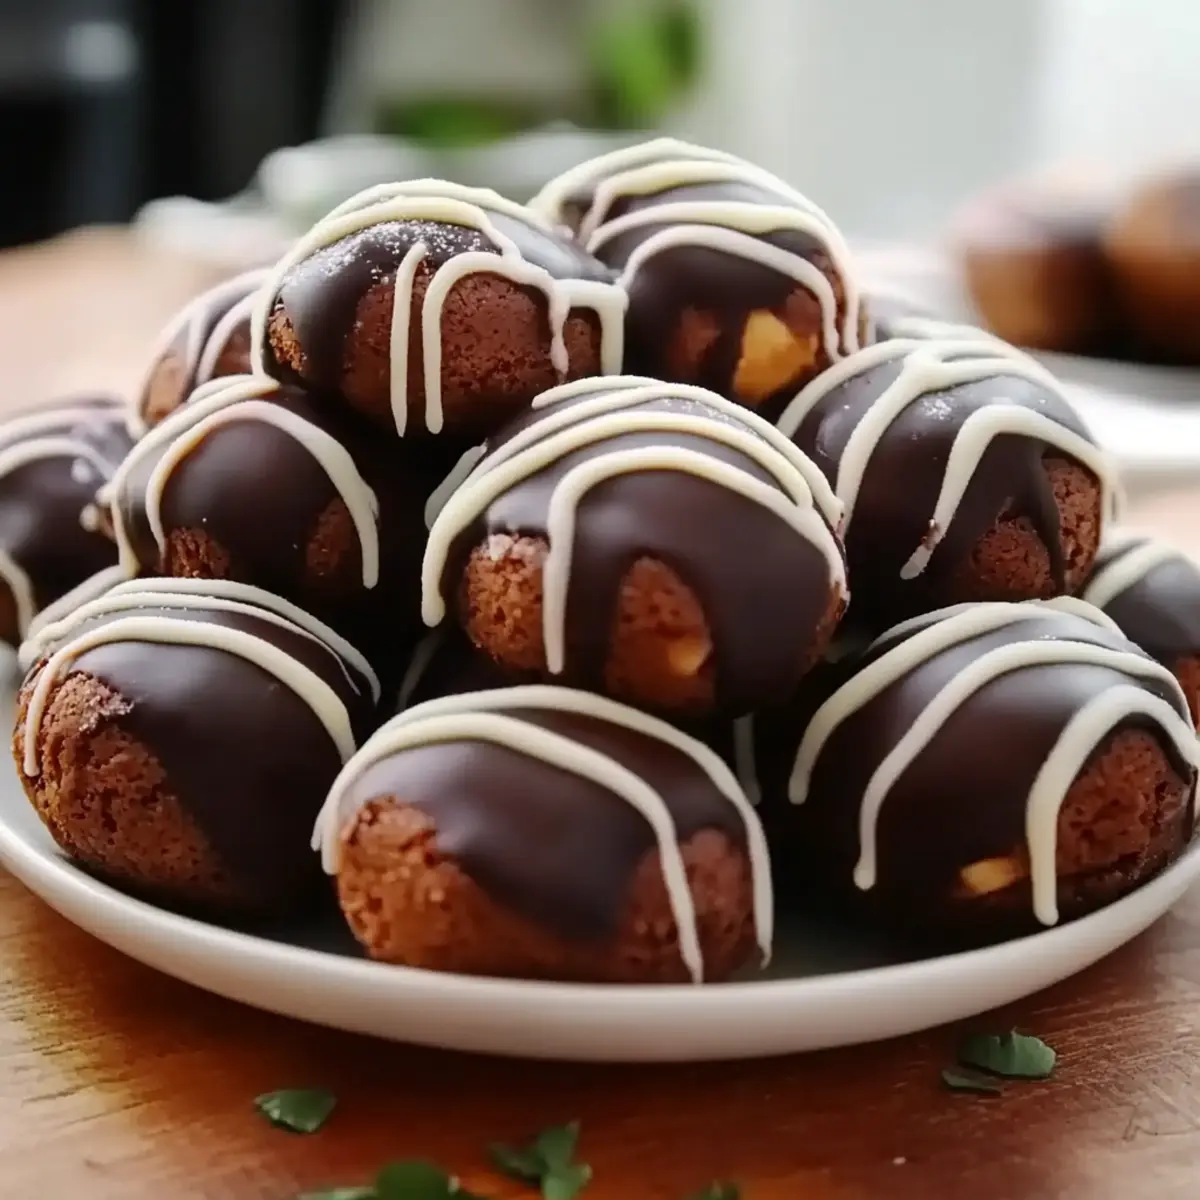
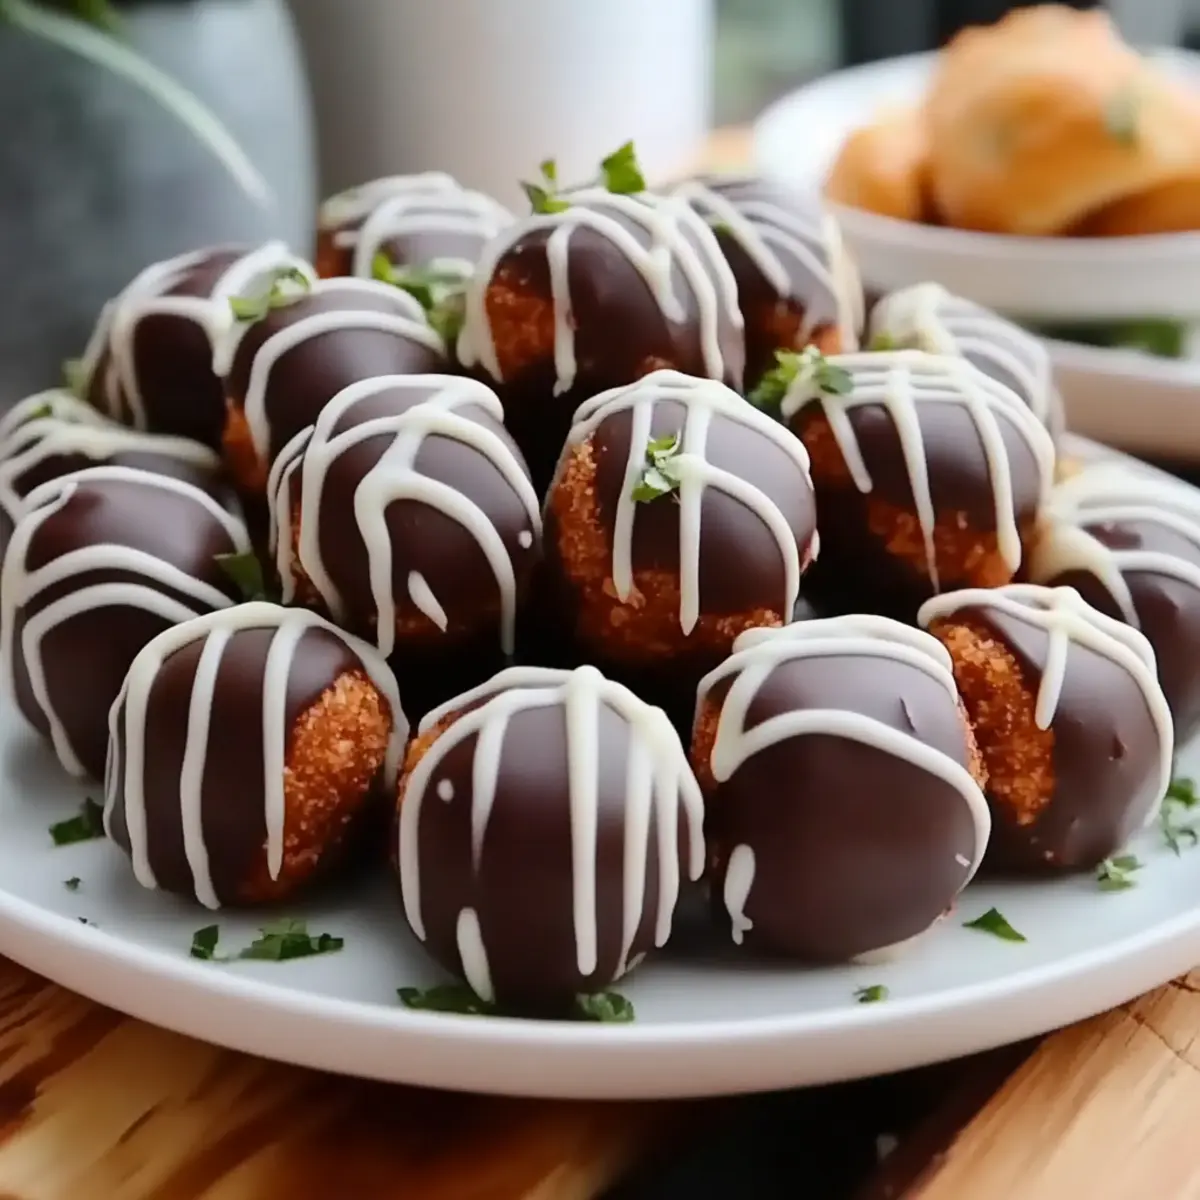
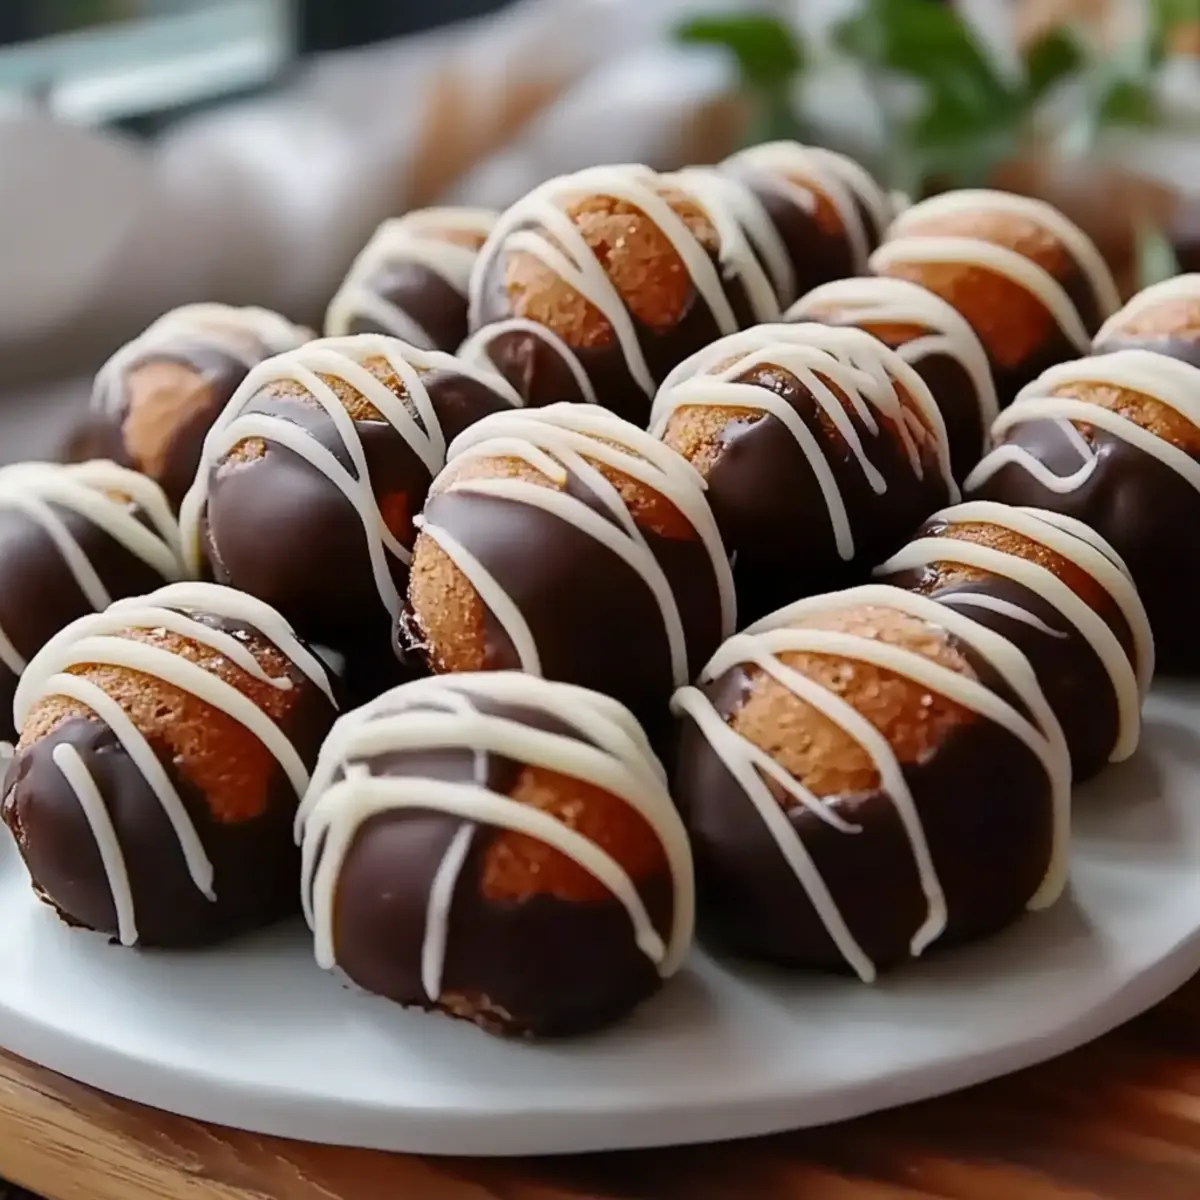
Once hardened, arrange your Nutter Butter Truffles on a serving platter or in a container. They make wonderful treats for gatherings or a delightful snack to enjoy at home. Indulge in these easy, no-bake sweets whenever you need a satisfying treat!
What to Serve with Nutter Butter Truffles
Imagine indulging in sweet moments where every bite transports you to a cozy kitchen filled with the rich aroma of chocolate and peanut butter.
-
Milkshake: A velvety chocolate or vanilla milkshake creates a delightful drink pairing, enhancing the creamy texture of the truffles.
-
Fruit Platter: Fresh berries or sliced apples provide a refreshing contrast, balancing the sweetness while adding a pop of color to your dessert spread. The tartness of the berries complements the rich flavor profile perfectly.
-
Coffee: A warm cup of coffee or espresso pairs beautifully, as the bitterness enhances the sweetness of the Nutter Butter Truffles, making for a comforting treat any time of day.
-
Ice Cream: A scoop of vanilla or peanut butter ice cream adds a creamy, indulgent element that pairs perfectly with the chocolatey truffles, creating a decadent dessert experience.
-
Chocolate Dipped Pretzels: The salty crunch of chocolate-dipped pretzels offers a delightful textural contrast, heightening the flavor profile of your dessert assembly.
-
Nutty Granola Bars: Add some wholesome crunch with nutty granola bars that echo the flavors in the truffles and provide a bite-sized snack that’s easy to enjoy.
-
Sparkling Water: A refreshing glass of sparkling water with a hint of lemon or lime cleanses the palate between bites, ensuring each Nutter Butter Truffle is as enjoyable as the first.
-
Red Wine: If you're feeling fancy, pairing these truffles with a glass of rich red wine can create a sophisticated touch, adding depth to your dessert experience.
-
Chocolate Sauce: Serve with a drizzle of chocolate sauce for those who can’t resist turning up the chocolate factor even higher—perfect for dipping!
Storage Tips for Nutter Butter Truffles
Room Temperature: Store uncoated truffles in an airtight container at room temperature for up to 3 days to maintain their flavor and texture.
Fridge: Keep the Nutter Butter Truffles in an airtight container in the fridge for up to 1 week, which helps retain their decadent taste and firm texture.
Freezer: For longer storage, freeze the truffles in a single layer on a baking sheet, then transfer them to an airtight container or freezer bag. They can last for up to 3 months.
Reheating: No need to reheat! Simply let frozen truffles thaw in the fridge for a few hours or at room temperature for about 30 minutes before enjoying.
Make Ahead Options
These Nutter Butter Truffles are perfect for meal prep, allowing you to create delightful treats in advance! You can prepare the truffle mixture and roll them into balls up to 24 hours ahead of time. Simply refrigerate the uncoated truffles on a lined baking sheet until you're ready to finish them. When you're ready to serve, melt the chocolate and dip each truffle, then let them chill for about an hour for that perfect firm coating. To maintain their delicious quality, store any leftover truffles in an airtight container in the refrigerator for up to 3 days—just as indulgent as the day they were made! Enjoy the convenience of having these sweet bites ready to go, making your busy days a little sweeter.
Nutter Butter Truffles Variations
Feel free to explore these delightful twists on Nutter Butter Truffles for a truly personalized treat!
- Nut-Free: Substitute peanut butter with sunflower seed butter for an equally creamy and nutty flavor lacking allergens.
- Sugar-Free: Use a sugar substitute like erythritol in place of powdered sugar for a guilt-free indulgence. The result? Just as satisfying but kinder to your waistline!
- Dark Chocolate: Swap out milk chocolate for dark chocolate chips for a richer, more intense flavor. The bittersweet notes of dark chocolate elevate these truffles to gourmet status.
- Crunchy Texture: Add mini chocolate chips or crushed nuts to the truffle mixture for extra crunch. This little twist introduces delightful texture alongside the smoothness of the truffles.
- Flavor Infusion: Mix in a splash of vanilla extract or a sprinkle of cinnamon to the truffle filling for a warm, aromatic hint that complements the peanut butter beautifully.
- Spicy Kick: Incorporate a pinch of cayenne pepper or chili powder into the chocolate coating for an unexpected spicy twist that tantalizes the taste buds in the most delightful way.
- Holiday Variations: During festive seasons, add crushed peppermint candies or orange zest for a seasonal flavor boost. This not only brings delightful taste but also festive flair!
- Miniature Delights: Instead of traditional-sized truffles, roll the mixture into smaller bite-sized balls for a fun, poppable treat. Perfect for parties or as a sweet snack anytime!
Feel inspired to create your perfect Nutter Butter Truffles, and don't forget, if you're looking to expand your dessert repertoire, check out Nutter Butter-inspired recipes for even more delicious ideas!
Expert Tips for Nutter Butter Truffles
-
Crushing Cookies: Use a food processor for uniform crumbs; if using a zip-top bag, ensure they’re finely crushed to avoid lumps in your truffles.
-
Mixing Consistency: Aim for a thick dough by combining the Nutter Butter cookies, peanut butter, and powdered sugar well. This prevents truffles from falling apart later.
-
Chilling Time: Allow the truffles to chill until firm for easier dipping. If they feel too soft, give them extra time in the fridge before coating with chocolate.
-
Chocolate Melting: Melt chocolate in short intervals and stir each time to prevent overheating. Smooth consistency ensures a lovely coating for your Nutter Butter Truffles.
-
Salt Topping: A sprinkle of sea salt elevates the flavor beautifully. Just a pinch adds a contrast that makes each bite even more delicious!
-
Storing Truffles: Keep your Nutter Butter Truffles in an airtight container in the refrigerator for up to a week—if they last that long!
Nutter Butter Truffles Recipe FAQs
What is the best way to select Nutter Butter cookies for this recipe?
Absolutely! Look for Nutter Butter cookies that are fresh and free from any visible damage. Check the packaging date to ensure you're using cookies that haven't expired. Ideally, they should be firm with no cracks or dark spots.
How should I store Nutter Butter Truffles?
For maximum flavor and texture, store your Nutter Butter Truffles in an airtight container in the refrigerator for up to one week. Keep them separated with parchment paper if you're stacking layers to avoid sticking. If you notice any moisture or condensation, it's best to consume them within a few days, as they can lose their delightful texture.
Can I freeze Nutter Butter Truffles, and if so, how?
Yes, indeed! Freezing is a great option if you want to enjoy them later. Start by placing the truffles in a single layer on a lined baking sheet and freeze until firm, about 1-2 hours. Once firm, transfer them to an airtight container or a freezer bag, and they can last for up to three months! Just remember to thaw them in the refrigerator for a few hours before enjoying.
What should I do if my truffles are too soft to hold their shape?
Very! If your truffles seem too soft after mixing, don't worry—this is quite common! Simply place them back in the refrigerator for an additional 15-30 minutes to firm up. If they remain too soft, consider adding a little more powdered sugar to help with consistency. Just mix gently until you achieve a dough-like texture that's easier to shape.
Are there any dietary considerations I should be aware of for these truffles?
Absolutely! If you're serving these truffles to guests, be sure to inform them that the recipe contains peanut butter and chocolate, which are common allergens. Consider offering a nut-free version by substituting sesame seed butter or sunflower seed butter as an alternative to peanut butter if allergies are a concern. They're just as tasty and will ensure everyone can enjoy these delicious bites!
How can I customize the flavor of my Nutter Butter Truffles?
Oh, the possibilities are endless! For a fun twist, consider adding a teaspoon of vanilla extract or a dash of cinnamon to the filling for additional flavor depth. You can also roll the coated truffles in crushed nuts, coconut flakes, or even sprinkles to add a fresh texture and a pop of color. The more the merrier in creating your own version of these Nutter Butter Truffles!
Decadent Nutter Butter Truffles to Satisfy Your Sweet Tooth
Ingredients
Equipment
Method
- Crush the Nutter Butter cookies into fine crumbs using a food processor or zip-top bag.
- Combine the crushed cookies, creamy peanut butter, and powdered sugar in a mixing bowl; mix until a dough forms.
- Scoop and roll the mixture into 1-inch balls; place them on a lined baking sheet.
- Chill the truffles in the refrigerator for about 30 minutes until firm.
- Melt chocolate chips and coconut oil in a microwave-safe bowl in 30-second intervals, stirring until smooth.
- Dip each chilled truffle into the melted chocolate using a fork, letting excess drip off before placing them back on the baking sheet.
- Sprinkle sea salt on top of each truffle if desired before the chocolate sets.
- Refrigerate the truffles for at least one hour until the chocolate has hardened.
- Serve the truffles on a platter or in a container and enjoy!


Leave a Reply