
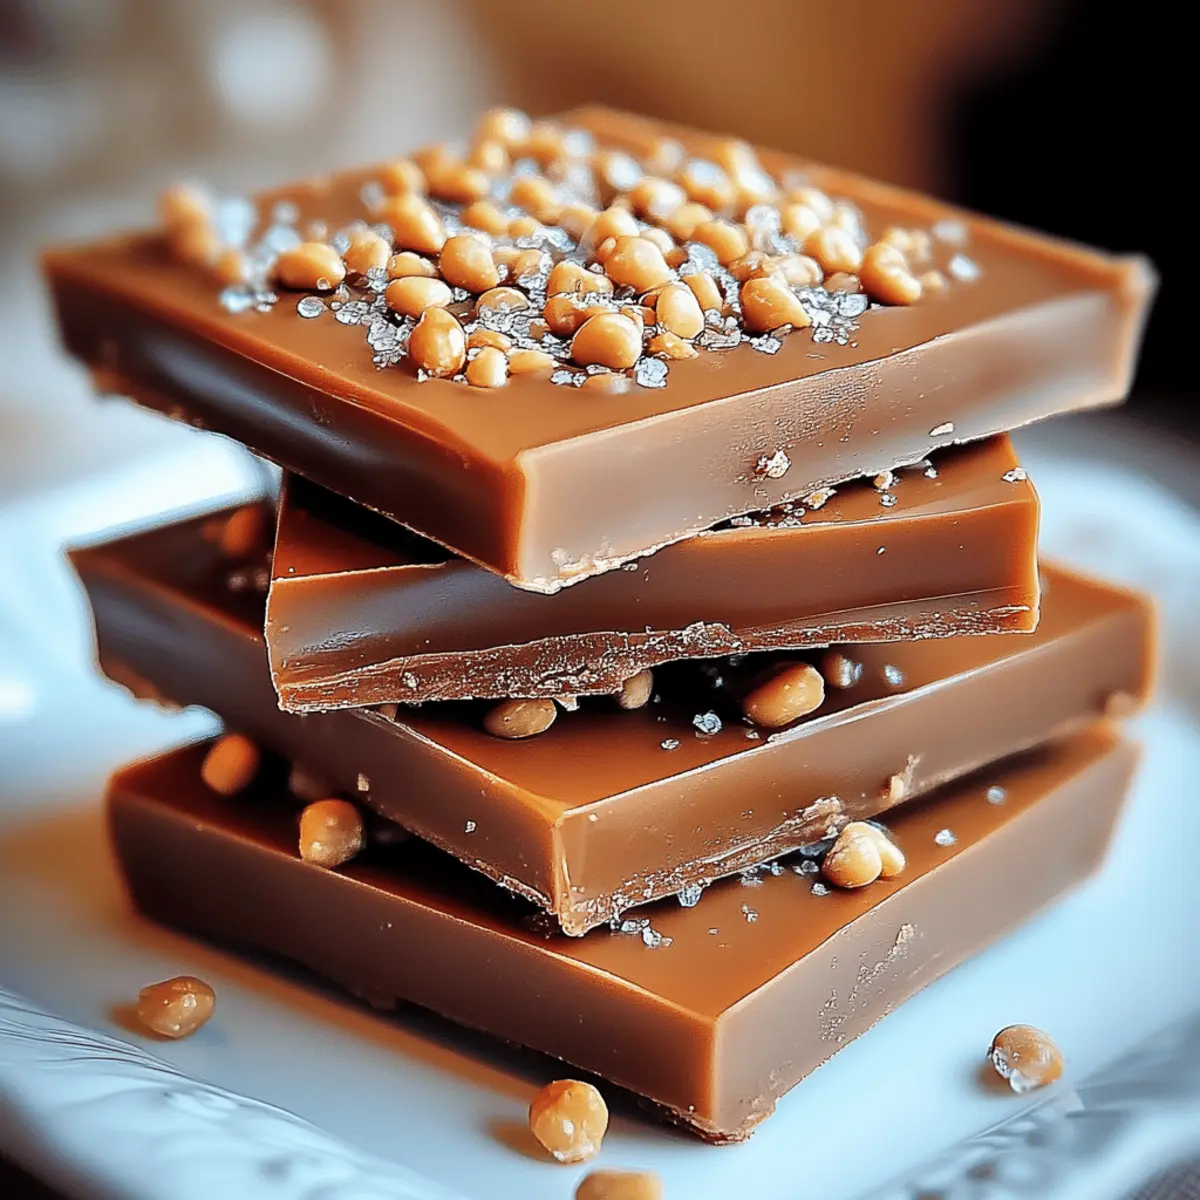
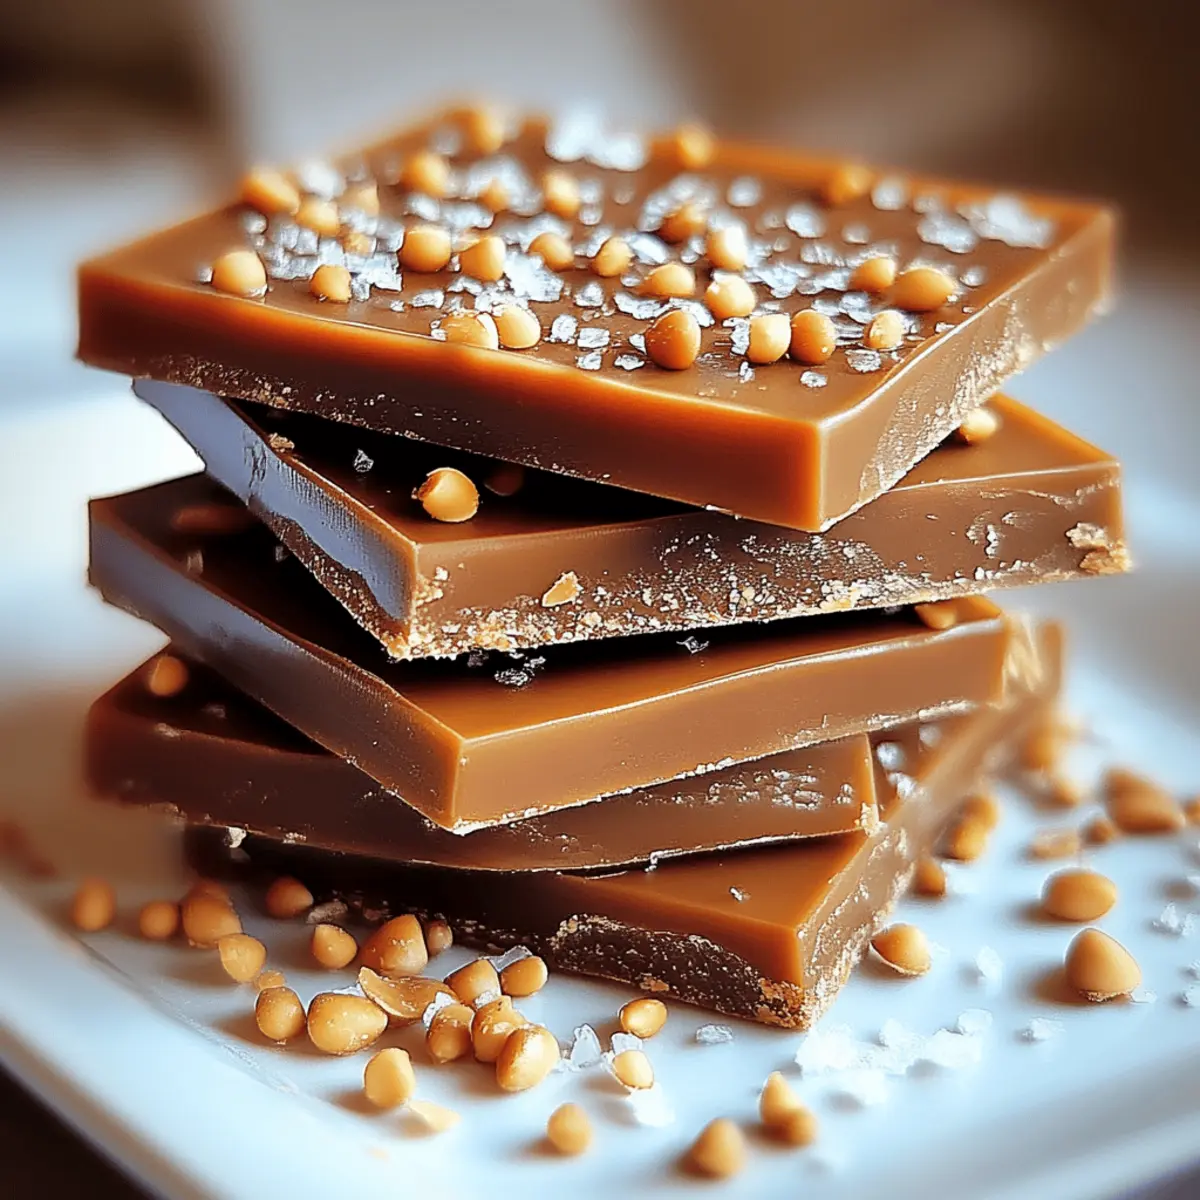
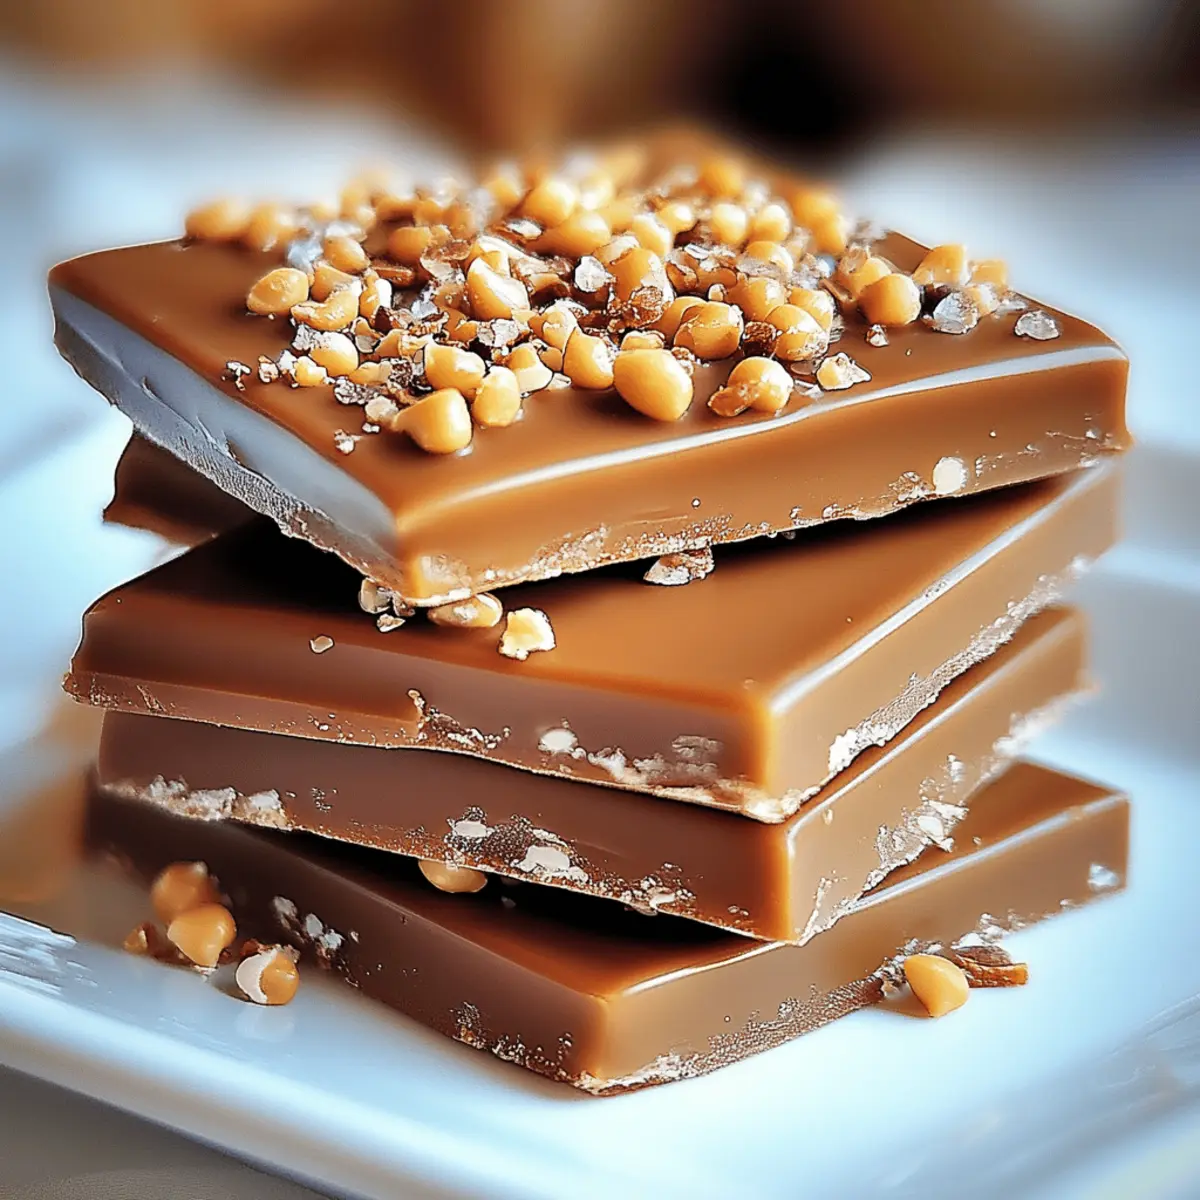
As I was stirring a bubbling pot of sweetness, a delightful wave of nostalgia washed over me. It’s hard to believe something as simple as homemade toffee can capture so many cherished moments. This Better Than Anything Toffee recipe is not only a guaranteed crowd-pleaser, but it also transforms a few everyday ingredients into something truly spectacular. With a quick prep time and a flavor that’ll have your friends asking for seconds, this treat is a must-try. Whether you’re looking to impress guests or simply craving a comforting homemade snack, this toffee hits all the right notes. Ready to dive into a world of crunchy, buttery bliss? Let’s get started!

What Makes This Toffee So Irresistible?
Decadent sweetness: Each bite offers a rich, buttery flavor that melts in your mouth, creating a sweet escape from everyday life.
Quick & Simple: With just a few pantry staples, you can whip up this delicious treat in no time—perfect for those unexpected cravings!
Crowd-pleaser: Whether for parties or family gatherings, this toffee is sure to impress and have everyone coming back for more.
Endless Variations: Feel free to experiment with different nuts or even layer in some flaky sea salt for a salty-sweet twist!
Nostalgic: This recipe brings back childhood memories of homemade treats, making it a heartwarming addition to any dessert table.
After making this toffee, you might want to check out my Sticky Toffee Pudding for another delightful sweet treat that’s sure to impress!
Toffee Ingredients
• Ready to create your own sweet masterpiece? Here’s what you’ll need:
For the Toffee Base
- Unsalted butter – 1 cup (2 sticks); using unsalted lets you control the saltiness perfectly.
- Granulated sugar – 1 cup; this sweetener is key for achieving that intense toffee flavor.
- Salt – ¼ teaspoon; a pinch enhances the sweetness and balances the flavors.
- Vanilla extract – 1 teaspoon; adds a delightful warmth that complements the toffee beautifully.
- Water – 2 tablespoons; helps dissolve the sugar during cooking.
For Topping
- Semi-sweet or milk chocolate chips – 1 cup; choose semi-sweet for a richer taste or milk chocolate for a creamier finish.
- Chopped nuts (pecans, walnuts, or almonds) – ½ cup; these add a delightful crunch and nutty flavor to your toffee.
With these simple yet delicious ingredients, you're just moments away from enjoying your homemade toffee!
Step‑by‑Step Instructions for Toffee
Step 1: Prepare Your Baking Surface
Start by lining a 9×13-inch baking dish or a baking sheet with parchment paper or a silicone mat. This step ensures your toffee won’t stick and makes cleanup a breeze. Once lined, gather all your ingredients and have them measured and ready to go—this will make your cooking process smooth and enjoyable!
Step 2: Melt the Ingredients
In a heavy-bottomed saucepan, combine the unsalted butter, granulated sugar, salt, and water. Place the saucepan over medium heat, stirring constantly. Keep an eye on the mixture as it bubbles and transforms, reaching a deep golden brown color. You're aiming for about 300°F (hard crack stage) after 10-15 minutes—this is crucial for achieving the perfect toffee texture.
Step 3: Pour the Toffee Mixture
Once your toffee mixture reaches the hard crack stage, promptly remove it from the heat. Carefully pour the hot toffee onto the prepared baking sheet, using a spatula to spread it evenly. Be cautious, as the mixture will be very hot! Allow it to settle for about 1-2 minutes, just enough for the surface to firm slightly before adding the chocolate.
Step 4: Add the Chocolate
While the toffee is still warm, sprinkle 1 cup of chocolate chips evenly across the top. Let them sit for about 2 minutes; the warmth will melt the chocolate just enough for easy spreading. After this brief wait, take a spatula and gently spread the melted chocolate to create a smooth, even layer over your toffee.
Step 5: Sprinkle the Nuts
With the chocolate still melted, sprinkle ½ cup of your chopped nuts over the surface. Whether you choose pecans, walnuts, or almonds, this adds delightful crunch and flavor. Gently press the nuts into the chocolate with your fingers to help them adhere, ensuring every bite of your toffee is nutty and satisfying.
Step 6: Cool and Set
Let the toffee sit at room temperature for about 2 hours to cool completely. If you’re short on time, you can speed up the process by chilling the toffee in the fridge for approximately 30 minutes. Once it’s completely set and hardened, you're ready to break it into delicious, bite-sized pieces and indulge in your delightful homemade toffee!
Make Ahead Options
These Better Than Anything Toffee pieces are perfect for meal prep and can save precious time during busy days! You can prepare the toffee itself up to 3 days in advance. Simply follow steps 1 through 5, then allow the toffee to cool completely before transferring it to an airtight container to keep it fresh (this prevents moisture and ensures it stays crunchy). When ready to enjoy, simply break it into pieces, and serve. If you plan to serve the toffee within 24 hours, you can leave it at room temperature; otherwise, refrigerate it to maintain its quality. With these simple make-ahead tips, you’ll have a sweet treat ready at your fingertips whenever cravings strike!
Expert Tips for Making Toffee
-
Perfect Temperature: Always use a candy thermometer to reach the hard crack stage at 300°F. If you don't, your toffee might not harden properly.
-
Stir Constantly: Prevent burning by stirring continuously as the mixture bubbles. This ensures even cooking and allows the sugar to dissolve smoothly.
-
Watch the Color: When the toffee turns a deep golden brown, it's ready. Keep a close eye on it to avoid going too far and burning the mixture.
-
Use Fresh Ingredients: Fresher nuts and chocolate chips enhance the flavor and texture of your toffee. Stale ingredients can lead to a lackluster result.
-
Cooling Time: Allow enough cooling time for your toffee to set completely. Rushing this step might result in a chewy texture instead of the desired crunch.
-
Storage Tip: Store your toffee in an airtight container to keep it fresh. This helps preserve the delightful crunch we all love in homemade toffee.
What to Serve with Better Than Anything Toffee
Indulging in this sweet, crunchy treat opens up a world of delightful pairings to complete your dessert experience.
-
Vanilla Ice Cream: A scoop of creamy vanilla ice cream perfectly balances the crunchy toffee with its smooth texture. The combination is a classic that never disappoints.
-
Fresh Berries: Juicy strawberries, raspberries, or blueberries add a refreshing burst of flavor that complements the richness of the toffee. Their tartness provides a lovely contrast!
-
Coffee or Espresso: Sipping on a warm cup of coffee or a rich espresso enhances the toffee's sweet notes. The bitterness of the coffee beautifully balances the sugary richness.
-
Chocolate-Dipped Fruit: For a double dose of decadence, serve the toffee alongside chocolate-dipped fruits. The sweet and creamy chocolate pairs delightfully with the crunchy toffee and fresh, juicy fruit.
-
Creamy Cheesecake: A slice of cheesecake brings texture and a tangy flavor that cuts through the sweetness of the toffee, making for a delightful dessert duo.
-
Nutty Trail Mix: A crunchy, nutty trail mix adds texture and flavor variety, enhancing the toffee experience with an additional layer of nuttiness that complements the chopped nuts used in the toffee.
-
Chilled Milk: A tall glass of cold milk is a simple yet loveable companion to toffee. It washes down the sweetness while creating a nostalgic childhood feel.
-
Whipped Cream: Topping each serving with a dollop of whipped cream adds an airy, light element that enhances the richness of the toffee and brings everything together beautifully.
How to Store and Freeze Toffee
Room Temperature: Store your homemade toffee in an airtight container at room temperature for up to 2 weeks to keep it fresh and crunchy.
Fridge: If you prefer to keep it longer, pop it in the fridge for up to 1 month. Just ensure it's covered to avoid absorbing any odors.
Freezer: For long-term storage, freeze the toffee in a single layer on a baking sheet for an hour, then transfer to a freezer-safe container. It can last up to 3 months frozen.
Reheating: To enjoy your toffee, simply let it sit at room temperature for about 30 minutes after freezing. There's no need to heat it; enjoy the delightful crunch as is!
Toffee Variations & Substitutions
Feel free to let your creativity shine as you make this delightful toffee recipe, customizing it to suit your cravings!
-
Nut-Free: Omit the nuts for a classic toffee flavor or replace them with crispy rice cereal for added crunch without allergens.
-
Dark Chocolate: Swap semi-sweet chocolate for dark chocolate to enjoy a richer flavor that balances beautifully with the sweetness of the toffee.
-
Salted Caramel: Drizzle a bit of salted caramel over the melted chocolate for an indulgent twist that enhances those sweet and salty vibes.
-
Spicy Kick: Add a pinch of cayenne pepper to the sugar mixture as it cooks for a surprising spicy twist that contrasts with the sweet.
-
Coconut Bliss: Sprinkle unsweetened shredded coconut over the melted chocolate before it sets, adding a tropical flavor enhancer that's simply irresistible.
-
Maple Flavor: Substitute maple syrup for half of the granulated sugar to infuse your toffee with a warm, comforting flavor that’ll remind you of cozy autumn days.
-
Coffee Infusion: Stir in a teaspoon of instant coffee granules to the mixture while melting for a delightful coffee flavor—a perfect pairing with chocolate.
-
Festive Spices: During the holidays, add ground cinnamon or nutmeg for a warm, festive touch that will fill your kitchen with delightful aromas.
After you’ve treated yourself with this amazing toffee, you may want to try my Simple Chocolate Fudge recipe for another sweet escape that’s just as easy to whip up!
Better Than Anything Toffee Recipe FAQs
How do I choose the best ingredients for my toffee?
Absolutely! The freshness of your ingredients directly affects the flavor of your toffee. Seek out good-quality unsalted butter that should be creamy and have a pleasant smell. For your chocolate chips, semi-sweet chocolate offers a rich contrast to the sweetness of the toffee. When selecting nuts, make sure they are fresh with no dark spots or rancid odor. This little effort will elevate your toffee from good to irresistible!
How should I store my homemade toffee?
To keep your toffee at its best, store it in an airtight container at room temperature where it can maintain its delightful crunch for up to 2 weeks. If you live in a humid environment, you might consider placing it in the fridge for longer storage, up to 1 month, but ensure it's covered to prevent it from soaking up any strange smells.
Can I freeze my toffee for later enjoyment?
Very much so! To freeze your homemade toffee, first spread it out in a single layer on a baking sheet and freeze it for an hour to harden. Once firm, transfer it to a freezer-safe container or a resealable plastic bag. It can last up to 3 months in the freezer. When you're ready to enjoy, simply let it sit at room temperature for about 30 minutes. There's no need for reheating!
What should I do if my toffee isn’t hardening properly?
If your toffee doesn’t seem to be setting as expected, it's likely that it hasn’t reached the hard crack stage of 300°F. Use a candy thermometer to check the temperature accurately. If it's still soft after cooling, reheat it gently in a saucepan and allow it to reach that magic temperature again before pouring it out to cool. Ensure you stir constantly to avoid any burning.
What if someone has a nut allergy? Can I still make this toffee?
The more the merrier! If you're making this delightful treat for someone with a nut allergy, simply omit the nuts altogether or substitute with seeds like sunflower seeds for added crunch without the allergens. The toffee will still be delicious and satisfying without compromising on taste!
Decadent Toffee That Outshines All Your Sweet Cravings
Ingredients
Equipment
Method
- Start by lining a 9×13-inch baking dish or a baking sheet with parchment paper or a silicone mat.
- In a heavy-bottomed saucepan, combine the unsalted butter, granulated sugar, salt, and water over medium heat, stirring constantly.
- Once your toffee mixture reaches the hard crack stage, remove it from the heat and pour it onto the prepared baking sheet.
- While the toffee is still warm, sprinkle 1 cup of chocolate chips evenly across the top, let them sit for about 2 minutes, then spread the melted chocolate.
- Sprinkle ½ cup of your chopped nuts over the surface and gently press them into the chocolate.
- Let the toffee sit at room temperature for about 2 hours to cool completely.


Leave a Reply