
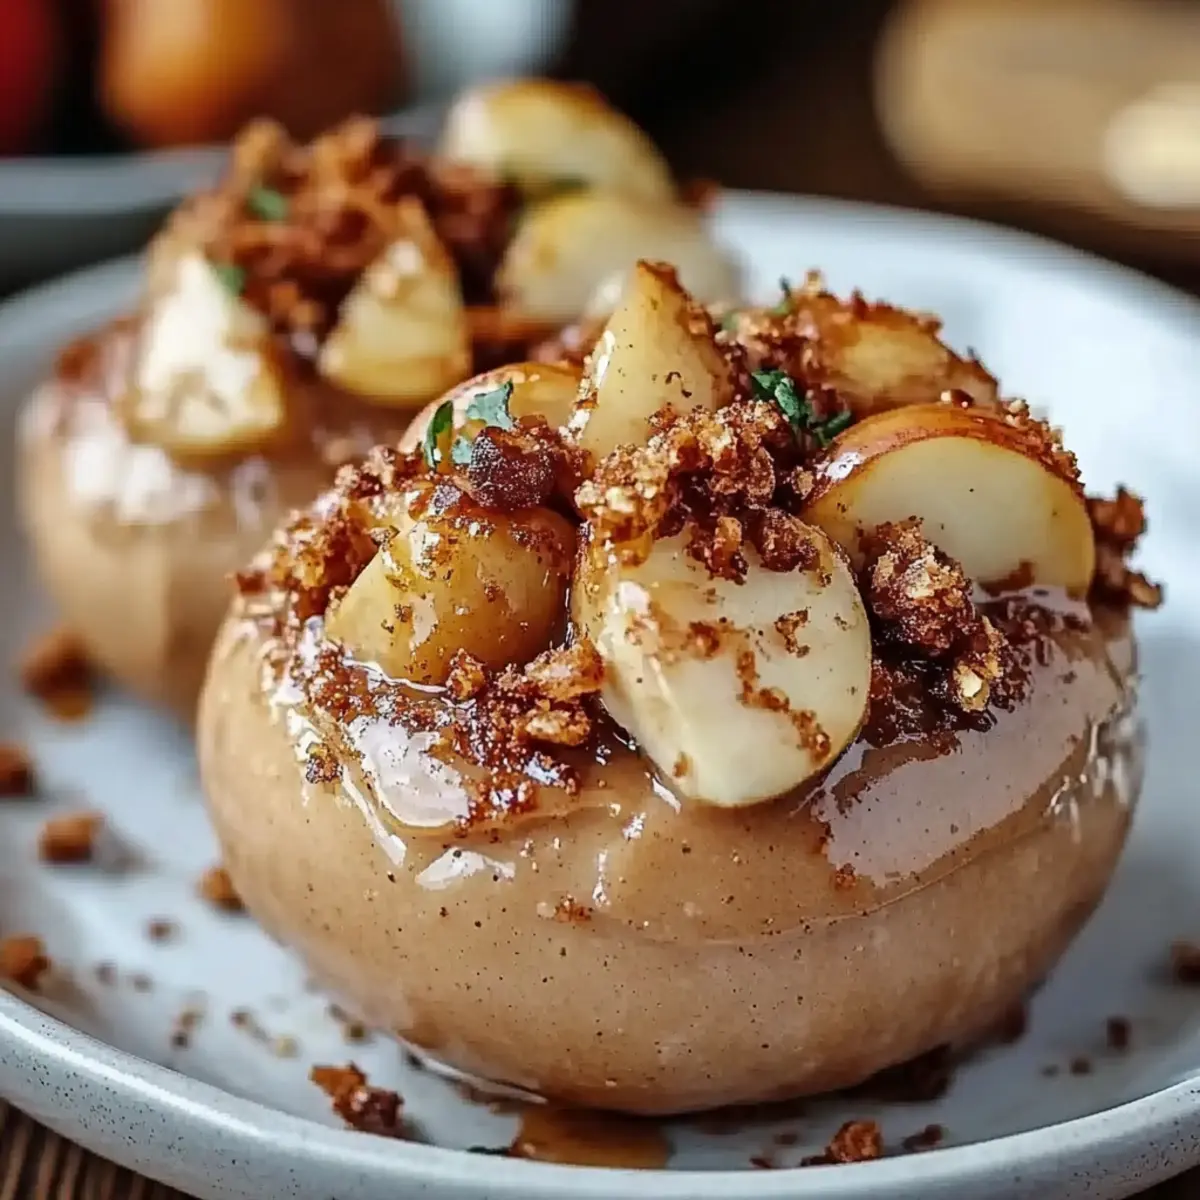
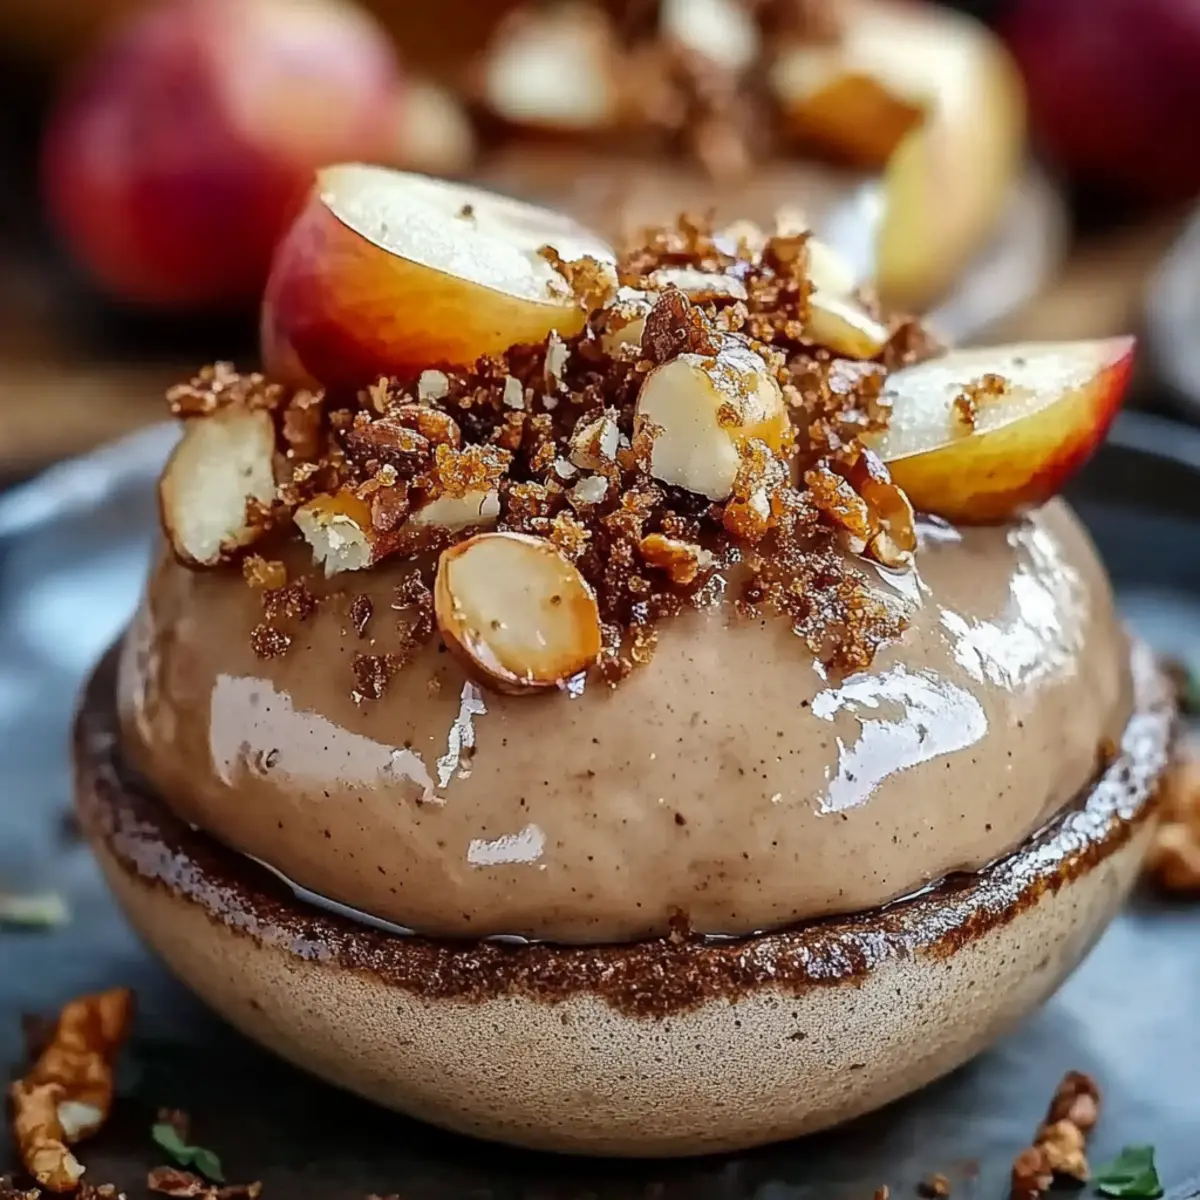
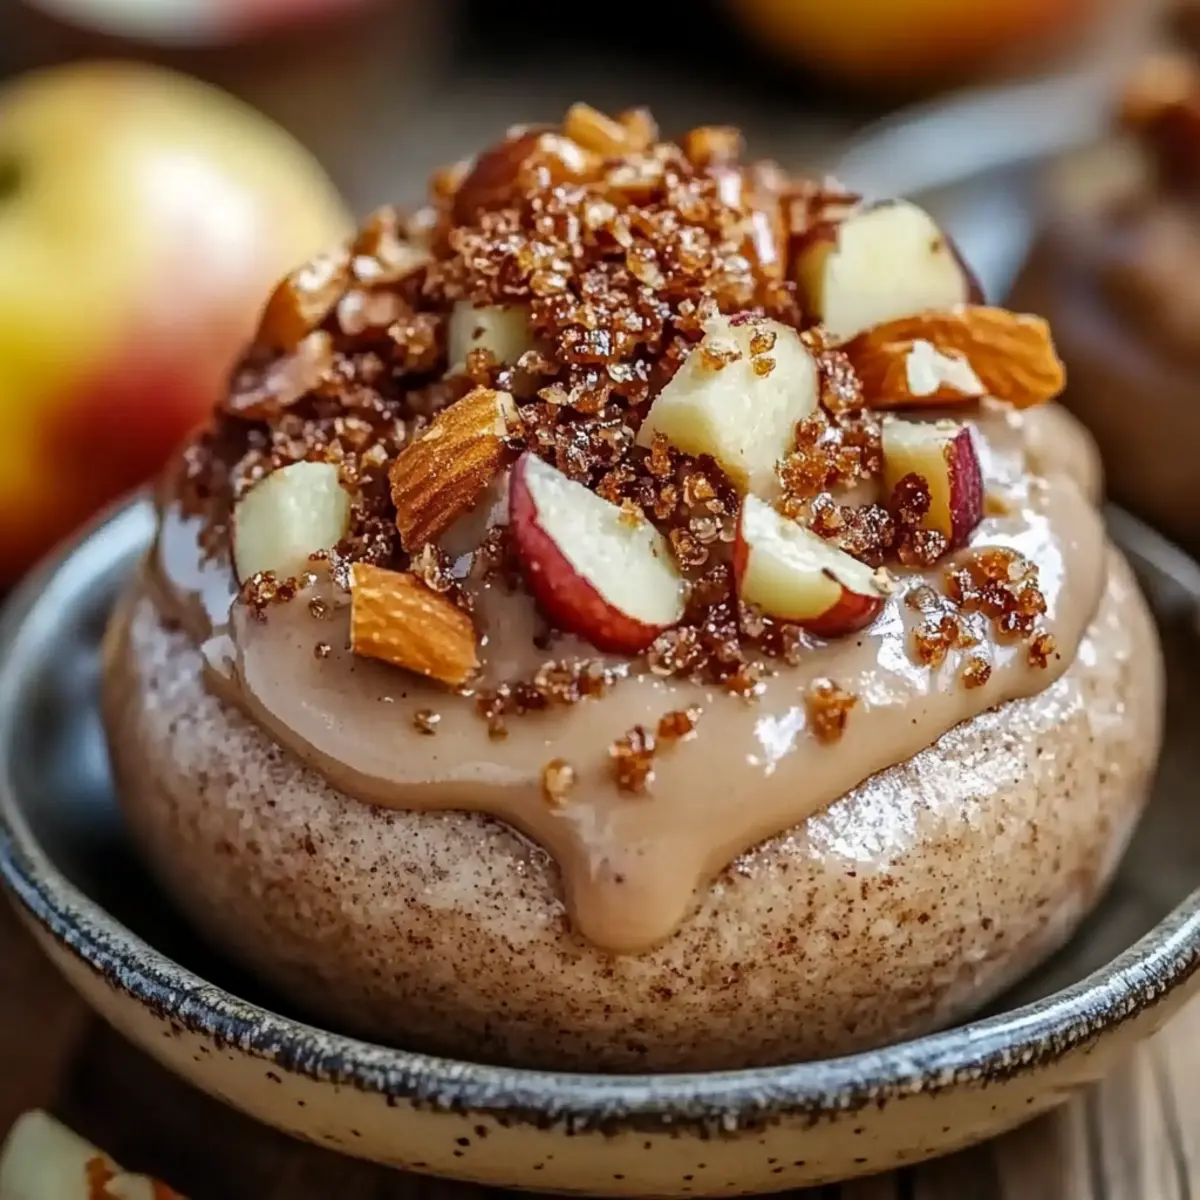
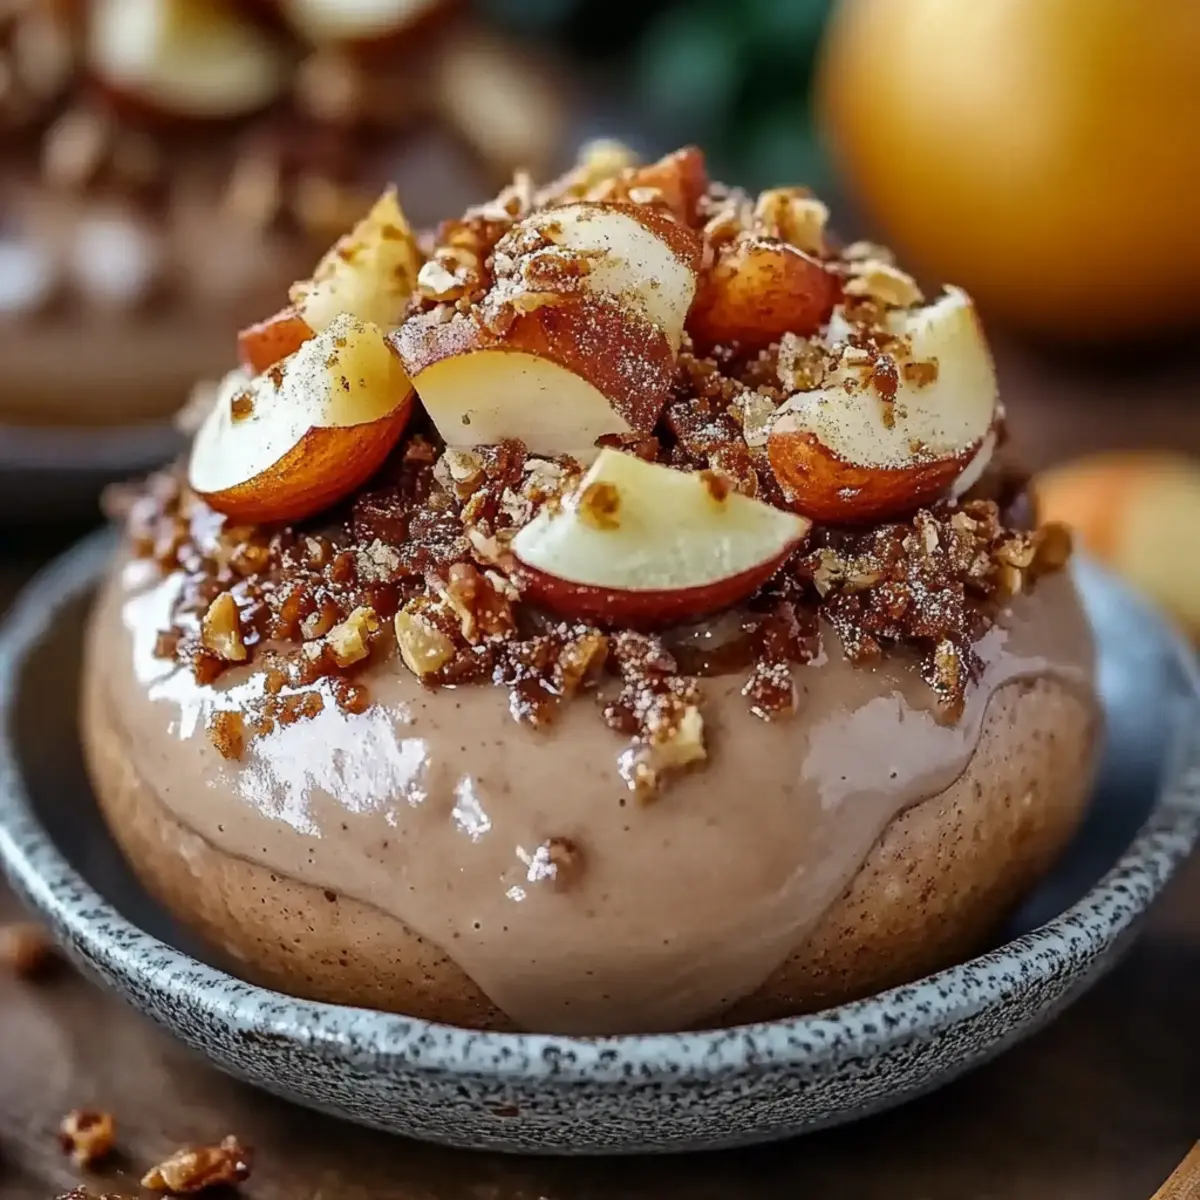
As the crisp autumn air rolls in, I find myself daydreaming about sweet treats that warm the heart. One recipe that has become a delightful staple in my kitchen is Apple Pie Truffles. These irresistible little bites capture the essence of classic apple pie in a fun and innovative way. With just a quick prep time and no need for an oven, these truffles are perfect for anyone looking to impress guests or satisfy a snack craving. They combine creamy goodness with the vibrant flavors of apples and spices, all wrapped in rich chocolate. Trust me, the moment you take a bite, you’ll be transported to memories of family gatherings and cozy evenings. Ready to indulge in a little slice of nostalgia? Let's dive in!
Why are Apple Pie Truffles a must-try?
Indulgent Flavors: These truffles marry the warm spices of classic apple pie with rich chocolate, creating a decadent treat that’s sure to delight everyone.
No-Bake Easy: Forget the oven—this no-bake recipe is perfect for busy cooks wanting to whip up something special without the fuss.
Perfect for Sharing: With 24 servings, these truffles are ideal for gatherings, parties, or just satisfying your sweet tooth. They’re especially great for those cozy evenings when a little indulgence is just what you need.
Versatile Options: You can customize them with different chocolate coatings or add nuts for an extra crunch. If you're looking for more easy dessert ideas, check out my chocolate coconut truffles that are sure to impress!
Apple Pie Truffles Ingredients
For the Apple Filling
• Apples – 2 cups should be peeled, cored, and diced for a chewy yet tender texture.
• Granulated Sugar – ½ cup adds the perfect sweetness to balance the tartness of the apples.
• Lemon Juice – 1 tablespoon brightens the flavors and prevents browning of the apples.
• Ground Cinnamon – 1 teaspoon infuses a warm, cozy aroma reminiscent of fall.
• Ground Nutmeg – ¼ teaspoon adds a slightly sweet, nutty flavor that elevates the apple filling.
For the Truffle Mixture
• Graham Cracker Crumbs – 2 cups provide an easy, no-bake component reminiscent of pie crust.
• Cream Cheese – 8 oz, softened, brings creaminess and tang that perfectly complements the apple filling.
For the Coating
• Milk Chocolate – 1 cup melted coats the truffles in a luscious layer, bringing everything together and making them irresistible.
These Apple Pie Truffles are a delightful treat that invites warmth and joy, making them a perfect addition to any occasion!
Step‑by‑Step Instructions for Apple Pie Truffles
Step 1: Cook the Apple Filling
In a medium saucepan, combine the diced apples, granulated sugar, lemon juice, ground cinnamon, and nutmeg. Cook over medium heat for about 10 minutes, stirring occasionally, until the apples are soft and slightly translucent. The aroma will fill your kitchen, hinting at the deliciousness to come.
Step 2: Cool the Mixture
Remove the saucepan from heat and allow the apple mixture to cool completely, which should take around 20 minutes. You can speed up the cooling process by transferring it to a mixing bowl. Once cool, you’ll notice the apples have absorbed the spices, creating a delightful filling for your Apple Pie Truffles.
Step 3: Combine Ingredients
In a large mixing bowl, combine the cooled apple mixture with the softened cream cheese and graham cracker crumbs. Mix thoroughly until all ingredients are well incorporated and a dough-like consistency forms. The mixture should be slightly sticky and fragrant, perfect for rolling into truffle shapes.
Step 4: Chill the Mixture
Cover the mixing bowl with plastic wrap and place it in the refrigerator to chill for about 30 minutes. This step helps the truffle mixture firm up, making it easier to scoop and roll later. Don’t skip this step; it’s crucial for shaping your Apple Pie Truffles!
Step 5: Shape the Truffles
Once chilled, scoop out small portions of the mixture and roll them into balls, about an inch in diameter. Place each ball on a baking sheet lined with parchment paper. You'll want to work quickly but gently, ensuring the truffles are compact and smooth for a lovely finish.
Step 6: Refrigerate Again
After shaping all the truffles, return the baking sheet to the refrigerator for an additional 30 minutes to set. This extra chilling time will help the truffles hold their form when you coat them in chocolate, making for a more delightful bite.
Step 7: Melt the Chocolate
In a microwave-safe bowl, melt the milk chocolate in 30-second increments, stirring between each interval until fully melted and smooth. Be cautious not to overheat the chocolate; it should have a shiny, creamy texture that will easily coat your Apple Pie Truffles.
Step 8: Coat the Truffles
Carefully dip each chilled truffle into the melted chocolate, ensuring they are fully coated. Use a fork to lift them out, tapping off any excess chocolate before returning them to the parchment-lined baking sheet. This step adds a luscious, sweet layer to the already delicious Apple Pie Truffles.
Step 9: Let the Chocolate Set
Allow the chocolate coating to set at room temperature or place the truffles in the fridge for about 15 minutes. Once the chocolate is firm to the touch, your Apple Pie Truffles are ready to be served! These bites of nostalgia should be a treat for any occasion.
Tips for the Best Apple Pie Truffles
Chill Thoroughly: Ensure you chill the truffle mixture for at least 30 minutes. This step makes rolling much easier and ensures a better texture.
Don’t Overheat Chocolate: When melting the milk chocolate, do it in small increments. Overheating can cause it to seize, ruining the smooth coating for your Apple Pie Truffles.
Compacting Matters: When rolling the truffles, make sure to compact the mixture well. Loose truffles may fall apart during chocolate coating.
Customize Wisely: Feel free to mix in chopped nuts or different spices to the apple filling. Just remember that the balance of flavors is key to keeping that classic apple pie taste.
How to Store and Freeze Apple Pie Truffles
Fridge: Keep your Apple Pie Truffles in an airtight container in the fridge for up to 1 week. This helps maintain their freshness and delightful texture.
Freezer: For longer storage, freeze the truffles in a single layer on a baking sheet, then transfer to a freezer-safe container or bag for up to 3 months.
Reheating: If frozen, allow them to thaw in the fridge overnight before enjoying. There's no need to reheat, as these treats are best enjoyed cold!
Extra Tip: Always ensure the truffles are completely cooled and set before storing, minimizing moisture that can affect their quality.
Make Ahead Options
These Apple Pie Truffles are a fantastic choice for meal prep enthusiasts! You can prepare the apple filling and mix it with cream cheese and graham cracker crumbs up to 24 hours in advance—just store it in an airtight container in the refrigerator to keep it fresh. Once you’re ready to finish, simply chill the mixture for about 30 minutes, shape, and coat the truffles in chocolate as directed. If you’d like to make them even earlier, the rolled but uncoated truffles can be refrigerated for up to 3 days. Just ensure they're tightly wrapped to maintain their quality, and coat them in chocolate before serving for a just-as-delicious treat that will save you time on busy weeknights!
What to Serve with Apple Pie Truffles
As you indulge in these delightful bites, think about building a meal that enhances their cozy flavor profile.
-
Vanilla Ice Cream: A scoop of creamy vanilla ice cream drizzled with caramel adds a delightful contrast to the rich chocolate coating.
-
Warm Cinnamon Apples: These tender apples echo the flavors of the truffles, creating a comforting and nostalgic pairing that's sure to please.
-
Nutty Shortbread Cookies: The buttery crunch of shortbread complements the creamy texture of the truffles while adding an extra layer of flavor.
-
Coffee or Chai Latte: Sipping on a warm coffee or spiced chai balances the sweetness, creating an inviting atmosphere perfect for sweet indulgence.
-
Autumn Fruit Salad: A mix of fresh apples, pears, and grapes adds a refreshing element that brightens the plate and contrasts beautifully with the rich truffles.
-
Hot Chocolate: Pairing these truffles with a mug of rich hot chocolate creates an indulgent experience that feels like a warm hug on a chilly day.
These combinations elevate your experience, making every bite of the Apple Pie Truffles even more satisfying and the perfect addition to any gathering!
Apple Pie Truffles Variations
Feel free to mix things up and make these truffles your own delightfully unique creation!
-
Dairy-Free: Swap cream cheese for vegan cream cheese and use dark chocolate instead of milk chocolate for a plant-based treat.
-
Nutty Twist: Incorporate chopped walnuts or pecans into the apple mixture for a delightful crunch that complements the soft truffles.
-
Spice it Up: Add a pinch of cayenne or chili powder to the apple filling for a surprising kick that will excite your taste buds.
-
Coconut Magic: Roll the truffles in shredded coconut instead of graham cracker crumbs for a tropical flair that enhances the sweetness.
-
Caramel Drizzle: Drizzle melted caramel on top of the coated truffles for an extra layer of flavor that adds sweetness and decadence.
-
Flavor Infusion: Substitute the apples for pears or peaches to create a fruity variation that still captures the essence of comfort.
-
Mini Truffles: Roll the mixture into smaller bites to create mini truffles, ideal for party platters or satisfying tiny cravings.
-
S'mores Style: Mix in some crushed chocolate graham crackers and marshmallows for a fun s'mores-inspired twist that is sure to impress!
For more creative treats, don't miss my chocolate coconut truffles that highlight a similar delightful approach!
Apple Pie Truffles Recipe FAQs
What type of apples should I use for the filling?
Absolutely! I recommend using a mix of tart and sweet apples like Granny Smith and Honeycrisp. This combination brings out the delightful flavors of the truffles, giving them a well-balanced taste. Avoid overly soft apples, as they may become mushy during cooking.
How should I store Apple Pie Truffles?
Store your Apple Pie Truffles in an airtight container in the fridge, and they’ll stay fresh for up to 1 week. Make sure they are completely cooled and set before placing them in the container to avoid moisture buildup that could affect their texture.
Can I freeze Apple Pie Truffles?
Yes, you can freeze them for longer storage! To do this, first, place the truffles in a single layer on a baking sheet to freeze for about 1-2 hours. Once frozen solid, transfer them to a freezer-safe container or zip-top bag. They can last for up to 3 months! Thaw in the fridge overnight before serving.
What if my truffle mixture is too sticky to roll?
No worries at all! If the mixture feels too sticky, refrigerate it for an additional 15-20 minutes to firm it up. You can also lightly coat your hands with graham cracker crumbs while rolling to help prevent sticking. Just remember, the mixture should be slightly sticky, so don’t overdo it!
Are Apple Pie Truffles suitable for those with allergies?
These truffles contain common allergens such as dairy (cream cheese and chocolate). If making for someone with dietary restrictions, consider using dairy-free cream cheese and chocolate options. Always check labels for any hidden allergens if you’re unsure.
Can I customize the chocolate coating?
Very! Feel free to switch up the chocolate coating by using dark chocolate or white chocolate for a different flavor profile. You can also add toppings like crushed nuts, sprinkles, or shredded coconut for a fun finish!
Delicious Apple Pie Truffles for Cozy Homemade Indulgence
Ingredients
Equipment
Method
- In a medium saucepan, combine the diced apples, granulated sugar, lemon juice, ground cinnamon, and nutmeg. Cook over medium heat for about 10 minutes, stirring occasionally, until the apples are soft and slightly translucent.
- Remove the saucepan from heat and allow the apple mixture to cool completely, which should take around 20 minutes.
- In a large mixing bowl, combine the cooled apple mixture with the softened cream cheese and graham cracker crumbs. Mix thoroughly until all ingredients are well incorporated.
- Cover the mixing bowl with plastic wrap and place it in the refrigerator to chill for about 30 minutes.
- Once chilled, scoop out small portions of the mixture and roll them into balls, about an inch in diameter.
- After shaping all the truffles, return the baking sheet to the refrigerator for an additional 30 minutes to set.
- In a microwave-safe bowl, melt the milk chocolate in 30-second increments, stirring between each interval.
- Carefully dip each chilled truffle into the melted chocolate, ensuring they are fully coated.
- Allow the chocolate coating to set at room temperature or place the truffles in the fridge for about 15 minutes.


Leave a Reply