
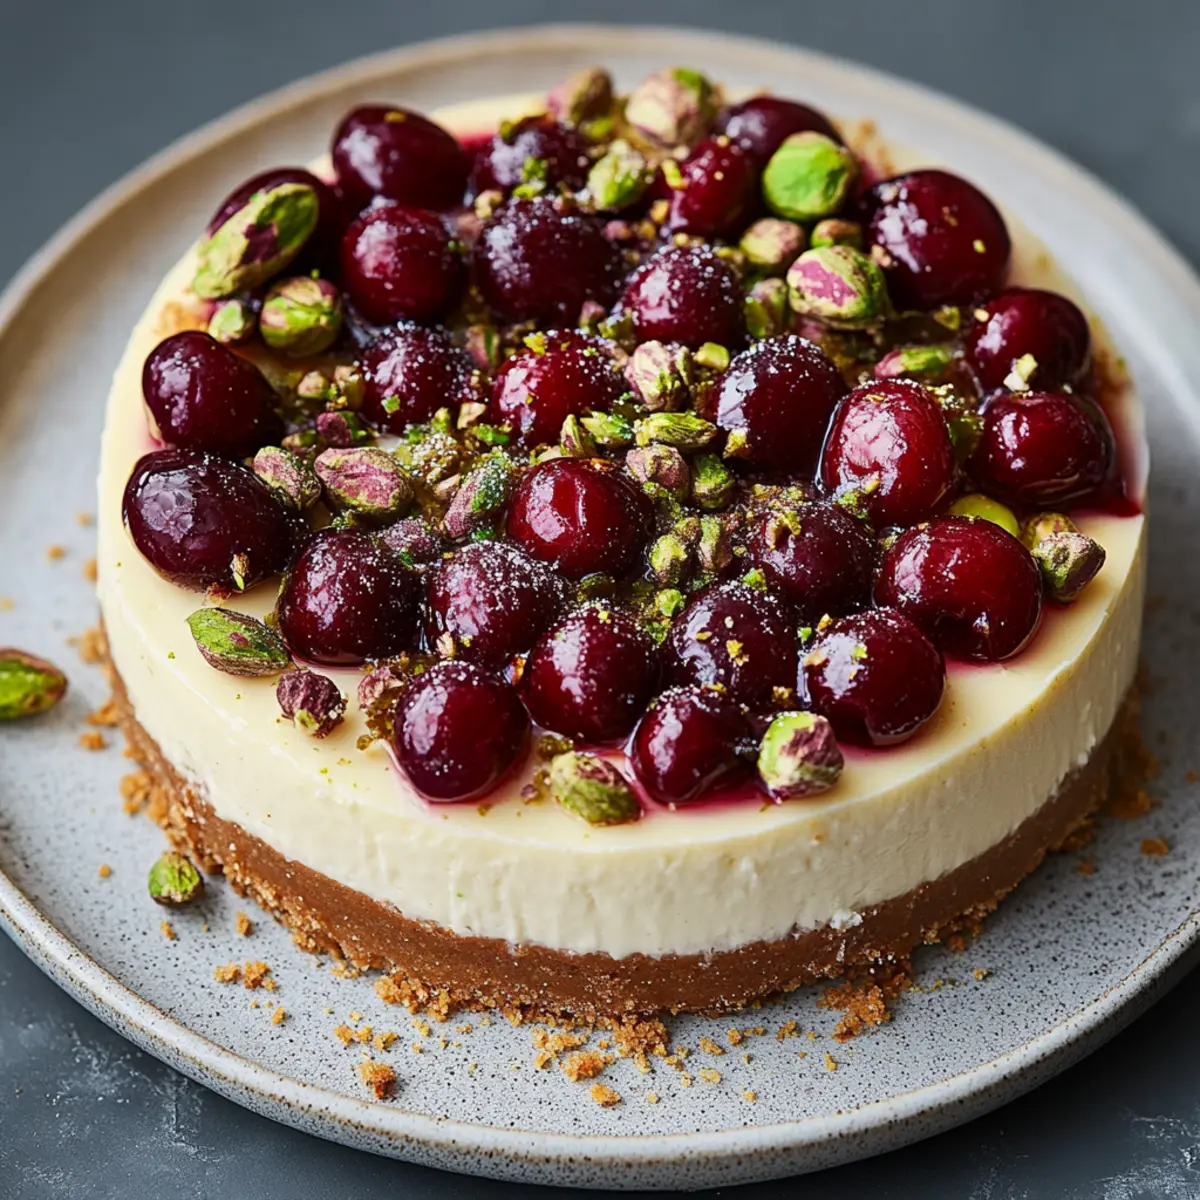
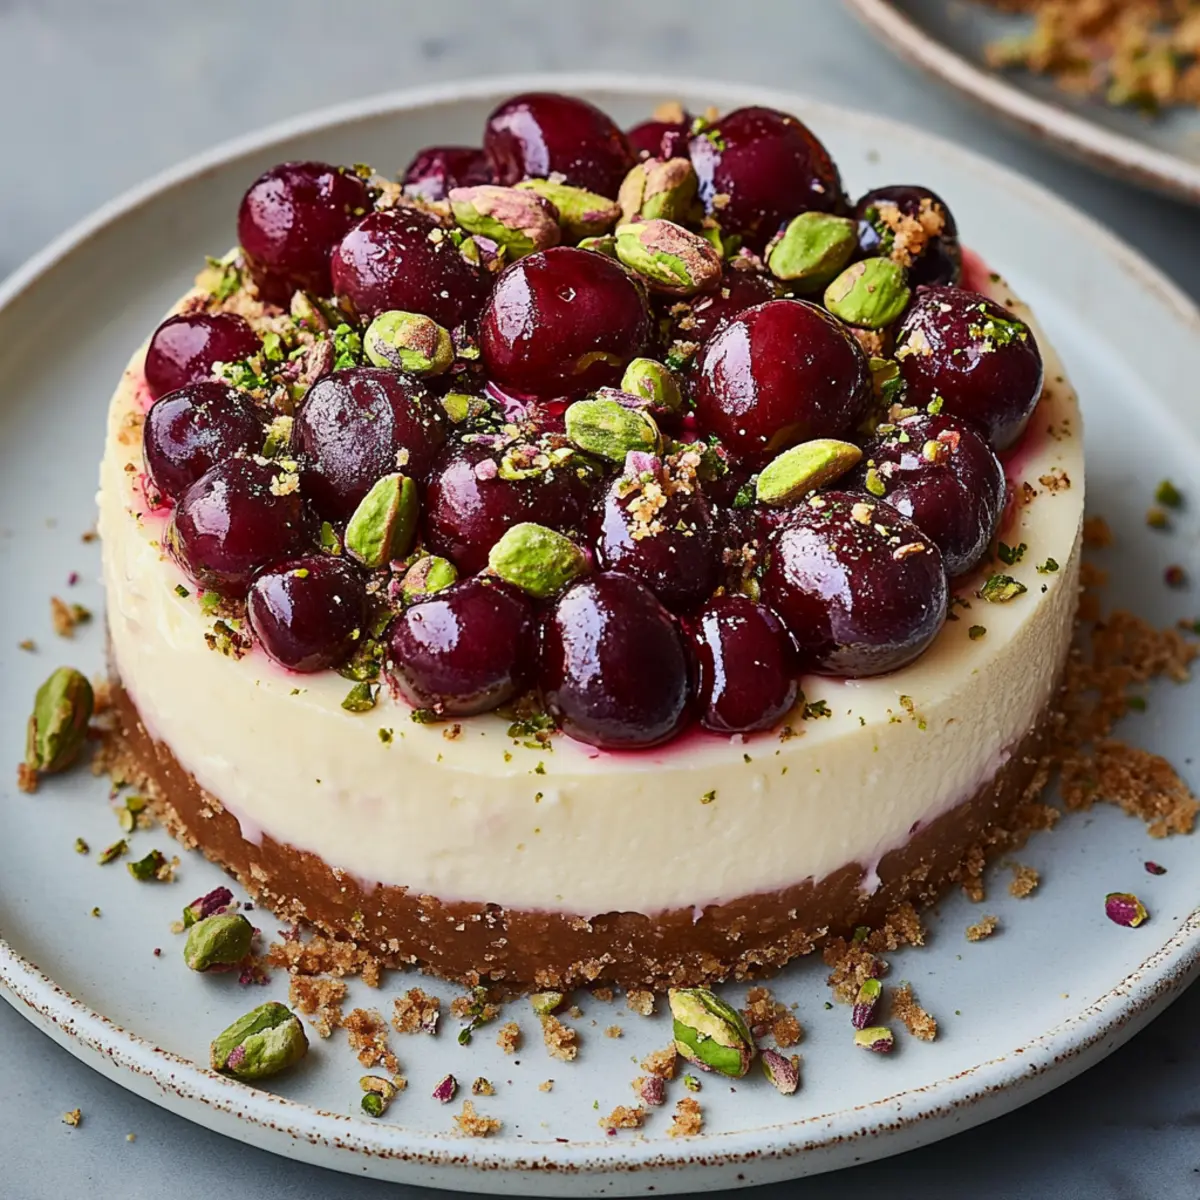
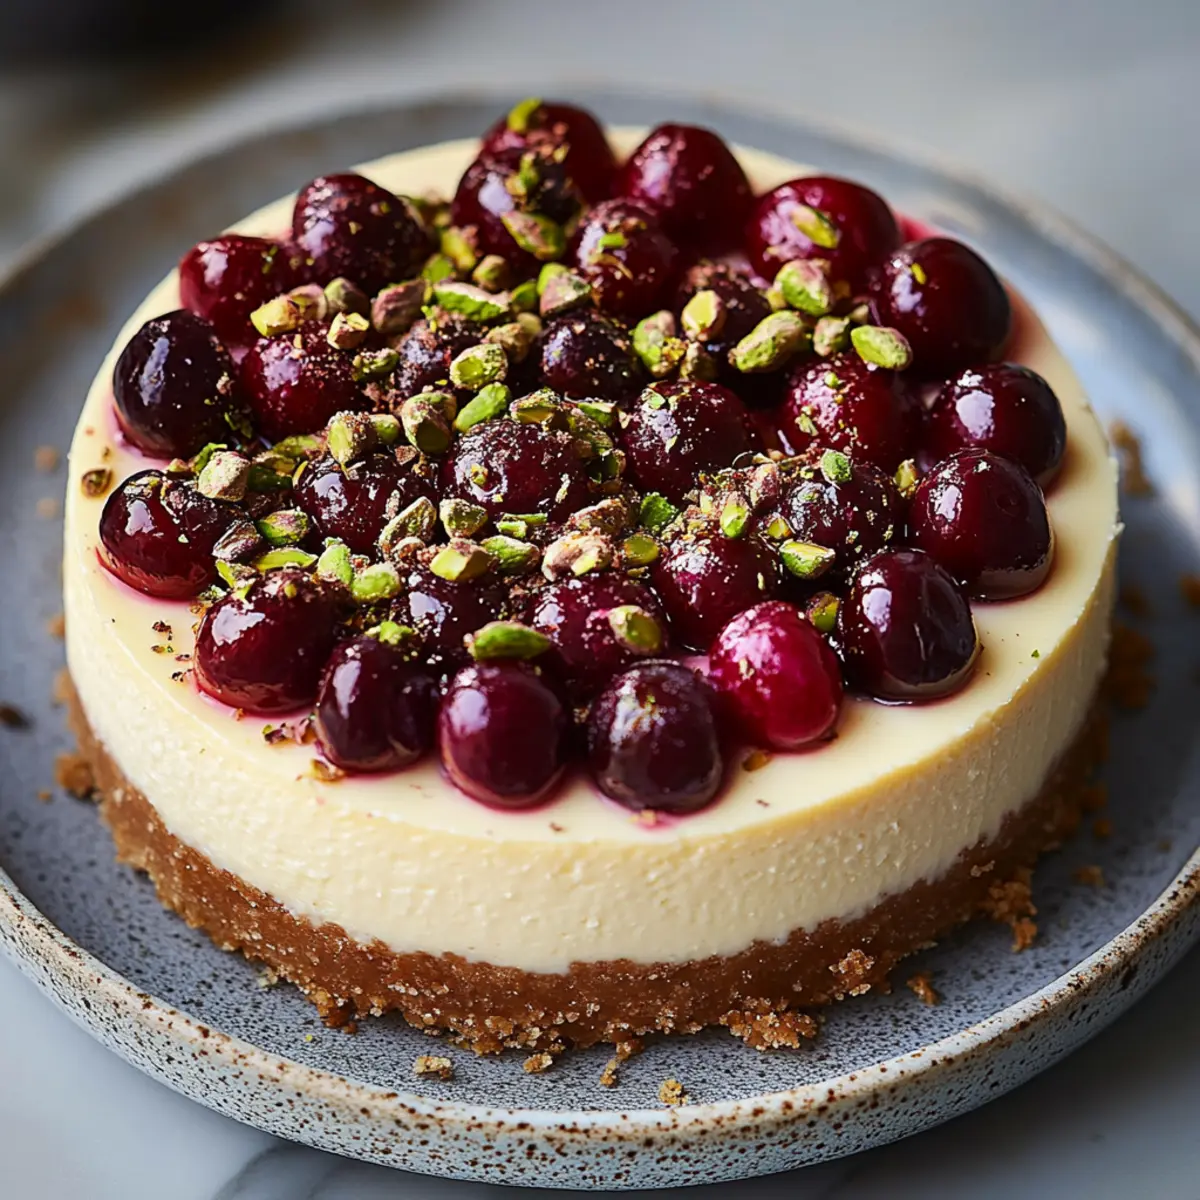
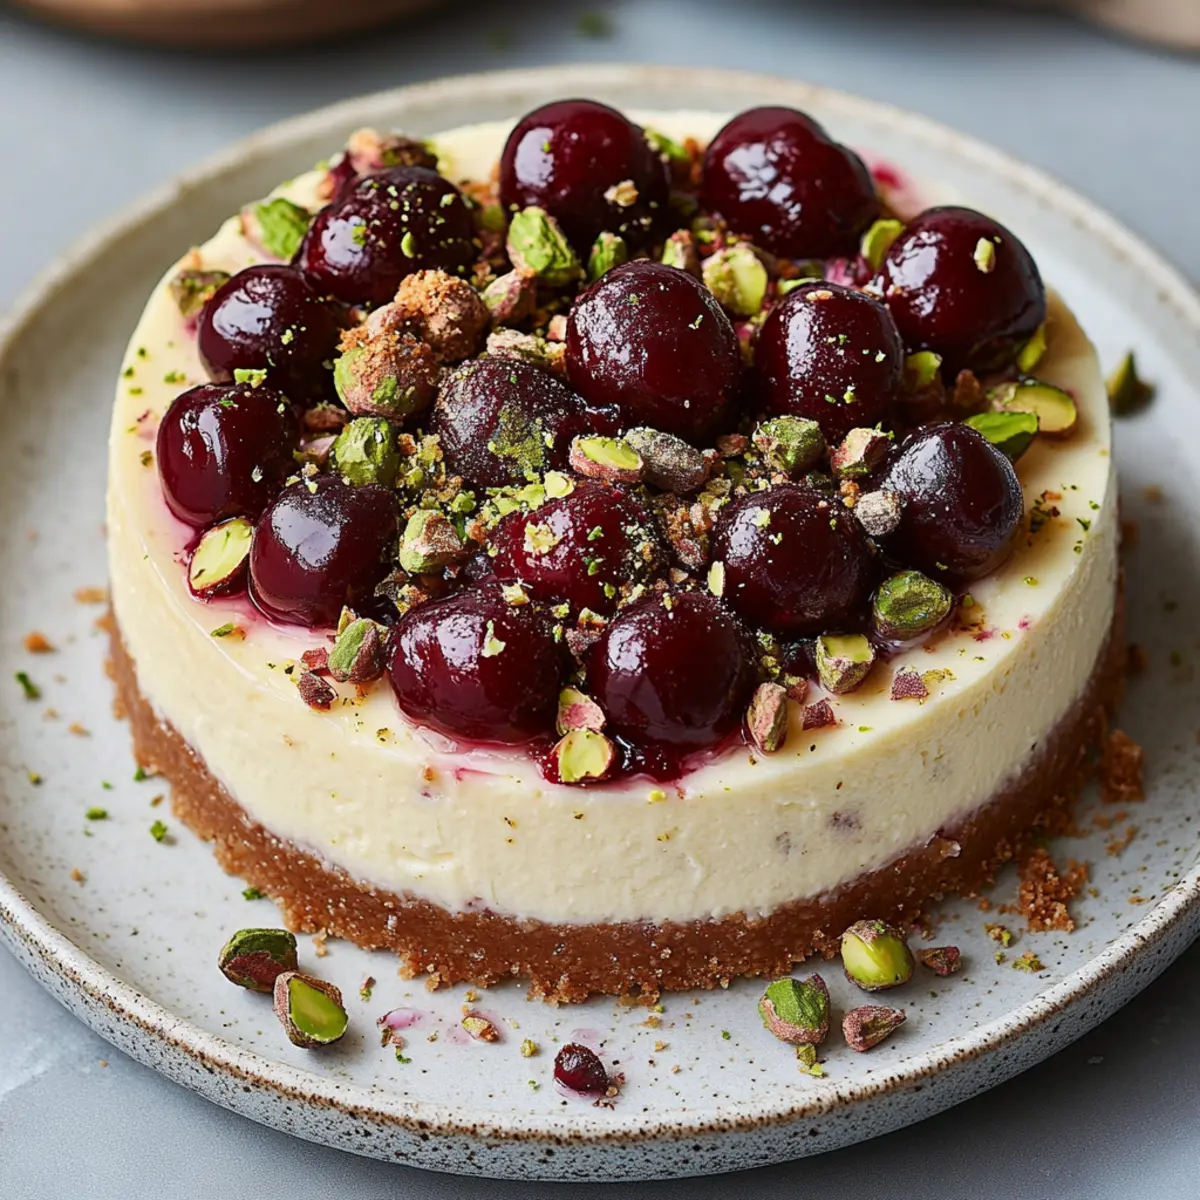
As I stood in my kitchen, the vibrant colors of fresh cherries and green pistachios caught my eye, promising a delightful creation: Cherry Pistachio Cheesecake. This luscious dessert not only elevates any gathering but also introduces a lovely twist on the classic cheesecake with its nutty crunch and fruity bursts. With just 20 minutes of prep time, you’ll dazzle friends and family without spending all day in the kitchen. This recipe is both a crowd-pleaser and a sublime indulgence that even the busiest home chefs can master. Plus, it’s perfect for prepping ahead of time—just let it chill while you focus on your main course! Are you ready to whip up this stunning treat and impress everyone at your next get-together?
Why is this cheesecake a must-try?
Unforgettable Flavor: The combination of juicy cherries and crunchy pistachios adds a delightful twist to the classic cheesecake, promising a taste experience that’s both unique and satisfying.
Easy-to-Make: With just 20 minutes of prep, this recipe eliminates the fuss, putting a spectacular dessert within anyone's reach.
Perfect for Any Occasion: Whether it’s a holiday gathering or a casual dinner, this cheesecake steals the show, making it ideal for impressing guests.
Make-Ahead Wonder: Chill it overnight and let your masterpiece set while you prepare your main dishes, saving you time without compromising on flavor or presentation.
For other refreshing cheesecake recipes like the indulgent Cherry Cheesecake Brownies or the delightful Lemon Blueberry Cheesecake, check out the links!
Cherry Pistachio Cheesecake Ingredients
For the Crust
• Graham cracker crumbs – 1 ½ cups for a sweet and crunchy base.
• Unsalted butter – ½ cup, melted to bind the crumbs together.
• Granulated sugar – ¼ cup enhances the crust's sweetness.
For the Filling
• Cream cheese – 2 cups, softened to create a rich and creamy texture.
• Powdered sugar – 1 cup, to sweeten without grittiness.
• Vanilla extract – 1 teaspoon adds a warm, aromatic flavor.
• Sour cream – 1 cup contributes to the cheesecake’s tanginess.
• Large eggs – 3, for structure and stability in the cheesecake.
• Fresh cherries – 1 cup, pitted and halved, infusing the filling with juicy bursts.
• Shelled pistachios – 1 cup, roughly chopped for that delightful crunchy texture.
• Lemon juice – 1 tablespoon brightens the flavors beautifully.
With these Cherry Pistachio Cheesecake ingredients at your side, you’re all set to create a dessert that’s sure to impress!
Step‑by‑Step Instructions for Cherry Pistachio Cheesecake
Step 1: Preheat and Prepare the Pan
Preheat your oven to 325°F (160°C). While the oven warms, take a 9-inch springform pan and grease it with unsalted butter, then lightly dust it with flour. This simple preparation prevents the cheesecake from sticking, ensuring a perfect presentation when you serve your Cherry Pistachio Cheesecake.
Step 2: Make the Crust
In a medium mixing bowl, combine the graham cracker crumbs, melted butter, and granulated sugar. Stir this mixture vigorously until it resembles wet sand. This forms the deliciously sweet crust that will support your cheesecake. When ready, press the crumb mixture evenly into the bottom of the prepared springform pan, packing it down firmly.
Step 3: Bake the Crust
Bake the crust in the preheated oven for 10 minutes, until it’s lightly golden and aromatic. After baking, remove the pan from the oven and allow it to cool completely while you prepare the creamy filling for your Cherry Pistachio Cheesecake. Patience here is key for a great texture!
Step 4: Beat the Cream Cheese
In a large mixing bowl, use an electric mixer to beat the softened cream cheese on medium speed for about 2 minutes, until it is creamy and smooth. This step is crucial as it ensures a lump-free cheesecake. Feel free to scrape down the sides of the bowl to ensure everything is well mixed.
Step 5: Add the Sweeteners
Gradually add the powdered sugar to the cream cheese, mixing until well incorporated. Continue to scrape down the bowl as needed to gather all the sweet goodness. At this point, you’ll notice the mixture becoming silky, setting the stage for a luscious Cherry Pistachio Cheesecake filling.
Step 6: Incorporate the Flavorings
Next, add the vanilla extract, sour cream, and lemon juice to the bowl. Mix these ingredients until they are just combined. The sour cream will introduce a delightful tanginess, while the lemon juice brightens the overall flavor—truly elevating your cheesecake experience!
Step 7: Add the Eggs
Carefully add the eggs one at a time to the mixture, mixing just until incorporated after each addition. This method helps maintain a light texture without overworking the batter, which is key to a creamy Cherry Pistachio Cheesecake. Remember, a little mixing goes a long way!
Step 8: Mix in the Cherries and Pistachios
Gently fold in the prepared cherries and chopped pistachios using a spatula. Fold with care to avoid breaking the delicate fruit; you want to keep those lovely bursts of cherry intact in your cheesecake. Each bite will be a beautiful balance of flavors!
Step 9: Pour the Filling into the Crust
Pour the cheesecake filling into your cooled crust, using a spatula to smooth the top evenly. At this point, it should look beautifully creamy and inviting. Ensure there are no air pockets, as this will aid in a smooth finish for each slice of your Cherry Pistachio Cheesecake.
Step 10: Bake the Cheesecake
Place the cheesecake in the oven and bake for 50 to 60 minutes. The edges should be set while the center has a slight jiggle—this indicates that it’s perfectly baked. Keep an eye on it to avoid overbaking, as this can lead to cracks.
Step 11: Cool Gradually in the Oven
Once baked, turn off the oven and crack the door open. Allow the cheesecake to cool in the oven for an hour. This gradual cooling process helps minimize cracking and gives your Cherry Pistachio Cheesecake a more even texture.
Step 12: Chill the Cheesecake
After cooling, transfer the cheesecake to the refrigerator and chill it for at least 4 hours, preferably overnight. This chilling allows the flavors to meld and the cheesecake to fully set, resulting in a firm and sliceable treat.
Step 13: Remove and Serve
When you’re ready to serve, carefully release the sides of the springform pan. Slice your Cherry Pistachio Cheesecake, and feel free to garnish with additional fresh cherries and chopped pistachios for an appealing presentation. Enjoy this delightful dessert chilled, and watch it impress your guests!
Expert Tips for Cherry Pistachio Cheesecake
-
Ingredient Quality: Use fresh, ripe cherries and high-quality cream cheese. The better the ingredients, the more delicious your Cherry Pistachio Cheesecake will be!
-
Don’t Overmix: When adding eggs, mix just until combined after each addition. Overmixing can lead to cracks in your cheesecake after baking.
-
Cool Gradually: Allow the cheesecake to cool in the oven with the door cracked open. This helps prevent cracking and maintains a beautiful surface.
-
Chill Properly: For the best texture and flavor, refrigerate your cheesecake for at least 4 hours—or overnight. Patience pays off!
-
Garnish Creatively: Enhance presentation by garnishing with extra cherries and pistachios before serving. A little extra touch goes a long way in impressing your guests!
Cherry Pistachio Cheesecake Variations
Feel free to get creative with your cheesecake and make it even more delightful with these fun and easy swaps!
-
Gluten-Free Crust: Substitute graham cracker crumbs with crushed gluten-free cookies or almond flour for a delicious gluten-free alternative. It maintains the same texture while accommodating dietary needs.
-
Nut-Free Option: If you're nut-sensitive, replace pistachios with chopped sunflower seeds or omit nuts entirely. The cheesecake remains creamy and delightful without compromising on flavor.
-
Rich Chocolate Twist: Swirl in a tablespoon of cocoa powder into the filling before baking for a decadent chocolate experience. This pairing with cherries adds a lovely depth to the taste.
-
Additional Fruits: Mix in some blueberries or raspberries alongside the cherries for a beautiful burst of color and added fruity flavors. The combination enhances the cheesecake's appeal!
-
Lemon Zest: Add a teaspoon of lemon zest for an extra citrusy kick that brightens the entire cheesecake, enhancing its flavor profile with a refreshing twist.
-
Spiced Up!: Sprinkle in some cinnamon or nutmeg for warmth and depth. This addition gives the cheesecake a lovely fragrance and a cozy vibe.
-
Savory Cream Cheese: For a unique flavor twist, consider incorporating a touch of cream cheese with chive or garlic—serve as a savory appetizer instead! It's a perfect hand at gatherings for adventurous palates.
-
Heat it Up: If you enjoy a little kick, drizzle with spicy honey or add a pinch of cayenne pepper to the batter. This unexpected twist creates a balance of heat and sweetness that is utterly crave-worthy.
These variations ensure your Cherry Pistachio Cheesecake remains exciting and ever-changing, allowing you to impress your family and friends time and again!
Make Ahead Options
These Cherry Pistachio Cheesecakes are a dream for busy home cooks who want to save time without skimping on flavor! You can prepare the crust and filling up to 24 hours in advance. Just follow the recipe until the cheesecake is assembled, then cover it tightly with plastic wrap and refrigerate. Keeping the cheesecake chilled ensures it maintains its creamy texture and flavor. When you're ready to bake, simply pop it in the oven and follow the remaining steps. After baking, allow it to cool, then refrigerate for at least 4 hours (or overnight) to set perfectly. Your guests will love this stunning dessert, and you'll feel like a culinary star with minimal last-minute effort!
What to Serve with Cherry Pistachio Cheesecake
Elevate your dessert experience with these delightful pairings that beautifully complement the luscious flavors of your cheesecake.
-
Fresh Berries: A medley of blueberries, raspberries, and strawberries adds a vibrant burst of tartness and freshness to balance the sweetness.
-
Whipped Cream: Light, airy whipped cream enhances the cheesecake's creaminess while providing a lovely contrast in texture with each bite.
-
Chocolate Drizzle: A drizzle of melted dark chocolate adds an indulgent touch, enriching the flavors and creating a sophisticated finish on your dessert plate.
-
Sparkling Wine: A glass of refreshing sparkling wine, like Prosecco, provides a delightful fizz that pairs wonderfully with the richness of the cheesecake.
-
Nutty Biscotti: These crunchy, almond-flavored cookies make for a perfect crunchy counterpart, offering additional flavor dimensions as you nibble alongside your cheesecake.
-
Coffee or Espresso: A warm cup of coffee or espresso balances the sweetness, creating a luxurious end to your meal that's hard to resist.
-
Citrusy Sorbet: A refreshing lemon or orange sorbet can cleanse the palate and provide a zesty counterpoint to the creamy cheesecake.
-
Caramel Sauce: A drizzle of homemade or store-bought caramel adds an inviting sweetness and an intriguing flavor contrast to your Cherry Pistachio Cheesecake.
How to Store and Freeze Cherry Pistachio Cheesecake
Fridge: Keep your cheesecake covered with plastic wrap or in an airtight container for up to 5 days. This will help maintain its freshness and creamy texture.
Freezer: If you want to enjoy your Cherry Pistachio Cheesecake later, wrap it tightly in plastic wrap and then in aluminum foil. It can be frozen for up to 3 months.
Thawing: To enjoy a slice from the freezer, simply transfer it to the fridge the night before to thaw slowly. This maintains the cheesecake's delicate consistency and flavor.
Reheating: While cheesecake is best enjoyed cold, if you're concerned about serving it at room temperature, let it sit out for about 30 minutes before serving.
Cherry Pistachio Cheesecake Recipe FAQs
How do I choose ripe cherries for my cheesecake?
Absolutely! When selecting cherries, look for ones that are plump and have a deep, vibrant color. Avoid cherries with dark spots all over, as these may be overripe or damaged. Fresh cherries should also feel firm to the touch; shake one gently to ensure a good quality fruit that’s ready for your Cherry Pistachio Cheesecake.
How should I store my Cherry Pistachio Cheesecake?
Store your cheesecake in the fridge for up to 5 days. Make sure to cover it with plastic wrap or place it in an airtight container to keep it fresh. This helps protect the creaminess and flavor that you’ve worked so hard to create!
Can I freeze the Cherry Pistachio Cheesecake?
Yes, you can freeze your cheesecake! Wrap it tightly in plastic wrap and then cover it with aluminum foil. It can be stored in the freezer for up to 3 months. Just ensure it's well-sealed to prevent freezer burn.
How do I properly thaw my frozen cheesecake?
To thaw your Cherry Pistachio Cheesecake, simply place it in the refrigerator overnight before you plan to serve it. This gentle thawing process will help maintain its creamy texture and delicious flavors. Avoid thawing it at room temperature, as that can compromise its integrity.
What should I do if my cheesecake cracks during baking?
Very! If you notice cracks, don’t fret too much—it still tastes amazing! To minimize cracking in the future, ensure you cool your cheesecake gradually in the oven with the door slightly ajar. If you suspect it’s overbaked, you can reduce the baking time slightly for your next cheesecake adventure to keep things smooth.
Is this cheesecake suitable for people with nut allergies?
Yes, this recipe includes pistachios, which are tree nuts. If you're serving guests with nut allergies, you can either omit the pistachios or substitute them with something crunchy like crushed graham crackers or cookie crumbs for added texture in your Cherry Pistachio Cheesecake. Always double-check with your guests regarding any dietary restrictions!
Delicious Cherry Pistachio Cheesecake to Impress Everyone
Ingredients
Equipment
Method
- Preheat your oven to 325°F (160°C). Grease a 9-inch springform pan with unsalted butter and lightly dust it with flour.
- In a medium mixing bowl, combine the graham cracker crumbs, melted butter, and granulated sugar. Press the mixture evenly into the bottom of the prepared springform pan.
- Bake the crust in the preheated oven for 10 minutes until lightly golden. Allow it to cool completely while preparing the filling.
- Beat the softened cream cheese on medium speed for about 2 minutes until creamy and smooth, scraping down the sides as needed.
- Gradually add the powdered sugar to the cream cheese and mix until well incorporated, creating a silky texture.
- Add the vanilla extract, sour cream, and lemon juice, mixing until just combined.
- Carefully add the eggs one at a time, mixing just until incorporated after each addition.
- Gently fold in the prepared cherries and chopped pistachios using a spatula.
- Pour the cheesecake filling into the cooled crust, smoothing the top evenly without creating air pockets.
- Bake the cheesecake for 50 to 60 minutes until the edges are set and the center has a slight jiggle.
- Turn off the oven and crack the door open, allowing the cheesecake to cool in the oven for an hour.
- Transfer the cheesecake to the refrigerator and chill for at least 4 hours, preferably overnight.
- Carefully release the sides of the springform pan, slice the cheesecake, and garnish with additional fresh cherries and chopped pistachios before serving.


Leave a Reply