
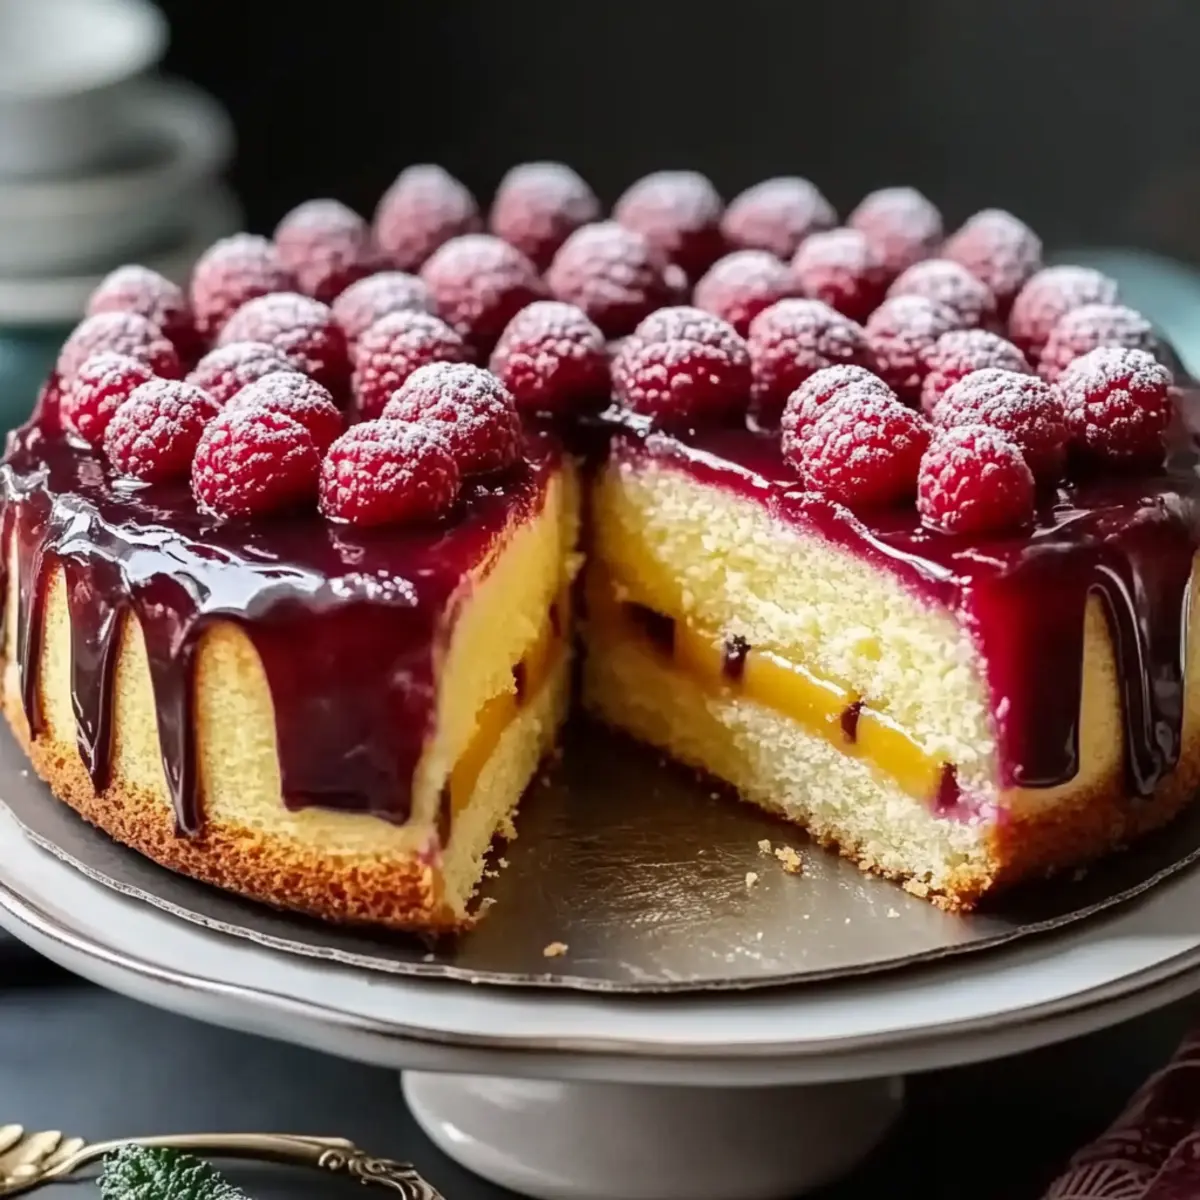
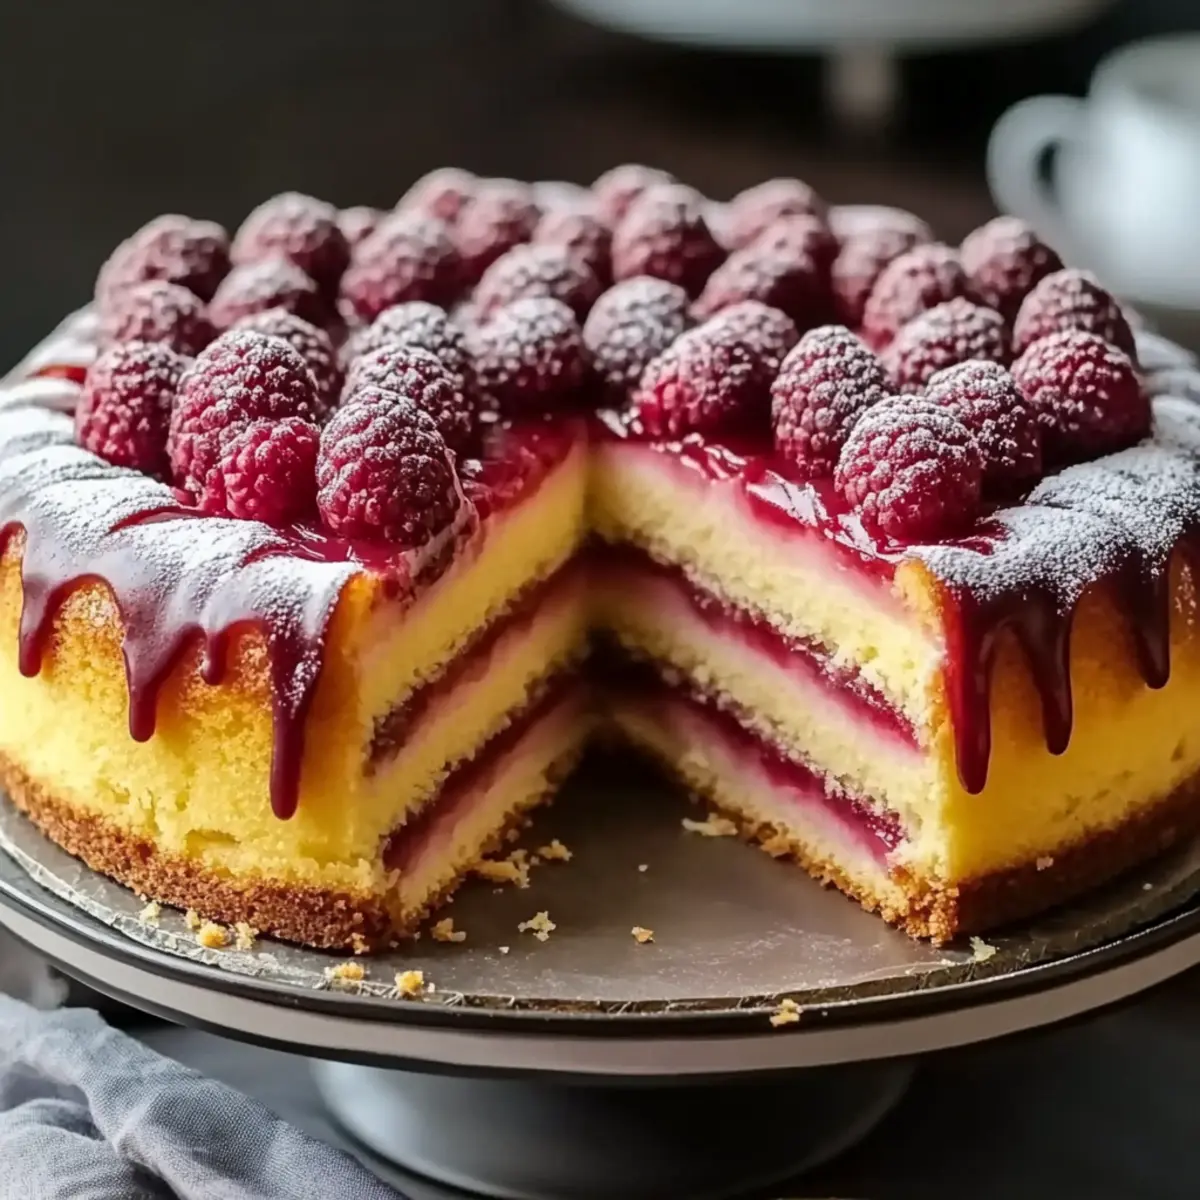
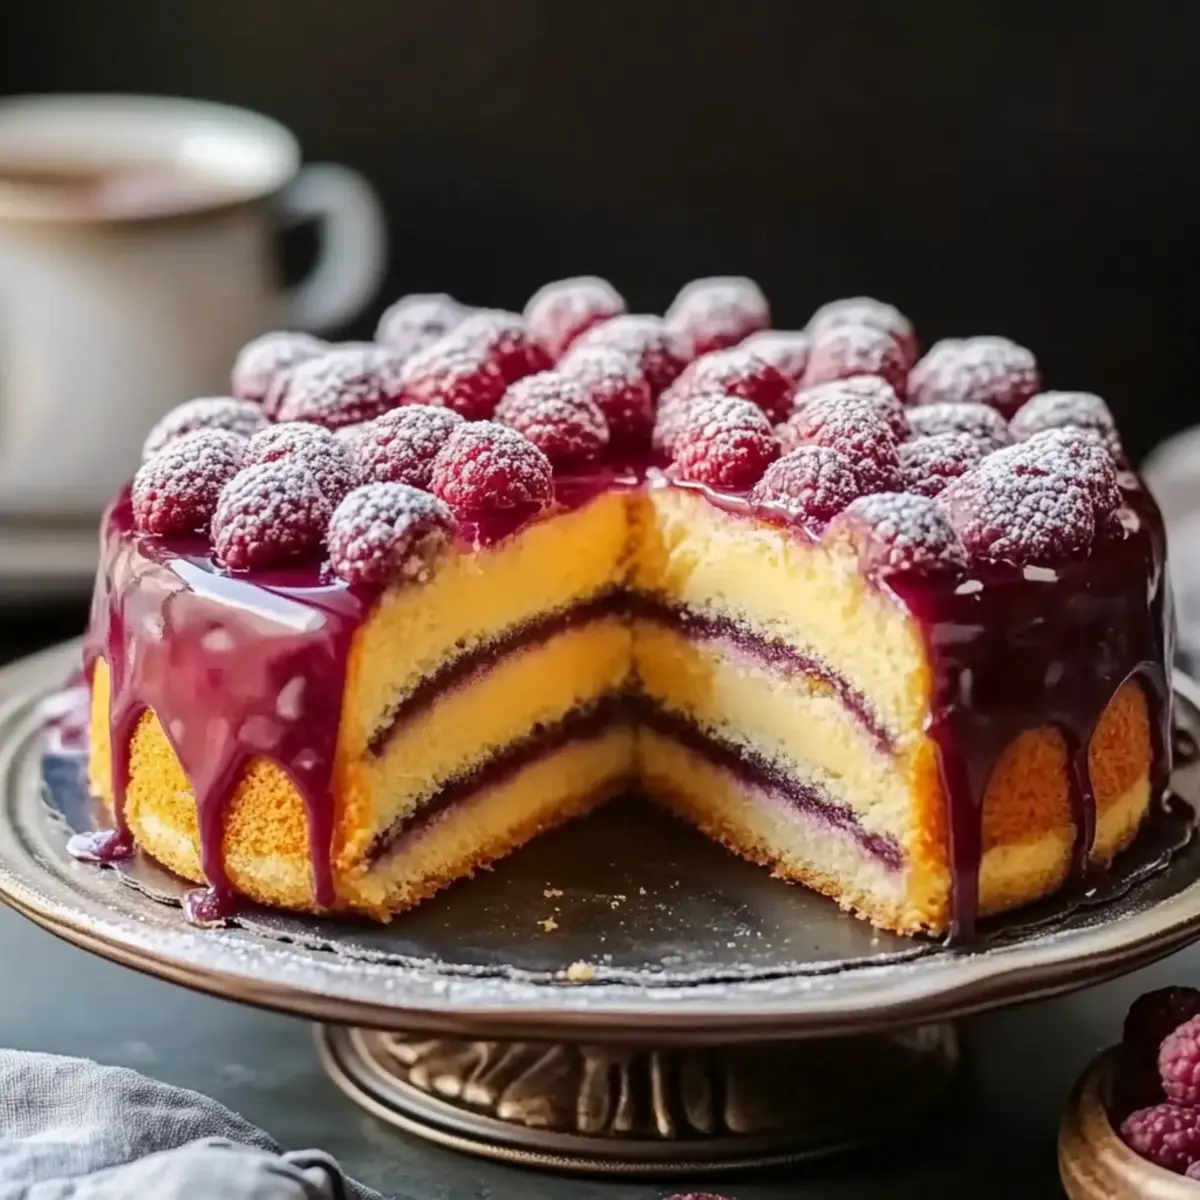
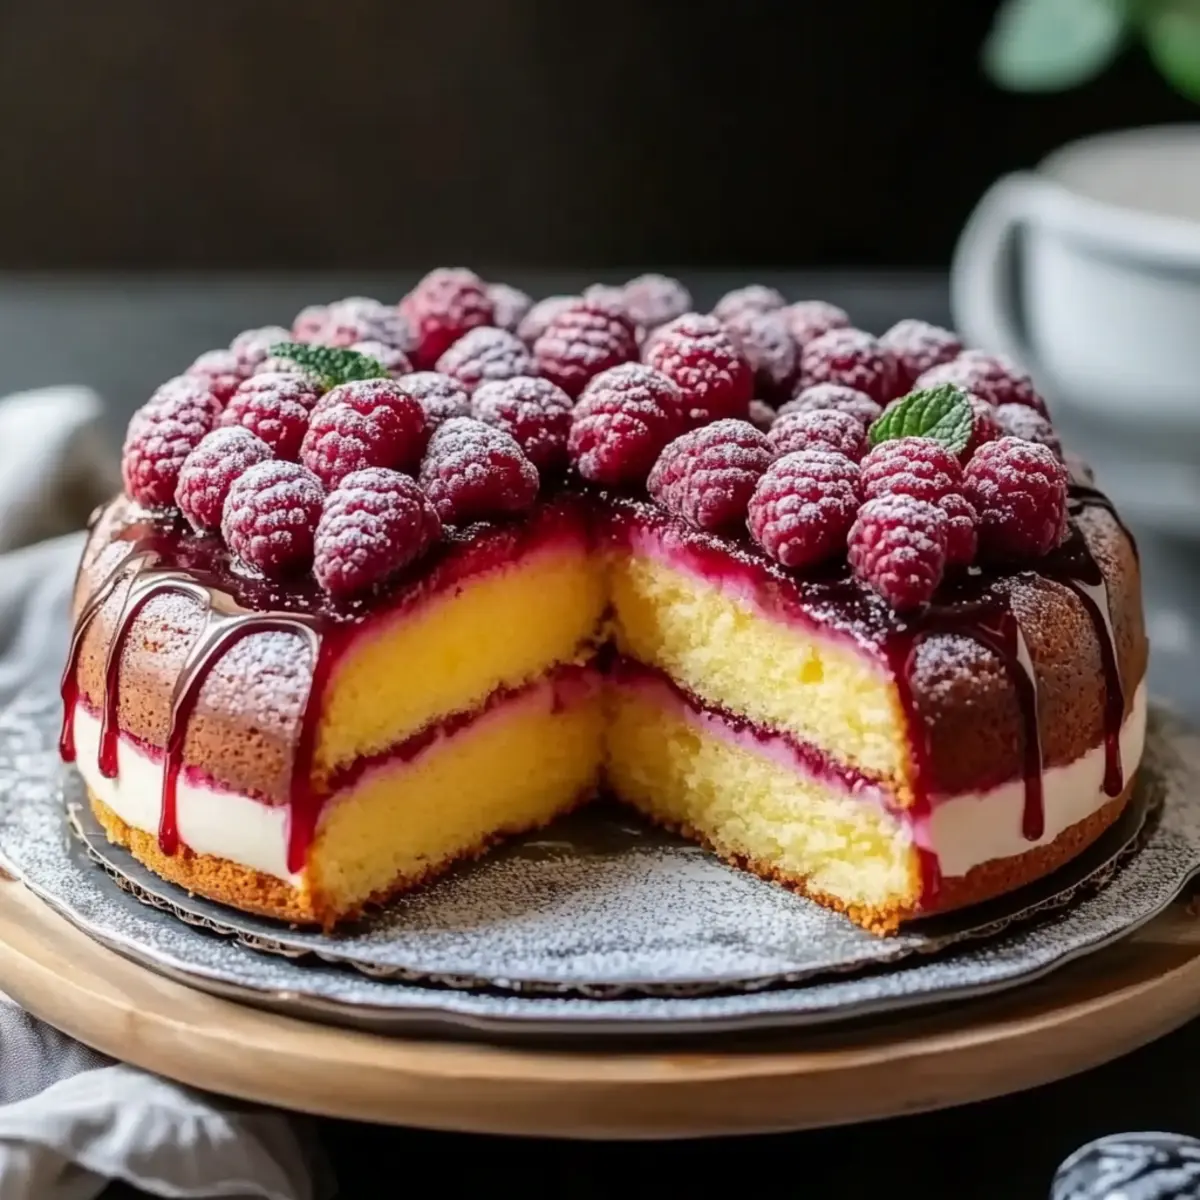
There's something magical about the first bite of a perfectly made Karpatka Cake. As a longtime fan of baking adventures, this Polish pastry always brings me back to my kitchen’s warm, inviting glow, where fluffy layers of choux pastry embrace a silky custard filling. What’s even better? This heavenly creation requires just a bit of patience and only a few wholesome ingredients, making it an accessible treat for both novice and seasoned home chefs. Each bite offers the comforting nostalgia of homemade goodness, paired with the satisfaction of mastering a new skill. Plus, it’s an impressive dessert that’s sure to wow family and friends at any gathering! So, are you ready to dive into the delightful world of Karpatka Cake?
Why Is Karpatka Cake a Must-Try?
Heavenly Layers: This cake features a delightful combination of airy choux pastry and rich, velvety custard, creating a taste sensation that melts in your mouth.
Effortlessly Impressive: Your friends will think you're a professional baker when you serve this showstopper at gatherings.
Wholesome Ingredients: Made with simple staples like milk, eggs, and sugar, you can feel good about indulging in this homemade dessert.
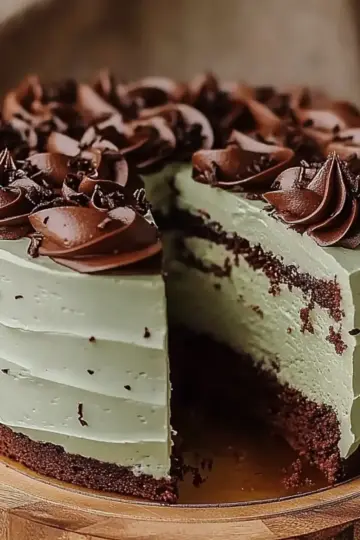
Versatile Treat: Whether you enjoy it plain or with a sprinkle of powdered sugar, every version brings a smile. For another delicious treat, don't miss Cheesecake Stuffed Strawberry or our White Chocolate Raspberry Dream Cake.
A Culinary Journey: As you master this cake, you’ll gain confidence for other baking adventures, making it a valuable addition to your recipe repertoire.
Karpatka Cake Ingredients
For the Pastry
• Whole Milk – 1 cup (240 ml) adds richness to the choux pastry.
• Water – ½ cup (120 ml) helps create steam for the perfect rise.
• Unsalted Butter – ½ cup (115 g) for a luscious, buttery flavor.
• All-Purpose Flour – 1 cup (125 g) is essential for structure in your Karpatka Cake.
• Large Eggs – 4 eggs add moisture and act as a binding agent, creating the right texture.
For the Custard Filling
• Heavy Cream – 2 cups (480 ml) creates a decadent and creamy filling.
• Cornstarch – ¼ cup (30 g) thickens your custard to the perfect consistency.
• Granulated Sugar – ½ cup (100 g) provides sweetness that complements the creamy filling.
• Vanilla Extract – 2 teaspoons enhance the flavor, making it fragrant and delightful.
• Salt – 1 pinch balances the sweetness and brings out the flavors beautifully.
This collection of ingredients is all you need to create a stunning, homemade Karpatka Cake that will impress your guests!
Step‑by‑Step Instructions for Karpatka Cake
Step 1: Preheat the Oven
Begin by preheating your oven to 400°F (200°C). While it warms up, take a baking sheet and line it with parchment paper to prevent your pastry from sticking. This initial step sets the stage for a perfect Karpatka Cake, ensuring even baking.
Step 2: Make the Pastry Mixture
In a medium saucepan, combine 1 cup of whole milk, ½ cup of water, and ½ cup of unsalted butter. Heat this mixture over medium heat, stirring occasionally until it reaches a gentle boil, watching for bubbling around the edges. This creates a rich base for your choux pastry.
Step 3: Incorporate the Flour
Once your mixture is boiling, remove the saucepan from the heat. Add 1 cup of all-purpose flour all at once and stir vigorously with a wooden spoon until the mixture is fully combined, forming a ball of dough. This step is crucial for developing the texture of your Karpatka Cake.
Step 4: Cook the Dough
Return the dough to medium heat and continue stirring for about 2–3 minutes. You'll know it's ready when the mixture pulls away from the sides of the pan and forms a smooth ball. This helps cook the flour, ensuring a light and airy pastry.
Step 5: Add the Eggs
Allow the dough to cool for about 10 minutes. Next, incorporate the 4 large eggs one at a time, mixing well after each addition. The dough will appear smooth and glossy, indicating it’s ready to be spread on the baking sheet for your Karpatka Cake.
Step 6: Bake the Pastry Layers
Spread half of the batter evenly onto the prepared baking sheet, making sure it reaches the edges. Bake in the preheated oven for 25–30 minutes, or until the pastry is puffed and golden brown. Repeat with the remaining batter for a second layer once the first is baked.
Step 7: Prepare the Custard Filling
In a separate bowl, whisk together ¼ cup of cornstarch, ½ cup of granulated sugar, a pinch of salt, and 2 teaspoons of vanilla extract until combined. This mixture will form the base of your creamy custard filling, adding sweetness and flavor to your Karpatka Cake.
Step 8: Heat the Cream
In a saucepan, heat 2 cups of heavy cream over medium heat until it becomes hot but not boiling. Gradually pour this warm cream into the dry mixture while whisking constantly. This will help prevent lumps and ensure a smooth custard consistency.
Step 9: Thicken the Custard
Return the combined mixture to medium heat and cook, stirring continuously until it thickens and coats the back of a spoon. This should take about 5–7 minutes. Remove from heat, and your silky custard filling is now ready for the Karpatka Cake.
Step 10: Assemble the Cake
Once both pastry layers have cooled completely, place one layer on a serving platter. Spread the custard filling evenly over this layer, allowing it to reach the edges. Then, gently place the second pastry layer on top to complete your beautiful Karpatka Cake.
Step 11: Chill Before Serving
After assembling, wrap the Karpatka Cake loosely with plastic wrap and chill it in the refrigerator for at least 1 hour. This not only helps the flavors meld beautifully but also makes it easier to slice when you're ready to serve.
Karpatka Cake Variations & Substitutions
Feel free to explore your creativity while making this delicious Karpatka Cake with these exciting twists!
-
Gluten-Free Flour: Substitute all-purpose flour with a gluten-free blend for a delightful gluten-free treat. Just make sure to choose a blend that works well for baking!
-
Dairy-Free Option: Use coconut milk and vegan butter for a dairy-free version that still tastes divine. The coconut flavor adds a unique tropical twist that your guests will love.
-
Citrus Zest: Brighten your custard with a teaspoon of lemon or orange zest. This adds a refreshing zing that beautifully balances the sweetness.
-
Chocolate Swirl: Fold in melted dark chocolate into your custard for a decadent chocolate twist. The rich flavors will have every chocolate lover swooning!
-
Nutty Crunch: Top the assembled cake with crushed nuts like almonds or hazelnuts for added texture and flavor. This gives your cake an exciting crunch and an appealing presentation.
-
Fruity Layer: Incorporate layers of fresh fruit such as strawberries or raspberries between the custard and pastry layers. This brings a burst of freshness in every bite.
-
Spicy Kick: Add a pinch of ground cinnamon or nutmeg to the custard for a warm, spicy flavor. It’s a cozy way to elevate your creaminess!
-
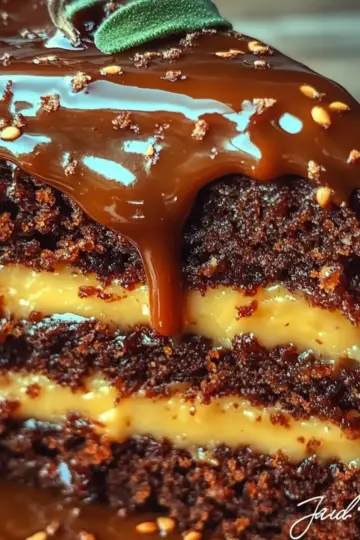
Caramel Drizzle: Before serving, drizzle caramel sauce over the top to enhance sweetness and create an eye-catching finish. This little touch makes your dessert feel extra special.
By applying these fun variations and substitutions, your Karpatka Cake can become a showstopper tailored to your tastes! If you enjoy this cake, be sure to try our Lemon Raspberry Cake or explore the delightful layers of Pineapple Heaven Cake.
How to Store and Freeze Karpatka Cake
Room Temperature: Keep the Karpatka Cake covered at room temperature for up to 1 day if you plan to serve it soon. Ensure it's stored in a cool, dry place to maintain its texture.
Fridge: For longer freshness, store the cake in the fridge, wrapped in plastic wrap or placed in an airtight container, for up to 3 days. This will keep the custard creamy and prevent the pastry from becoming soggy.
Freezer: If you wish to freeze the Karpatka Cake, wrap it tightly in plastic wrap and then in aluminum foil. It can be stored in the freezer for up to 2 months. Thaw it in the fridge overnight before serving.
Reheating: If desired, you can briefly warm individual slices in the microwave for about 10-15 seconds. This will enhance the dessert’s delightful custard while keeping the pastry tender.
Expert Tips for Perfect Karpatka Cake
Choux Pastry Precision: Ensure to mix the flour quickly into the boiling liquid; this step is crucial for achieving the right dough consistency for your Karpatka Cake.
Egg Incorporation: Always let the dough cool slightly before adding eggs; this prevents cooking them and guarantees a smooth batter.
Watch the Baking Time: Keep an eye on your pastry layers as they bake; they should be golden brown and puffed up. Overbaking can lead to a dry texture.
Custard Consistency: Stir continuously while cooking the custard to avoid lumps; a thick, creamy filling is essential for your perfect Karpatka Cake.
Chill for Best Flavor: Allow the cake to chill in the fridge for at least one hour to develop its flavor and streamline cutting for serving.
Make Ahead Options
These Heavenly Karpatka Cake components are ideal for meal prep, allowing busy home cooks to save time on their dessert plans! You can prepare the choux pastry (Steps 2-6) up to 24 hours in advance. Simply spread the batter on the baking sheet, bake, and then cool completely before wrapping tightly in plastic wrap and refrigerating. For the custard filling (Steps 7-9), you can make it up to 3 days ahead, storing it in an airtight container in the refrigerator. When you're ready to serve, assemble the cake (Steps 10-11) and chill for an hour to meld those delightful flavors. This way, you’ll have a stunning dessert with minimal effort when it’s time to impress your guests!
What to Serve with Heavenly Karpatka Cake
Indulging in a slice of this exquisite cake opens the door to creating a truly delightful dining experience.
- Fresh Berries: Adding a mix of strawberries, blueberries, and raspberries boosts the cake’s sweetness while providing a fresh, tangy contrast.
- Whipped Cream: A dollop of lightly sweetened whipped cream enhances the cake’s creamy layers, adding a luxurious touch.
- Mint Leaves: These fragrant herb leaves add a refreshing note that brightens your dessert, balancing its rich flavors beautifully.
- Dark Chocolate Sauce: A drizzle of rich, silky chocolate sauce creates a decadent experience, inviting a luscious pairing with each slice.
- Coffee: A warm cup of freshly brewed coffee complements the cake's sweetness, offering a cozy, comforting finish to your meal.
- Vanilla Ice Cream: The smooth, creamy texture of vanilla ice cream pairs perfectly with the pastry’s airy layers, making each bite even more indulgent.
Elevate your occasion and make your guests feel special by presenting this heavenly Karpatka Cake with these delightful accompaniments!
Karpatka Cake Recipe FAQs
How do I choose ripe ingredients for Karpatka Cake?
Absolutely! For the best results, use fresh, high-quality ingredients. Choose full-fat whole milk and heavy cream for a richer taste. When selecting eggs, opt for large, fresh ones; the freshness will enhance the structure of your choux pastry.
What’s the best way to store leftover Karpatka Cake?
Very simple! If you’re storing the cake to enjoy later, wrap it in plastic wrap or place it in an airtight container and keep it in the fridge for up to 3 days. This helps maintain the custard's creaminess and prevents the pastry from becoming soggy. If you plan to serve it later than that, consider freezing!
How do I freeze Karpatka Cake?
An excellent question! To freeze your Karpatka Cake, wrap it tightly in plastic wrap, then cover it with aluminum foil for extra protection. It will keep in the freezer for up to 2 months. When you're ready to enjoy it, thaw the cake in the fridge overnight for the best results. This gradual thaw helps keep its texture just right.
What if my choux pastry doesn’t rise properly?
Don’t worry; we've all been there! If your pastry doesn’t rise, it could be due to undercooking the dough or not enough steam. Ensure you cook the dough until it pulls away from the pan (about 2–3 minutes). Always introduce the eggs once the mixture cools slightly; this will help avoid cooking the eggs too quickly and ensure proper rising when baked.
Is this recipe suitable for people with food allergies?
Very much so! However, since this Karpatka Cake contains gluten from the flour and dairy from the milk and cream, those with gluten or dairy allergies should look for suitable substitutions. You can use gluten-free flour and dairy alternatives such as almond or oat milk, but keep in mind that these substitutes might affect the cake's overall texture and flavor. Always consult with a doctor or dietician when modifying recipes for dietary restrictions.
Can I make Karpatka Cake with alternative sweeteners?
Absolutely! If you'd like to reduce sugar, consider using monk fruit or erythritol as alternatives. You might need to experiment with the quantities, as some sweeteners are sweeter than sugar. Just remember to keep an eye on the flavor balance, as sweetness is essential to enhance the rich custard filling!
Delicious Karpatka Cake That Will Impress Your Guests
Ingredients
Equipment
Method
- Preheat your oven to 400°F (200°C) and line a baking sheet with parchment paper.
- In a medium saucepan, combine whole milk, water, and unsalted butter. Heat over medium until it reaches a gentle boil.
- Remove from heat, add all-purpose flour, and stir vigorously until it forms a ball of dough.
- Return the dough to medium heat and cook for 2-3 minutes until it pulls away from the sides.
- Allow to cool for 10 minutes then add eggs one at a time, mixing well after each addition.
- Spread half of the batter onto the prepared baking sheet and bake for 25-30 minutes until puffed and golden.
- For the custard filling, whisk together cornstarch, granulated sugar, salt, and vanilla extract.
- Heat heavy cream in a saucepan until hot but not boiling, then whisk it into the dry mixture.
- Return the mixture to heat and stir continuously until it thickens, about 5-7 minutes.
- Once both pastry layers have cooled, place one layer on a platter, add custard filling, then top with the second layer.
- Wrap the cake loosely with plastic wrap and chill for at least 1 hour before serving.
Leave a Reply