
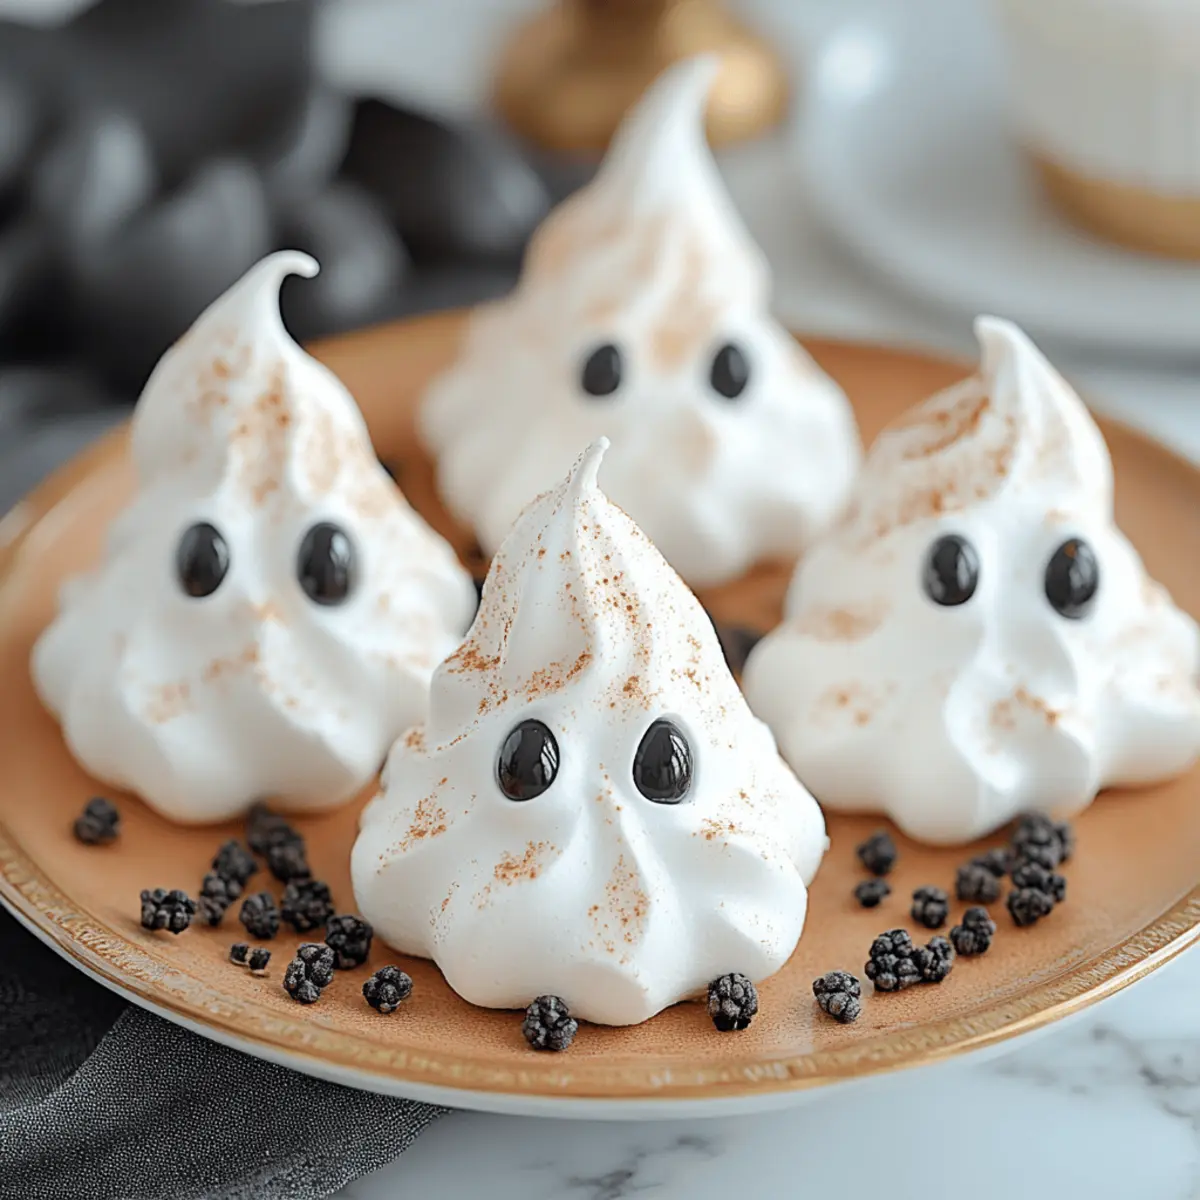
As the crisp autumn air fills our homes with the scent of falling leaves, Halloween creeps closer, and it’s time to bring a touch of magic into our kitchens. One of my absolute favorites to make during this spooky season is Ghost Meringues—delightfully light, airy confections that are not just a treat for the taste buds, but also for the eyes. These whimsical bites are perfect for impressing guests at your Halloween gathering, and their simple ingredients make them an ideal project for aspiring bakers of all ages. Plus, with practically no baking involved, you can whip them up in no time! Ready to learn how to create these charming little spirits that are sure to float right off your dessert table? Let’s dive into some ghostly fun!
Why Are Ghost Meringues Irresistible?
Fluffy, light texture: These airy confections melt in your mouth, making them a delightful contrast to heavier Halloween treats.
Simple ingredients: Made with just egg whites and sugar, they are perfect for novice bakers looking to whip up spooky delights.
Endless creativity: Decorate with festive toppings, transforming them into charming ghosts that will dazzle your guests.
Quick to prepare: With no baking required, you can spend less time in the kitchen and more time enjoying the Halloween festivities.
Perfect for any Halloween spread: Whether it’s a party for kids or adults, these Ghost Meringues add a whimsical touch that everyone will love. Check out our fun ideas for festive treats like Mini Ghost Pizzas to create a delightful Halloween menu!
Ingredients
Ghost Meringues Ingredients
For the Meringues
• Egg whites – use fresh egg whites for the best volume and structure.
• Granulated sugar – this sweetener helps create that lovely, glossy finish.
• Cream of tartar – a pinch stabilizes the meringue and helps achieve the perfect fluffiness.
• Vanilla extract – it adds a warm flavor to balance the sweetness of the sugar.
For Decoration
• Chocolate chips – melt these down to create eyes that will make your ghosts come alive.
• Black frosting – use this for additional spooky detailing to enhance your Ghost Meringues.
These Ghost Meringues are sure to enchant your Halloween gathering with both their taste and their charming appearance!
Step‑by‑Step Instructions for Ghost Meringues
Step 1: Prepare the Baking Sheet
Preheat your oven to 200°F (90°C) to ensure that your Ghost Meringues maintain their light, airy texture. Line a baking sheet with parchment paper, ensuring it's flat and free of wrinkles to help the meringues hold shape. Grab a piping bag fitted with a star tip to prepare for the delightful shaping of your ghostly treats.
Step 2: Whip the Egg Whites
In a clean mixing bowl, add the fresh egg whites and a pinch of cream of tartar. Using an electric mixer, beat the egg whites on medium speed until they form soft peaks, which should take about 2-3 minutes. The mixture should appear foamy and glossy, ready to incorporate the sugar for that perfect fluffiness needed in your Ghost Meringues.
Step 3: Add Sugar Gradually
Increase the mixer speed to high, and slowly add in the granulated sugar, one tablespoon at a time, while continuing to whip the egg whites. Keep beating until the meringue reaches stiff peaks and resembles a shiny, thick mixture, about 5-7 minutes. You’ll know it’s ready when you can turn the bowl upside down without it moving!
Step 4: Mix in Vanilla
Gently fold in the vanilla extract using a spatula, being careful not to deflate the meringue. This adds a lovely flavor to the Ghost Meringues while keeping the delicate texture intact. Continue until just combined, ensuring the sweet vanilla is evenly distributed in the light and fluffy mixture.
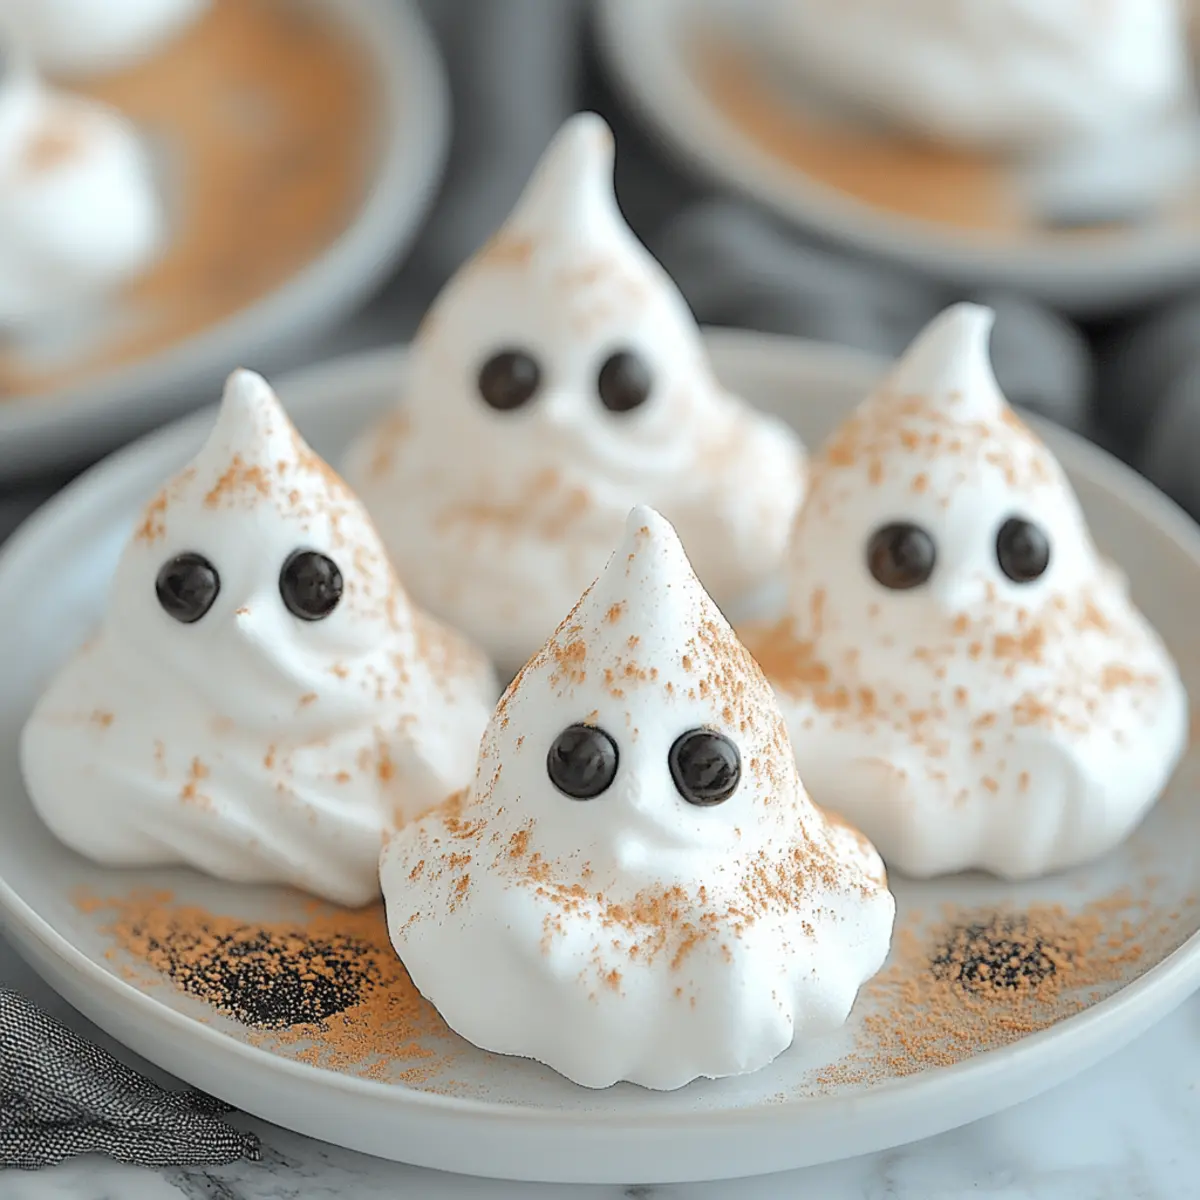
Step 5: Pipe the Meringues
Transfer the meringue mixture into the piping bag and begin to pipe ghost shapes directly onto the prepared baking sheet. Aim for small peaks to create the ghostly figure, about 1.5 to 2 inches high. Leave some space between each meringue as they will expand slightly during the drying process in the oven.
Step 6: Bake the Meringues
Place the baking sheet in the preheated oven and bake for about 1 hour and 30 minutes. Keep an eye on them; they should turn crisp and dry to the touch but remain white. Once done, turn off the oven and let the meringues cool inside to prevent cracking.
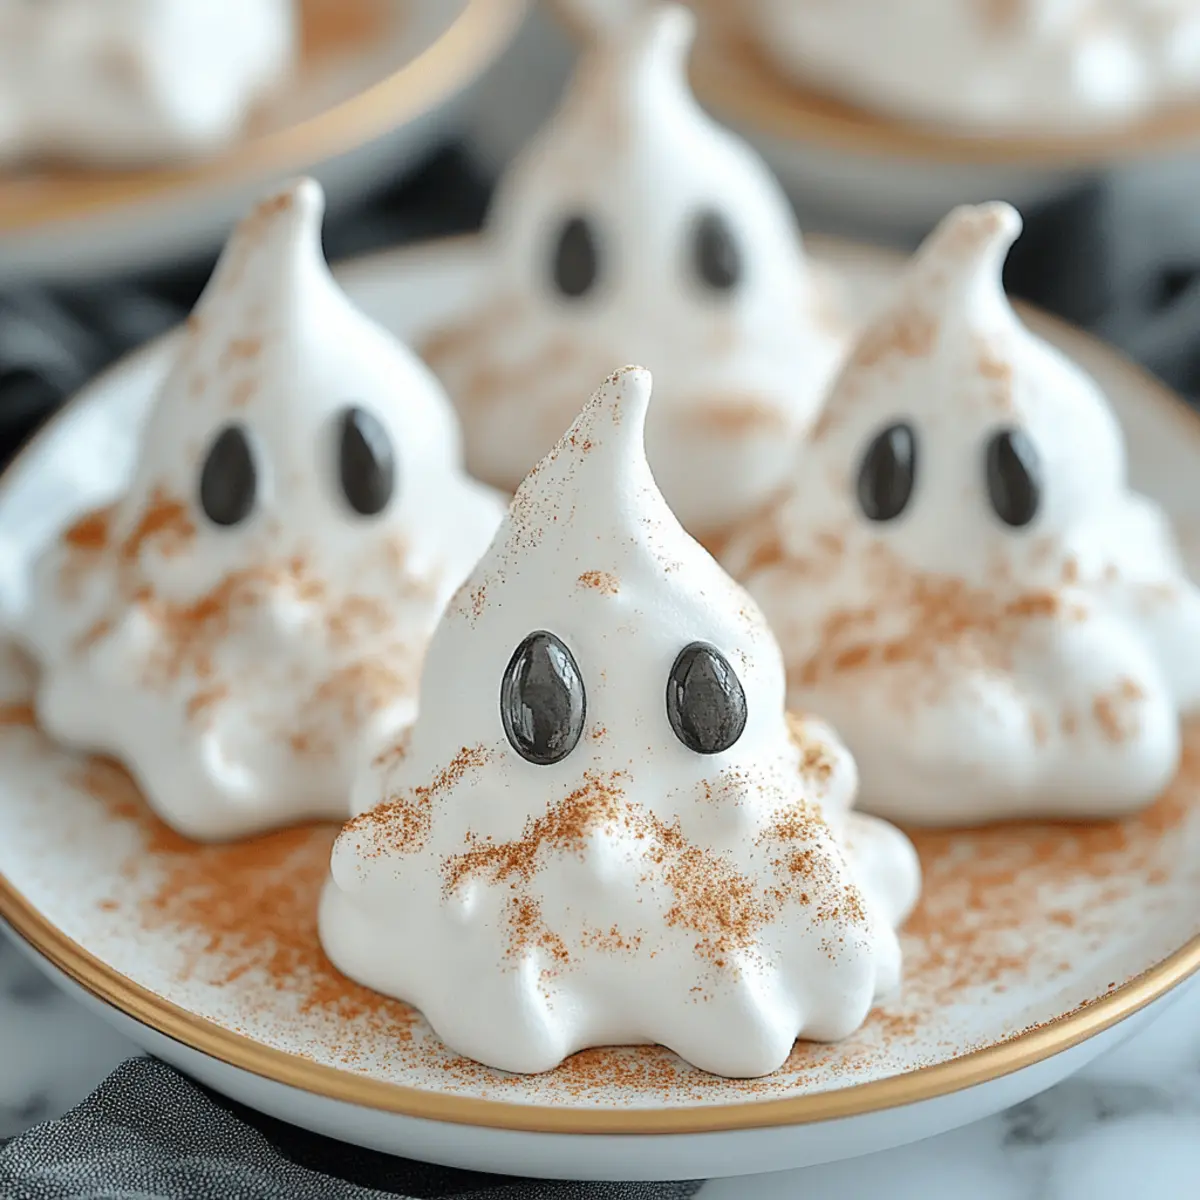
Step 7: Decorate the Ghosts
Once fully cooled, melt the chocolate chips in a microwave or double boiler until smooth. Use a toothpick to dab on little chocolate eyes, giving your Ghost Meringues personality. Then, with the black frosting, pipe spooky mouth shapes for an added frightful finish, enhancing their charm for Halloween gatherings.
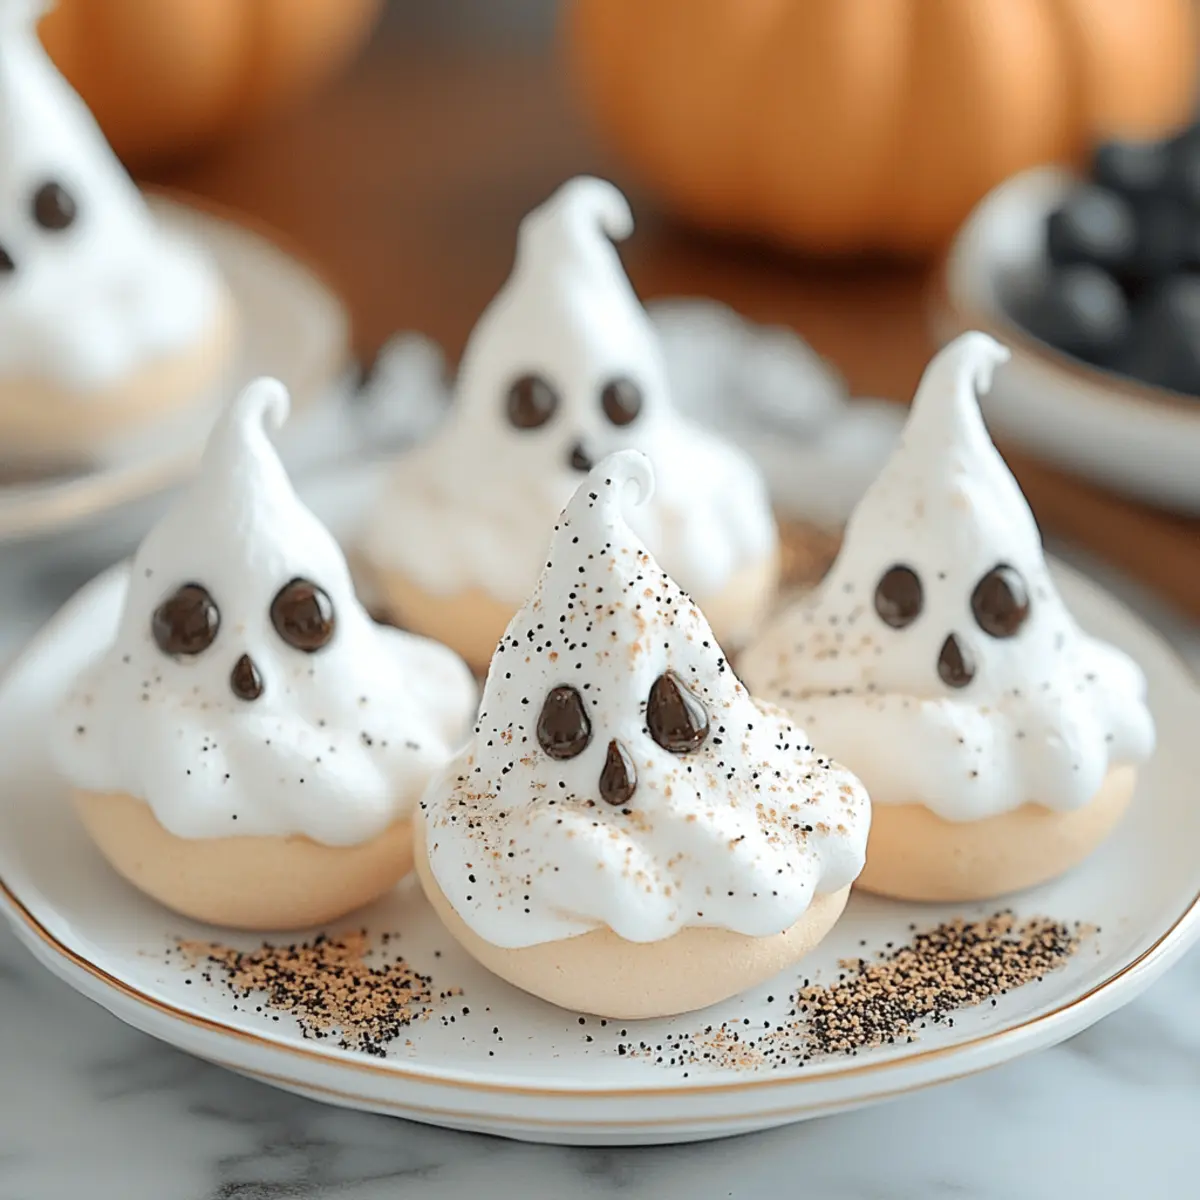
Step 8: Serve and Enjoy
Gently peel the meringues off the parchment paper and display them on a festive platter or dessert table. These light and airy Ghost Meringues are now ready to enchant your guests with their delicious taste and adorable appearance, making them the perfect addition to your Halloween dessert spread!
How to Store and Freeze Ghost Meringues
Room Temperature: Store your Ghost Meringues in an airtight container at room temperature for up to 2 weeks. This helps maintain their lovely light texture.
Avoid Humidity: Keep them away from humid areas, as moisture can cause them to become sticky and lose their crispness, ruining the delightful experience.
Freezing: If you want to freeze your Ghost Meringues, place them in a single layer in an airtight container with parchment paper between layers. They can be frozen for up to 2 months.
Thawing: When ready to enjoy, remove them from the freezer and let them thaw at room temperature for about 30 minutes. Enjoy their spooky charm and deliciousness once again!
What to Serve with Ghost Meringues?
As you gather your Halloween festivities, these whimsy treats invite endless possibilities for pairing, bringing your celebration to life!
-
Spooky Punch: A vibrant Halloween punch made with fruit juices and soda adds a fun and fizzy contrast to the airy meringues. The refreshing drink complements the sweetness while keeping the festive spirit alive.
-
Chocolate Fondue: Dip meringues into rich, melted chocolate for a delightful chocolate-covered treat. It adds a luscious contrast, transforming each bite into a seasonal indulgence.
-
Creepy Cupcake Cake: Pair with colorful cupcakes decorated as pumpkins or ghosts for a vibrant dessert table. The mix of textures and flavors elevates the overall Halloween experience.
-
Witch’s Brew Milkshakes: Creamy milkshakes topped with whipped cream extend the celebratory feel. These shakes can be tinted green or orange, bringing an extra layer of fun.
-
Candy Corn Trail Mix: A mix of candy corn, nuts, and popcorn offers a sweet and salty crunch that balances the delicate meringues perfectly. It's a crowd-pleaser that adds a cheerful crunch.
-
Black Velvet Cake: A rich, moist black velvet cake layered with cream cheese frosting complements the lightness of the meringues. The flavor contrast is spectacular, ensuring every guest is satisfied.
-
Pumpkin Pie: This seasonal classic brings warmth to your dessert spread, offering a heartiness that contrasts beautifully with the light Ghost Meringues. The spices in the pumpkin pie create a delightful harmony of flavors.
These pairing options ensure that your Halloween gathering is as enchanting as the treats themselves!
Ghost Meringues Variations & Substitutions
Get ready to get creative, because these delightful Ghost Meringues can easily be customized to suit your taste and occasion!
-
Chocolate Meringues: Add cocoa powder to the meringue mixture for a rich chocolate flavor that pairs beautifully with the light texture.
The deep hue offers a wonderful twist that’s great for chocolate lovers, adding an extra layer of delight to your spooky treats. -
Colorful Meringues: Incorporate food coloring into the mixture before piping for visually stunning ghosts in various festive hues.
Use bright shades like green or purple for a more vibrant Halloween display, making them truly standout treats at your gathering. -
Peppermint Flavor: Swirl in peppermint extract for a refreshing twist that captures the spirit of the season.
This elevates your meringues to a new level of deliciousness that pairs wonderfully with Halloween's cozy atmosphere. -
Nut-Free Option: Substitute cornstarch for cream of tartar to stabilize the meringues if you have any nut allergies.
This swap retains the fluffy, light texture while ensuring your treats are safe for everyone to enjoy, creating a stress-free dessert option. -
Meringue Skewers: Pipe mini meringues onto skewers for a fun, handheld treat that’s perfect for party bites.
Simply alternate with fruit like strawberries for a delicious contrast, adding a playful element to your Halloween dessert table. -
Spiced Meringues: Sprinkle in some cinnamon or nutmeg to introduce warm autumn spices to your meringues.
This little addition can create a cozy flavor profile that perfectly complements the season and your festive decorations. -
Alternative Toppings: Use candy corn or gummy worms instead of chocolate chips for the ghostly eyes for a fun twist.
These alternatives will make your Ghost Meringues even more playful, appealing to kids and adults alike with their imaginative presentations. -
Vegan Meringues: Experiment with aquafaba (the liquid from canned chickpeas) as a substitute for egg whites to make vegan-friendly meringues.
This swap allows everyone to enjoy these delightful treats, ensuring that your Halloween spread accommodates all dietary preferences!
Want more festive inspiration? Check out our delicious Witch Hat Cupcakes and Pumpkin Spice Cookies for a complete spooky dessert lineup!
Make Ahead Options
These Ghost Meringues are ideal for busy home cooks looking to save time during Halloween festivities! You can prepare the meringue mixture up to 24 hours in advance by following Steps 1 through 4, then refrigerate it in an airtight container to maintain freshness. Just before baking, pipe the ghost shapes onto the baking sheet and proceed to bake as instructed. For the best outcome, avoid decorating the meringues until you're ready to serve them to keep the chocolate eyes and frosting details looking perfect. With this make-ahead strategy, you’ll create delightful treats with minimal last-minute effort, ensuring a stress-free Halloween celebration!
Expert Tips for Ghost Meringues
• Use Fresh Egg Whites: Fresh egg whites whip up better and yield a fluffier texture, crucial for achieving the lightness in your Ghost Meringues.
• Room Temperature Eggs: Allow your eggs to reach room temperature before whipping; this helps incorporate air more effectively, leading to those beautiful stiff peaks.
• Avoid Fat Residue: Ensure your mixing bowl and beaters are completely grease-free; any fat can prevent the egg whites from whipping properly, resulting in flat meringues.
• Slow Sugar Addition: Adding sugar gradually allows for better incorporation, preventing graininess and ensuring a smooth, glossy finish in your Ghost Meringues.
• Watch the Oven: Keep an eye on them while baking; they should dry out without color. If they start to brown, the temperature may be too high, leading to chewy meringues instead of crisp ones.
• Storage Tips: Store your Ghost Meringues in an airtight container at room temperature to maintain their light texture. Avoid humidity, which can make them sticky!
Ghost Meringues Recipe FAQs
How do I select the best egg whites for my Ghost Meringues?
Absolutely! Fresh egg whites are key for achieving the perfect volume and structure in your meringues. To ensure freshness, check the expiration date, and if possible, use egg whites from free-range or organic eggs for superior flavor and quality.
How should I store my Ghost Meringues?
Store your Ghost Meringues in an airtight container at room temperature for up to 2 weeks. It's important to keep them away from humid areas, as moisture can cause them to become sticky and lose their delightful crispiness.
Can I freeze Ghost Meringues? How?
Very! To freeze your Ghost Meringues, first, place them in a single layer in an airtight container. Use parchment paper between layers if stacking to prevent sticking. They can be frozen for up to 2 months. When you're ready to enjoy them, simply let them thaw at room temperature for about 30 minutes.
What should I do if my meringue doesn't reach stiff peaks?
If your meringue isn't reaching stiff peaks, check for any fat residue in your mixing bowl or on the beaters, as this can prevent proper whipping. Ensure your egg whites are at room temperature and are fresh. If all else fails, try adding a pinch more cream of tartar; this can help stabilize the meringue and support that fluffiness.
Are Ghost Meringues safe for people with egg allergies?
Unfortunately, Ghost Meringues are not suitable for individuals with egg allergies since they rely solely on egg whites. However, if you need a meringue-like treat, I recommend trying aquafaba, the liquid from canned chickpeas, as a substitute. It can be whipped similarly to egg whites, offering a delightful option for those avoiding eggs!
Can I decorate Ghost Meringues with other types of toppings?
Absolutely! The creativity is endless! You can use edible glitter, colored frosting, or even small candies to create different spooky characters or themes. They’re great for personalizing fun treats for Halloween gatherings, making them perfect for both kids and adults!
Fluffy Ghost Meringues: A Spooktacular Halloween Treat
Ingredients
Equipment
Method
- Preheat your oven to 200°F (90°C) and line a baking sheet with parchment paper.
- In a clean mixing bowl, beat the egg whites and cream of tartar on medium speed until soft peaks form, about 2-3 minutes.
- Increase mixer speed to high and gradually add sugar, beating until stiff peaks form, about 5-7 minutes.
- Gently fold in the vanilla extract using a spatula.
- Transfer the meringue mixture into the piping bag and pipe ghost shapes onto the baking sheet.
- Bake the meringues for about 1 hour and 30 minutes, then let them cool in the oven.
- Melt the chocolate chips and use a toothpick to dab on little chocolate eyes.
- Decorate with black frosting for spooky detailing.
- Gently peel the meringues off the parchment paper and serve on a festive platter.


Leave a Reply