
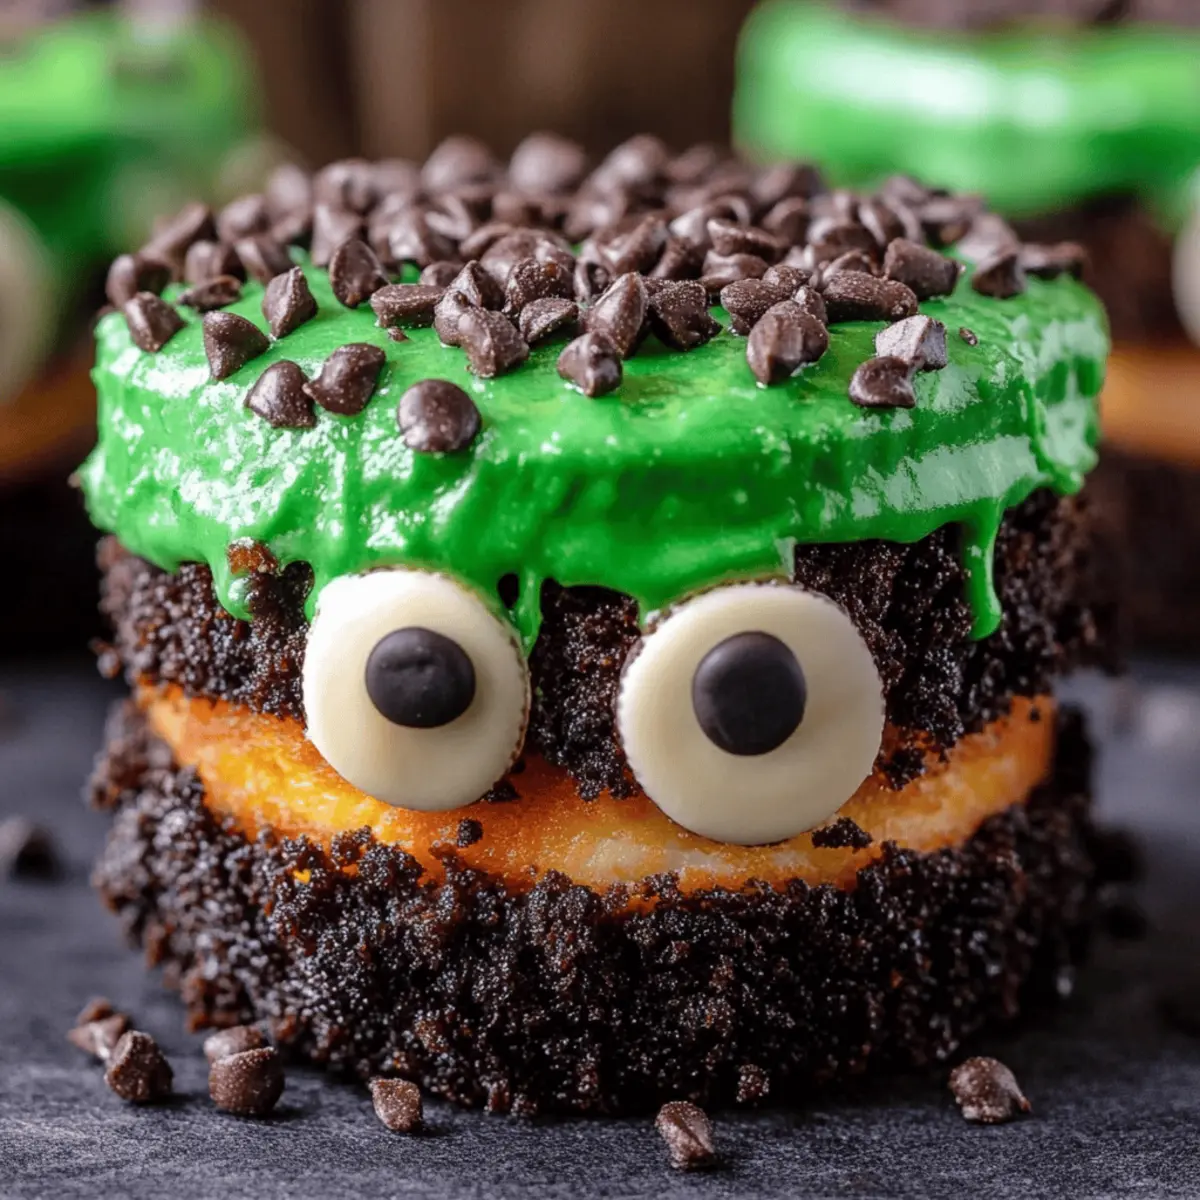
Every Halloween, I look forward to the thrill of transforming simple ingredients into delightful, spooky treats. This year, I couldn’t resist whipping up these Frankenstein Mini Cheesecakes, a fun and easy recipe that’s perfect for impressing guests at any festive gathering. With just 15 minutes of prep time, these charming little desserts not only deliver a delightful visual punch but also satisfy your sweet tooth with a creamy, dreamy cheesecake base. Plus, they’re easily customizable—make them as vibrant and scary as your imagination allows! Are you ready to bring a little taste of Halloween to your kitchen? Let’s dive in!
Why are these cheesecakes so special?
Fun, Festive Appeal: These Frankenstein Mini Cheesecakes are a delightful way to celebrate Halloween, captivating both kids and adults alike.
Easy Preparation: With only 15 minutes of prep, these treats fit perfectly into any busy schedule without skimping on flavor.
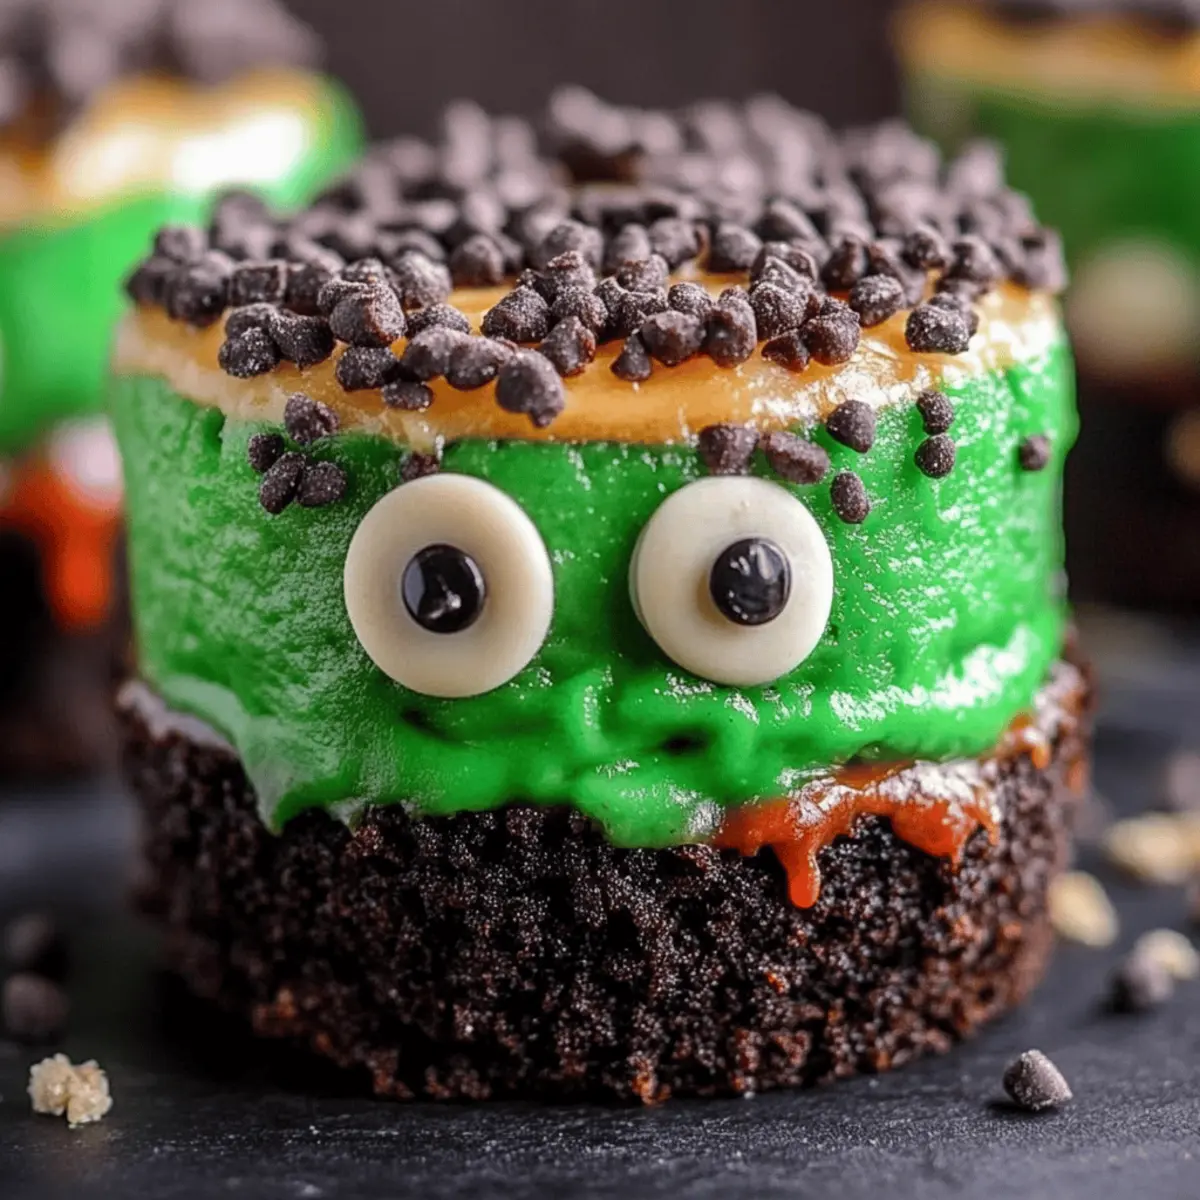
Customizable Decor: Get creative! Add vibrant colors and spooky designs, making them unique to your style.
Irresistible Creaminess: The rich cheesecake base paired with a crunchy Oreo crust creates a flavor explosion that keeps everyone coming back for more.
Shareable Size: Ideal for parties, these mini treats make it easy to share and impress your guests, just like my Mini Ghost Pizzas or Crisp Mini Cheesecakes.
Get ready to conjure up some magic with these charming mini cakes!
Frankenstein Mini Cheesecakes Ingredients
For the Cheesecake Filling
- 16 ounces cream cheese – softened cream cheese creates that impossibly creamy texture.
- 1 cup sugar – sweetens the mixture perfectly for a delightful dessert.
- 3 eggs – provides structure and stability to your cheesecakes.
- 2 tablespoons flour – helps thicken the filling for a richer consistency.
- 1 ½ teaspoons vanilla – adds a warm, inviting flavor to each bite.
- 20 drops green food coloring – makes your Frankenstein Mini Cheesecakes spooky and fun!
For the Crust
- 24 OREO cookies – crushed OREOs lend a delightful crunch that complements the soft filling.
- 2 tablespoons butter – melted butter helps bind the crust together for easy handling.
For the Decoration
- 32 edible eyes – these whimsical touches bring your mini cheesecakes to life!
- 1 cup chocolate chips – melted chocolate is perfect for adding a delectable coating.
- 1 cup chocolate sprinkles – adds a fun, festive flair to each cheesecake.
- 32 chocolate chips – use these as “neck bolts” to finish your spooky creations!
Step‑by‑Step Instructions for Frankenstein Mini Cheesecakes
Step 1: Preheat the Oven
Begin by preheating your oven to 350°F (175°C). This will ensure it's hot and ready for baking your delightful Frankenstein Mini Cheesecakes. While the oven warms up, gather your ingredients and equipment, including a mini cheesecake pan and mixing bowls, to keep everything within reach.
Step 2: Prepare the Crust
Melt 2 tablespoons of butter and mix it with 24 crushed OREO cookies in a medium bowl. Stir well until the mixture resembles wet sand, ensuring all crumbs are coated. With a tamper or your fingers, form the cookie mixture into 1-inch balls and press them firmly into the bottom of each compartment in the mini cheesecake pan.
Step 3: Make the Cheesecake Filling
In a large mixing bowl, beat together 16 ounces of softened cream cheese, 1 cup of sugar, 3 eggs, and 1 ½ teaspoons of vanilla extract until smooth and creamy, about 2-3 minutes. This mixture should be well blended without lumps, creating the rich base for your Frankenstein Mini Cheesecakes.
Step 4: Add Flour and Food Coloring
Slowly add in 2 tablespoons of flour, mixing until fully incorporated. Gradually incorporate 20 drops of green food coloring, ensuring a vibrant hue reminiscent of Frankenstein himself. Mix until you achieve your desired color, making your cheesecakes not only delicious but visually exciting.
Step 5: Combine Cheesecake and Crust
Carefully pour the cheesecake mixture over the crusts in the mini cheesecake pan. Fill each tin nearly to the top, leaving a little room for any rising while baking. The contrasting colors of the crust and filling will make your Frankenstein Mini Cheesecakes stand out beautifully.
Step 6: Bake the Mini Cheesecakes
Place the filled pan in the preheated oven and bake for 15 minutes, or until the cheesecakes are set around the edges but slightly jiggly in the center. Keep an eye on them towards the end to prevent overbaking, as you want that luscious creamy texture.
Step 7: Cool Completely
Once baked, remove the mini cheesecakes from the oven and let them cool in the pan for about 30 minutes. After that, transfer them to a wire rack to cool completely at room temperature. This step is essential to allow the cheesecakes to set perfectly.
Step 8: Melt Chocolate for Decoration
While the cheesecakes cool, melt 1 cup of chocolate chips in the microwave, heating in 30-second increments and stirring until smooth. This melted chocolate will be used for dipping and decorating your Frankenstein Mini Cheesecakes to add a touch of sweetness and flair.
Step 9: Dip and Decorate
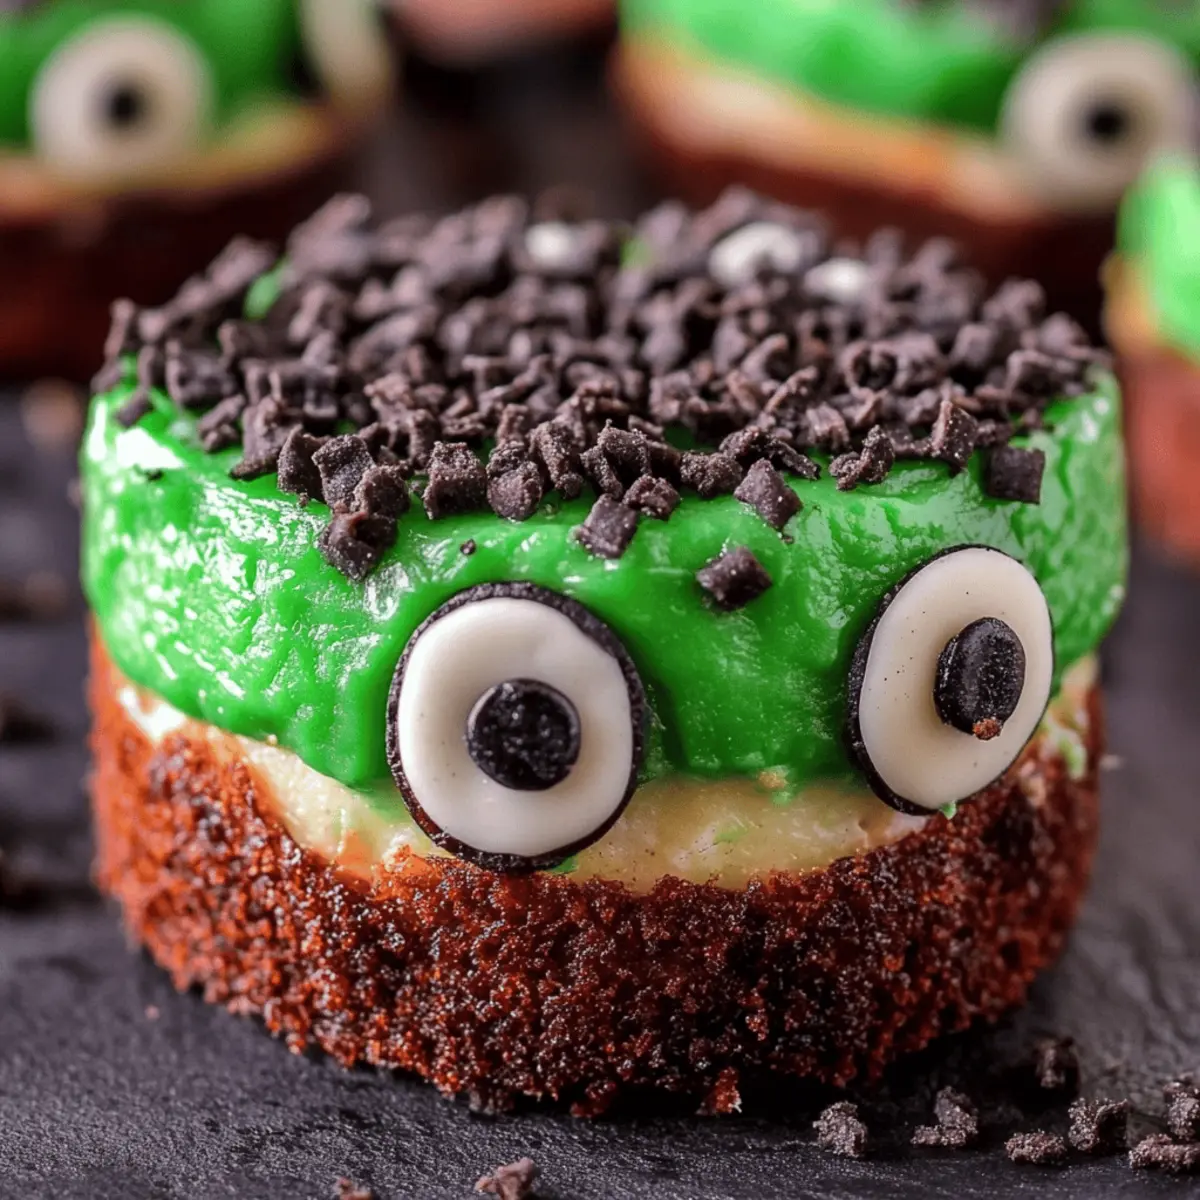
Once cooled, carefully remove each cheesecake from the pan. Dip the tops into the melted chocolate, allowing excess to drip off before rolling them in chocolate sprinkles for added texture. This candy-coated layer will bring your mini cheesecakes to life with festive brilliance.
Step 10: Pipe the Faces
Using the remaining melted chocolate, pipe fun faces onto each cheesecake to create a mouth and other silly features. Get creative with designs and enjoy the process of giving each Frankenstein Mini Cheesecake a unique personality.
Step 11: Attach Edible Eyes
To bring your spooky creations to life, use a small dot of melted chocolate to adhere an edible eye on each cheesecake. For added charm, attach a chocolate chip as a "neck bolt" beneath each eye, giving your mini cheesecakes an adorable and quirky look.
Step 12: Final Touch
Let the chocolate decorations set for a few minutes before serving. With each Frankenstein Mini Cheesecake fully decorated, you’re ready to showcase these delightful treats at your next Halloween gathering, impressing friends and family alike!
Make Ahead Options
These Frankenstein Mini Cheesecakes are perfect for busy home cooks who want to save time! You can prepare the crust with crushed OREO cookies and melted butter up to 24 hours in advance, storing it in an airtight container in the refrigerator to maintain freshness. Additionally, you can make the cheesecake filling, mixing together cream cheese, sugar, eggs, flour, and vanilla, and refrigerate it for up to 3 days. When you're ready to bake, simply pour the chilled filling over the crust and continue with the baking instructions. This way, you'll have these delightful treats ready to impress with minimal last-minute effort, ensuring they're just as delicious and creamy!
How to Store and Freeze Frankenstein Mini Cheesecakes
Fridge: Keep your Frankenstein Mini Cheesecakes in an airtight container for up to 5 days, ensuring they stay fresh and delicious.
Freezer: These cheesecakes can be frozen for up to 2 months. Wrap each one individually in plastic wrap and then place them in a freezer bag for extra protection.
Thawing: To enjoy, simply transfer the cheesecakes from the freezer to the fridge and allow them to thaw overnight before serving.
Reheating: If you prefer warm treats, store in the fridge, then gently microwave each cheesecake for 10-15 seconds, just until they’re slightly warm, keeping their creamy texture intact.
Frankenstein Mini Cheesecakes Variations
Feel free to unleash your creativity and customize these cheesecakes to match your unique taste and festive spirit!
- Dairy-Free: Substitute cream cheese with a plant-based cream cheese alternative for a delicious dairy-free version.
- Gluten-Free: Use gluten-free cookies instead of OREOs for a crust that’s perfect for those with gluten sensitivities.
- Nutty Delight: Add ¼ cup of finely chopped nuts to the crust mix for an extra crunch that elevates the flavor.
- Chocolate Lovers: Stir in ½ cup of chocolate chips into the cheesecake mixture for a rich chocolate experience throughout.
- Flavor Twists: Experiment with flavored extracts like almond or peppermint for a unique taste that surprises and delights each bite.
- Spicy Kick: Add a pinch of cinnamon or cayenne pepper to the batter for an unexpected and wonderful warmth that tantalizes your taste buds.
- Fruity Fun: Top with fresh fruit slices like strawberries or raspberries for a burst of color and freshness that cuts through the richness of the cheesecake.
- Layered Treats: For a fun twist, add a layer of fruit preserve or chocolate fudge in the center before topping with the cheesecake mixture, creating an amazing surprise with each bite!
Explore these variations to take your spooky cheesecakes to a whole new level! And if you’re looking for more delightful mini desserts, check out my Mini Oreo Cheesecakes for another treat everyone will love!
Expert Tips for Frankenstein Mini Cheesecakes
-
Cream Cheese Care: Ensure your cream cheese is softened to room temperature for a smoothly blended filling. Cold cream cheese can lead to lumps in your cheesecake.
-
Oven Timing: Keep a close watch on your cheesecakes as they bake. If they're too firm to the touch, they might overbake and lose that creamy texture that's key to these Frankenstein Mini Cheesecakes.
-
Customize Colors: Don’t hesitate to play with food coloring! Mixing other colors can create fun variations—maybe even a monster with purple skin for a twist!
-
Chill Before Dipping: Allow the cheesecakes to cool completely before dipping them into chocolate. This helps the chocolate adhere better and prevents melting.
-
Creative Decorations: Use different candies for eyes or add sprinkles directly into the batter for extra texture. The more creative you get, the more fun your Frankenstein Mini Cheesecakes will be!
What to Serve with Frankenstein Mini Cheesecakes?
Embrace the festive spirit by pairing these whimsical delights with equally enchanting accompaniments that elevate your dessert experience.
-
Spooky Fruit Skewers: Fresh strawberries and grapes add a vibrant, refreshing contrast to the rich creaminess of the cheesecakes, making them a healthy yet fun treat.
-
Charming Witch’s Brew Punch: A sweet, tangy fruit punch with a hint of fizz brings a thrilling touch of nostalgia to your spooky dessert table.
-
Ghoulish Green Jello Cups: These wiggly, colorful cups provide a playful and light addition to the meal, perfectly echoing the theme of your Frankenstein Mini Cheesecakes.
-
Chocolate-Dipped Pretzels: The salty crunch of pretzels coated in chocolate beautifully complements the sweet cheesecakes, creating a delightful flavor contrast.
-
Creepy Bug Cupcakes: Whip up some cupcakes topped with gummy worms or edible insects for a fabulously eerie treat that will dazzle your guests.
-
Chilled Pumpkin Soup: This smooth, spiced soup engages the senses with its warm flavors, serving as a warm-up for the sweet finish your mini cheesecakes bring.
With these fun and thematic pairings, your gathering will have the perfect mix of sweet and savory treats, keeping everyone enchanted throughout the celebration!

Frankenstein Mini Cheesecakes Recipe FAQs
How do I choose ripe ingredients for my Frankenstein Mini Cheesecakes?
Absolutely! For the best texture, ensure your cream cheese is soft and well-stirred at room temperature, which helps avoid lumps in your cheesecake filling. When choosing eggs, look for ones that are fresh with clean shells; they should have a fairly uniform shape and a nice, vibrant yolk for optimal flavor.
What’s the best way to store leftover cheesecakes?
Very! Store your Frankenstein Mini Cheesecakes in an airtight container in the fridge for up to 5 days. If you have a larger batch or want to enjoy them later, you can also freeze them!
How can I freeze Frankenstein Mini Cheesecakes?
Here's how! Wrap each cheesecake individually in plastic wrap to prevent freezer burn and to keep them from absorbing any unwanted odors. Then, place them into a labeled freezer bag. They’ll keep well for up to 2 months in the freezer. When you’re ready to enjoy, just move them to the fridge to thaw overnight.
What should I do if my cheesecakes are too dry after baking?
This is a common concern! To avoid dry cheesecakes, bake them just until the edges are firm and the centers are slightly jiggly. It’s crucial that they cool completely after baking, as they continue to set. If they still turn out dry, try adding a little whipped cream to the filling next time for added moisture.
Are these cheesecakes safe for kids or people with allergies?
Great question! These Frankenstein Mini Cheesecakes do contain common allergens: dairy and eggs. For a kid-friendly version, use allergen-free cream cheese substitutes and coconut whipped cream to keep it nut-free. Always check with guests for specific allergies before serving, as chocolate and Oreo cookies can vary in ingredients.
Frankenstein Mini Cheesecakes: Spooky Sweet Treats to Impress
Ingredients
Equipment
Method
- Preheat your oven to 350°F (175°C). Gather your ingredients and equipment.
- Melt 2 tablespoons of butter and mix with 24 crushed OREO cookies until it resembles wet sand.
- Form the cookie mixture into 1-inch balls and press them into the bottom of each compartment in the mini cheesecake pan.
- In a large mixing bowl, beat together 16 ounces of softened cream cheese, 1 cup of sugar, 3 eggs, and 1 ½ teaspoons of vanilla extract until smooth and creamy.
- Slowly add in 2 tablespoons of flour and incorporate 20 drops of green food coloring.
- Pour the cheesecake mixture over the crusts, filling nearly to the top.
- Bake for 15 minutes, until set around the edges but slightly jiggly in the center.
- Cool in the pan for about 30 minutes, then transfer to a wire rack to cool completely.
- Melt 1 cup of chocolate chips in the microwave for dipping and decorating.
- Dip the tops of each cheesecake in melted chocolate, then roll in chocolate sprinkles.
- Pipe fun faces onto each cheesecake with remaining melted chocolate and attach edible eyes with small dots of chocolate.
- Let the chocolate decorations set before serving your Frankenstein Mini Cheesecakes.


Leave a Reply