
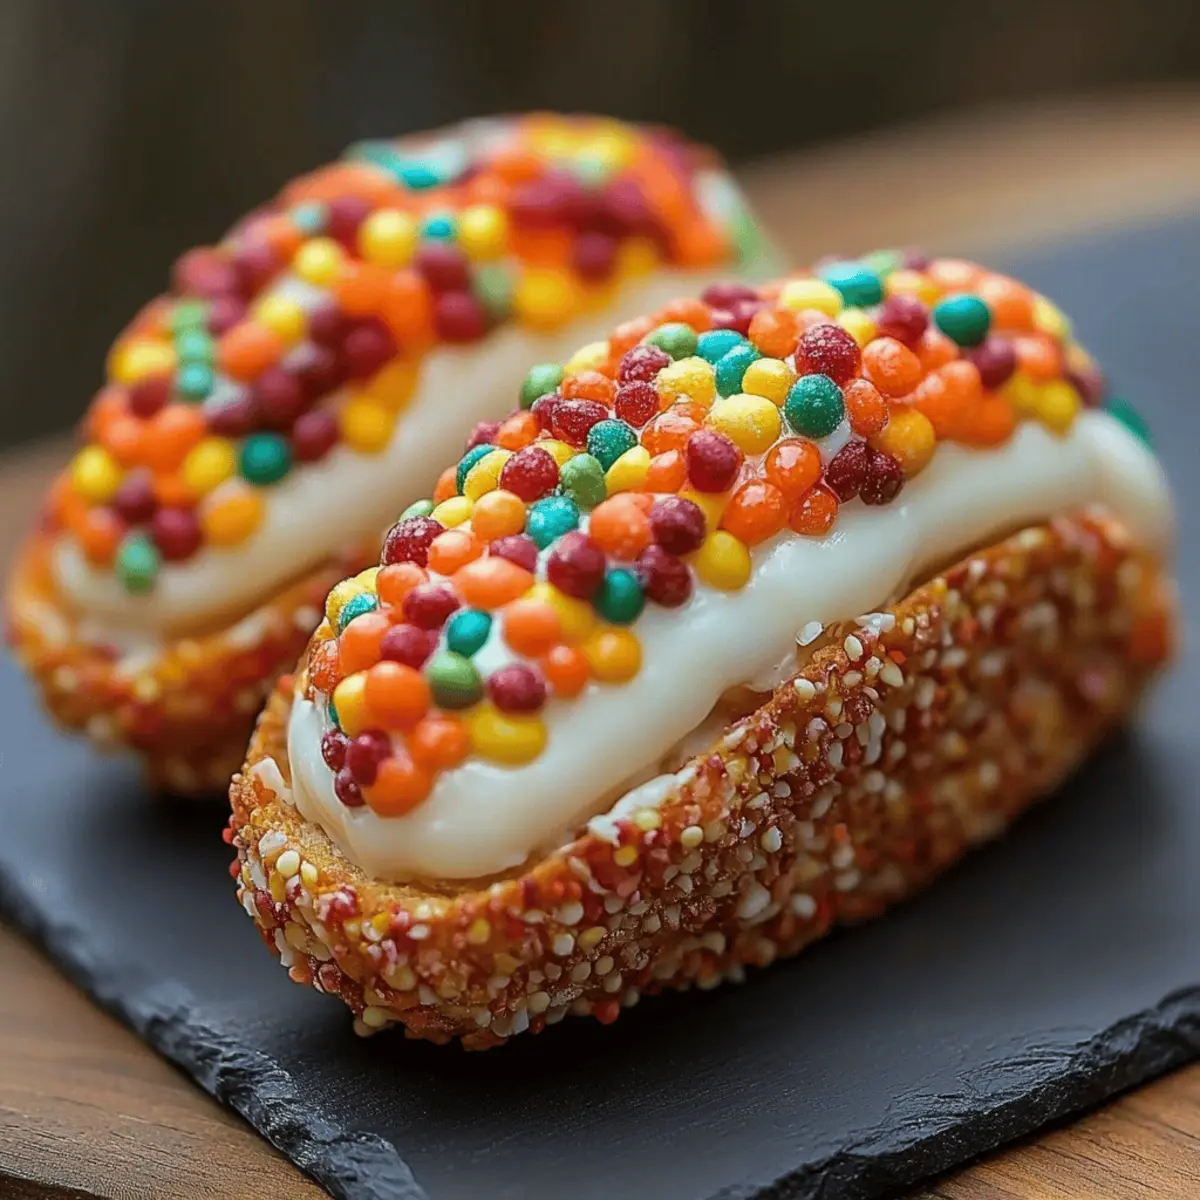
As I watched my kids devour their breakfast of Fruity Pebbles, an idea struck me: why not take this childhood favorite and give it a delightful twist? Enter Fruity Pebbles Cheesecake Tacos, a playful and irresistible dessert that combines the joy of cereal with the creamy richness of cheesecake. Not only are these treats a feast for the eyes with their vibrant colors, but they also pack a punch of nostalgia that’ll bring smiles to anyone who tries them. Plus, with a quick prep time and no baking required, they’re perfect for busy days or spontaneous gatherings. So, are you ready to indulge in a dessert that’s as fun to make as it is to eat? Let’s dive into this delicious adventure together!
Why are these tacos so delightful?
Uniqueness: Fruity Pebbles Cheesecake Tacos offer a fun and creative twist on traditional desserts, turning a breakfast favorite into a delightful treat.
Quick & Easy: With just 20 minutes of prep time, these no-bake tacos can be whipped up in a flash, making them perfect for spontaneous gatherings or busy weeknights.
Vibrant Flavors: The combination of fruity cereal and creamy cheesecake creates a burst of flavor that’s sure to excite your taste buds and make everyone smile.
Crowd-Pleasing Appeal: They’re not just tasty; these colorful tacos are visually stunning, making them the star of any dessert table—great for parties or family celebrations!
Versatile Serving Options: Serve them immediately for a light and fluffy texture, or chill them for a firmer filling. This flexibility allows you to customize your serving style!
These Fruity Pebbles Cheesecake Tacos will leave everyone asking for seconds—and don’t be surprised if they become a regular at your dessert repertoire!
Fruity Pebbles Cheesecake Tacos Ingredients
For the Taco Shells
• Fruity cereal – 3 cups; this adds the fun and colorful crunch essential for your tacos.
• Unsalted butter – ½ cup, melted; it helps bind the cereal for a crispy shell.
For the Cheesecake Filling
• Cream cheese – 8 oz, softened; use at room temperature for a smooth blend.
• Powdered sugar – ½ cup, sifted; it sweetens the filling without graininess.
• Pure vanilla extract – 1 tsp; enhances the overall flavor of your cheesecake.
• Whipped cream – 1 cup; fold this in gently to maintain a light, airy texture.
For Garnish
• Additional fruity cereal – for garnish; sprinkle on top to enhance the fun and colorful appearance.
These Fruity Pebbles Cheesecake Tacos are sure to be the highlight of your dessert table!
Step‑by‑Step Instructions for Fruity Pebbles Cheesecake Tacos
Step 1: Prepare the Taco Shells
In a large mixing bowl, combine 3 cups of fruity cereal with ½ cup of melted unsalted butter. Stir until every piece is well coated, ensuring a vibrant color. Press this mixture firmly into taco-shaped molds or muffin tins, creating a strong base. Chill the molds in the refrigerator for at least 30 minutes, allowing the shells to set and firm up for your Fruity Pebbles Cheesecake Tacos.
Step 2: Make the Cheesecake Filling
While the shells chill, beat 8 oz of softened cream cheese using a hand mixer until light and fluffy, about 2 minutes. Gradually incorporate ½ cup of sifted powdered sugar and 1 teaspoon of pure vanilla extract, blending until the mixture is smooth and creamy. This step ensures your filling is rich and delicious, perfect for filling those crispy taco shells.
Step 3: Incorporate the Whipped Cream
Gently fold in 1 cup of whipped cream into the cream cheese mixture with a spatula. Take your time to maintain the light and airy texture by carefully incorporating the cream. This adds a delightful fluffiness to the cheesecake filling, making your Fruity Pebbles Cheesecake Tacos irresistible.
Step 4: Fill the Taco Shells
Once the cereal shells have firmed up nicely, remove them from the refrigerator. Generously spoon the cheesecake filling into each shell, distributing it evenly for a stunning presentation. Aim for each taco to have a heaping scoop of filling, showcasing that creamy goodness and colorful fun.
Step 5: Garnish and Serve
Sprinkle additional fruity cereal over the filled shells for a playful touch. This final step enhances the visual appeal of your Fruity Pebbles Cheesecake Tacos. Serve immediately for a light, fluffy texture or chill them a bit longer in the refrigerator for a firmer filling, perfect for any gathering!
How to Store and Freeze Fruity Pebbles Cheesecake Tacos
Fridge: Store any leftover Fruity Pebbles Cheesecake Tacos in an airtight container in the refrigerator for up to 3 days to keep the shells crisp and the filling fresh.
Freezer: If you want to freeze them, individually wrap the tacos in plastic wrap and place them in a freezer-safe bag. They can be frozen for up to 2 months, but the crust texture may change.
Reheating: Thaw frozen tacos in the fridge overnight before enjoying. Do not reheat, as they are best served cold or at room temperature for the ideal creamy texture.
Serving Tips: For optimal flavor, add fresh fruity cereal as a garnish just before serving, which will enhance the crunch and nostalgia of your delicious Fruity Pebbles Cheesecake Tacos!
Make Ahead Options
These Fruity Pebbles Cheesecake Tacos are perfect for busy weeknights or fun occasions! You can prepare the taco shells up to 24 hours in advance by pressing the fruity cereal mixture into the molds and chilling them overnight, ensuring they set perfectly without losing their crunch. The cheesecake filling can also be made up to 3 days ahead; just keep it refrigerated in an airtight container to maintain its light texture. When you're ready to serve, simply fill the taco shells with the cheesecake mixture and garnish with additional fruity cereal for that vibrant finish. This way, you'll have a darling dessert ready with minimal effort and all the delightful flavor!
What to Serve with Fruity Pebbles Cheesecake Tacos
Enhance your dessert experience with delightful pairings that create a joyous celebration of flavors and textures!
- Fresh Fruit Salad: Juicy berries and citrus lend a refreshing contrast, balancing the sweetness of the cheesecake tacos perfectly.
- Vanilla Ice Cream: Creamy and rich, a scoop of vanilla ice cream adds a delightful cold contrast that complements the fruity flavors.
- Chocolate Drizzle: A warm, silky chocolate drizzle adds a luxurious touch that enriches each crunchy, fruity bite in your tacos.
- Minty Whipped Cream: Lightly sweetened and infused with mint, this topping adds a refreshing twist that elevates the dessert experience.
- Lemonade Spritzer: A fizzy, citrusy drink can brighten the palate after every sweet bite of the Fruity Pebbles Cheesecake Tacos. It’s effervescent and invigorating!
- Rainbow Fruit Skewers: Colorful and fun, skewers of assorted fruits mirror the vibrant colors of the tacos, enhancing the playful theme of your dessert table.
- Cotton Candy: For a whimsical element, a fluffy cloud of cotton candy brings back childhood memories, adding sweetness to your gatherings!
- S’mores Dip: For a cozy accompaniment, warm s’mores dip with chocolate and marshmallows can offer a delightful chocolatey contrast to the bright fruity flavors.
- Sparkling Water: Clean and crisp, a splash of sparkling water can refresh the palate and cleanse it between bites of your delicious tacos.
Elevate your culinary creation with these fancy companion dishes, and let your dessert become an unforgettable experience for all!
Expert Tips for Fruity Pebbles Cheesecake Tacos
Use Fresh Cereal: Ensure your fruity cereal is fresh for the best crunch and vibrant color in your taco shells. Stale cereal can result in a soggy texture.
Chill Properly: Allow your cereal shells to chill for at least 30 minutes. This step is crucial for achieving a firm base and preventing them from falling apart when filled.
Fold Carefully: When incorporating the whipped cream into the cheesecake filling, fold gently using a spatula. This maintains the light and airy texture essential for your Fruity Pebbles Cheesecake Tacos.
Adjust Sweetness: Feel free to taste your cheesecake filling before spooning it into the shells. Adjust the powdered sugar if you prefer a sweeter filling!
Serve with Style: For a fun touch, consider serving these tacos with colorful plates or platters. Presentation can enhance the overall experience and delight your guests!
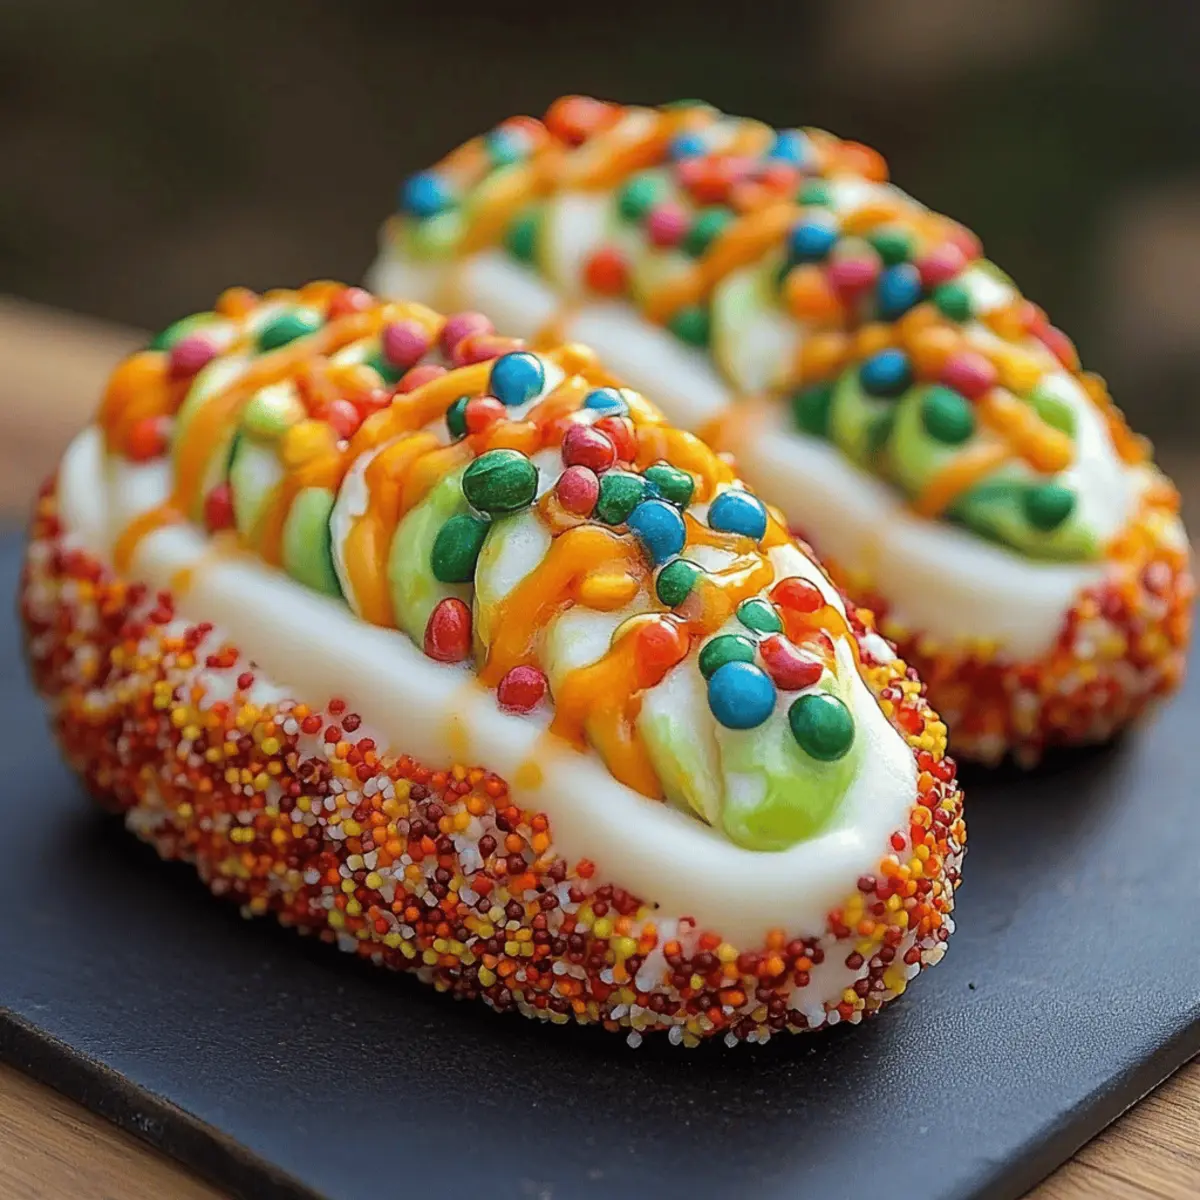
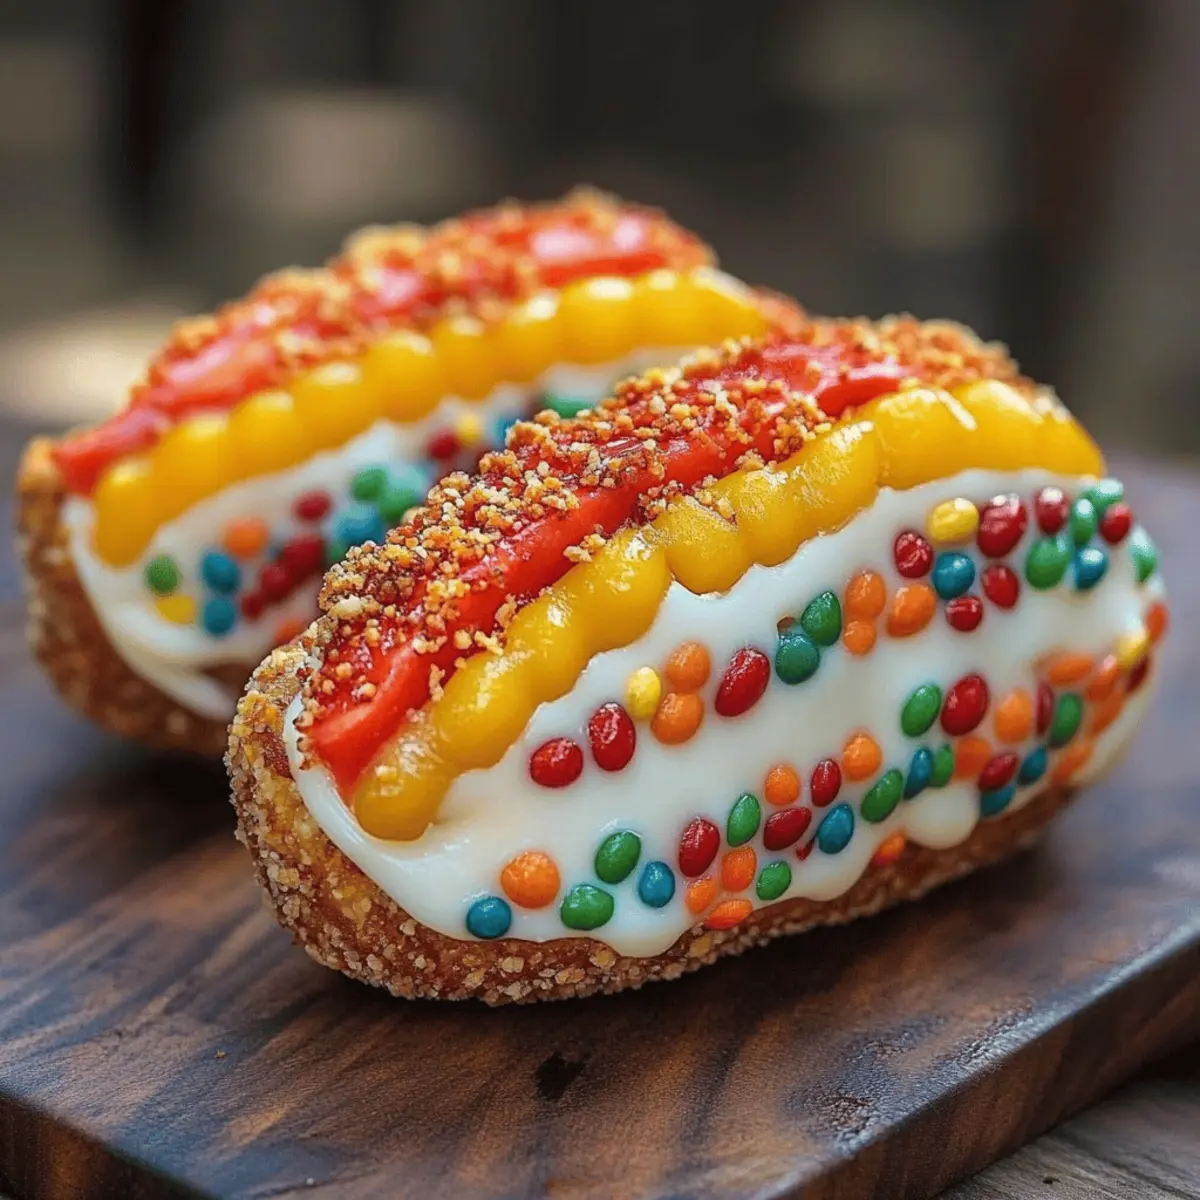
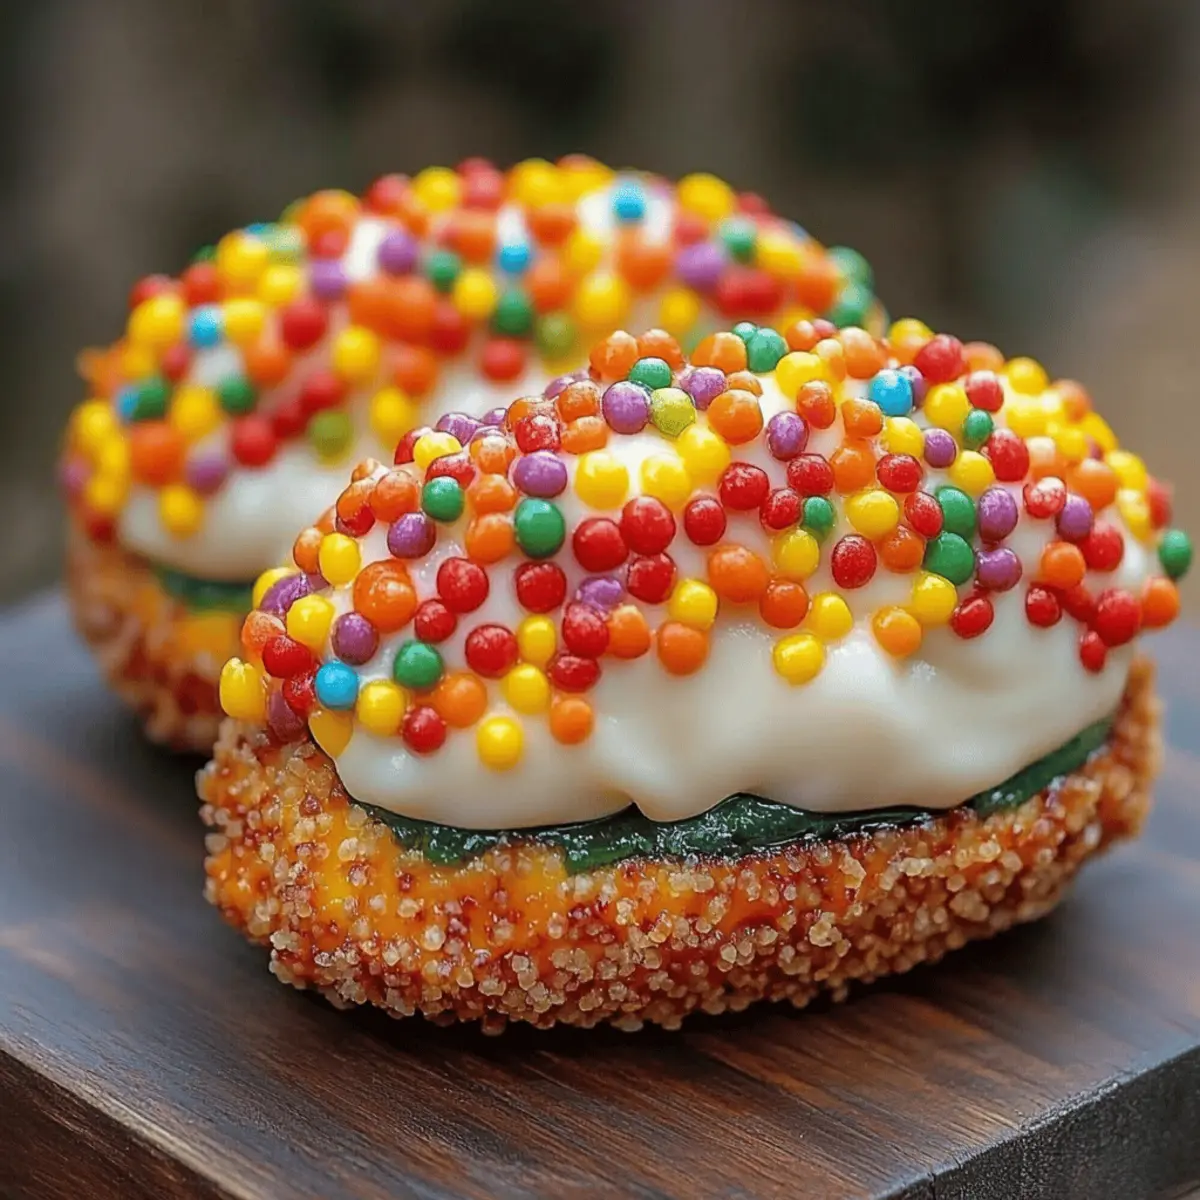
Fruity Pebbles Cheesecake Tacos Variations
Feel free to explore these fun and exciting variations to make your dessert even more unique!
-
Gluten-Free: Swap fruity cereal for a gluten-free version to accommodate gluten sensitivities without sacrificing flavor.
-
Vegan: Use dairy-free cream cheese and whipped coconut cream for a plant-based twist that still delivers on taste!
-
Nutty Crunch: Add crushed nuts, like almonds or pistachios, to the cereal mix for a satisfying crunch in every bite.
-
Chocolate Drizzle: Drizzle melted chocolate over the top for an indulgent upgrade that brings an extra layer of decadence to your tacos.
-
Fruity Filling: Mix in fresh fruits like strawberries or blueberries to the cheesecake filling for added freshness and flavor explosion.
-
Spice it Up: Add a dash of cinnamon or nutmeg to the filling for a warm spice note that contrasts beautifully with the fruity flavors.
-
Chilled Delight: If you prefer a firmer texture, freeze the filled tacos for a few hours, creating an exciting frozen treat for hot days.
-
Signature Decor: Instead of just fruity cereal, use edible glitter or colorful sprinkles for a fun, festive appearance that's perfect for special occasions.
These Fruity Pebbles Cheesecake Tacos lend themselves beautifully to customization—choose any of these delightful twists to surprise and delight your loved ones! If you’re interested in other creative dessert ideas, check out my No-Bake Cheesecake Bites for some extra inspiration!
Fruity Pebbles Cheesecake Tacos Recipe FAQs
What type of fruity cereal should I use?
Absolutely! For the best flavor and crunch, opt for a well-known brand of fruity cereal that has vibrant colors and a fun taste—Fruity Pebbles is the classic choice that really shines in this recipe!
How should I store leftover Fruity Pebbles Cheesecake Tacos?
The best way to keep your tacos fresh is to store them in an airtight container in the refrigerator for up to 3 days. This helps maintain the shell's crispness while keeping that creamy cheesecake filling delightful and fresh.
Can I freeze Fruity Pebbles Cheesecake Tacos?
Yes! To freeze them, wrap each taco individually in plastic wrap and place them in a freezer-safe bag. They’ll keep for up to 2 months. However, be aware that the texture of the shells may change after freezing, so they’re best enjoyed fresh!
What if my taco shells are falling apart?
No worries! If your shells are crumbling, it often means they weren't compacted tightly enough or needed more time to chill. When forming the shells, ensure you're pressing the cereal mixture firmly into the molds, and don’t rush the chilling process. Allowing them at least 30 minutes in the fridge will give them the necessary structure.
Can I make this recipe gluten-free or dairy-free?
While the original recipe calls for cream cheese and regular cereal, you can do a few swaps! Use gluten-free fruity cereal and replace the cream cheese with a dairy-free alternative, like cashew cream or a non-dairy cheesecake filling. These adjustments can still create delicious Fruity Pebbles Cheesecake Tacos without compromising on flavor!
Is this dessert safe for my pets?
Very! The ingredients in Fruity Pebbles Cheesecake Tacos, particularly sugary foods, are not safe for pets. It’s best to keep these colorful treats for your family and friends and give your furry pals their own special snacks instead!
Fruity Pebbles Cheesecake Tacos: A Fun Twist on Dessert Bliss
Ingredients
Equipment
Method
- In a large mixing bowl, combine 3 cups of fruity cereal with ½ cup of melted unsalted butter. Stir until every piece is well coated. Press this mixture firmly into taco-shaped molds or muffin tins. Chill in the refrigerator for at least 30 minutes.
- While the shells chill, beat 8 oz of softened cream cheese with a hand mixer until light and fluffy, about 2 minutes. Gradually incorporate ½ cup of sifted powdered sugar and 1 teaspoon of pure vanilla extract, blending until smooth and creamy.
- Gently fold in 1 cup of whipped cream into the cream cheese mixture with a spatula to maintain a light and airy texture.
- Once the cereal shells have firmed up, remove them from the refrigerator. Generously spoon the cheesecake filling into each shell.
- Sprinkle additional fruity cereal over the filled shells for garnish. Serve immediately or chill longer for a firmer filling.


Leave a Reply