
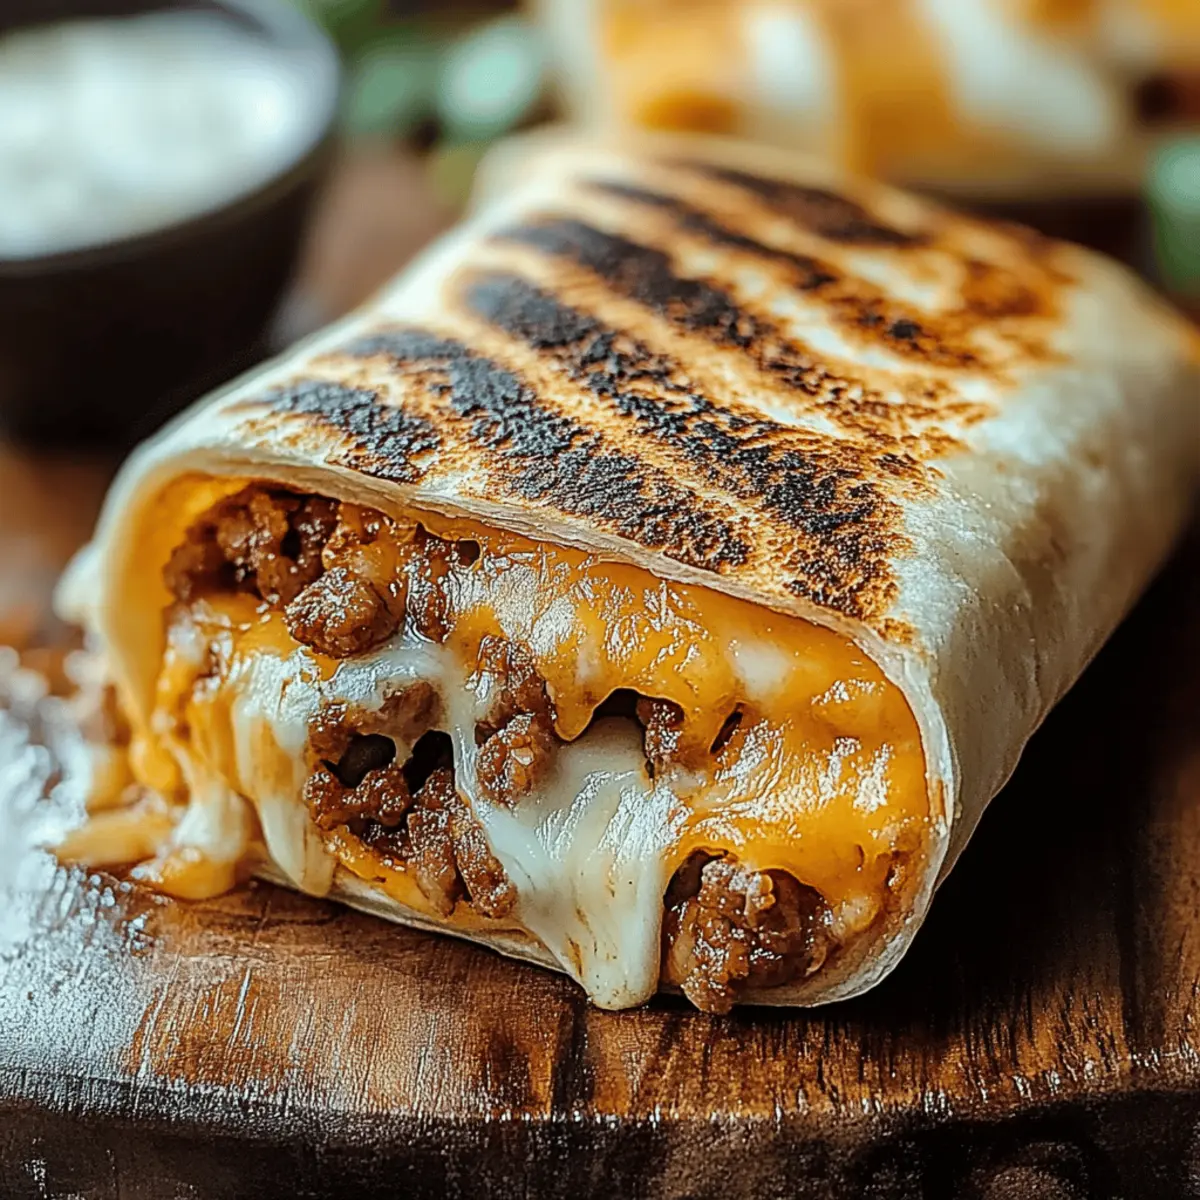
As I stood in the kitchen contemplating dinner, a brilliant idea struck me—what if I combined my love for grilled cheese with the comforting flavors of a burrito? This is how my Grilled Cheese Burrito came to life, a mouthwatering fusion that’s not only a quick fix for busy weeknights but also a crowd-pleaser for family gatherings. Packed with seasoned beef, creamy nacho cheese, and a delightful blend of textures, this recipe is a savory upgrade from fast food that you won't be able to resist. Plus, it comes together in just 25 minutes, making it perfect for when hunger strikes and time is short. Are you ready to discover just how easy it is to whip up this cheesy delight? Let’s dive in!

Why Is This Grilled Cheese Burrito Amazing?
Simplicity: This recipe takes just 25 minutes from prep to plate, making it a perfect weeknight solution.
Irresistible Flavor: The combination of seasoned beef, nacho cheese sauce, and chipotle creates a mouthwatering taste that rivals your favorite fast food.
Fun Fusion: Experience the best of both worlds with this unique blend of a grilled cheese and burrito, appealing to kids and adults alike.
Customizable: Feel free to swap in your favorite proteins or add vegetables to suit your taste. For more creative variations, check out our Taco-Inspired Recipes for extra inspiration.
Crowd-Pleaser: Serve it at gatherings or family dinners, and watch it disappear in no time. It's a recipe everyone will love!
Grilled Cheese Burrito Ingredients
For the Beef Filling
• Ground beef – offers a savory base to your burrito; use turkey or lentils as a healthier substitute.
• Taco seasoning – adds bold, spicy flavor; feel free to make your own mix for a custom taste.
For the Creamy Layers
• Cooked white rice – provides a hearty texture; brown rice can be used for added fiber.
• Sour cream – brings creaminess; Greek yogurt is a great healthy swap.
• Nacho cheese sauce – gives that gooey cheesiness; for a homemade alternative, try melted cheddar or Monterey Jack.
• Chipotle sauce – infuses a smoky kick; adjust the amount based on your spice tolerance.
For the Cheesy Goodness
• Shredded cheddar cheese – classic choice for flavor; opt for a sharp variety for deeper taste.
• Shredded mozzarella cheese – creates that melty stretch; can mix with provolone for a pizza-inspired twist.
For the Burrito Wrap
• Flour tortillas – soft and pliable, perfect for wrapping; corn tortillas can be used for a gluten-free version.
For Grilling
• Butter or oil – gives a golden, crispy texture; consider using olive oil for a healthier option.
This Grilled Cheese Burrito is your ticket to a satisfying meal that’s as easy to make as it is delicious! Enjoy your cooking adventure!
Step‑by‑Step Instructions for Grilled Cheese Burrito
Step 1: Brown the Beef
In a large skillet over medium heat, add 1 pound of ground beef, breaking it apart with a spatula as it cooks. Sauté for about 5-7 minutes until browned and cooked through, draining any excess grease. Next, sprinkle in a packet of taco seasoning and ¼ cup of water, stirring well to combine. Let it simmer for 5 minutes until the beef is coated in delicious flavor.
Step 2: Prepare the Tortillas
While the beef simmers, warm the tortillas to enhance their flexibility. You can do this in a dry skillet over low heat for about 1-2 minutes per side or by microwaving them for 15-30 seconds until just softened. Keeping them warm will help you easily roll your Grilled Cheese Burrito without tearing the tortillas.
Step 3: Assemble the Burrito
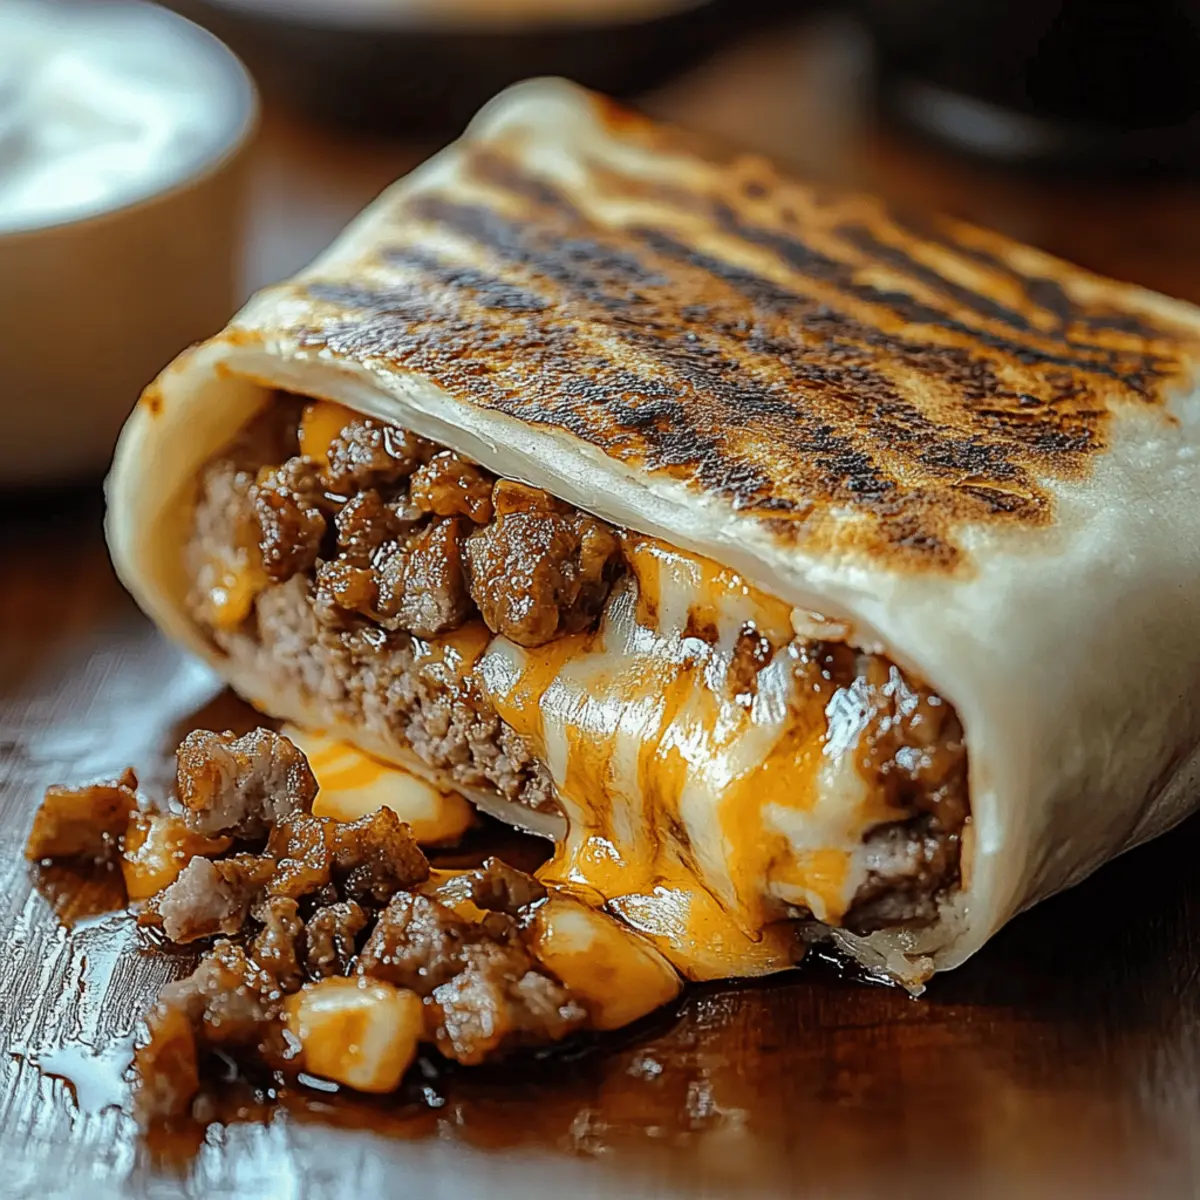
Lay one tortilla flat on a plate and begin layering the fillings. Start with a generous scoop of cooked rice, followed by the seasoned beef, drizzle with nacho cheese sauce, and a dollop of chipotle sauce. Lastly, add a few dollops of sour cream and top with a blend of shredded cheddar and mozzarella cheese, creating a delightful fusion of flavors.
Step 4: Grill the Burrito
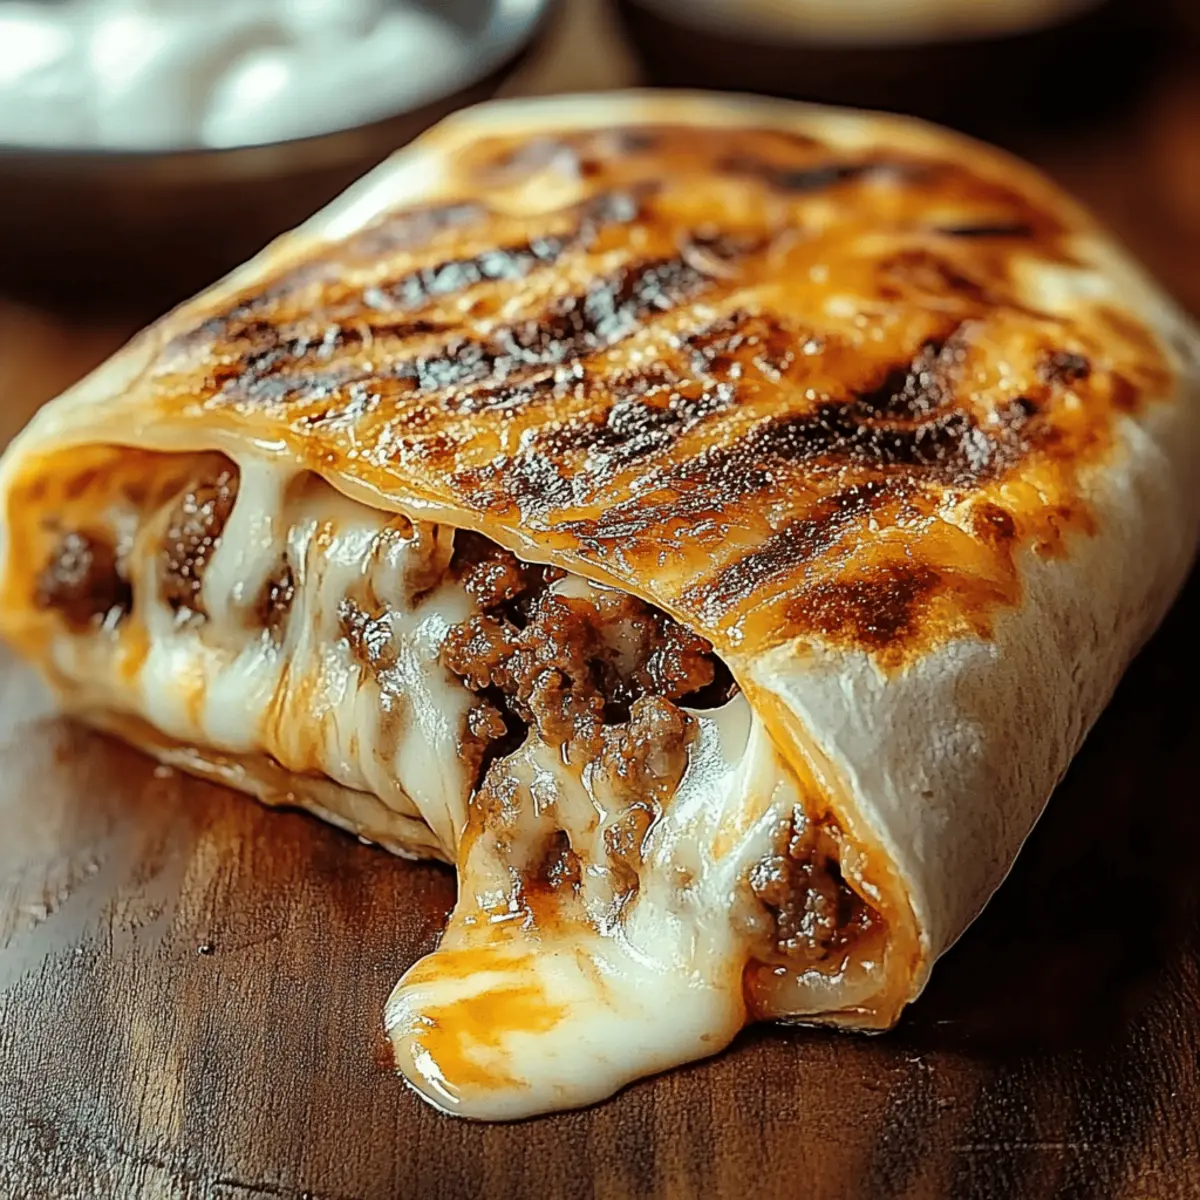
Heat a clean skillet over medium heat and sprinkle 2 tablespoons of shredded cheese onto the pan as a cheesy base. Carefully place the burrito seam-side down in the skillet. Cook for about 3-4 minutes, until the cheese has melted and the bottom is golden brown and crispy. The filling should be warm and inviting—keep an eye on it!
Step 5: Flip and Finish
After the first side is beautifully crisp, use a spatula to gently flip the burrito. Cook for an additional 3-4 minutes until the second side is equally golden and the cheese forms a delicious crust. Once done, remove your Grilled Cheese Burrito from the skillet and let it rest for a minute before slicing it in half to reveal the cheesy goodness inside.
Expert Tips for Grilled Cheese Burrito
Use Lean Beef: Choose lean ground beef to reduce excess fat and keep your burrito flavorful without being greasy.
Warm Tortillas: Always warm your tortillas before assembling; this prevents tearing and makes wrapping easier. A quick microwave or skillet works wonders!
Layer Smartly: Make sure to layer the ingredients evenly to avoid spills; try not to overstuff, as it can lead to messy grilling.
Perfect Cheese Crust: For a crispy cheese crust, add fresh shredded cheese to the skillet before placing the burrito—this creates a delightful crunchy coating.
Experiment with Fillings: Don’t hesitate to swap proteins or add vegetables like bell peppers or corn to personalize your Grilled Cheese Burrito. Enjoy exploring flavors!
Make Ahead Options
These Grilled Cheese Burritos are perfect for meal prep enthusiasts looking to save time during busy weeknights! You can prepare the beef filling and store it in an airtight container in the refrigerator for up to 3 days. Simply brown the ground beef and mix it with the taco seasoning, then let it cool before refrigerating. The tortillas can be warmed in advance, making assembly a breeze. When you're ready to serve, just layer the fillings in the tortillas, grill them for 3-4 minutes on each side, and enjoy restaurant-quality Grilled Cheese Burritos with minimal effort! This approach ensures that your burritos remain just as delicious and satisfying as when freshly made.
What to Serve with Grilled Cheese Burrito
Nothing completes a cozy meal like the perfect sidekick to your hearty burrito, inviting you to savor every bite in delightful harmony.
-
Crispy Taco Salad: Fresh greens topped with crunchy tortilla strips and zesty salsa provide a refreshing contrast to the rich flavors of the burrito.
-
Homemade Guacamole: Creamy avocado mixed with lime and cilantro adds a smooth, tangy element that complements the spicy kick of the burrito beautifully.
-
Spanish Rice: Fluffy and fragrant, seasoned rice with tomatoes and spices enhances the burrito's bold flavors, creating a comforting plate full of warmth.
-
Grilled Corn on the Cob: Sweet, charred corn drizzled with lime and cotija cheese offers a delightful crunch that pairs perfectly with the melted cheese and creamy layers of the burrito.
-
Refried Beans: Creamy, seasoned refried beans add a lovely depth to the meal, giving a nod to classic Mexican cuisine while keeping your plate well-rounded.
-
Zesty Cilantro Lime Rice: This vibrant dish adds a fresh burst of flavor, enhancing the taste experience of your Grilled Cheese Burrito while keeping it light and vibrant.
-
Sour Cream and Salsa Dip: A small bowl of zingy dip elevates your meal, offering a cool, tangy delight that’s perfect for dipping.
-
Margarita: For an adult twist, a classic margarita’s citrusy notes enhance every melty bite, making your burrito night extra special.
-
Churros: End your meal on a sweet note with warm churros dusted in cinnamon sugar, bringing a delightful finish to your comfy feast.
Grilled Cheese Burrito Variations
Feel free to get creative and make this Grilled Cheese Burrito your own with these mouthwatering twists and substitutions!
-
Vegetarian: Swap out the ground beef for black beans or lentils for a hearty, plant-based version. You won’t miss the meat!
-
Spicy Kick: Add diced jalapeños or a sprinkle of crushed red pepper for a heat level that will satisfy spice lovers. It adds a zesty punch!
-
Cheesy Twist: Mix in different cheeses like pepper jack or gouda for a richer flavor profile that melts beautifully. Experimenting can lead to delightful surprises!
-
Gluten-Free: Use corn tortillas instead of flour for a gluten-free option that doesn’t compromise on taste. Perfect for those with dietary restrictions!
-
Salsa Fresca: Top your burrito with fresh pico de gallo or a zesty salsa for a burst of brightness that complements all the rich flavors inside. A refreshing contrast awaits!
-
Breakfast Burrito: Add scrambled eggs and breakfast sausage for a morning twist, transforming this recipe into a delicious brunch favorite. Perfect for starting your day right!
-
Extra Crunch: Toss in some crushed tortilla chips for added texture within the burrito. This unexpected crunch will take the classic to new heights!
-
Herb Punch: Sprinkle fresh cilantro or chopped green onions into the filling before rolling for a fragrant burst of herbal freshness. It’s a simple addition that elevates the overall experience.
Feel inspired? Check out some of my favorite Taco-Inspired Recipes that can also help you elevate your cooking game!
How to Store and Freeze Grilled Cheese Burrito
Fridge: Store leftover Grilled Cheese Burrito in an airtight container for up to 3 days to maintain freshness and flavor.
Freezer: For longer storage, wrap each burrito tightly in foil or plastic wrap and place in a freezer-safe bag. They can be frozen for up to 2 months.
Reheating: To enjoy, thaw in the fridge overnight, then reheat gently on the stovetop for crispy cheese or microwave on high for 60-90 seconds until hot.
Wrapping Tips: For best results, ensure the burrito is wrapped well to avoid freezer burn and preserve its delicious taste.
Grilled Cheese Burrito Recipe FAQs
How do I choose ripe ingredients for the Grilled Cheese Burrito?
Absolutely! When selecting your ground beef, look for packages labeled as "lean" or "extra-lean" to keep your burrito flavorful without excess grease. For fresh toppings like chipotle sauce, opt for brands that use natural ingredients, and check for good expiration dates to ensure freshness!
What’s the best way to store leftover Grilled Cheese Burrito?
Very! After enjoying your burrito, place any leftovers in an airtight container and store them in the refrigerator for up to 3 days. This keeps them fresh and ready for your next craving, just remember to let them cool completely before sealing to avoid condensation.
Can I freeze the Grilled Cheese Burrito?
Absolutely! To freeze, wrap each grilled burrito in foil or plastic wrap tightly, then place them in a freezer-safe bag. They can be stored in the freezer for up to 2 months. When you’re ready to enjoy, thaw in the refrigerator overnight before reheating for the best texture.
What’s the best way to reheat the Grilled Cheese Burrito?
For sure! If you want that deliciously crispy crust back, I recommend reheating it gently on the stovetop. Preheat your skillet over medium heat and cook for about 5-7 minutes, flipping halfway through. Alternatively, you can microwave it on high for 60-90 seconds; just be aware that this may not give you the same crispy texture but is quicker.
Are there any dietary considerations I should keep in mind for the Grilled Cheese Burrito?
Yes! If you're serving this to kids or guests with allergies, be mindful of ingredients like sour cream and cheese. You can use Greek yogurt as a healthier substitute and switch to dairy-free cheese options to cater to lactose intolerance. For a gluten-free version, opt for corn tortillas instead of flour.
What if my burrito falls apart while grilling?
Don't worry! To prevent a mess, ensure that you don’t overstuff your burritos. Layer the ingredients evenly and keep the filling a bit less than the edge of the tortilla to allow for proper rolling and sealing. If it does split during grilling, just take it off the heat, make any necessary adjustments, and continue to enjoy the delicious flavors!
Melty Grilled Cheese Burrito: The Ultimate Comfort Food Delight
Ingredients
Equipment
Method
- In a large skillet over medium heat, add 1 pound of ground beef, breaking it apart with a spatula as it cooks. Sauté for about 5-7 minutes until browned and cooked through, draining any excess grease. Next, sprinkle in a packet of taco seasoning and ¼ cup of water, stirring well to combine. Let it simmer for 5 minutes until the beef is coated in delicious flavor.
- While the beef simmers, warm the tortillas to enhance their flexibility. You can do this in a dry skillet over low heat for about 1-2 minutes per side or by microwaving them for 15-30 seconds until just softened.
- Lay one tortilla flat on a plate and begin layering the fillings. Start with a generous scoop of cooked rice, followed by the seasoned beef, drizzle with nacho cheese sauce, and a dollop of chipotle sauce. Lastly, add a few dollops of sour cream and top with a blend of shredded cheddar and mozzarella cheese.
- Heat a clean skillet over medium heat and sprinkle 2 tablespoons of shredded cheese onto the pan as a cheesy base. Carefully place the burrito seam-side down in the skillet. Cook for about 3-4 minutes until the cheese has melted and the bottom is golden brown and crispy.
- After the first side is beautifully crisp, use a spatula to gently flip the burrito. Cook for an additional 3-4 minutes until the second side is equally golden and the cheese forms a delicious crust.


Leave a Reply