
As I rummaged through my pantry, I stumbled upon a treasure trove of festive ingredients just begging to transform into something spooktacular. Halloween Cookies are my go-to treat when I want to add a dash of whimsy to my baking. With just 15 minutes of prep time, these cookies whip up quickly, making them perfect for surprise guests or last-minute classroom treats. Plus, they’re a guaranteed crowd-pleaser, featuring the rich taste of black cocoa and colorful Halloween M&Ms that will bring smiles all around. Ready to create some spooky deliciousness? Let’s dive into this fun and easy recipe that will soon become a Halloween tradition in your kitchen!
Why Are These Cookies So Special?
Delightfully Quick: With only 15 minutes of prep, you can dive straight into the baking fun.
Vibrant and Fun: The colorful Halloween M&Ms and edible candy eyeballs transform ordinary cookies into a festive treat.
Decadent Flavor: The unique combination of black cocoa and white chocolate guarantees a deliciously rich experience.
Versatile Treat: Perfect for parties, school events, or cozy family nights, these cookies will be a hit anywhere.
Simple and Satisfying: Even novice bakers can achieve impressive results with this easy-to-follow recipe.
Looking for more delicious Halloween ideas? Try our Halloween Dirt Cups for another fun dessert!
Halloween Cookies Ingredients
For the Dough
• Unsalted butter – ½ cup (113 grams) at cool room temperature adds a rich flavor and helps achieve a fluffy texture.
• Granulated sugar – ½ cup (100 grams) for sweetness, balancing the flavors of darker ingredients.
• Brown sugar – ¼ cup (50 grams) contributes a delicious molasses flavor for depth.
• Vanilla extract – 1 teaspoon for a warm, aromatic note that enhances the overall taste.
• Egg – 1 at room temperature acts as a binder, helping the cookies hold their shape.
• All-purpose flour – 1 cup (127 grams) provides the necessary structure for the cookies.
• Black cocoa powder – ½ cup (43 grams), sifted, adds a rich flavor and dark color, making these Halloween cookies special.
For the Dry Ingredients
• Cornstarch – 1 tablespoon creates a softer, tender texture in each bite.
• Fine sea salt – 1 teaspoon enhances the sweetness and balances flavors.
• Baking soda – ½ teaspoon helps the cookies rise, creating a soft and chewy texture.
• Baking powder – ¼ teaspoon provides extra lift for puffiness.
For the Mix-ins
• White chocolate chips – ½ cup (85 grams) bring a delightful sweetness and creaminess, balancing the cocoa.
• Halloween M&Ms – 1 cup (218 grams) add vibrant color and a fun crunch, perfect for a festive touch.
• Edible candy eyeballs – for garnish, these creepy decorations will make your cookies truly eye-catching!
Embrace the spooky season with these delicious Halloween Cookies!
Step‑by‑Step Instructions for Halloween Cookies
Step 1: Preheat and Prepare
Begin by preheating your oven to 350 degrees F (175 degrees C). While the oven warms up, line your baking sheets with parchment paper. This step not only helps prevent sticking but also ensures your Halloween Cookies bake evenly. Make sure your baking sheets are ready to go as soon as the dough is prepared.
Step 2: Cream the Butter and Sugars
In the bowl of a stand mixer fitted with the paddle attachment, combine ½ cup of cool room temperature unsalted butter, ½ cup granulated sugar, and ¼ cup brown sugar. Beat these on medium speed until the mixture is light and fluffy, about 3 minutes. Scrape down the bowl, then add 1 teaspoon of vanilla extract and 1 room temperature egg, mixing well to make sure everything is fully incorporated.
Step 3: Combine Dry Ingredients
In a separate bowl, whisk together 1 cup of all-purpose flour, ½ cup black cocoa powder (sifted), 1 tablespoon of cornstarch, 1 teaspoon fine sea salt, ½ teaspoon baking soda, and ¼ teaspoon baking powder. Gradually add this dry mixture to the butter mixture in the stand mixer, mixing on low speed until a slightly sticky dough forms. The Halloween Cookies batter should be smooth and well-combined.
Step 4: Add the Fun Mix-ins
Once your dough is formed, gently fold in ½ cup of white chocolate chips and 1 cup of Halloween M&Ms using a rubber spatula. This adds delicious creaminess and festive color to your cookies. Make sure the mix-ins are evenly distributed throughout the dough to ensure every bite of your Halloween Cookies is a treat.
Step 5: Scoop and Garnish
Using a large spring-loaded cookie scoop, drop 3-tablespoon-sized balls of dough onto the prepared baking sheets, ensuring you space them at least 2 inches apart. To enhance the festive look of your Halloween Cookies, dot the tops of each dough ball with extra white chocolate chips, M&Ms, and edible candy eyeballs for that spooky vibe.
Step 6: Bake to Perfection
Place the baking sheets in the preheated oven and bake the cookies for about 12 minutes. Keep an eye on them; they should appear puffy but still soft in the center. Avoid overbaking to maintain that chewy texture. Once done, remove them from the oven and allow to cool on the baking sheet for 5 minutes before transferring them to a wire rack to cool completely.
Halloween Cookies Variations & Substitutions
Feel free to put your own spin on these delicious Halloween Cookies with the following fun ideas!
-
Nut-Free: Substitute ¼ cup of sunflower seed butter for a nut-free twist that still captures that rich flavor.
-
Gluten-Free: Use a 1:1 gluten-free flour blend to make these cookies suitable for gluten-sensitive friends and family. They’ll still enjoy every bite!
-
Vegan: Swap the egg for a flaxseed egg (1 tablespoon of ground flaxseed mixed with 2.5 tablespoons of water) and use dairy-free chocolate chips for a completely vegan treat. They won't miss the egg at all!
-
Spicy Kick: Add a pinch of cayenne pepper or cinnamon to the dough for a warm spiciness that complements the sweetness beautifully, elevating the flavor profile.
-
Variations on Mix-ins: Swap the Halloween M&Ms for colorful seasonal candies or your favorite chocolate candy for a different festive look. They’ll create delightful surprises in each bite!
-
Dough Chilling: If you prefer a thicker cookie with less spread, chill the dough for about 30 minutes before baking. This little trick works wonders for your cookie shapes!
-
Frosted Cookies: After baking, drizzle or spread a simple icing on top using powdered sugar and milk for an extra layer of sweetness. A creative icing decor could even turn them into spooky ghosts!
-
More Chocolate: For an added chocolatey punch, mix in some chocolate chunks in addition to, or in place of, the white chocolate chips. Pairing dark or milk chocolate can create a delicious contrast in flavors.
Looking for more delicious Halloween ideas? Try our Cake Batter Chocolate Chip Cookies for a festive twist that’s sure to delight!
What to Serve with Halloween Cookies
Elevate your Halloween gathering with delightful pairings that complement the whimsy of your cookies.
-
Warm Apple Cider: This spiced drink warms the soul and perfectly contrasts the sweetness of the cookies, creating a cozy vibe.
-
Pumpkin Spice Latte: Enjoy the classic fall flavors alongside your Halloween Cookies for a seasonal touch that everyone loves. The rich spice enhances the cocoa notes perfectly.
-
Chocolate Milkshake: Rich and creamy, this treat balances the cookie's texture while adding an extra indulgence that kids will adore. A winning combination for any gathering.
-
Ghostly Marshmallow Pops: These festive treats add a fun visual element and a chewy contrast to the crispness of your cookies. They’re easy to make and impressive to serve!
-
Screaming Pumpkin Soup: A savory and slightly spicy soup can be a delightful starter before indulging in the sweet treats. Its warmth and spices create a comforting balance.
-
Candy Corn Cupcakes: Keep the spirit of Halloween alive with these adorable cupcakes that mirror the colors of your cookies. Each bite is a burst of sweetness that pairs wonderfully with the rich flavors.
-
Spooky Sangria: A fruity, wine-based drink with seasonal fruits offers a sophisticated touch to your Halloween celebration, making it enjoyable for adult guests.
-
Black Cat Brownies: Serve up some rich brownies as an additional treat that complements the spooky theme while adding a chewy, fudgy texture. Who can resist adding more chocolate?
-
Caramel Apple Slices: These fresh and crunchy slices topped with gooey caramel offer a refreshing contrast, ensuring your table is balanced with flavors and textures.
Perfect for parties or quiet family nights, these pairings will make your Halloween Cookies even more festive and memorable!
Make Ahead Options
These Halloween Cookies are perfect for meal prep, allowing you to create a delightful treat even on your busiest days! You can prepare the dough up to 24 hours in advance; simply wrap it tightly in plastic wrap and refrigerate. This helps preserve freshness and flavor. Alternatively, you can scoop the dough into balls and freeze them for up to 3 months. When you're ready to bake, just place the frozen dough balls directly on the baking sheet without thawing, and add an extra minute or two to your baking time for perfectly fresh cookies. By prepping ahead, you'll have delicious, festive treats ready at a moment's notice, making your Halloween celebrations effortlessly sweet!
Tips for the Best Halloween Cookies
Perfect Consistency: Make sure your butter is at cool room temperature for a perfectly creamy dough that’s neither too soft nor too hard.
Don't Overmix: When combining the wet and dry ingredients, mix just until incorporated. Overmixing can lead to tough cookies instead of the tender, chewy goodness you'll want for your Halloween Cookies.
Chill the Dough: If your dough feels too sticky after mixing, chilling it in the fridge for 30 minutes can help. This will make scooping easier and result in a more uniform cookie shape.
Watch the Bake Time: Keep an eye on your cookies while baking. They should look puffy but soft in the center; overbaking can lead to a dry texture.
Add More Fun: Feel free to get creative with your toppings! A sprinkle of Halloween-themed sprinkles or different kinds of chocolate chips can give your cookies an extra festive flair.
How to Store and Freeze Halloween Cookies
Room Temperature: Store your Halloween Cookies in an airtight container at room temperature for up to 3 days to keep them fresh and chewy.
Fridge: For longer freshness, refrigerate the cookies in an airtight container for up to 1 week. Just allow them to come to room temperature before serving.
Freezer: Freeze the cookies in a single layer on a baking sheet before transferring to a freezer-safe bag for up to 3 months. Thaw at room temperature and enjoy!
Reheating: If you prefer warm cookies, reheat the refrigerated or thawed cookies in a preheated oven at 350°F for about 5 minutes to regain that just-baked texture.
Halloween Cookies Recipe FAQs
What ingredients should I use for the best flavor?
Absolutely! For the best flavor, use unsalted butter at cool room temperature, as it ensures a perfect creamy texture. Make sure to use high-quality black cocoa powder for a rich taste, and don’t skimp on the M&Ms – they provide not just fun colors but also delightful sweetness in every bite!
How should I store Halloween Cookies?
You can store your Halloween Cookies in an airtight container at room temperature for up to 3 days to maintain their chewy texture. If you’d like them to last longer, refrigerate them in an airtight container, where they’ll stay fresh for about a week. Just remember to let them come to room temperature before enjoying them!
Can I freeze Halloween Cookies?
Very! Freezing is a great way to preserve your Halloween Cookies. First, place them in a single layer on a baking sheet and freeze until solid. Once frozen, transfer them to a freezer-safe bag or container. They can be stored for up to 3 months. When you're ready to enjoy, thaw them at room temperature, or pop them in a preheated oven at 350°F for about 5 minutes for that just-baked feel.
What can I do if my cookie dough is too sticky?
If you find that your cookie dough is too sticky to scoop, don’t worry! Simply chill the dough in the refrigerator for about 30 minutes. This will not only make it easier to handle but will also help the cookies hold their shape better during baking.
Are these cookies safe for my pets?
No, it’s best to keep these Halloween Cookies away from pets. Ingredients like chocolate, especially dark cocoa, can be toxic to dogs and cats. If you’re looking for a pet-friendly treat, consider creating another recipe specifically designed for our furry friends.
Can I adapt this recipe for dietary considerations?
Absolutely! If you need to make these cookies gluten-free, try substituting all-purpose flour with a 1:1 gluten-free baking blend. For dairy-free cookies, you can use vegan butter and dairy-free chocolate options, ensuring everyone can enjoy this Halloween treat!
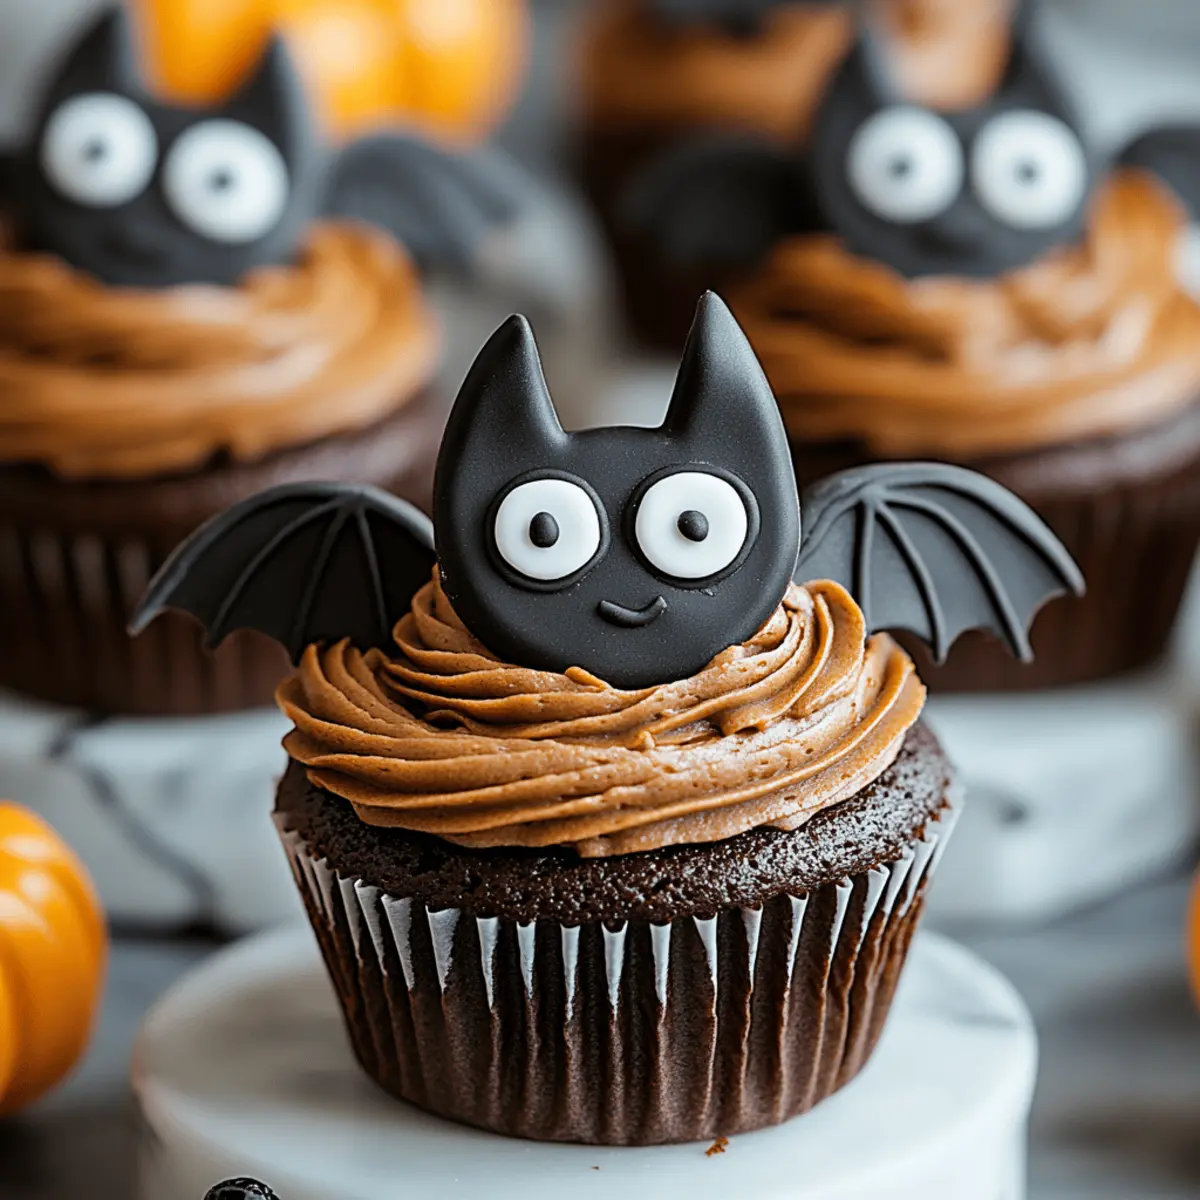
Halloween Bat Cupcakes that Will Steal the Show
Ingredients
Equipment
Method
- Preheat your oven to 350 degrees F (175 degrees C) and line your baking sheets with parchment paper.
- In a stand mixer, cream together the unsalted butter, granulated sugar, and brown sugar until light and fluffy, about 3 minutes. Add the vanilla extract and egg, mixing until combined.
- In another bowl, whisk together the all-purpose flour, black cocoa powder, cornstarch, fine sea salt, baking soda, and baking powder. Gradually combine with the wet mixture until a sticky dough forms.
- Gently fold in the white chocolate chips and Halloween M&Ms to the dough using a spatula.
- Using a large cookie scoop, place dough balls on prepared baking sheets, spacing them 2 inches apart. Garnish with extra chocolate chips, M&Ms, and edible candy eyeballs.
- Bake the cookies for 12 minutes, ensuring they are puffy but still soft in the center. Cool on the baking sheet for 5 minutes before transferring to a wire rack.


Leave a Reply