
As I glanced out the window, the first leaves of autumn drifted down like colorful confetti, signaling that Halloween was just around the corner. What better way to celebrate the season than with a batch of Halloween Cookies that not only capture the spooky spirit but also make your home smell heavenly? These delightful treats blend rich black cocoa with bursts of festive M&Ms and creamy white chocolate chips, crafting a cookie that’s both playful and indulgent. Perfect for quick prep on a busy afternoon or as the ultimate crowd-pleaser at your Halloween gatherings, these cookies promise to be a hit among friends and families alike. Plus, who doesn’t love the chance to get creative with sprinkles of candy eyeballs? Ready to whip up some Halloween magic in your kitchen? Let’s dive into this recipe that’s about to become a seasonal favorite!
Why is this Halloween cookie special?
Delightful Flavor Combos: The rich black cocoa pairs beautifully with white chocolate chips for a sweet and slightly bitter taste that complements Halloween perfectly.
Easy to Make: With only 15 minutes of prep, you can have these festive cookies ready in no time, making them perfect for last-minute gatherings or a cozy day at home.
Creative Presentation: Get into the Halloween spirit by decorating with candy eyeballs—both fun and spooky! They provide a unique touch that your friends and family will love.
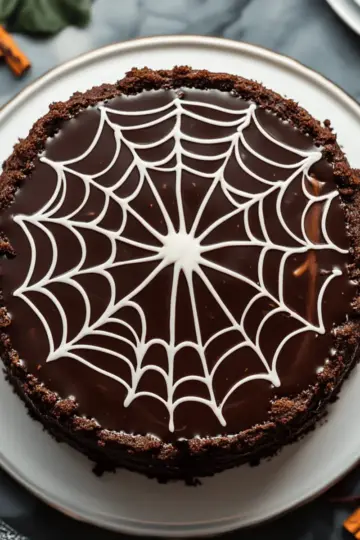
Crowd-Pleasing Treats: These cookies are a hit among kids and adults alike, setting the perfect mood for any Halloween party. Don’t miss trying other festive options like the Cranberry Crumble Pie for more seasonal fun!
Versatile Fun: Feel free to swap out the M&Ms for your favorite Halloween treats, making each batch uniquely yours. It’s a great way to mix it up while keeping cookies exciting!
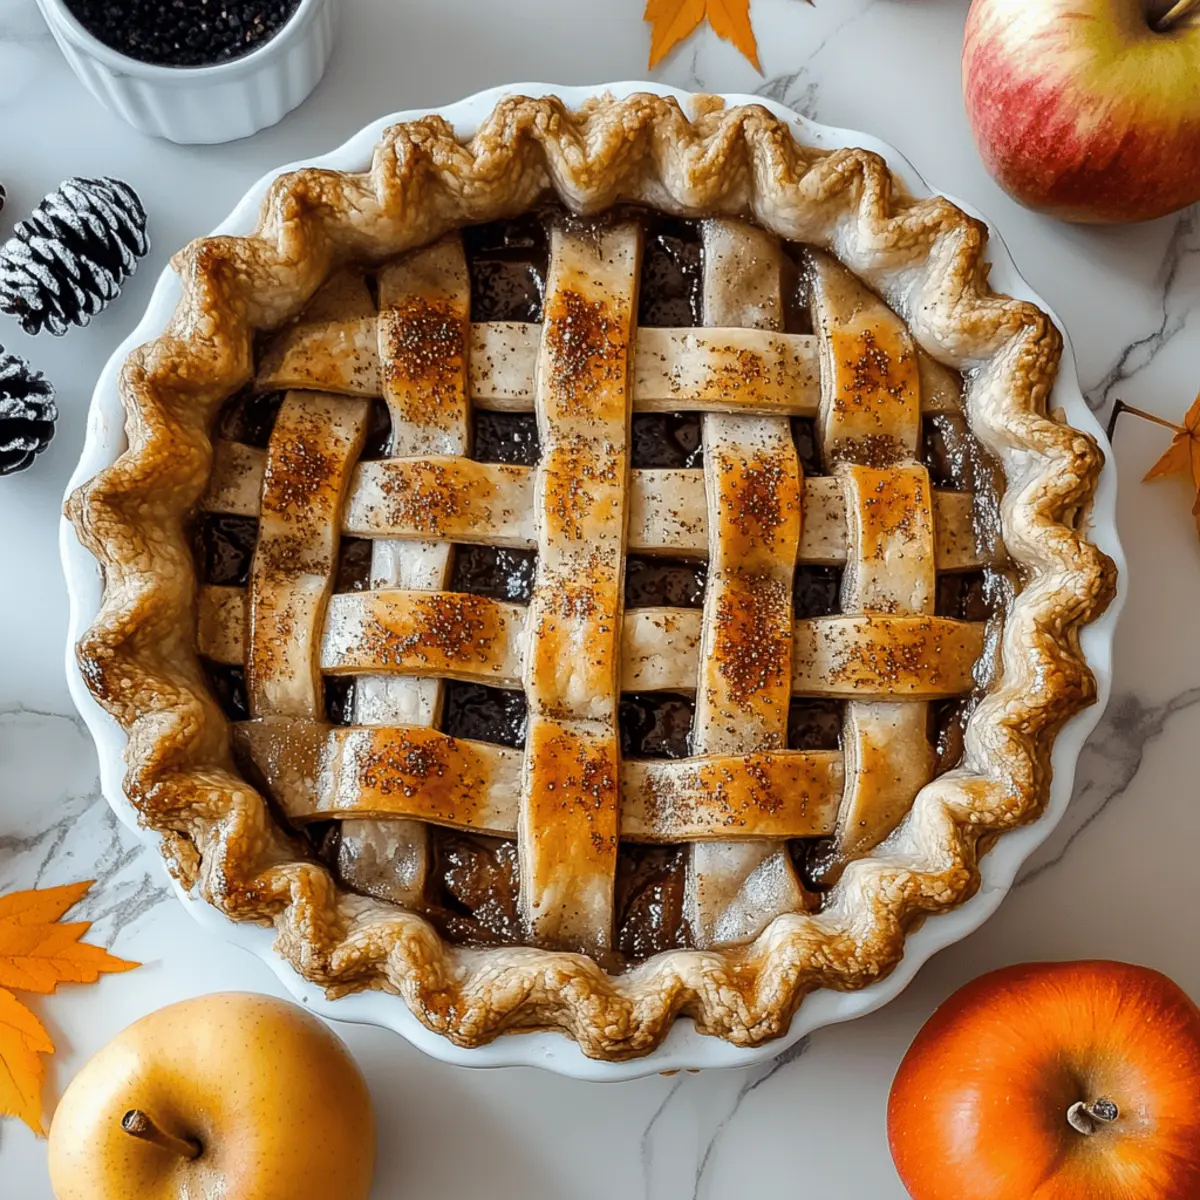
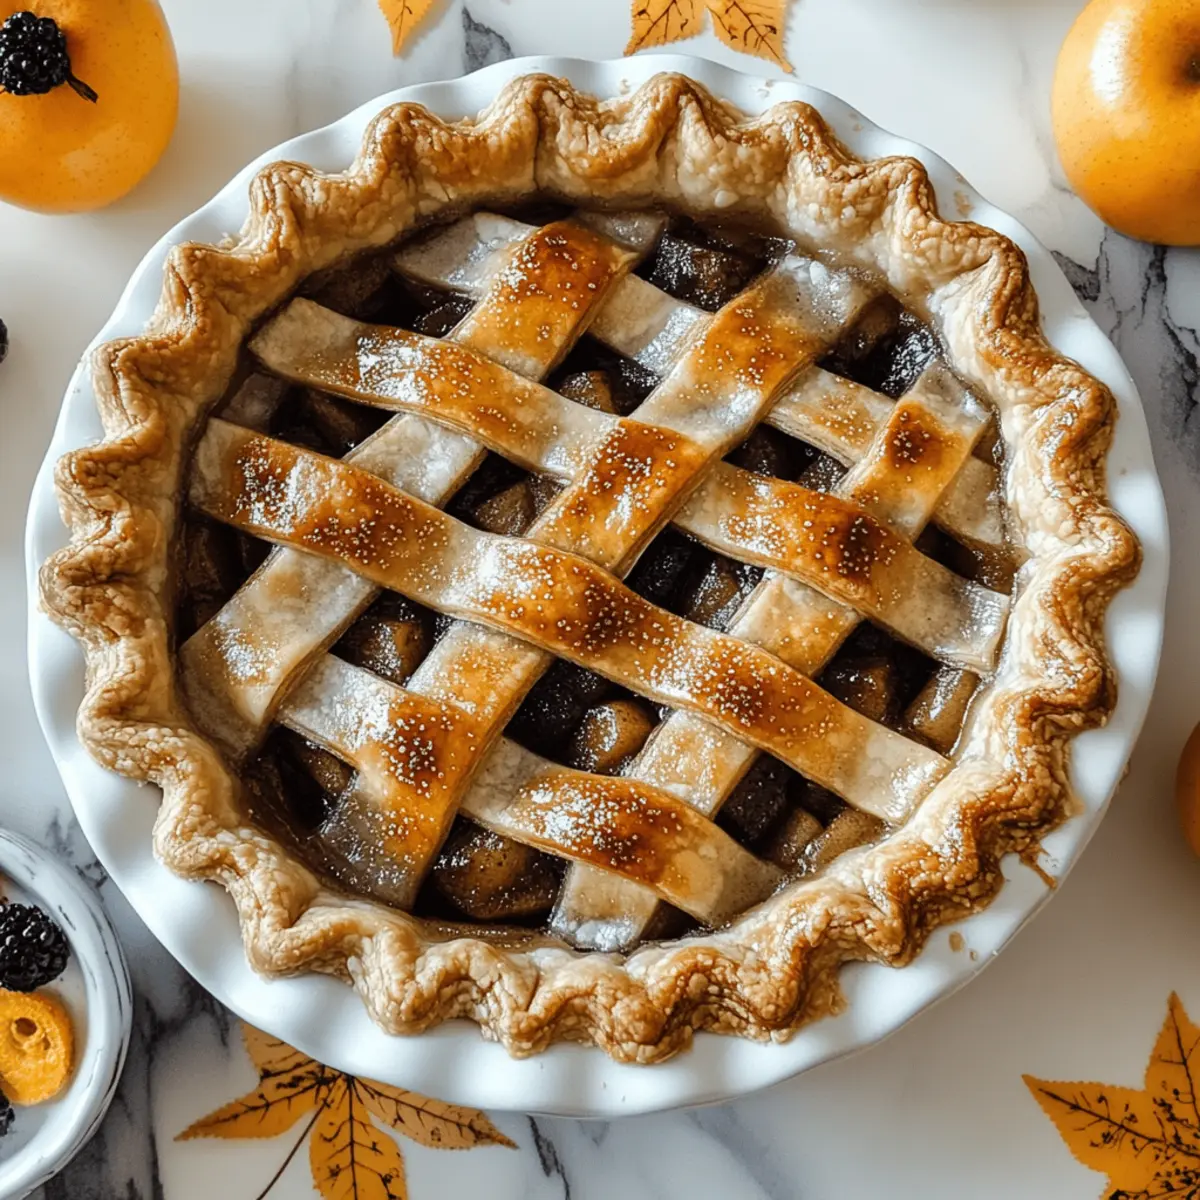
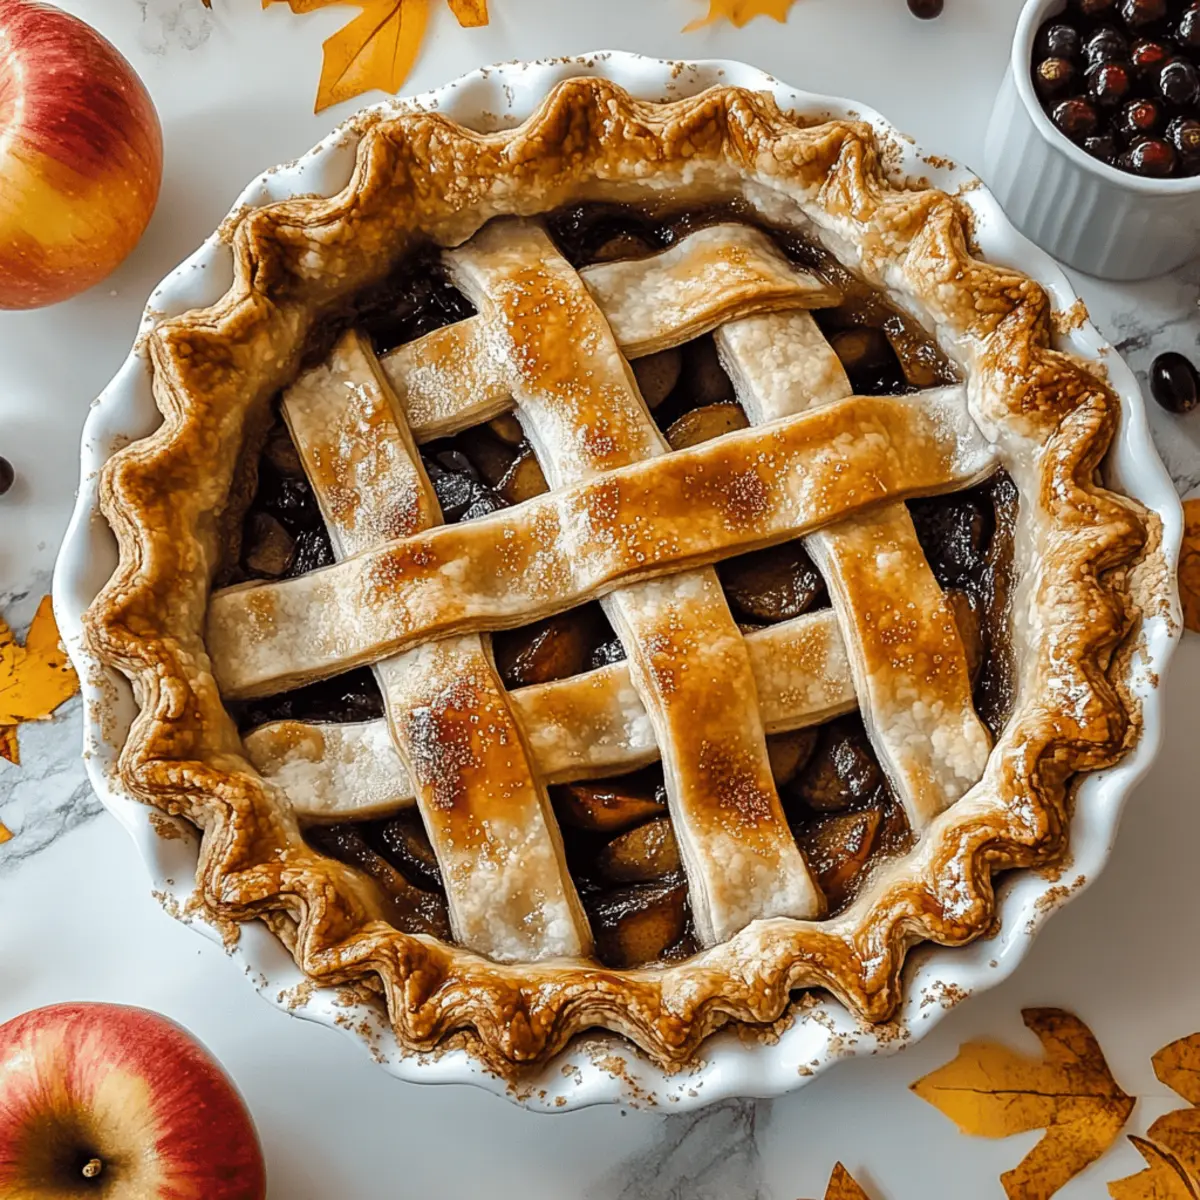
Poison Apple Pie Ingredients
• Get ready to bake a festive treat!
For the Crust
- All-purpose flour – Use a mix of whole wheat for a nuttier flavor if desired.
- Unsalted butter – Cold butter gives you a flaky crust; avoid using margarine for best results.
- Granulated sugar – Enhances sweetness and aids in browning.
- Ice water – Keeps the dough cold, preventing it from becoming too sticky.
For the Filling
- Granny Smith apples – Their tartness perfectly balances the sweetness, making them ideal for a Poison Apple Pie.
- Brown sugar – Adds a deep, caramelized flavor that complements apples beautifully.
- Ground cinnamon – A warm spice that amplifies the flavor profile and gives a cozy aroma.
- Nutmeg – Just a pinch brings a delightful depth of flavor that works perfectly for fall desserts.
- Lemon juice – Brightens the apple flavor and prevents browning.
For the Topping
- Granulated sugar – A sprinkle on top gives a lovely crunch and sweet finish.
- Cinnamon – Adds an extra kick to the crust for a spiced topping.
Transform your baking experience with this Poison Apple Pie, sure to enchant and delight at any Halloween gathering!
Step‑by‑Step Instructions for Halloween Cookies
Step 1: Preheat and Prepare
Begin by preheating your oven to 350 degrees F (175 degrees C) to ensure the perfect bake. While it heats up, line your baking sheets with parchment paper, creating a non-stick surface for your cookies to rest on. This preparatory step sets the stage for baking your delightful Halloween Cookies later.
Step 2: Cream the Butter and Sugars
In the bowl of a stand mixer, fitted with the paddle attachment, beat ½ cup of cool unsalted butter along with ½ cup granulated sugar and ¼ cup brown sugar on medium speed. Mix until the mixture turns light and fluffy, which should take about 3 minutes. Scrape the sides of the bowl to ensure even blending before adding 1 teaspoon of vanilla extract and 1 egg, beating well until fully combined.
Step 3: Combine Dry Ingredients
In a separate bowl, whisk together 1 cup of all-purpose flour, ½ cup of sifted black cocoa powder, 1 tablespoon of cornstarch, 1 teaspoon of fine sea salt, ½ teaspoon of baking soda, and ¼ teaspoon of baking powder. This step is crucial as it evenly distributes all dry ingredients, ensuring your Halloween Cookies have the right texture and flavor profile once baked.
Step 4: Mix Wet and Dry Ingredients
Gradually incorporate the dry mixture into the wet ingredients in the mixer, stirring on low speed until a slightly sticky dough forms. This process should take just a couple of minutes—be careful not to overmix, as you want to maintain a tender texture in your Halloween Cookies.
Step 5: Fold in Chocolate and M&Ms
Using a rubber spatula, gently fold in ½ cup of white chocolate chips and 1 cup of Halloween M&Ms into the cookie dough. This step adds bursts of sweetness and festive color, perfectly aligning your cookies with the Halloween spirit. Ensure the candies are evenly distributed throughout the dough.
Step 6: Scoop and Decorate
Using a large spring-loaded cookie scoop, drop 3-tablespoon-sized balls of dough onto the prepared baking sheets, allowing at least 2 inches between each scoop. Before baking, dot the tops with extra white chocolate chips, M&Ms, and a few edible candy eyeballs for a playful, spooky touch that will delight everyone.
Step 7: Bake to Perfection
Place the baking sheets in the oven and bake the cookies for about 12 minutes, or until they are puffed but still soft in the center. It’s important not to overbake; they should maintain a chewy texture. Once done, allow the cookies to cool on the baking sheet for 5 minutes before transferring them to a wire rack to cool completely.

Customizable Halloween Cookies
Make these delightful cookies uniquely yours by playing with flavors and ingredients to create a spooky masterpiece!
- Gluten-Free: Substitute all-purpose flour with a gluten-free flour blend for a safe and scrumptious treat.
- Nutty Twist: Add ½ cup of chopped walnuts or pecans for a delightful crunch that pairs beautifully with the chocolate.
- Extra Chocolatey: Use a combination of dark chocolate chips and white chocolate chips for a richer taste experience in every bite.
- Spiced Up: Stir in ½ teaspoon of pumpkin spice or cinnamon for an autumnal flavor that evokes the spirit of the season.
- Chocolate Roll: Roll the cookie dough into logs, chill, and slice for perfectly round cookies, adding a professional touch to your baking.
- Candy Swap: Switch out Halloween M&Ms for your favorite seasonal candies like Skittles or Snickers for a fun surprise in every cookie.
- Scoop & Decorate: Try different scoop sizes for mini or giant cookies; each size offers a unique experience, especially when decorating with colorful sprinkles.
- Fruity Surprise: Add dried cranberries or raisins into the dough for a fruity burst that balances the rich chocolate.
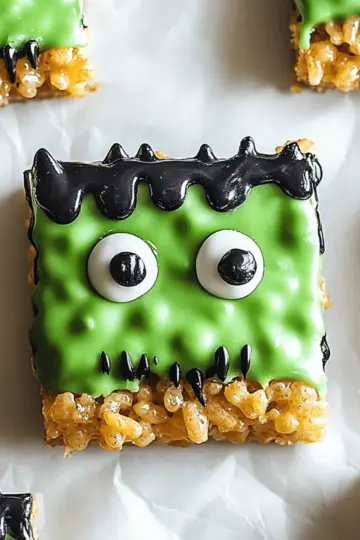
These variations will ensure that your cookies are perfect for any Halloween gathering! Don't forget to check out other festive treats like Apple Crisp Cheesecake for mouthwatering inspiration!
Storage Tips for Halloween Cookies
Room Temperature: Store your cookies in an airtight container at room temperature for up to 1 week. This helps maintain their soft and chewy texture while keeping them fresh for snacking.
Fridge: If you prefer a longer shelf life, refrigerate the cookies in an airtight container for up to 2 weeks. This will slightly alter their texture, making them firmer.
Freezer: For longer storage, freeze your Halloween Cookies in a single layer on a baking sheet, then transfer them to a freezer-safe bag or container. They’ll stay fresh for up to 3 months.
Reheating: To enjoy them warm, simply reheat in the microwave for 10-15 seconds or place in a preheated oven at 350°F (175°C) for 5-7 minutes. This will bring back their delightful softness, making every bite of your Halloween Cookies a treat!
What to Serve with Halloween Cookies
Indulging in homemade treats is delightful, especially when paired with the perfect accompaniments to enhance your Halloween experience.
-
Spooky Hot Chocolate: This rich beverage, topped with whipped cream and chocolate shavings, adds a warm and cozy vibe to your Halloween feast. Ideal for dipping those cookies!
-
Pumpkin Spice Latte: The aromatic blend of pumpkin and spices in each sip harmonizes beautifully with the sweet, rich flavors of the cookies. Perfect for making every moment a little more festive.
-
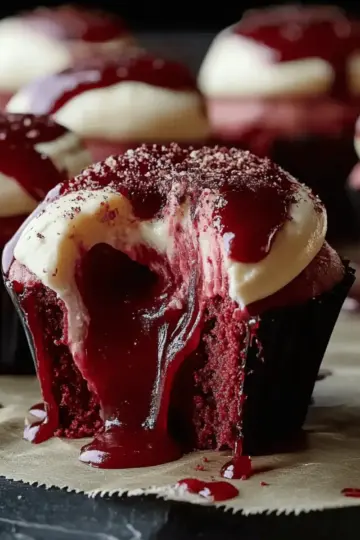
Candy Corn Cupcakes: Fun and whimsical, these cupcakes bring a playful touch to your table and pair wonderfully with the dark cocoa of the cookies. A deliciously sweet contrast!
-
Ghoulish Fruit Salad: Mix in seasonal fruits like blood oranges and ghostly bananas for a fresh, vibrant side that balances the sweet treats, making each bite refreshing and fun.
-
Chewy Caramel Apples: The sticky sweetness and crunch of apples draped in caramel create a delightful textural contrast, adding a classic Halloween treat that complements your cookies.
-
Crisp Apple Cider: This classic drink brings a crisp brightness that pairs perfectly with the rich flavors of your cookies, making each bite feel like a celebration of autumn.
-
Witch's Brew Punch: A fun, bubbling drink layered with fruity flavors and served with gummy worms, this punch not only quenches your thirst but adds a magical touch to your gathering.
With these delicious pairings, your Halloween festivities are sure to be enchanting and filled with laughter!
Make Ahead Options
These delightful Halloween Cookies are perfect for busy home cooks looking to save time during the festive season! You can prepare the cookie dough up to 24 hours in advance; simply mix and store the dough in an airtight container in the refrigerator. This helps maintain the cookies' soft texture and prevents them from spreading too much during baking. Alternatively, you can scoop the dough into balls and freeze them for up to 3 months—just pop them on a baking sheet straight from the freezer, adding a minute or two to the baking time. When ready to enjoy, bake and decorate the cookies with extra M&Ms and candy eyeballs as desired, ensuring they remain irresistibly fresh and delightfully spooky!
Expert Tips for Halloween Cookies
Chill the Dough: Allow the cookie dough to chill for about 30 minutes before baking to enhance the flavors and help retain the shape.
Avoid Overbaking: Keep a close eye on the cookies while they bake; they should look puffy but soft in the middle for the perfect chewy texture.
Flavor Variations: Feel free to swap Halloween M&Ms with your favorite treats, such as Reese's Pieces or caramel chips, for a unique twist on these Halloween cookies.
Use a Cookie Scoop: A spring-loaded cookie scoop ensures uniform size, making sure all your cookies bake evenly. A 3-tablespoon scoop is ideal!
Decorative Touches: Don't hold back on the edible candy eyeballs; they add not only a spooky touch but also a fun aesthetic that impresses both kids and adults alike.
Store Properly: To keep your cookies fresh, store them in an airtight container at room temperature for up to a week—if they last that long!
Halloween Cookies Recipe FAQs
What should I look for when selecting apples for this recipe?
Absolutely! For the highest flavor impact, go for Granny Smith apples due to their tartness, which beautifully balances the sweetness of the cookies. Look for apples that are firm and free from dark spots or bruising to ensure freshness.
How should I store my Halloween Cookies?
It's easy! Place your cookies in an airtight container at room temperature for up to 1 week. This keeps them soft and chewy. If you plan to keep them longer, refrigerate them in an airtight container for up to 2 weeks for best results.
Can I freeze the Halloween Cookies for later enjoyment?
Yes, indeed! To freeze, allow the cookies to cool completely. Spread them out on a baking sheet in a single layer to prevent sticking, then freeze for about 1-2 hours until solid. Once frozen, transfer them to a freezer-safe bag or container and store them for up to 3 months. When you're ready to enjoy, just thaw at room temperature or reheat directly from the freezer!
What if my cookie dough is too sticky or crumbly?
Great question! If your dough is too sticky, make sure to gradually add flour until it’s easily manageable. If it's too crumbly, add a little more melted butter or an additional egg, mixing until it reaches a soft, pliable consistency. This will ensure your cookies have the best texture!
Are these cookies suitable for kids with nut allergies?
Yes! The ingredients in this Halloween Cookies recipe are nut-free, making it a safe and delicious option for kids with nut allergies. Just be sure to check the labels on your chocolate chips and M&Ms to avoid any hidden allergens.
How can I make these cookies more festive?
Very! You can mix in various Halloween-themed candies like caramel bits or use colored sprinkles for an added pop. The more, the merrier! Another fun idea is to use cookie cutters to cut the dough into spooky shapes before baking. Enjoy the creativity!
Deliciously Spooky Poison Apple Pie for Halloween Fun
Ingredients
Equipment
Method
- Preheat your oven to 350 degrees F (175 degrees C) and line your baking sheets with parchment paper.
- Cream together the cold unsalted butter, granulated sugar, and brown sugar until light and fluffy.
- In a separate bowl, whisk together the all-purpose flour, black cocoa powder, cornstarch, sea salt, baking soda, and baking powder.
- Gradually incorporate the dry mixture into the wet ingredients, stirring until a slightly sticky dough forms.
- Fold in the white chocolate chips and Halloween M&Ms until evenly distributed.
- Drop balls of dough onto prepared baking sheets, dotting with extra chocolate chips and candy eyeballs.
- Bake the cookies for about 12 minutes, or until puffed and soft in the center. Cool on baking sheet for 5 minutes.
Leave a Reply