
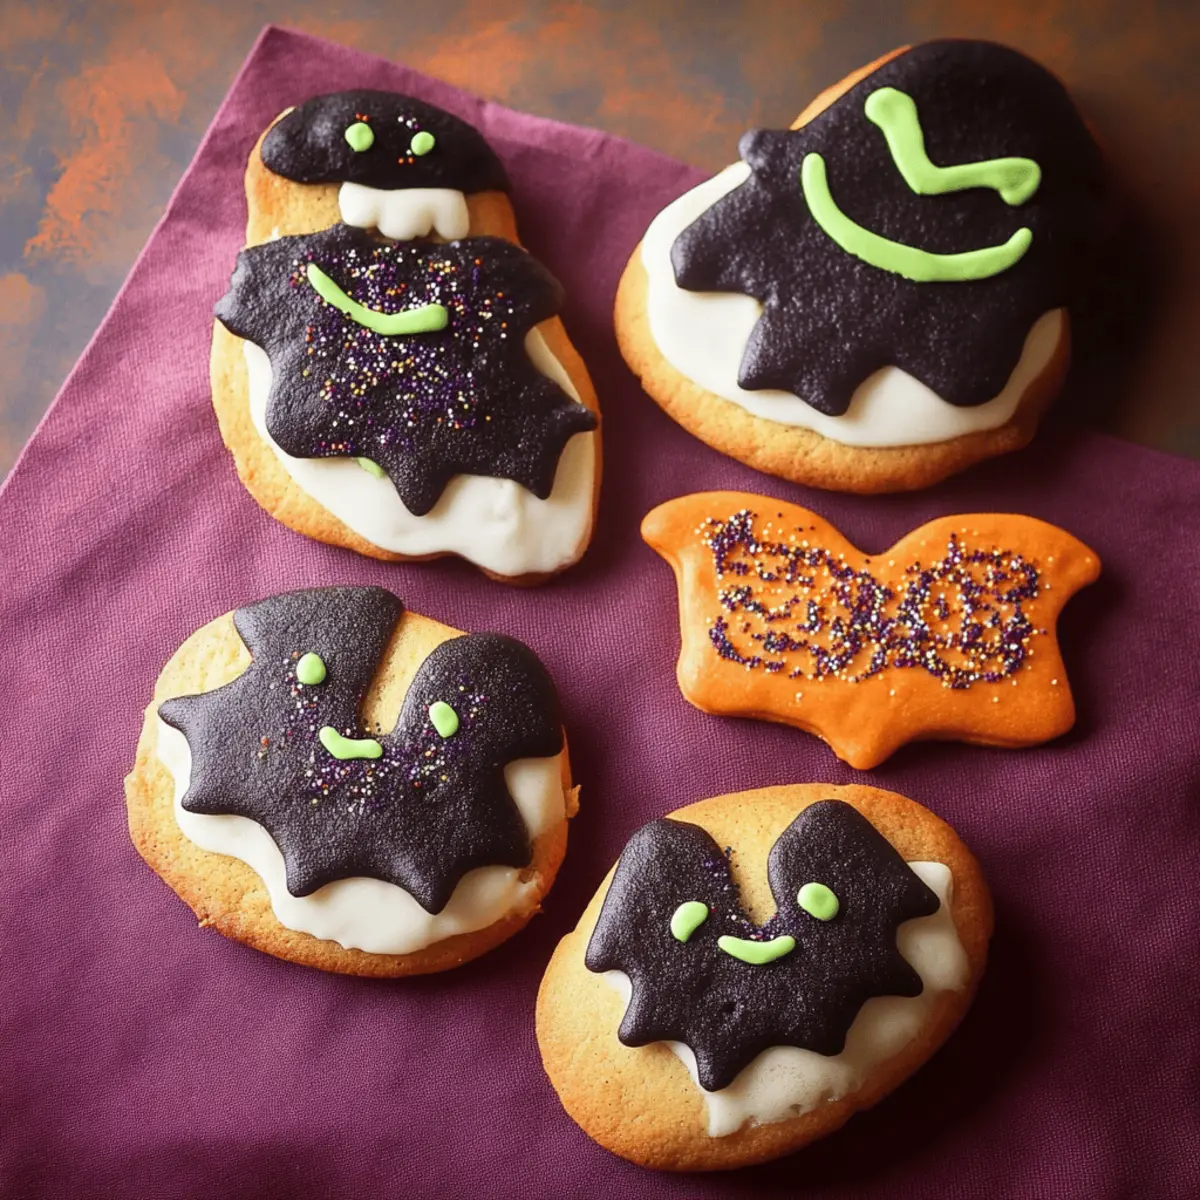
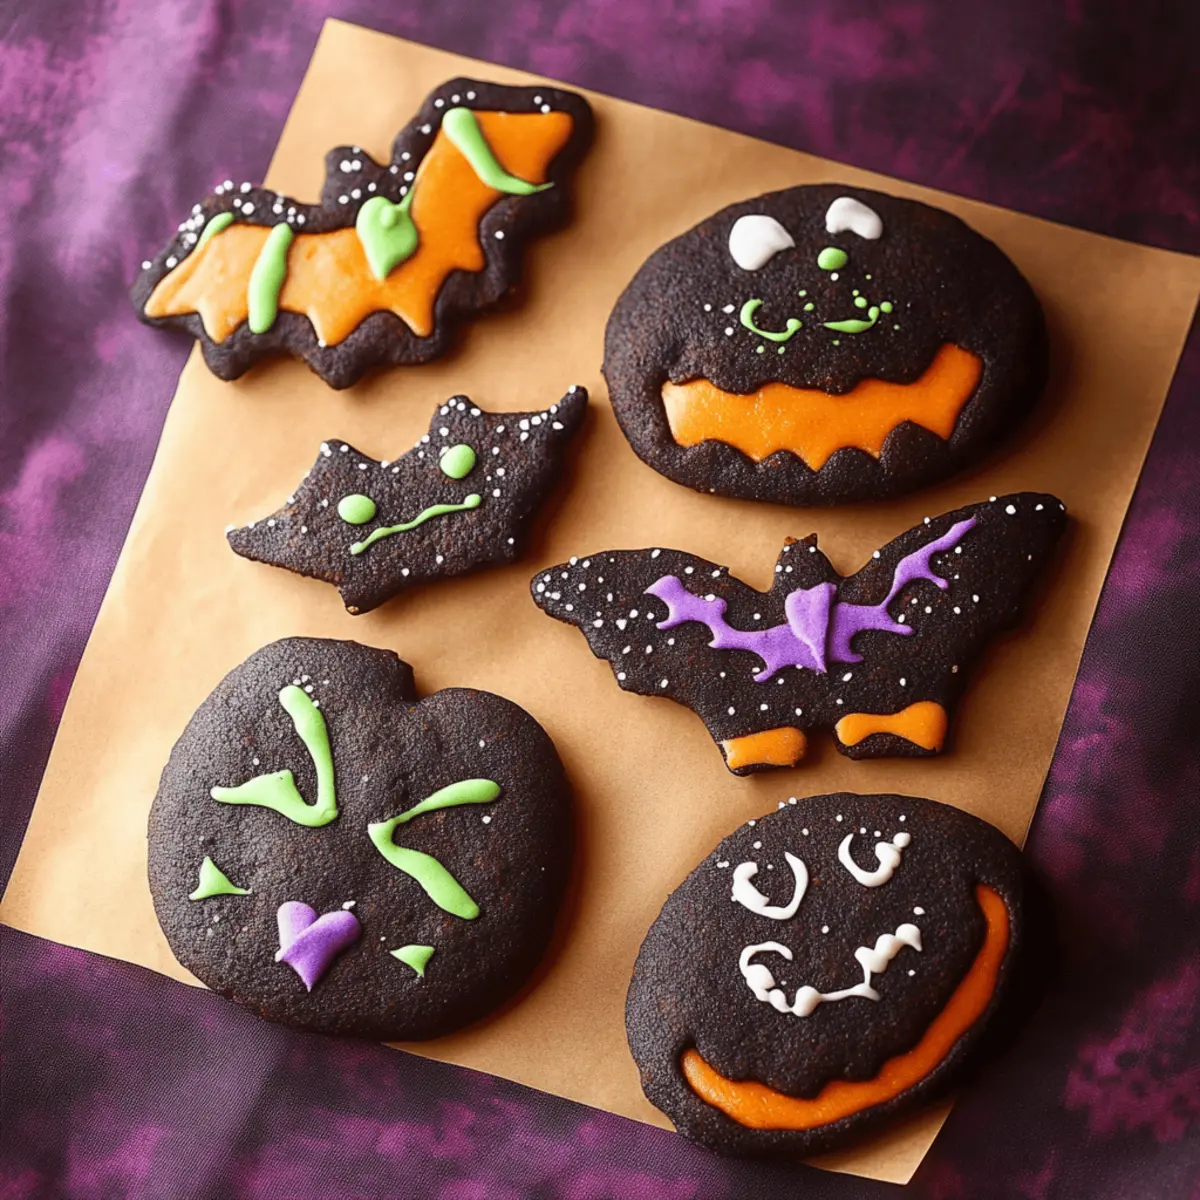
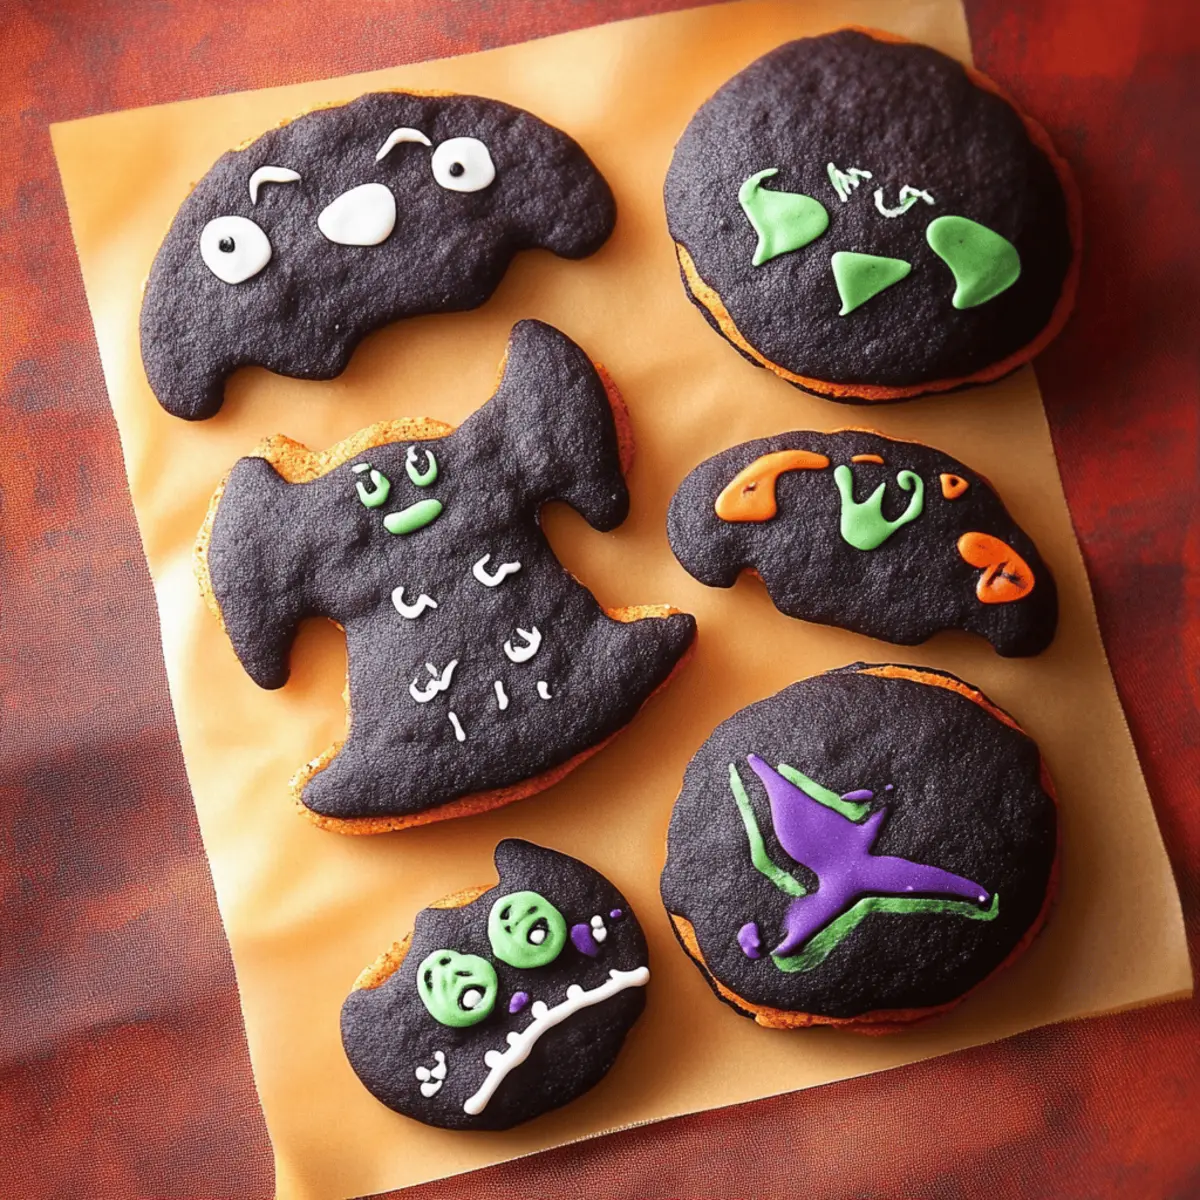
As the leaves turn and the air grows crisp, I find myself longing for the cozy warmth of the kitchen, where magic unfolds—especially when crafting these Halloween Decorated Cookies. With their rich chocolate flavor from the unique blend of black and Dutch process cocoa powders, these delights not only satisfy a sweet tooth but also bring out your inner artist. The benefits are twofold: they’re fun to bake with family or friends, and their eye-catching designs make them perfect for any festive gathering. Imagine the joy of sharing a platter of these whimsically decorated treats, all while creating memories that linger long after the plates are empty. Ready to embark on a cookie journey that will enchant both young and old alike? Let's dive into the delightful world of Halloween Decorated Cookies!
Why Are These Cookies a Must-Bake?
Vibrant, Creative Fun: Get ready to unleash your inner artist! Decorating these cookies is a fantastic activity for families, friends, or solo baking sessions.
Decadently Chocolatey: The combination of black and Dutch cocoa powders adds an irresistible chocolate flavor that will leave everyone wanting more.
Perfectly Festive: These cookies are not just treats; they’re conversation starters. Their spooky designs will impress guests at your Halloween parties.
Versatile Design Options: From cute pumpkins to eerie ghosts, you can personalize these decorations to suit any Halloween theme or party.
Time-Saving Treats: With minimal bake time and easy preparation, you’ll have a batch of delicious cookies ready in no time—perfect for last-minute gatherings!
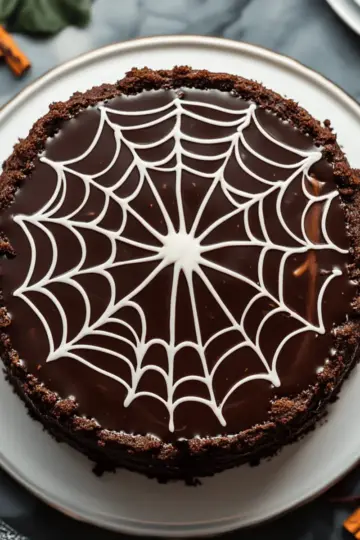
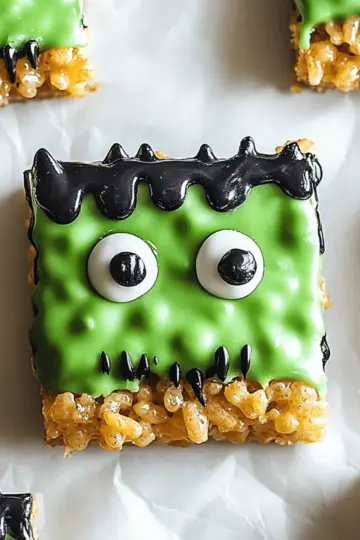
For even more festive ideas, don’t forget to check out our guide on Halloween party snacks and make your celebrations truly spooktacular!
Halloween Decorated Cookie Ingredients
For the Dough
- 1 cup butter, softened – Use room temperature butter for easy blending and that perfect creamy texture.
- 2 ½ cups powdered sugar – This adds sweetness and helps give the cookies a soft, melt-in-your-mouth feel.
- 1 large egg – A key ingredient for binding the dough and giving it structure.
- 2 ½ cups all-purpose flour – For the base of the cookie, providing stability and texture to the dough.
- ½ cup black cocoa powder – Adds a unique depth of flavor and a striking color that’s perfect for Halloween cookies.
- ½ cup Dutch process cocoa powder – Balances the flavor while enhancing the rich chocolatey goodness.
- ½ teaspoon salt – A pinch of salt enhances all the flavors in your festive treats.
For the Royal Icing
- Royal icing – Essential for decorating; it's the creative canvas that brings your Halloween Decorated Cookies to life!
Don't forget to gather your ingredients and let the spooky baking begin!
Step‑by‑Step Instructions for Halloween Decorated Cookies
Step 1: Cream the Butter
In the bowl of a stand mixer fitted with the paddle attachment, cream 1 cup of softened butter on medium speed until it becomes creamy and smooth, about 2-3 minutes. This forms the base of your Halloween Decorated Cookies, so ensure it's well combined to achieve a delightful texture.
Step 2: Incorporate Sugar
Add 2 ½ cups of powdered sugar to the creamed butter and mix on medium speed until fully incorporated and fluffy, which should take another 2-3 minutes. The mixture should look light and airy, ready to support your cookie structure before adding other ingredients.
Step 3: Add Egg
Crack 1 large egg into the mixing bowl and mix until fully combined, about 1-2 minutes. This is essential for binding the dough and gives your cookies a pleasant texture that balances the richness of the cocoa.
Step 4: Combine Dry Ingredients
In a separate bowl, sift together 2 ½ cups of all-purpose flour, ½ cup of black cocoa powder, ½ cup of Dutch process cocoa powder, and ½ teaspoon of salt. Whisk the dry ingredients until well blended, ensuring your Halloween Decorated Cookies have a uniform rich chocolate flavor and texture.
Step 5: Mix Wet and Dry Ingredients
Gradually add the dry ingredients to the wet mixture in the stand mixer on low speed. Mix just until combined, about 1-2 minutes; the dough may appear slightly crumbly. Be careful not to overmix, as this ensures a tender cookie.
Step 6: Chill the Dough
Turn the dough out onto a clean surface and gently knead to form a ball. Flatten the dough into a 1-inch-thick disc, wrap it in plastic wrap, and chill in the refrigerator for at least 30-45 minutes (or up to 2 days). This chilling step will help the dough firm up for rolling.
Step 7: Roll Out the Dough
After chilling, roll the dough out between two sheets of parchment paper to about 4 mm thick. Use a rolling pin for even thickness, ensuring the dough is manageable for cutting out your Halloween shapes.
Step 8: Cut Shapes
Use cookie cutters to cut out spooky shapes from the rolled dough. Place each shaped cookie onto a baking tray lined with baking paper, making sure to leave space in between for spreading during baking.
Step 9: Chill Cut Cookies
Chill the cut cookies in the refrigerator for 1 hour or overnight. This step is crucial for keeping the cookies' shape intact while baking, ensuring your Halloween Decorated Cookies look festive.
Step 10: Preheat and Bake
Preheat your oven to 160°C (320°F) in a fan-assisted setting. Bake the cookies for about 10 minutes; they should appear soft but set, signaling they’re ready to cool. Keep an eye on them to avoid overbaking.
Step 11: Cool the Cookies
Allow the cookies to cool on the baking sheets for 5 minutes after baking, then transfer them to a cooling rack. Let them cool completely before decorating; this ensures the icing won't melt or slide off the warm cookies.
Step 12: Prepare Royal Icing
In a mixing bowl, beat egg whites until frothy, then gradually add powdered sugar and vanilla, if desired. Continue beating until shiny peaks form, which will create a perfect royal icing base for your Halloween Decorated Cookies.
Step 13: Decorate the Cookies
Divide and color the royal icing as desired, then transfer it into piping bags. Decorate your cooled cookies with spooky designs, letting them reflect the spirit of Halloween. Allow the icing to dry for 3 to 6 hours, depending on room temperature, for the best results.
What to Serve with Halloween Decorated Cookies?
As the sweet scent of chocolate fills your kitchen, it's time to create a complete Halloween-themed feast to accompany these delightful cookies.
- Spiced Apple Cider: This warm and cozy drink combines the essence of fall with spices that pair beautifully with the rich flavors of the cookies.
- Pumpkin Soup: The creamy texture and comforting spices in a pumpkin soup create a delightful contrast to the sweet, chocolaty cookies. A tasty way to celebrate the season!
- Chocolate-Dipped Pretzels: The salty crunch of pretzels balanced with chocolate makes for a fun snack that complements the sweetness of cookies. Add a sprinkle of Halloween-themed sprinkles!
- Ghostly Marshmallows: Dip marshmallows in chocolate and let them dry to create spooky treats that are a perfect match for the cookies’ festive spirit.
- Caramel Apple Slices: Crisp apples with a gooey caramel sauce echo the flavors of fall and provide a refreshing contrast to the rich cookies.
- Chocolate Milkshake: Thick and creamy, a chocolate milkshake enhances that delicious chocolate flavor and brings a nostalgic touch to your Halloween spread.
- Miniature Cheesecakes: These decadent bites can be topped with spooky decorations, creating a delightful dessert duo with the Halloween Decorated Cookies.
- Candy Corn Parfait: A colorful, layered dessert made with whipped cream and candy corn to add a fun pop of color to your Halloween table.
- Dark Roast Coffee: The robust flavors of dark coffee cut through the sweetness of the cookies, making it a perfect pairing for an after-dinner treat.
- Pumpkin Spice Muffins: Fluffy and lightly spiced muffins bring a hearty element to the table, celebrating flavors that perfectly complement the festive essence of Halloween Decorated Cookies.
Storage Tips for Halloween Decorated Cookies
Room Temperature: Store decorated cookies in an airtight container at room temperature for up to 1 week. Ensure the container is sealed to prevent them from drying out.
Fridge: If you prefer to keep your cookies fresh for a longer time, you can store them in the refrigerator for up to 2 weeks. Just make sure they’re wrapped properly to maintain their texture.
Freezer: For longer storage, freeze undecorated cookies for up to 3 months. Wrap each cookie in plastic wrap, then place them in a freezer-safe bag to prevent freezer burn.
Reheating: When you're ready to enjoy your frozen Halloween Decorated Cookies, let them thaw at room temperature. For a delightful touch, warm them briefly in the microwave for about 10 seconds before serving.
Make Ahead Options
These Halloween Decorated Cookies are perfect for busy home cooks looking to save time! You can prepare the dough up to 24 hours in advance; simply follow the recipe up to the chilling step, wrap the dough in plastic wrap, and refrigerate. The cut-out cookies can also be made ahead, chilling them for up to 24 hours before baking to maintain their shape. When you're ready to bake, simply preheat your oven and follow the baking instructions as usual. For the royal icing, you can prepare it a day ahead and store it in an airtight container to keep it fresh. With these make-ahead tips, your cookies will be just as delicious, allowing you to enjoy the festive spirit without the last-minute rush!
Expert Tips for Halloween Decorated Cookies
Chill the Dough: Always remember to chill your cookie dough for at least 30-45 minutes. This step prevents the cookies from spreading while baking, keeping their spooky shapes intact.
Bake at the Right Temp: Use an oven thermometer to ensure your oven is at 160°C (320°F). Baking at the correct temperature helps achieve soft cookies without overbaking, which can make them dry.
Avoid Overmixing: When combining dry and wet ingredients, mix just until combined. Overmixing can lead to tough cookies, so be gentle for that perfect texture.
Don’t Rush the Icing: Allow your royal icing to dry completely, which can take 3 to 6 hours. This patience pays off with beautifully decorated Halloween Decorated Cookies that won’t smudge or slide.
Storage Matters: For best results, wrap decorated cookies in cling film and store in an airtight container for up to 1 month, or freeze undecorated cookies for longer shelf life.
Halloween Decorated Cookies Variations
Feel free to explore these delicious twists and substitutions to make your Halloween Decorated Cookies even more exciting!
-
Gluten-Free: Substitute all-purpose flour with a gluten-free blend for a delightful, inclusive treat that everyone can enjoy.
-
Dairy-Free: Use coconut oil or vegan butter as a swap for butter, ensuring you still capture that rich, creamy goodness without dairy.
-
Added Spice: Incorporate a teaspoon of cinnamon or nutmeg into the dry ingredients for an autumnal flavor boost that perfectly complements the cocoa.
-
Flavorful Extracts: Try adding a splash of almond or orange extract to the dough for a zesty kick that transforms the classic chocolate flavor.
-
Chunky Chocolate: Fold in 1 cup of chocolate chips or chopped nuts into the dough before rolling, providing a delightful contrast in texture that adds a tasty surprise.
-
Royal Icing Colors: Let your creativity shine! Use food coloring to personalize the royal icing, creating festive versions for Halloween or even other occasions.
-
Spicy Kick: Mix in a pinch of cayenne pepper or chili powder to the dry ingredients for those who enjoy a little heat in their sweets.
-
Fun Shapes: Instead of traditional Halloween shapes, use seasonal cookie cutters (like leaves or acorns) for a versatile cookie that works year-round.
Feel free to get creative and make these cookies uniquely yours! And if you're looking for some more spooky ideas, don’t miss our guide on Halloween party snacks to impress your guests!

Halloween Decorated Cookies Recipe FAQs
How do I select the best cocoa powder for making the cookies?
Using high-quality cocoa powder is key! Look for Dutch process cocoa for a smooth flavor and black cocoa for a rich, dark appearance. Ensure they are fresh by checking expiration dates—cocoa powders typically last for 2-3 years in a cool, dark place.
What is the best way to store decorated cookies?
Wrap decorated cookies with cling film and store them in an airtight container at room temperature for up to 1 week. This keeps them soft and fresh! For longer storage, place them in the fridge for up to 2 weeks, but ensure they're wrapped well to maintain their delightful texture.
Can I freeze my Halloween Decorated Cookies?
Absolutely! For the best results, freeze undecorated cookies. Wrap each one in plastic wrap and place them in a freezer-safe bag. They can be stored for up to 3 months. When you're ready to decorate and enjoy, simply let them thaw at room temperature for about 30 minutes before icing.
What should I do if my cookie dough is too crumbly?
If your dough feels too crumbly, it might be a sign that it needs moisture. Try adding a teaspoon of milk or water, and mix it in thoroughly. Ensure you don’t overmix! If the dough is too cold and difficult to handle, let it sit at room temperature for a few minutes to soften slightly before rolling.
Can I make these cookies gluten-free?
Yes, you can! Substitute the all-purpose flour with a gluten-free flour blend that is designed for baking. Ensure the blend includes xanthan gum, as it helps replicate the texture of regular flour, ensuring your cookies are just as delightful.
What are some allergy considerations with these cookies?
For those with allergies, be mindful of the ingredients. The recipe contains egg and butter, which may not be suitable for those with dairy or egg allergies. If needed, you can replace the egg with a flaxseed or chia seed egg substitute (1 tablespoon ground flax or chia mixed with 2.5 tablespoons water) and use a dairy-free butter alternative for a delicious, allergy-friendly option.
Spooktacular Halloween Decorated Cookies You'll Adore
Ingredients
Equipment
Method
- Cream the butter in a stand mixer until creamy and smooth, about 2-3 minutes.
- Incorporate powdered sugar into the creamed butter on medium speed until fluffy, about 2-3 minutes.
- Add a large egg and mix until fully combined, about 1-2 minutes.
- Sift together all-purpose flour, black cocoa powder, Dutch cocoa powder, and salt in a separate bowl. Whisk until well blended.
- Gradually add dry ingredients to the wet mixture on low speed until just combined.
- Chill the dough for at least 30-45 minutes, wrapped in plastic wrap.
- Roll the chilled dough between parchment paper to about 4 mm thick.
- Use cookie cutters to cut out shapes and place them on a baking tray.
- Chill the cut cookies in the refrigerator for 1 hour.
- Preheat your oven to 160°C (320°F) and bake for 10 minutes.
- Cool the cookies on a wire rack after baking.
- Prepare royal icing by beating egg whites and adding powdered sugar until shiny peaks form.
- Decorate the cooled cookies with colored royal icing.
Leave a Reply