
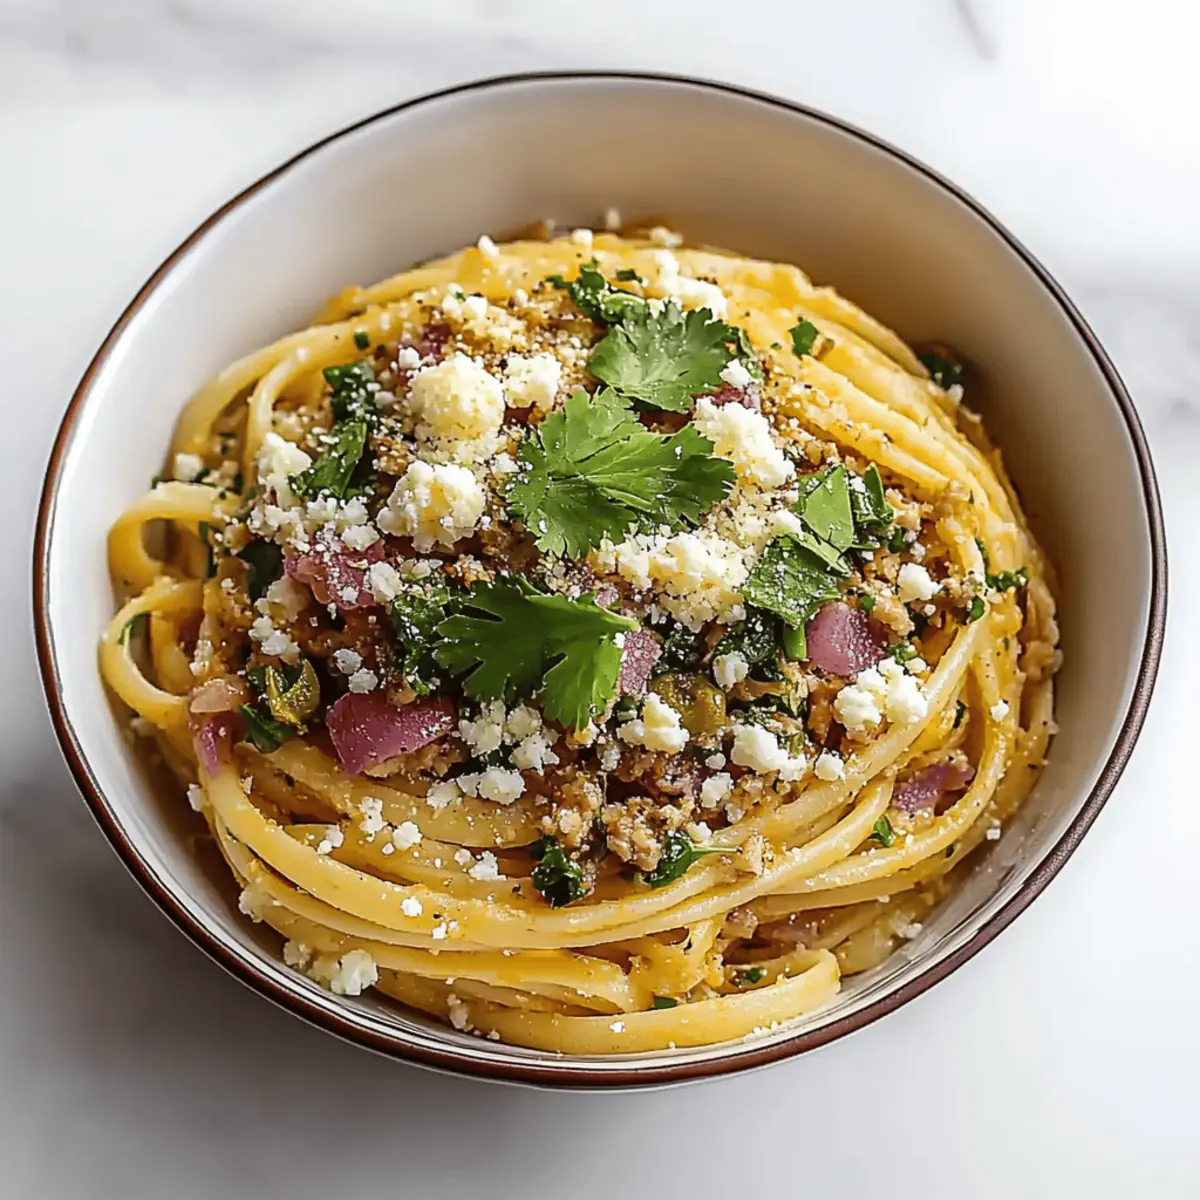
As I stood in my kitchen, the aroma of sizzling onions and roasted hatch chiles wafted through the air, immediately taking me to sun-drenched markets in New Mexico where these vibrant ingredients reign supreme. Today, I'm excited to share my easy and delightful Hatch Chile Pasta recipe, a dish that promises to become a staple in your culinary repertoire. Not only is this dish a breeze to whip up in just 25 minutes, but it also brings a comforting yet exciting twist to your pasta collection. Creamy and flavorful, this pasta is perfect for cozy family dinners or when you want to impress friends with your culinary skills. With the irresistible combination of Monterey Jack cheese, sour cream, and that signature kick from hatch chiles, it's sure to have everyone asking for seconds! Are you ready to elevate your pasta game and explore the delightful world of hatch chiles? Let’s dive in!
Why is Hatch Chile Pasta So Special?
Easy and Quick: This recipe comes together in a mere 25 minutes, making it perfect for those busy weeknights when you crave a home-cooked meal without the hassle.
Irresistible Creaminess: The rich combination of Monterey Jack cheese and sour cream creates a velvety sauce that clings beautifully to the spaghetti, providing a mouthwatering experience with every bite.
Unique Flavor Profile: The roasted hatch chiles bring a distinctive flavor that transforms a classic pasta dish into something extraordinary, offering a delightful kick that excites the palate.
Crowd-Pleasing Delight: Whether you’re hosting friends or enjoying a cozy family dinner, this dish is sure to impress, pleasing even the pickiest eaters.
Versatile Serving Options: Pair it with a refreshing salad or garlic bread, and you have a complete meal that's perfect for any occasion. You might also enjoy learning about sourcing the best hatch chiles to enhance your culinary skills further!
Hatch Chile Pasta Ingredients
Get ready to create a delicious meal!
For the Pasta
• 8 oz spaghetti – Use your favorite pasta type for a twist on this dish.
For the Sauce
• 1 cup fire-roasted hatch chiles, chopped – These bring unique heat and flavor to your Hatch Chile Pasta.
• 1 medium onion, finely diced – A sweet and aromatic base that enhances the overall taste.
• 2 cloves garlic, minced – Fresh garlic adds depth and fragrance to the sauce.
• 1 tablespoon olive oil – Helps to sauté the onions and garlic, contributing healthy fats and flavor.
• 1 cup vegetable broth – Provides moisture and a savory backdrop for the sauce.
• 1 teaspoon sea salt – Enhances all the flavors in the dish.
• 1 teaspoon chili powder – Adds an extra kick and warmth to the sauce.
• 1 cup Monterey Jack cheese, shredded – Melts into a creamy goodness that makes the sauce luscious.
• 1 cup sour cream – Contributes incredible creaminess and tang to balance the spice.
• ¼ cup fresh cilantro, chopped – Adds a burst of freshness and color.
For Garnishing
• Cotija cheese – Crumbled on top for a salty, rich finish.
• Additional chili powder – For those who like it hot, sprinkle some more for an added kick!
Step‑by‑Step Instructions for Hatch Chile Pasta
Step 1: Boil the Spaghetti
Start by bringing a large pot of salted water to a rolling boil over high heat. Once boiling, add 8 oz of spaghetti and cook according to package instructions until al dente, usually about 8-10 minutes. Keep an eye on the noodles, ensuring they maintain a firm bite. Before draining, reserve ½ to ¾ cup of the pasta cooking water for later use.
Step 2: Prepare the Aromatics
While the pasta cooks, seed and chop 1 cup of fire-roasted hatch chiles, and finely dice 1 medium onion. Set aside in separate bowls. This prep will ensure a smooth cooking process. Once the spaghetti is done, drain it and set aside while you focus on creating the flavorful sauce for your Hatch Chile Pasta.
Step 3: Sauté the Onions
In a large pan, heat 1 tablespoon of olive oil over medium heat. Add the diced onion and sauté for about 3-5 minutes, stirring occasionally, until the onion becomes soft and translucent. The aroma should fill your kitchen, signaling that the base for your sauce is coming together beautifully.
Step 4: Add the Garlic
Once the onions are tender, stir in 2 minced cloves of garlic and cook for an additional minute, allowing the garlic to become fragrant. Make sure not to let it brown, as this can develop a bitter taste. The combination of onion and garlic will lay a flavorful foundation for your Hatch Chile Pasta sauce.
Step 5: Create the Sauce
Now, add the chopped hatch chiles, 1 cup of vegetable broth, 1 teaspoon of sea salt, and 1 teaspoon of chili powder to the pan. Stir everything together and let it simmer for about 3-5 minutes, allowing the sauce to thicken slightly and the flavors to meld. You’ll notice the vibrant colors and delicious scents indicating that your sauce is on its way.
Step 6: Incorporate the Creaminess
As the sauce simmers, lower the heat when the spaghetti is about 2 minutes from being done. Mix in 1 cup of shredded Monterey Jack cheese, 1 cup of sour cream, and ¼ cup of chopped fresh cilantro until well combined. The mixture should be creamy and inviting. This rich addition transforms your sauce into a luxurious treat.
Step 7: Adjust the Consistency
Gradually pour in the reserved pasta cooking water while stirring, adjusting until you reach your desired sauce consistency. The goal is a creamy sauce that clings to the pasta. Taste and adjust seasoning if necessary; the balance of flavors should highlight the roasted hatch chiles beautifully.
Step 8: Combine Pasta and Sauce
Remove the pan from heat and add the drained spaghetti into the creamy hatch chile sauce. Toss well to ensure every strand of pasta is coated with the luscious sauce. This step highlights the beautiful harmony of flavors, creating a comforting dish that embodies the essence of your Hatch Chile Pasta.
Step 9: Let It Rest
Let the pasta mixture rest off the heat for a few minutes. This will help the sauce thicken and cling to the spaghetti even more, enhancing the overall experience. The waiting time will build anticipation as the delightful aroma fills the air, promising a comforting meal ahead.
Step 10: Garnish and Serve
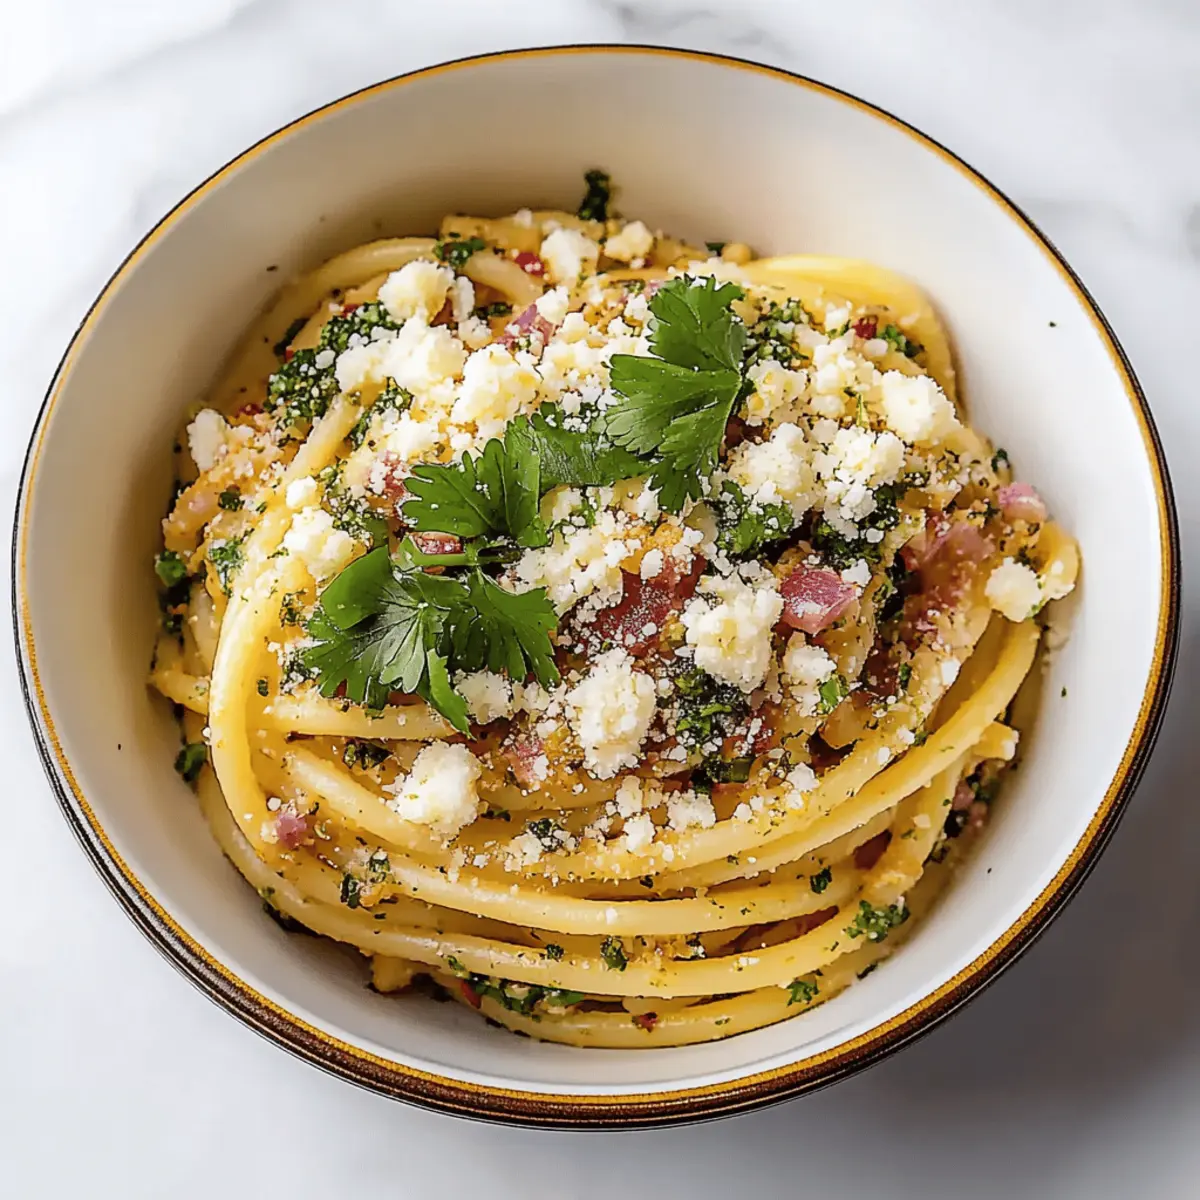
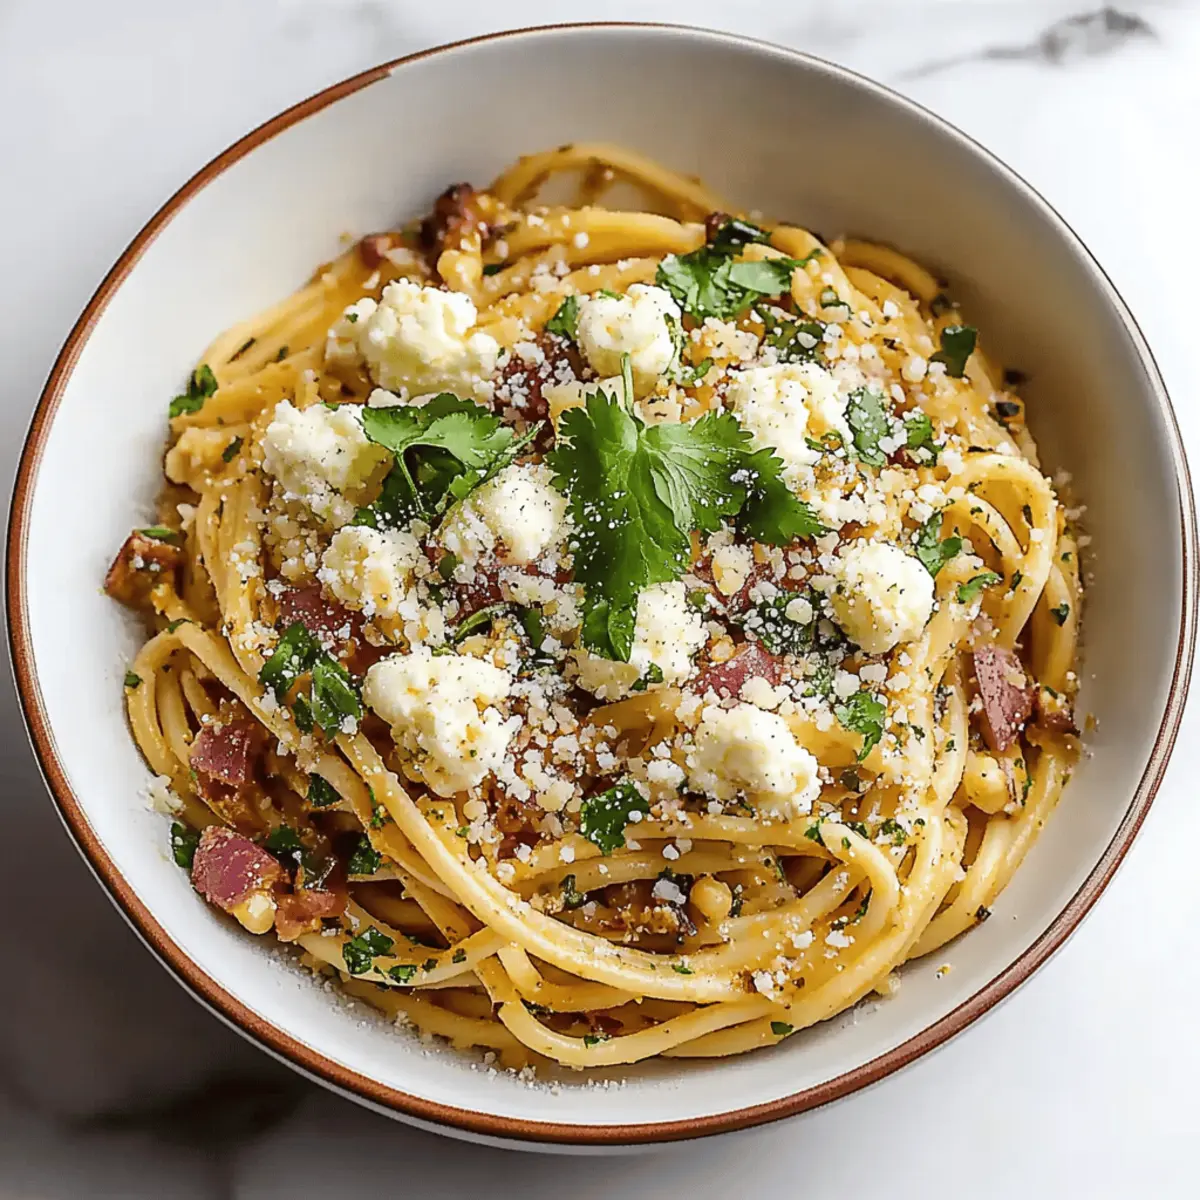
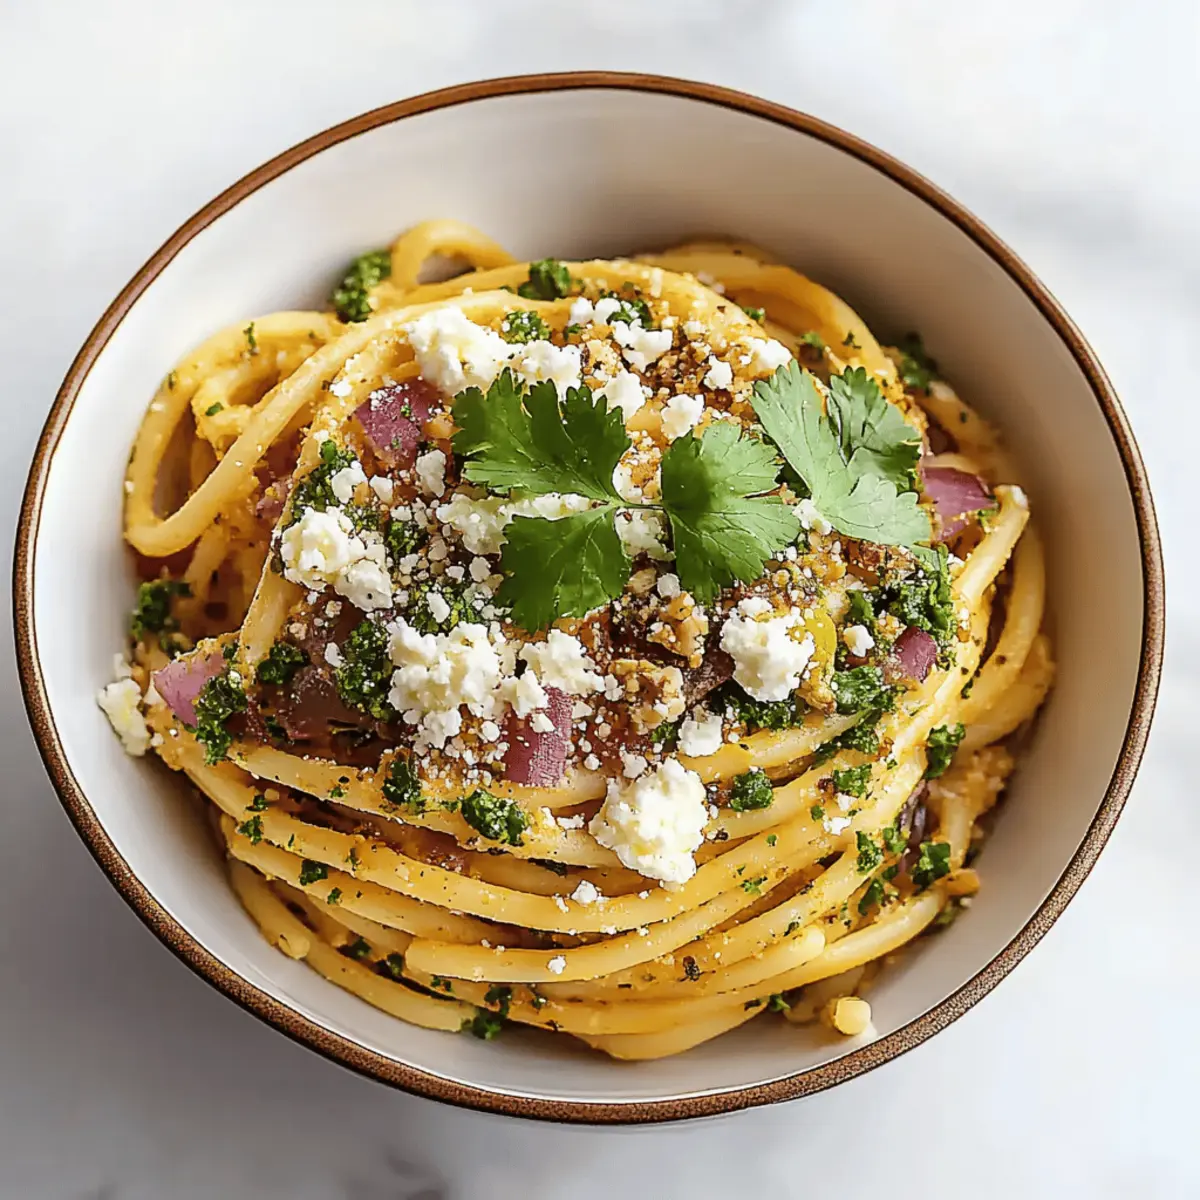
To serve, plate the pasta and garnish generously with additional chopped cilantro, a sprinkle of crumbled cotija cheese, and a dash of extra chili powder for those who crave an extra kick. Each bowl of your flavorful Hatch Chile Pasta will be a delight that pleases both the eyes and the palate.
Make Ahead Options
These Hatch Chile Pasta preparations are perfect for busy weeknights! You can chop the fire-roasted hatch chiles, onion, and garlic up to 3 days in advance, storing them in airtight containers in the refrigerator to keep them fresh. Additionally, you can cook the spaghetti and combine it with the creamy sauce, then refrigerate it for up to 24 hours. When you're ready to serve, simply reheat the mixture gently in a pan and add a splash of reserved pasta water if needed to achieve the desired consistency. This way, you’ll enjoy all the comforting flavors of Hatch Chile Pasta with minimal effort, perfect for a quick yet satisfying meal.
What to Serve with Hatch Chile Pasta
Elevate your dinner experience by pairing these delightful accompaniments with your creamy hatch chile pasta.
- Garlic Bread: A warm, buttery garlic bread complements the creamy sauce, perfect for soaking up every last bite. The crunchiness adds a satisfying contrast to the dish's rich texture.
- Fresh Garden Salad: A crisp salad with mixed greens, cherry tomatoes, and a light vinaigrette balances the richness of the pasta, providing a refreshing burst of flavors.
- Roasted Vegetables: Seasonal roasted veggies, like zucchini and bell peppers, enhance your meal by adding color and a smoky undertone, beautifully harmonizing with the hatch chiles.
- Cilantro Lime Rice: This zesty rice provides a delightful flavor contrast, with cilantro enhancing the fresh notes from the hatch chiles, making each bite interesting.
- Sangria: A chilled glass of sangria, infused with fruits and cinnamon, brings a fruity sweetness that cuts through the creaminess of the dish, making for a refreshing pairing.
- Chocolate Mousse: End on a sweet note with a rich chocolate mousse; its light and airy texture offers a decadent finish to a flavorful meal, leaving everyone satisfied.
Tips for the Best Hatch Chile Pasta
Bold Ingredient Choices: Use fresh, fire-roasted hatch chiles for the best flavor; canned options may lack the vibrancy that elevates your Hatch Chile Pasta.
Reserve Cooking Water: Always save some pasta cooking water to adjust sauce consistency later. Adding it helps the sauce cling beautifully to the spaghetti.
Under-cook Spaghetti: Aim for al dente pasta; it will continue cooking in the sauce, developing the best texture while soaking in flavors.
Layer Flavors Gradually: Allow each ingredient to blend before moving on. Sauté the onions and garlic thoroughly; this builds a robust flavor base for the sauce.
Taste as You Cook: Sample the sauce before serving. Adjust salt, chili powder, or add more hatch chiles to achieve your desired level of spice and flavor.
Hatch Chile Pasta Variations
Feel free to get creative and make this dish your own—you'll love the added twists!
-
Gluten-Free: Substitute spaghetti with gluten-free pasta for a delicious alternative that everyone can enjoy.
-
Cream Cheese Delight: Use cream cheese instead of sour cream for an extra rich and tangy flavor that elevates the dish.
-
Spicy Sausage: Add crumbled chorizo or Italian sausage for a meaty kick, creating a satisfying and hearty meal.
-
Veggie Boost: Toss in some spinach or kale during the saucing process for a nutritious green addition. It blends beautifully with the creamy sauce!
-
Smoky Flavor: Add a teaspoon of smoked paprika or chipotle powder to deepen the flavor profile with a smoky twist that delights the senses.
-
Coconut Cream: For a dairy-free option, swap sour cream with coconut cream. This will introduce a subtle sweetness and creaminess that's simply divine.
-
Herb Replacement: Experiment with fresh herbs like basil instead of cilantro for a completely different yet refreshing taste that’s perfect for summer.
-
Nuts for Crunch: Sprinkle toasted pine nuts or walnuts as a garnish for an unexpected crunch and nutty richness that complements the creamy sauce.
Each variation brings its own character to your Hatch Chile Pasta, making your cooking journey a delightful adventure!
How to Store and Freeze Hatch Chile Pasta
Fridge: Store leftover Hatch Chile Pasta in an airtight container for up to 3 days. This will help maintain its creamy texture while preserving delicious flavors.
Freezer: If you want to keep the dish longer, freeze it in a sealed container for up to 2 months. Be sure to leave some space for expansion as it freezes.
Reheating: When ready to enjoy, reheat in a pan over medium heat, adding a splash of vegetable broth or milk to restore creaminess. Stir occasionally for even heating.
Room Temperature: Avoid leaving cooked pasta out for more than 2 hours to prevent spoilage, and always refrigerate any leftovers promptly.
Hatch Chile Pasta Recipe FAQs
How do I choose the best hatch chiles?
Absolutely! Look for hatch chiles that are firm and glossy with no dark spots all over. The color should be bright green or even a touch red if they’re ripe. If you can, smell them—fresh hatch chiles should have a slightly sweet and earthy aroma. If you’re buying canned, choose those that specify “fire-roasted” for that authentic flavor.
How should I store leftover hatch chile pasta?
Store any leftover Hatch Chile Pasta in an airtight container in the fridge for up to 3 days. Make sure it’s completely cooled before sealing it tight to maintain that luscious creaminess. This method helps keep the flavors intact, so you can enjoy it just as much as the first day!
Can I freeze hatch chile pasta?
Yes, you can! To freeze your Hatch Chile Pasta, let it cool completely before transferring it to a freezer-safe container. Freeze for up to 2 months. Be sure to leave a little space in the container for the pasta to expand as it freezes. When ready to enjoy, thaw in the fridge overnight, and reheat on the stove, adding a splash of vegetable broth to restore its creaminess.
What should I do if my sauce is too thick?
Very! If you find your sauce is too thick, simply stir in a bit of the reserved pasta cooking water or a splash of vegetable broth until you reach your desired consistency. Just a little bit can go a long way in making it silky again, so add it slowly while mixing gently to ensure it blends well.
Are hatch chiles safe for pets?
Absolutely! While hatch chiles are safe for most humans to enjoy, they are not suitable for pets. Spicy foods can irritate their digestive systems. If you want to share some pasta with your furry friend, stick to plain noodles without any sauce—it's generally safer and makes for a happy pup!
Creamy Hatch Chile Pasta That Will Spice Up Your Dinner
Ingredients
Equipment
Method
- Start by bringing a large pot of salted water to a rolling boil over high heat. Once boiling, add the spaghetti and cook according to package instructions until al dente, usually about 8-10 minutes. Before draining, reserve ½ to ¾ cup of the pasta cooking water for later use.
- While the pasta cooks, seed and chop the fire-roasted hatch chiles, and finely dice the onion. Set aside in separate bowls.
- In a large pan, heat the olive oil over medium heat. Add the diced onion and sauté for about 3-5 minutes until soft and translucent.
- Once the onions are tender, stir in the minced garlic and cook for an additional minute until fragrant.
- Add the chopped hatch chiles, vegetable broth, sea salt, and chili powder to the pan. Stir and let simmer for about 3-5 minutes.
- Mix in the shredded Monterey Jack cheese, sour cream, and chopped cilantro until well combined.
- Gradually pour in the reserved pasta cooking water while stirring, until desired sauce consistency is reached.
- Remove the pan from heat and add the drained spaghetti into the sauce. Toss well to coat.
- Let the pasta mixture rest off the heat for a few minutes.
- Plate the pasta and garnish with additional chopped cilantro, crumbled cotija cheese, and a dash of extra chili powder.


Leave a Reply