
As I stood in my kitchen, the rich aroma of baking chocolate swirled around me, instantly lifting my spirits. There’s something pure magic about creating a show-stopping dessert like Red Velvet Oreo Cheesecake that not only looks impressive but also delivers on taste and texture. This recipe is perfect for anyone like me who loves homemade food and tires of the quick-fix, fast-food scene. With a gluten-free twist, this cheesecake is a delightful crowd-pleaser that can make any gathering feel special. Plus, the prep is surprisingly straightforward, meaning you’ll spend less time worrying and more time savoring every delicious bite. Are you ready to dive into this creamy, decadent dessert that combines the best of red velvet cake and Oreo cookies? Let’s get baking together!
Why is this cheesecake a must-try?
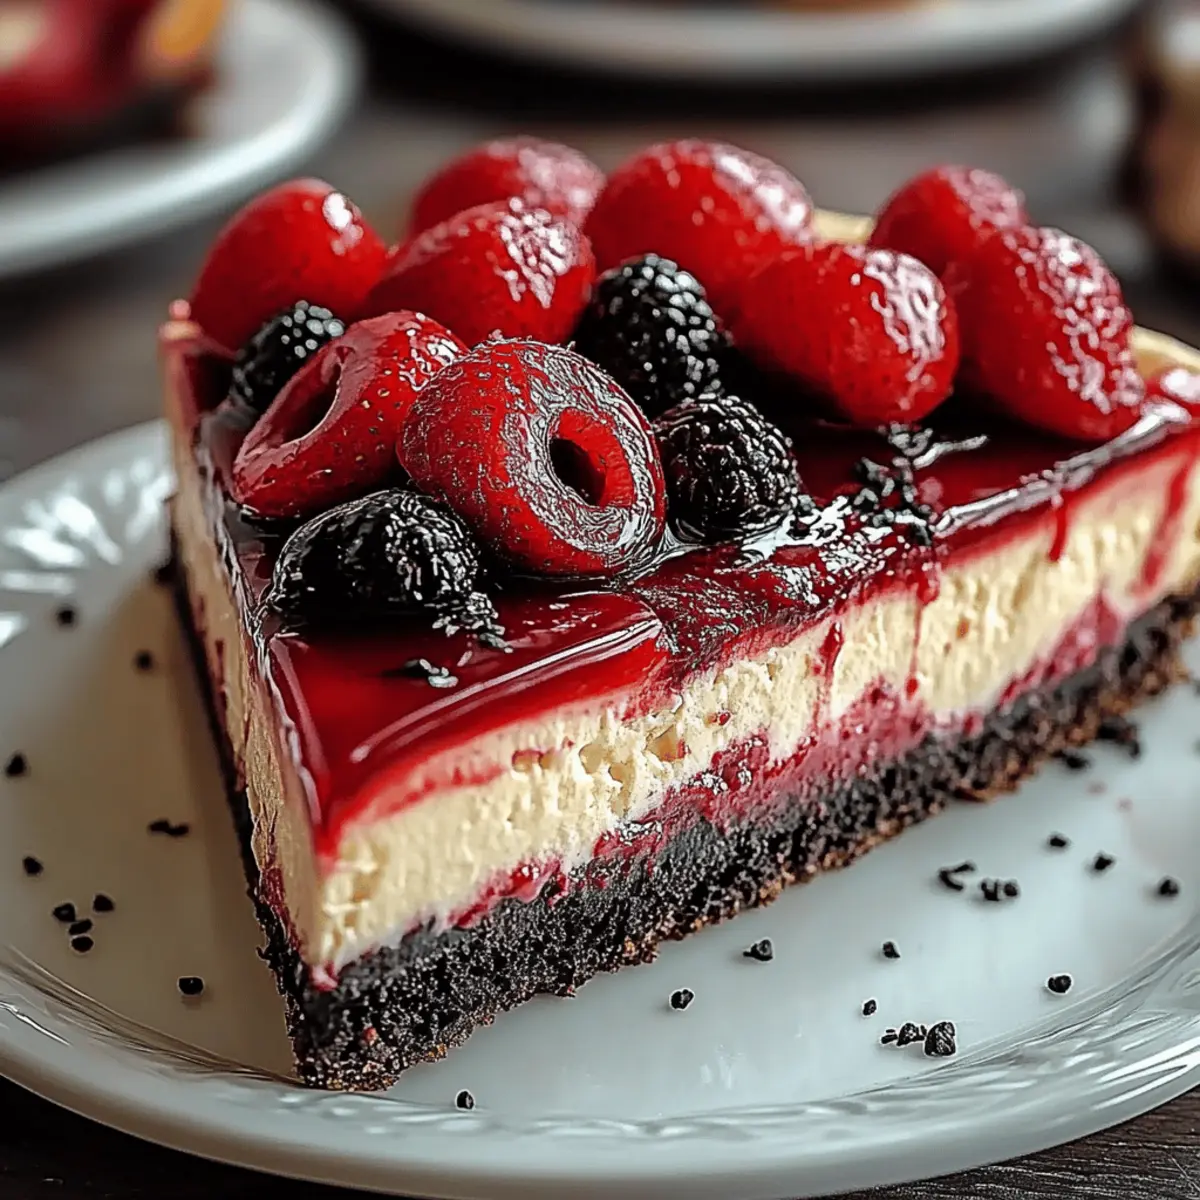
Decadent Layers: The Red Velvet Oreo Cheesecake features a luscious cream cheese filling layered on an Oreo crust, making each slice a heavenly treat.
Gluten-Free Goodness: With a gluten-free twist, this dessert allows everyone to indulge without worry.
Time-Saving Delight: Prep only takes 35 minutes, allowing you more time to enjoy with loved ones.
Crowd-Pleasing Favorite: Its vibrant color and rich flavor are sure to impress guests at any gathering.
Easy to Make: The steps are simple and require no advanced baking skills, ideal for both seasoned chefs and beginners.
Satisfy your sweet cravings and impress your friends with this unforgettable dessert, and consider pairing it with a delightful cup of coffee or a light salad for a complete meal experience!
Red Velvet Oreo Cheesecake Ingredients
Dive into the delightful world of baking with this Red Velvet Oreo Cheesecake that will leave everyone wanting more!
For the Crust
• Oreo cookie crumbs – The base of our cheesecake, creating a deliciously sweet and crunchy foundation.
• Unsalted butter – Adds richness and helps bind the crumbs together for a crispy crust.
For the Filling
• Granulated sugar – Sweetens the cream cheese filling for the perfect balance against the tanginess.
• Cream cheese – The star that brings creaminess and structure to your cheesecake. Choose full-fat for the best results!
• Sour cream – Adds a slight tang and enhances the creamy texture of the filling.
• Large eggs – Provides structure and helps the cheesecake set beautifully as it bakes.
• Vanilla extract – Infuses a warm, comforting flavor that rounds out the taste.
• Cocoa powder – Adds a touch of chocolate flavor to enhance the red velvet essence.
• Crushed Oreo cookies – Fold these into the filling for delightful cookie bites in each slice!
For the Topping
• Additional Oreo crumbs – Sprinkle on top for an extra crunchy garnish that complements the creamy cheesecake beautifully.
Get ready to savor each slice of this stunning dessert that merges classic flavors with a gluten-free twist!
Step‑by‑Step Instructions for Red Velvet Oreo Cheesecake
Step 1: Preheat and Prepare the Pan
Begin by preheating your oven to 325°F (160°C). While the oven heats, take a 9-inch springform pan and lightly grease it. This ensures easy removal later. You will create a delightful crust for your Red Velvet Oreo Cheesecake, so gathering your ingredients now will help streamline the process.
Step 2: Make the Oreo Crust
In a mixing bowl, combine 2 ½ cups of Oreo cookie crumbs with ½ cup of melted unsalted butter. Stir until the crumbs are evenly coated and resemble wet sand. Firmly press this mixture into the bottom of the prepared springform pan, creating a solid and even layer. Chill the crust in the refrigerator for 10 minutes while you prepare the filling.
Step 3: Blend the Cream Cheese Filling
In a large mixing bowl, beat 4 packages (8 oz each) of softened cream cheese and 1 cup of granulated sugar together until the mixture is smooth and creamy. Use an electric mixer on medium speed for about 3-4 minutes. The filling should be free of lumps, resulting in a luscious base for your Red Velvet Oreo Cheesecake.
Step 4: Add the Sour Cream and Eggs
Next, lower the mixer speed and add in ½ cup of sour cream, 4 large eggs, 1 tablespoon of vanilla extract, and 2 tablespoons of cocoa powder. Mix until all ingredients are fully combined and the batter is smooth. Scraping down the sides of the bowl will ensure an even blend, leading to a rich filling that enhances the overall flavor.
Step 5: Incorporate the Crushed Oreos
Fold in 1 cup of crushed Oreo cookies gently using a spatula, aiming for an even distribution without overmixing. This step adds delightful chocolatey bits throughout the cheesecake, which perfectly complements the red velvet flavor. The vibrant hue and texture will make your Red Velvet Oreo Cheesecake truly irresistible.
Step 6: Pour the Filling Over the Crust
Remove the chilled crust from the refrigerator and carefully pour the cheesecake filling over it. Use a spatula to smooth out the top, ensuring an even layer. The contrast of colors will be stunning, setting the stage for a visually appealing dessert once it’s baked to perfection.
Step 7: Bake the Cheesecake
Bake the cheesecake in the preheated oven for 60 to 75 minutes, until the outer edges are set but the center still has a slight wobble when shaken gently. Keep an eye on your Red Velvet Oreo Cheesecake during the last few minutes to avoid overbaking, as it can lead to a dry texture.
Step 8: Cool the Cheesecake
Once baked, turn off the oven and leave the cheesecake inside for about 1 hour, which helps it cool gradually. This gradual cooling process helps prevent cracks from forming on the surface. Afterward, carefully remove it from the oven and let it reach room temperature.
Step 9: Refrigerate Overnight
After cooling, wrap the springform pan tightly in plastic wrap and place it in the refrigerator. Allow the cheesecake to chill for a minimum of 6 hours, or preferably overnight. This chilling period is crucial for setting the cheesecake and enhancing the flavors, making the wait well worth it.
Step 10: Serve with Delightful Toppings
Finally, before serving, top your Red Velvet Oreo Cheesecake with cream cheese frosting or chocolate ganache for an extra indulgence. Sprinkle additional Oreo crumbs on top for a gorgeous finish that elevates this show-stopping dessert, making each slice even more appealing and delicious!

Make Ahead Options
These Red Velvet Oreo Cheesecake are a fantastic option for busy home cooks looking to save time! You can prepare the crust (2 ½ cups of Oreo cookie crumbs mixed with ½ cup melted butter) up to 24 hours in advance; just store it tightly wrapped in the refrigerator. The cheesecake filling can also be mixed and stored (covered) in the fridge for up to 3 days before baking. Simply pour the chilled filling over the crust and bake as directed when you’re ready to serve. For the best texture, remember to chill the cheesecake for at least 6 hours or overnight after baking, which enhances its flavors and allows it to set beautifully. Enjoy the time-saving benefits while impressing your guests with this stunning dessert!
What to Serve with Red Velvet Oreo Cheesecake
To create an unforgettable meal experience, consider these delightful pairings that balance flavors and enhance your cheesecake's allure.
-
Creamy Vanilla Ice Cream: A scoop of creamy vanilla ice cream perfectly complements the rich flavors of the cheesecake, adding a refreshing coolness to each bite.
-
Fresh Berries Medley: Bright and tangy berries like strawberries and raspberries provide a pop of color and acidity, balancing the sweetness of the cheesecake beautifully.
-
Decadent Chocolate Ganache: Serve alongside some warm chocolate ganache to drizzle over the cheesecake, intensifying that chocolatey goodness with each slice.
-
Mocha Coffee: A rich cup of mocha coffee brings warmth and depth, enhancing the dessert's flavors and creating a cozy after-dinner experience.
-
Zesty Citrus Salad: A light citrus salad of oranges and grapefruit lifts the palate, offering a refreshing contrast to the richness of the Red Velvet Oreo Cheesecake.
-
Whipped Cream Topping: Lightly sweetened whipped cream adds a luscious texture and an airy feel, rounding out the dessert without overpowering it.
These pairings not only elevate your Red Velvet Oreo Cheesecake but also create a symphony of flavors that will delight your guests and make your dessert spread unforgettable!
How to Store and Freeze Red Velvet Oreo Cheesecake
Fridge: Store the cheesecake in an airtight container for up to 5 days to keep it fresh and delicious.
Freezer: Wrap individual slices tightly in plastic wrap, then foil, and freeze for up to 3 months. Thaw overnight in the fridge before serving.
Reheating: For best texture, avoid reheating the cheesecake. If desired, allow slices to come to room temperature before enjoying for a soft, creamy bite.
Serving Tips: Consider topping with fresh whipped cream or extra Oreo crumbs before serving to enhance flavors after storage.
Red Velvet Oreo Cheesecake Variations
Feel free to play around with this delightful recipe, creating your very own unique spin on the classic!
-
Gluten-Free Option: Substitute traditional Oreo cookies with gluten-free cookies to maintain that rich flavor without the gluten!
-
Dairy-Free Delight: Swap cream cheese with dairy-free cream cheese and use coconut cream instead of sour cream for a delightful twist.
-
Chocolate Lovers: Add an extra tablespoon of cocoa powder to the filling for an intensified chocolate flavor that will send your taste buds soaring!
-
Nutty Crunch: Mix in chopped walnuts or pecans into the filling for a delightful crunch that adds great texture and flavor.
-
Fruit Fusion: Fold in some crushed raspberries or strawberries into the batter for a fruity explosion that complements the chocolate beautifully.
-
Spiced Elegance: Add a pinch of cinnamon or nutmeg for a warm spice that enhances the rich flavors of your cheesecake.
-
Caramel Drizzle: Top your baked cheesecake with a homemade or store-bought caramel sauce for an added sweetness that takes it to the next level.
-
Layer it Up: For an impressive presentation, create a layered cheesecake by alternating layers of cream cheese filling with layers of chocolate ganache.
With each variation, you’ll discover new layers of flavor and joy, making this dessert an ever-evolving favorite. Consider pairing your creation with a hearty light salad for a refreshing balance after each decadent bite!
Expert Tips for Red Velvet Oreo Cheesecake
Crust Perfection: Use finely crushed Oreo crumbs to ensure a uniform base. Avoid large chunks that can lead to an uneven crust texture.
Mixing Tip: Beat cream cheese until smooth and creamy before adding other ingredients. This prevents lumps and achieves a velvety filling.
Chill Time Matters: Don't skip the overnight refrigeration! Chilling allows the flavors to meld beautifully and creates a firmer slice.
Avoid Overbaking: Keep an eye on your cheesecake in the oven. A slight wobble in the center indicates it's perfect; overbaking may lead to a dry texture.
Presentation Pop: Enhance visual appeal by adding fresh berries or a drizzle of chocolate sauce alongside your Red Velvet Oreo Cheesecake.
Red Velvet Oreo Cheesecake Recipe FAQs
How do I select ripe ingredients for this cheesecake?
Absolutely! For the best results in your Red Velvet Oreo Cheesecake, choose cream cheese that is soft and at room temperature. This allows for a smooth mixture. Look for fresh eggs, ideally with a recent expiration date, and remember that your sour cream should also be fresh for optimal flavor.
How should I store the cheesecake, and how long will it last?
Store your Red Velvet Oreo Cheesecake in an airtight container in the refrigerator for up to 5 days. This will help maintain its rich texture and delicious flavor. If it's not already sliced, you can keep it in its original springform pan and simply cover it tightly with plastic wrap.
Can I freeze the Red Velvet Oreo Cheesecake?
Yes, you can! To freeze your cheesecake, wrap individual slices tightly in plastic wrap, then in foil to prevent freezer burn. You can store it for up to 3 months. When you’re ready to enjoy, simply thaw overnight in the fridge for the best texture.
What if my cheesecake cracks while baking?
No worries! If your Red Velvet Oreo Cheesecake cracks, it’s often due to cooking too long or using too high a temperature. To prevent this, always check for a slight wobble in the center before removing it from the oven. Next time, you can also try baking it in a water bath to create a gentle cooking environment.
Are there any dietary considerations for pets or allergies?
Great question! Since this cheesecake contains high amounts of sugar and dairy, it should be kept away from pets, as these ingredients can be harmful to them. Additionally, be mindful of any guests with allergies; the ingredients include dairy and gluten (Oreo cookies specifically), so you might need to look for gluten-free alternatives if you encounter this concern.
Irresistible Red Velvet Oreo Cheesecake That's Gluten-Free
Ingredients
Equipment
Method
- Preheat your oven to 325°F (160°C) and lightly grease a 9-inch springform pan.
- In a mixing bowl, combine 2 ½ cups of Oreo cookie crumbs with ½ cup of melted unsalted butter, then press the mixture into the bottom of the prepared pan.
- Chill the crust in the refrigerator for 10 minutes while preparing the filling.
- In a large bowl, beat 4 packages (8 oz each) of softened cream cheese and 1 cup of granulated sugar together until smooth.
- Add in ½ cup of sour cream, 4 large eggs, 1 tablespoon of vanilla extract, and 2 tablespoons of cocoa powder, then mix until fully combined.
- Fold in 1 cup of crushed Oreo cookies gently with a spatula.
- Pour the cheesecake filling over the chilled crust and smooth the top.
- Bake for 60 to 75 minutes until the edges are set and the center has a slight wobble when shaken.
- Turn off the oven and leave the cheesecake inside for about 1 hour to cool gradually.
- Wrap the springform pan in plastic wrap and refrigerate for a minimum of 6 hours or overnight.
- Before serving, top with cream cheese frosting or chocolate ganache and sprinkle additional Oreo crumbs on top.


Leave a Reply