
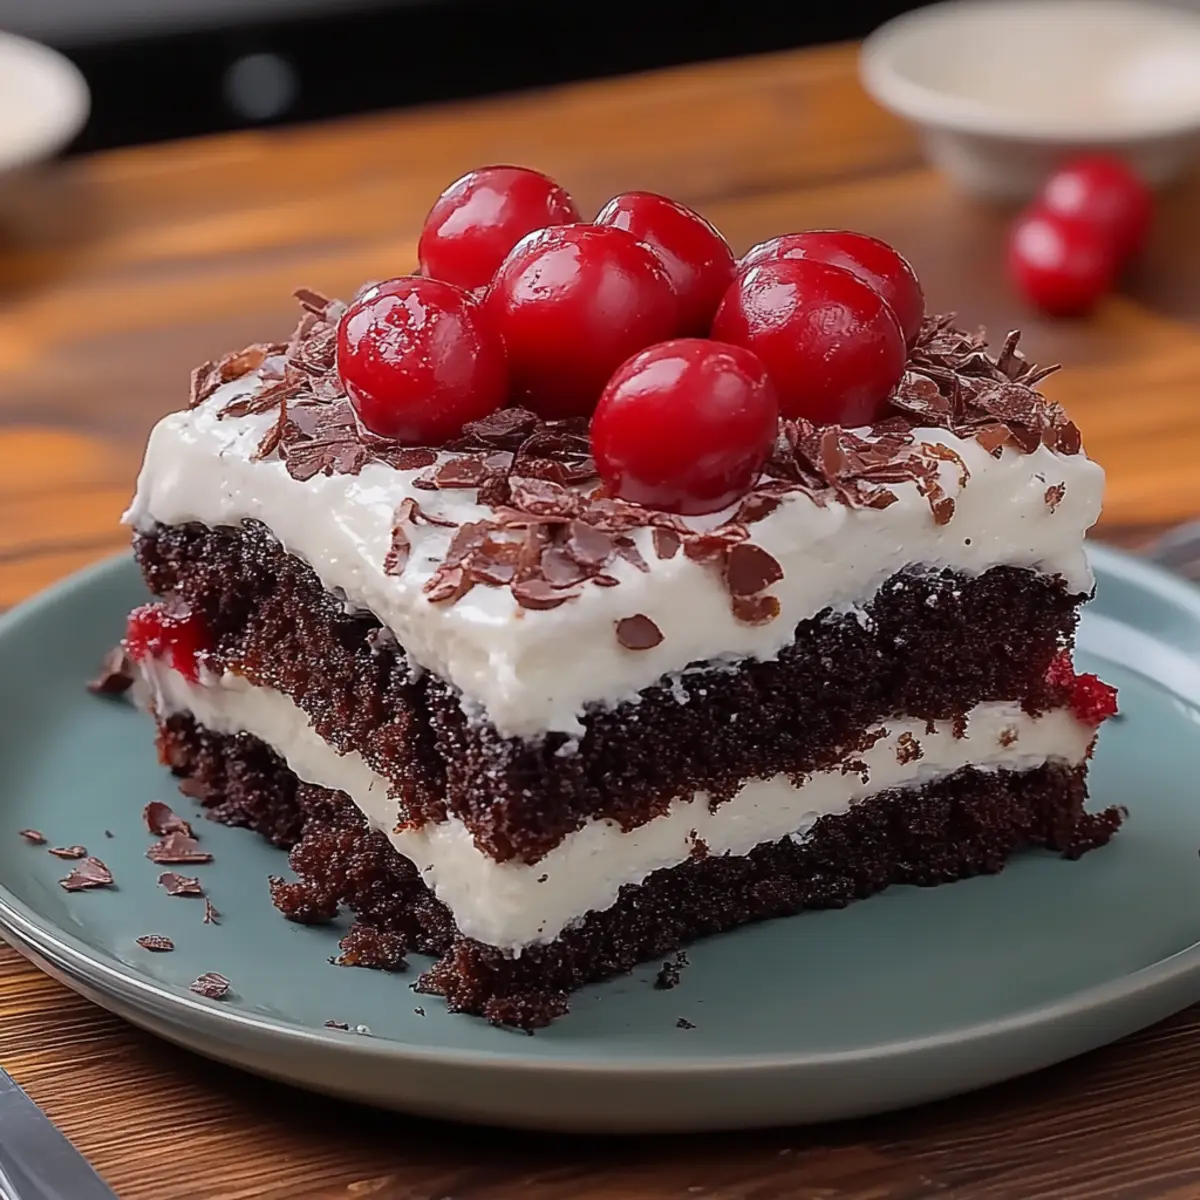
All the rich aromas of chocolate and cherries danced through the kitchen as I pulled my Black Forest Cake from the oven, and I couldn’t help but feel a sense of accomplishment. This classic German dessert is not just a crowd-pleaser; it’s a delightful combination of flavors that transports you straight to a cozy café in the Black Forest region. What I love most about this cake is not only its show-stopping layers but also the impressively quick prep time that allows me to whip it up for any occasion—even on a busy weekday! With its layers of moist chocolate cake, luscious whipped cream, and juicy cherries, this treat packs a punch in every bite while being surprisingly simple to make. Are you ready to dive into a slice of joy and make memories around the dinner table? Let’s get started!
Why is Black Forest Cake so special?
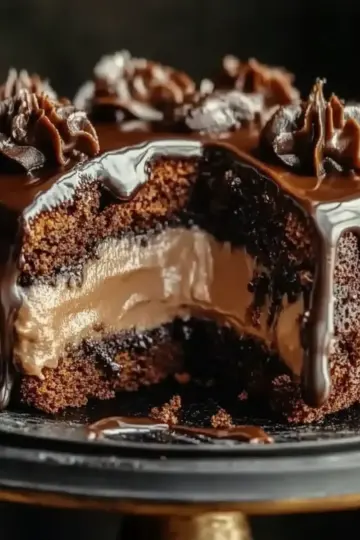
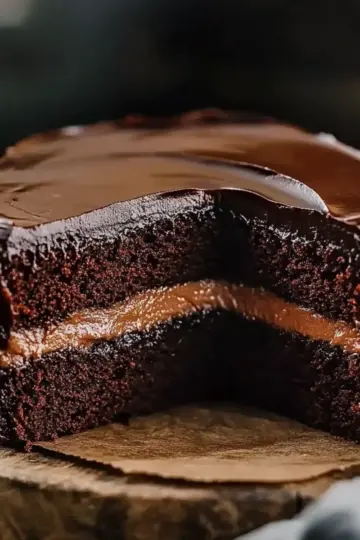
Indulgent Layers: Each bite of this cake is a luxurious experience, combining moist chocolate layers with whipped cream and cherries that burst with flavor.
Simplicity: You’ll be amazed at how easily this classic dessert comes together, perfect for both novice and experienced bakers.
Crowd-Pleaser: Whether it's a birthday, anniversary, or just a sweet treat, this cake is sure to impress your guests and leave them wanting more.
Versatile Option: You can easily customize the cherries with any seasonal fruit, making this recipe adaptable for any occasion.
Perfect for Sharing: With 12 servings in one recipe, it’s ideal for family gatherings or potlucks, ensuring everyone gets a delicious slice.
Quick Prep Time: With just over an hour from start to finish, you can have this delightful dessert ready in no time—ideal for those last-minute cravings!
Black Forest Cake Ingredients
To create this delightful treat, gather these key ingredients!
For the Cake
• All-purpose flour – Gives structure and stability to the cake layers.
• Granulated sugar – Sweetens the cake and helps it caramelize for a lovely golden crust.
• Unsweetened cocoa powder – Adds rich chocolate flavor essential for a classic Black Forest Cake.
• Baking powder – Provides the necessary lift for a light, fluffy cake.
• Baking soda – Works with the acidic components for additional leavening.
• Salt – Enhances the flavors and balances the sweetness.
• Large eggs – Binds the ingredients together and adds moisture.
• Whole milk – Contributes to the cake's tender crumb and rich flavor.
• Vegetable oil – Keeps the cake moist for those indulgent bites.
• Vanilla extract – Infuses a warm, sweet aroma that complements the chocolate.
• Boiling water – Helps to activate the cocoa powder and create a smooth batter.
For the Whipped Cream
• Heavy whipping cream – Essential for a rich and creamy topping that holds its shape.
• Powdered sugar – Sweetens the cream while helping it achieve a stable consistency.
• Vanilla extract – Adds a lovely flavor to the whipped cream layers.
For the Filling and Decoration
• Cherries – Use fresh or jarred; these add a refreshing burst and savory contrast to the chocolate.
This recipe for Black Forest Cake promises delightful layers that will elevate your dessert game!
Step‑by‑Step Instructions for Black Forest Cake
Step 1: Preheat and Prepare
Begin by preheating your oven to 350°F (175°C). While it heats, grease and flour two 9-inch round cake pans. This ensures your delicious Black Forest Cake layers won’t stick. Get your mixing bowl and all ingredients ready on the counter for a smooth baking process.
Step 2: Mix Dry Ingredients
In a large bowl, whisk together 2 cups of all-purpose flour, 2 cups of granulated sugar, ¾ cup of unsweetened cocoa powder, 1½ teaspoons of baking powder, 1½ teaspoons of baking soda, and 1 teaspoon of salt. Mix thoroughly until all dry ingredients are well blended. This combination is the foundation of your cake’s rich flavor.
Step 3: Combine Wet Ingredients
Add in 2 large eggs, 1 cup of whole milk, ½ cup of vegetable oil, and 2 teaspoons of vanilla extract to your dry mixture. Beat the ingredients on medium speed for about two minutes until fully combined and slightly fluffy. This step creates a moist batter, perfect for your decadent layers.
Step 4: Incorporate Boiling Water
Carefully stir in 1 cup of boiling water into your cake batter. This will make the batter relatively thin, which is normal. The heat helps activate the cocoa powder, enhancing that deep chocolate taste in your Black Forest Cake.
Step 5: Pour and Bake
Pour the batter evenly into the prepared cake pans. Place them into the preheated oven and bake for about 30–35 minutes. You’ll know they are ready when a toothpick inserted into the center comes out clean. The cakes should also spring back lightly when touched.
Step 6: Cool the Cakes
Once the cakes are baked, allow them to cool in the pans for about ten minutes. Afterward, carefully transfer them to wire racks to cool completely. This cooling time is crucial for a firm texture, making it easier to slice and layer.
Step 7: Slice and Prepare Cherries
Once the cakes have cooled entirely, slice each layer in half horizontally to create four layers in total. If using jarred cherries, drain them and reserve the juice for moistening the cake, ensuring each layer is bursting with flavor.
Step 8: Whip the Cream
In a large mixing bowl, whip together 3 cups of heavy whipping cream, ½ cup of powdered sugar, and 1 teaspoon of vanilla extract. Beat the mixture until it forms stiff peaks, which may take a few minutes. This creamy delight will provide a luscious filling in your Black Forest Cake.
Step 9: Assemble the Cake
Place one layer of cake on a serving platter and moisten it with the reserved cherry juice. Spread a generous layer of whipped cream on top, followed by a handful of cherries. Repeat this layering with the next cake layer, ensuring a flavorful ensemble of cream and cherries.
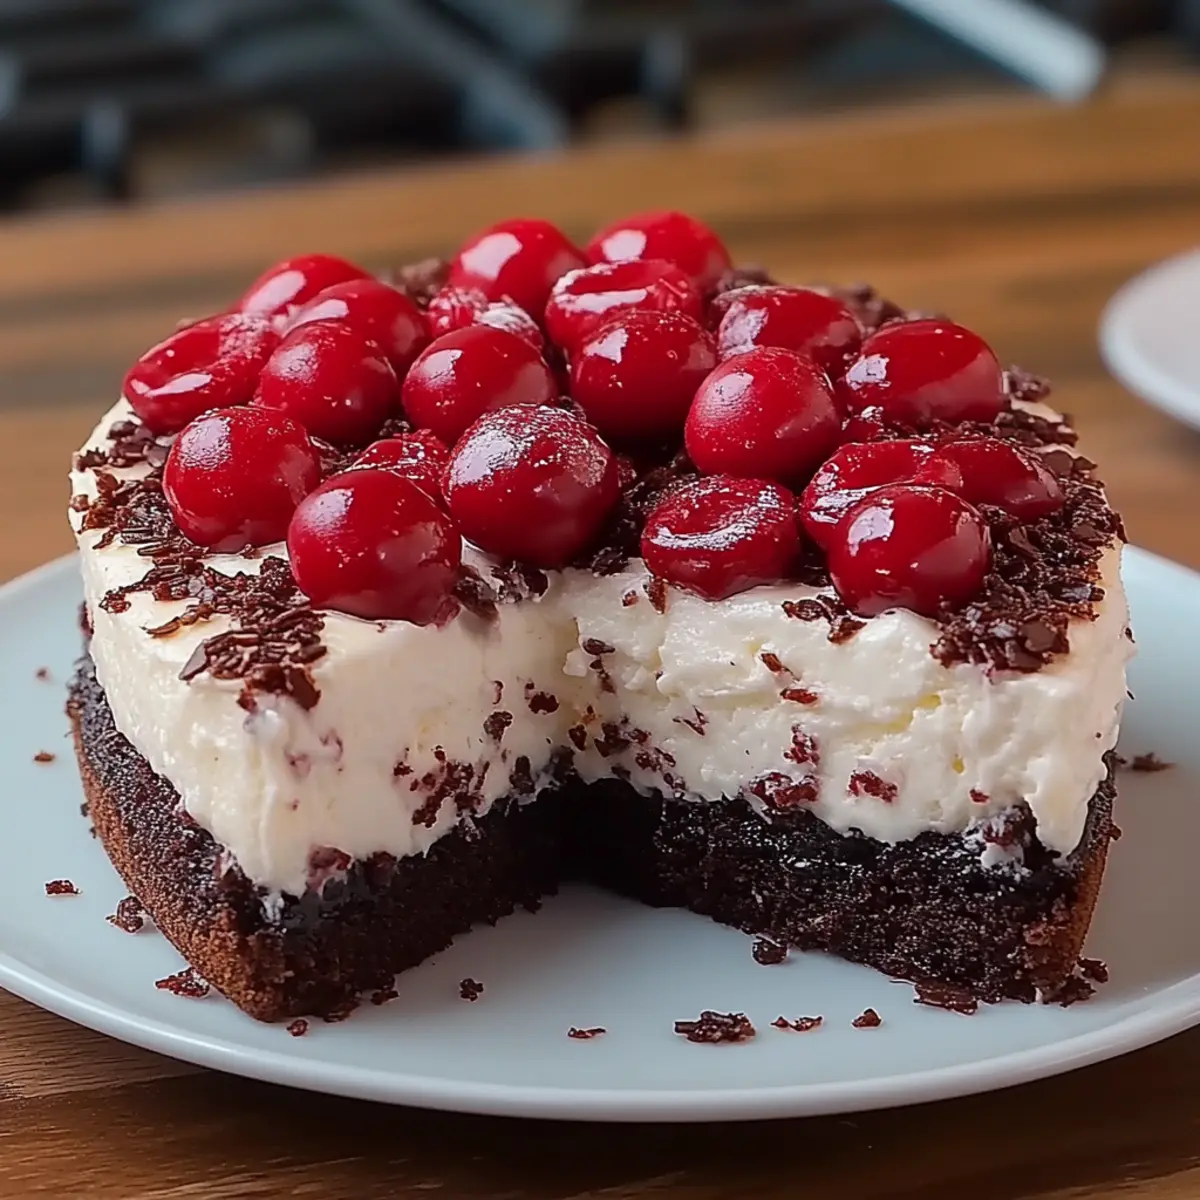
Step 10: Final Touches
Add the final cake layer on top and coat the entire cake with the remaining whipped cream. For decoration, add chocolate shavings and extra cherries on the top, making your Black Forest Cake look as beautiful as it tastes.
Step 11: Chill and Serve
To enhance the flavors, chill your completed Black Forest Cake in the refrigerator for at least 30 minutes before slicing. This step allows the cake to set and makes serving a breeze, ensuring every slice is as indulgent as the last.
How to Store and Freeze Black Forest Cake
Room Temperature: Store covered at room temperature for up to 2 days. Keep it cool and dry to maintain the cake’s moisture and flavor.
Fridge: If you have leftovers, place the cake in an airtight container in the fridge. It will stay fresh for up to 5 days. The whipped cream will remain creamy, making every slice a sweet delight.
Freezer: To freeze, wrap individual slices or whole portions tightly in plastic wrap, then place them in a freezer-safe bag. Enjoy your Black Forest Cake for up to 3 months without compromising its taste or texture.
Reheating: Thaw in the fridge overnight before serving. For a warm treat, enjoy at room temperature or gently warm slices in the microwave for 10-15 seconds.
What to Serve with Black Forest Cake?
As you bring this luscious dessert to the table, consider delightful companions that will elevate this moment even more.
- Rich Vanilla Ice Cream: Creamy vanilla perfectly contrasts the chocolate and cherries, enhancing the indulgence of every bite.
- Fresh Berries: A medley of strawberries or raspberries adds a bright, tangy freshness that balances the cake’s sweetness beautifully.
- Decadent Chocolate Truffles: Luxurious truffles provide an extra layer of chocolate bliss, perfect for cocoa lovers seeking indulgence.
- Coffee or Espresso: A warm cup of coffee complements the cake’s richness while providing a cozy touch to your dessert experience.
- Whipped Cream & Chocolate Shavings: Extra whipped cream with a sprinkle of chocolate shavings not only enhances presentation but also satisfies the sweet tooth.
- Charming Fruit Tart: The crisp pastry and fruity flavors in a tart beautifully contrast the heavy cake, creating a delightful dessert duo.
- Mint Sprigs: A simple garnish of fresh mint will freshen the palette while adding a pop of color to your dessert plate.
- Chocolate Liqueur: Serve a small glass to sip alongside, rich chocolate notes enhance the cake's flavor profile in a sophisticated way.
- Elegant Cheesecake Bites: Bite-sized pieces of cheesecake offer a creamy twist, marrying beautifully with the other sweet textures on the table.
Make Ahead Options
These delightful Black Forest Cake layers are perfect for meal prep, allowing you to savor every moment of indulgence without the rush! You can bake the cake layers up to 3 days in advance—simply let them cool completely, wrap them tightly in plastic wrap, and refrigerate. The whipped cream can be prepared 24 hours ahead and stored in the fridge in an airtight container; it will stay just as luscious! When you're ready to serve, assemble the cake by moistening each layer with the reserved cherry juice, adding the whipped cream, and layering the cherries. A quick chill will ensure your cake is as fresh and delicious as ever!
Black Forest Cake Variations
Feel free to let your creativity flow and customize this classic cake to suit your taste buds!
-
Gluten-Free: Substitute all-purpose flour with a 1:1 gluten-free baking blend for a deliciously gluten-free version that's just as rich and moist.
-
Dairy-Free: Use almond or oat milk in place of whole milk and coconut cream instead of heavy cream; this option makes the cake suitable for dairy-sensitive folks.
-
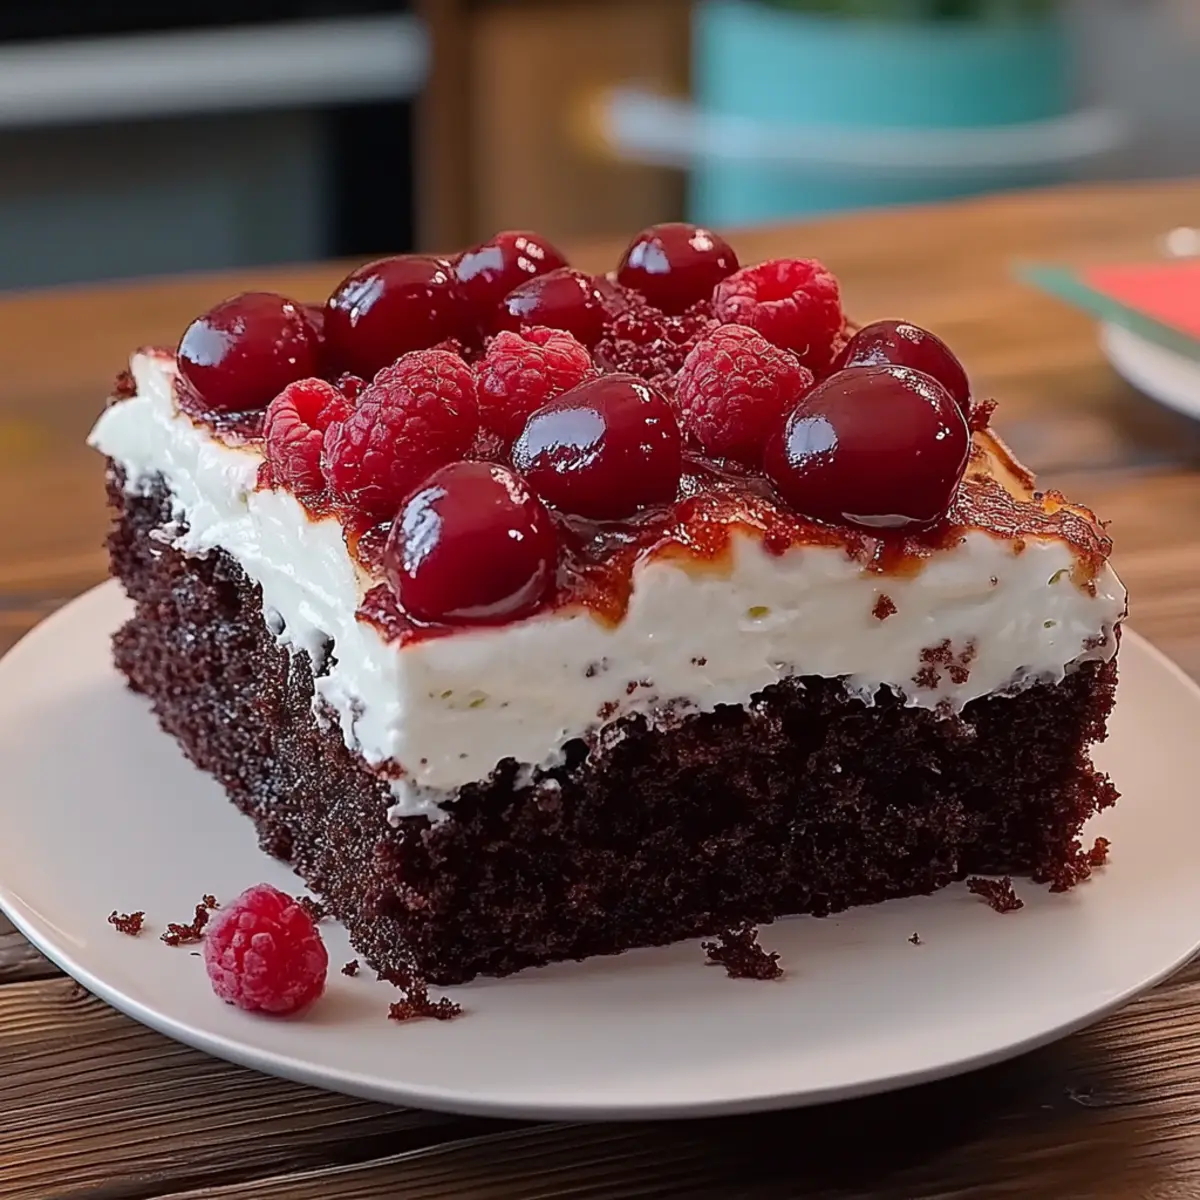
Cherries Optional: Swap the cherries with raspberries or strawberries for a unique twist and vibrant color that still pairs beautifully with chocolate.
-
Chocolate Variations: Consider adding dark chocolate chunks or chocolate chips within the cake layers for an extra chocolatey experience. Just imagine that melted goodness!
-
Nutty Texture: Fold in chopped walnuts or pecans into the batter for added crunch and a hearty flavor that elevates the cake’s depth.
-
Flavor Boost: Infuse the whipped cream with a splash of almond extract or liqueur such as Kirsch to enhance the cake's classic taste with a delightful twist.
-
Syrup Soak: Drizzle a flavored syrup, like coffee or hazelnut, over the cake layers before adding the cream for a deliciously moist and coffee-infused cake.
-
Spicy Kick: Add a pinch of cinnamon or a hint of cayenne pepper to the chocolate batter for a surprise kick that balances the sweetness.
With these variations, your Black Forest Cake can be an exciting adventure for the taste buds!
Expert Tips for Black Forest Cake
Use Quality Ingredients: Always opt for high-quality cocoa powder and fresh cherries; this elevates the flavor and overall quality of your Black Forest Cake.
Proper Cooling: Allow the cake to cool completely before assembling. If you skip this step, the layers may crumble or become mushy when adding cream.
Stable Whipped Cream: To ensure your whipped cream holds its shape, use heavy whipping cream and beat it to stiff peaks. This adds a beautiful texture to your cake layers.
Moisten Evenly: When adding cherry juice, be generous but even; this ensures each layer of cake remains moist and flavorful.
Chill Before Slicing: Don’t skip the chilling step! It helps the flavors meld together and makes cutting into the cake easier, while enhancing the overall enjoyment of your Black Forest Cake.
Black Forest Cake Recipe FAQs
What type of cherries should I use for Black Forest Cake?
Fresh cherries are ideal for this recipe, as they provide a vibrant taste and color. However, jarred cherries in syrup will also work beautifully and are easier to find year-round. Just be sure to drain and reserve the juice, as it will enhance the cake's moisture.
How should I store Black Forest Cake?
To keep your delicious Black Forest Cake fresh, store it in an airtight container in the fridge for up to 5 days. If you’re enjoying it within 2 days, you can keep it covered at room temperature. Just make sure it’s in a cool, dry spot to maintain its scrumptiousness!
Can I freeze Black Forest Cake?
Absolutely! To freeze your cake, slice it into portions or keep it whole. Wrap each piece tightly in plastic wrap first, then place it in a freezer-safe bag. This way, your Black Forest Cake will stay delightful for up to 3 months. To thaw, simply transfer it to the refrigerator overnight, and enjoy!
What should I do if my whipped cream is not stiffening?
If your whipped cream isn’t achieving stiff peaks, you might need to re-check the temperature of your ingredients; they should be cold. Make sure you’re using heavy whipping cream, which has a higher fat content. If it's still not thickening, you can add a tablespoon of cornstarch or instant pudding mix to stabilize it.
Can I make Black Forest Cake ahead of time?
Certainly! You can bake the cake layers a day in advance. Just wrap them tightly in plastic wrap once cooled, and store them in the fridge. The day you want to serve, assemble the cake with cherry juice and whipped cream. This not only saves time but allows the flavors to meld beautifully overnight.

Irresistibly Decadent Black Forest Cake to Indulge Your Senses
Ingredients
Equipment
Method
- Preheat your oven to 350°F (175°C) and grease and flour two 9-inch round cake pans.
- In a large bowl, whisk together all dry ingredients.
- Add in eggs, milk, oil, and vanilla to the dry mixture and beat until combined.
- Gently stir in boiling water into the batter.
- Pour the batter into prepared pans and bake for 30–35 minutes.
- Let the cakes cool in pans for 10 minutes, then transfer to wire racks to cool completely.
- Slice each cooled cake layer in half horizontally.
- Whip heavy cream with powdered sugar and vanilla until stiff peaks form.
- Assemble the cake by layering with whipped cream and cherries.
- Chill the cake for at least 30 minutes before serving.
Leave a Reply