
As I stood in my kitchen, the sweet smell of cocoa wafted through the air, instantly transporting me to cozy afternoons spent baking with loved ones. It’s moments like these that make perfect Chocolate Thumbprint Cookies truly special. This delightful treat not only combines rich chocolate flavor with your choice of chocolate chips or jam for a surprise in every bite, but it also brings instant comfort and nostalgia in just 40 minutes. Whether you’re looking for an easy dessert to wow your guests or simply want to indulge in a homemade sweet fix, these cookies are a fantastic choice. Ready to dive into the world of mouthwatering baking? Let’s get started!
Why Are Chocolate Thumbprint Cookies Irresistible?
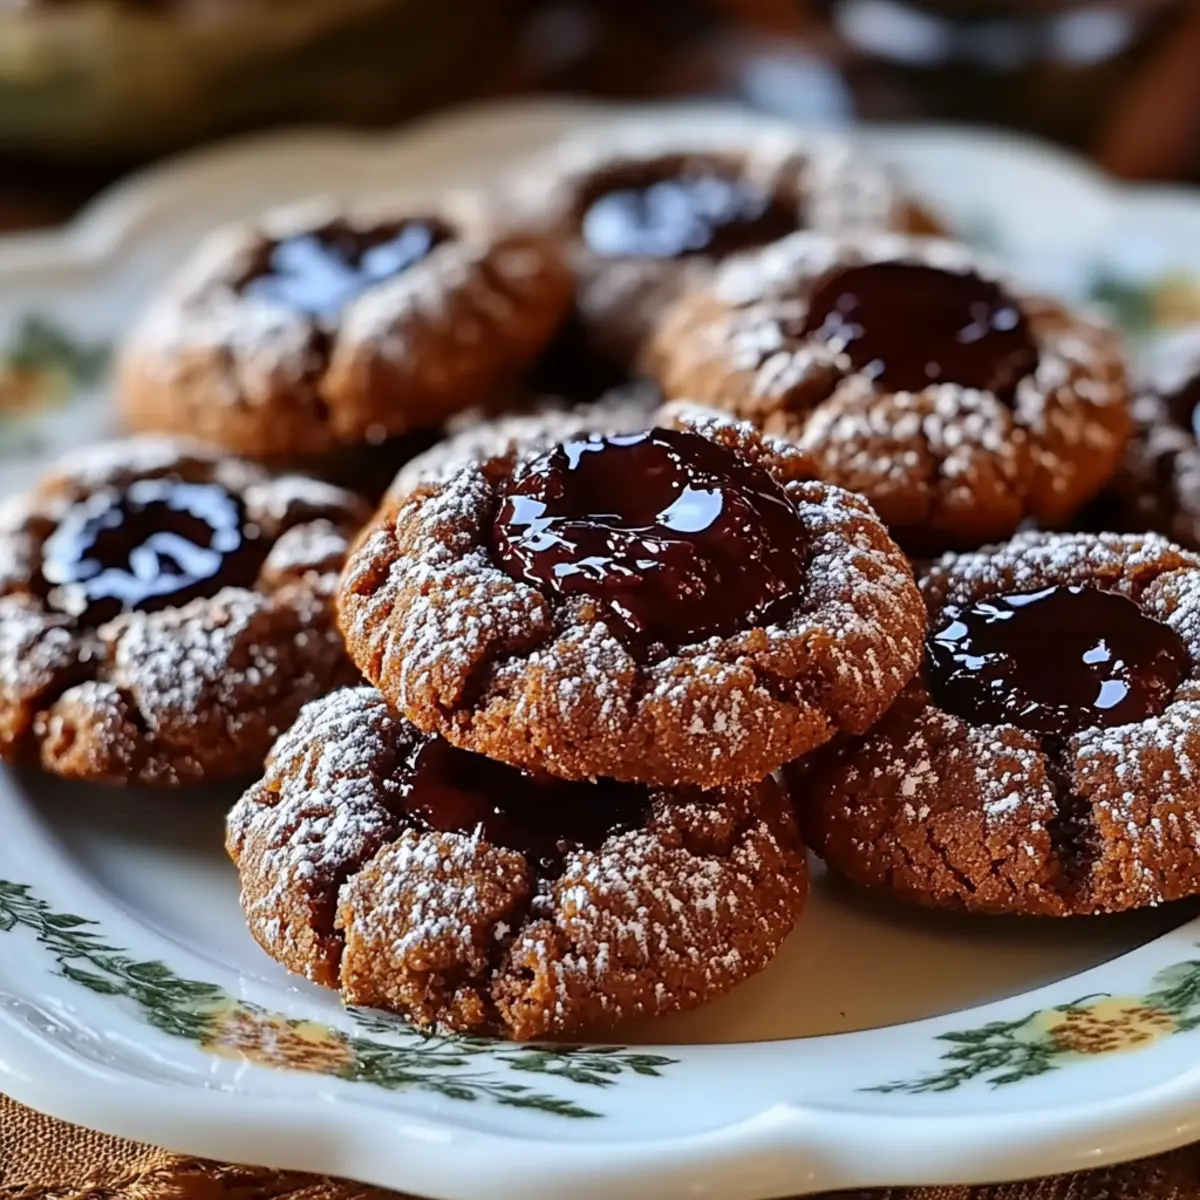
Deliciously Decadent: Each bite of these cookies melts in your mouth, combining rich chocolate flavors with gooey chocolate chips or fruity jam, making them a divine treat.
Quick to Make: With just 40 minutes from start to finish, you can whip up a batch of these delightful cookies without spending your entire afternoon in the kitchen.
Perfect for Sharing: These cookies are perfect for gatherings or sweet gifts, sure to impress family and friends with their fun presentation and scrumptious taste.
Customizable Filling: Whether you prefer chocolate chips or a favorite jam in the center, you can cater these cookies to suit any taste; try pairing them with rich chocolate toppings for an extra indulgence!
These Chocolate Thumbprint Cookies might just become your go-to recipe, especially with a side of Christmas Thumbprint Cookies for that festive twist!
Chocolate Thumbprint Cookies Ingredients
For the Cookie Dough
- Unsalted butter – 1 cup, softened; it creates a rich, creamy base for your cookies.
- Granulated sugar – ⅔ cup; helps achieve that perfect sweetness and chewy texture.
- Brown sugar – ⅓ cup, packed; adds rich flavor and moisture to each bite.
- Vanilla extract – 1 teaspoon; enhances the chocolate flavor and makes everything taste better.
- All-purpose flour – 2 cups; the backbone of the cookie structure.
- Unsweetened cocoa powder – ¼ cup; provides the rich chocolate flavor that makes these cookies special.
- Salt – ½ teaspoon; balances the sweetness and enhances the chocolate.
- Baking powder – ½ teaspoon; gives the cookies that lovely lift while baking.
For the Filling
- Chocolate chips or jam – ½ cup; choose your favorite for a delightful surprise in each cookie.
Optional Topping
- Powdered sugar – for dusting; a sweet finishing touch that adds a delightful visual appeal.
Get ready to enjoy these delectable Chocolate Thumbprint Cookies that will surely bring joy to your kitchen!
Step‑by‑Step Instructions for Chocolate Thumbprint Cookies
Step 1: Preheat the Oven and Prepare the Baking Sheet
Begin by preheating your oven to 350°F (175°C). While the oven warms up, line a baking sheet with parchment paper, ensuring you have a smooth surface for your Chocolate Thumbprint Cookies. This preparation will help prevent the cookies from sticking and facilitate easy cleanup.
Step 2: Cream the Butter and Sugars
In a large mixing bowl, combine 1 cup of softened unsalted butter, ⅔ cup granulated sugar, and ⅓ cup packed brown sugar. Using an electric mixer, beat the mixture on medium speed for about 2-3 minutes until it's light and fluffy. This crucial step creates the perfect base for your cookies, ensuring a delightful texture in every bite.
Step 3: Add the Vanilla Extract
With the butter and sugar mixture ready, add 1 teaspoon of vanilla extract and mix until it’s well incorporated. The vanilla enhances the delightful chocolate flavor, ensuring every Chocolate Thumbprint Cookie is infused with warmth and sweetness.
Step 4: Mix the Dry Ingredients
In a separate bowl, whisk together 2 cups of all-purpose flour, ¼ cup unsweetened cocoa powder, ½ teaspoon salt, and ½ teaspoon baking powder until evenly combined. This step ensures a uniformly delicious flavor and texture in the cookies, so your careful measurements don’t go unnoticed during baking.
Step 5: Combine Wet and Dry Ingredients
Gradually add the dry ingredients to the butter mixture, mixing at a low speed until just combined. The dough may appear slightly crumbly but should hold together when pressed. This consistency is key to forming your cookie balls; don’t over-mix, as we want our Chocolate Thumbprint Cookies to remain tender.
Step 6: Form the Cookie Dough Balls
Scoop tablespoon-sized portions of the dough and roll them into neat balls using your hands. Place the dough balls on the prepared baking sheet, spacing them about 2 inches apart. This spacing allows the cookies to spread without merging while baking, ensuring the perfect round shape.
Step 7: Create Indentations
Using your thumb or the back of a teaspoon, gently create a small indentation in the center of each dough ball. Be careful not to press all the way through, as you want a nice pocket for either chocolate chips or jam. This step is what gives these cookies their signature look and delightful surprise inside.
Step 8: Add Filling
If you choose to use chocolate chips, place a few chips into the center of each indentation. Alternatively, fill the center with your favorite jam, ensuring each cookie has a generous amount. This touch adds a delightful burst of flavor to each bite of your Chocolate Thumbprint Cookies.
Step 9: Bake the Cookies
Bake the cookies in the preheated oven for 12-15 minutes. The edges should appear slightly firm while the centers remain soft. Keep an eye on them for that perfect golden-brown edge, as this is the sign that your cookies are nearly ready to come out.
Step 10: Cool and Dust
Once baked, allow the cookies to cool on the baking sheet for a few minutes before transferring them to a wire rack. Once fully cooled, feel free to dust with powdered sugar for an elegant touch before serving these delightful Chocolate Thumbprint Cookies.

What to Serve with Chocolate Thumbprint Cookies?
Indulging in these delightful cookies transports you to a world of sweet pleasure, and pairing them with the right companions enhances the experience.
-
Milk: A classic pairing that balances the rich chocolate flavor. The creaminess of milk complements the sweetness wonderfully.
-
Fresh Berries: Juicy strawberries or raspberries add a fresh, tangy contrast, elevating the dessert experience while being visually stunning.
-
Ice Cream: Vanilla or chocolate ice cream is a match made in dessert heaven, providing a creamy texture that perfectly offsets the cookie's softness.
-
Whipped Cream: Light and airy, a dollop of whipped cream enhances each bite, creating a delightful combination of flavors and textures.
-
Coffee: A warm cup of coffee adds a sophisticated touch, balancing the sweetness of the cookies with its rich, bold flavor. Pairing them together is a comforting classic.
-
Chocolate Sauce Drizzle: For an extra indulgent treat, drizzle your favorite chocolate sauce over the cookies; it intensifies the chocolate experience and adds extra sweetness.
-
Peanut Butter Dip: A creamy peanut butter dip offers a luscious twist, serving as a delightful surprise alongside the rich chocolate. Enjoy the flavor combination!
-
Coconut Macaroons: Chewy macaroons with coconut provide a tropical twist, adding a wonderful texture contrast and a sweet touch.
-
Chilled Dessert Wine: Treat yourself with a glass of dessert wine; its sweetness harmonizes beautifully with the rich, decadent flavor of chocolate.
-
Scoop of Sorbet: For a refreshing finish, pair with your favorite sorbet. Its fruity brightness cuts through the richness and leaves you feeling satisfied.
Storage Tips for Chocolate Thumbprint Cookies
Room Temperature: Store the cookies in an airtight container at room temperature for up to 3 days to maintain their soft texture and delightful flavor.
Fridge: If you prefer, keep the cookies in the fridge for up to a week. Make sure to use a sealed container to prevent them from absorbing any odors.
Freezer: For longer storage, freeze the cookies for up to 3 months. Layer them between parchment paper in an airtight container to avoid sticking together.
Reheating: To enjoy the cookies warm, reheat them in the microwave for about 10-15 seconds or in a preheated oven at 350°F (175°C) for 5-7 minutes.
Make Ahead Options
These Chocolate Thumbprint Cookies are an excellent choice for busy home cooks looking to streamline their baking plans! You can prepare the cookie dough up to 24 hours in advance; simply store it in an airtight container in the refrigerator to keep it fresh. Alternatively, you can roll the dough into balls and refrigerate them until you're ready to bake. If you're feeling extra ambitious, freeze the shaped cookie balls for up to 3 months—just be sure to place them in a single layer on a baking sheet before transferring them to a freezer bag. When you're ready to enjoy these delightful treats, bake them directly from the fridge or freezer (add a couple of extra minutes to the baking time), and you’ll have fresh, warm Chocolate Thumbprint Cookies perfect for any occasion!
Expert Tips for Chocolate Thumbprint Cookies
-
Butter Temperature: Use softened butter, not melted. This ensures that your cookies have the right texture and maintain their shape during baking.
-
Don’t Overmix: When combining wet and dry ingredients, mix until just combined. Overmixing can lead to tough cookies instead of the soft Chocolate Thumbprint Cookies you desire.
-
Indentation Technique: Be cautious while creating indentations; pressing too hard risks breaking through the bottom. Aim for a gentle press to keep that filling secure!
-
Baking Time Reminder: Keep an eye on them while baking. Pull out the cookies when the edges are firm but centers are still soft—this leads to perfect chewy centers.
-
Cooling Perfection: Let the cookies cool slightly on the baking sheet before transferring to a wire rack. This step prevents them from breaking and makes them easier to handle.
-
Taste Variations: Feel free to mix up the fillings! Experimenting with different jams or even nut butters can add exciting flavors to your Chocolate Thumbprint Cookies.
Chocolate Thumbprint Cookies Variations
Feel free to put your own spin on these delightful cookies with some fun and tasty variations!
-
Gluten-Free: Substitute all-purpose flour with a gluten-free blend for a deliciously inclusive treat that everyone can enjoy.
-
Nutty Delight: Add ½ cup of finely chopped nuts to the dough for a crunchy texture that complements the rich chocolate beautifully.
-
Minty Twist: Mix in ½ teaspoon of peppermint extract for a refreshing mint flavor that perfectly balances the chocolate. This is especially delightful during the holiday season!
-
Spicy Kick: Add a pinch of cayenne pepper to the dough for a surprising chili chocolate combo that heats things up!
-
Chocolate Chip Lovers: Use various types of chocolate chips—dark, milk, or even white chocolate—depending on your sweet preference for a chocolate lover's dream!
-
Fruit Preserves: Swap out traditional fruit jams for gourmet flavor like raspberry or apricot preserves to elevate the taste experience.
These Chocolate Thumbprint Cookies offer endless possibilities, allowing you to create something uniquely yours. Pair them with Blueberry Cookies Gooey for a delightful dessert platter that celebrates diversity and flavor!

Chocolate Thumbprint Cookies Recipe FAQs
What is the best way to select ripe ingredients for my cookies?
Absolutely! For the best Chocolate Thumbprint Cookies, be sure to use unsalted butter that is softened to room temperature. This allows for easy creaming with the sugars, resulting in the perfect texture. Additionally, when using jam for the filling, opt for fruit preserves that are vivid in color and free from dark spots, indicating freshness.
How should I store my Chocolate Thumbprint Cookies?
To maintain their delightful texture and flavor, store your Chocolate Thumbprint Cookies in an airtight container at room temperature for up to 3 days. If you want to keep them longer, move them to the fridge where they can last for about a week—just remember to keep them sealed tight to avoid any funky fridge odors.
Can I freeze Chocolate Thumbprint Cookies? If so, how?
Yes, you can freeze these cookies! I often make a double batch for later enjoyment. Layer them between sheets of parchment paper in an airtight container, and they’ll stay fresh for up to 3 months. When you're ready to enjoy, simply thaw them in the fridge overnight and reheat briefly in the microwave or oven for that fresh-baked taste.
What should I do if my cookie dough is too crumbly?
The more the merrier! If you find the cookie dough too crumbly, don’t worry, it’s an easy fix. Just add a tablespoon of softened butter or a splash of milk to the dough. Mix gently until it binds together. Remember, though, don’t overwork the dough, as we want those soft, melt-in-your-mouth cookies!
Are these cookies suitable for people with allergies?
Very! These Chocolate Thumbprint Cookies contain common allergens like gluten (from the flour) and dairy (from the butter). If you're baking for someone with these sensitivities, consider using gluten-free flour alternatives and dairy-free margarine. Make sure to read labels for any pre-made fillings to avoid unwanted allergens.
Can I customize the filling for my Chocolate Thumbprint Cookies?
Why yes, you can! Besides chocolate chips or traditional jam, I recommend trying nut butters, caramel, or even flavored cream cheese for a unique twist. Just keep the amount consistent at around ½ cup filling; this will ensure your cookies have that delightful surprise in every bite!

Irresistibly Soft Chocolate Thumbprint Cookies to Savor
Ingredients
Equipment
Method
- Preheat your oven to 350°F (175°C) and line a baking sheet with parchment paper.
- In a large mixing bowl, combine unsalted butter, granulated sugar, and brown sugar. Beat on medium speed for 2-3 minutes until light and fluffy.
- Add vanilla extract to the butter and sugar mixture and mix until well incorporated.
- In a separate bowl, whisk together all-purpose flour, cocoa powder, salt, and baking powder until evenly combined.
- Gradually add the dry ingredients to the butter mixture, mixing at low speed until just combined.
- Scoop tablespoon-sized portions of the dough and roll into balls. Place them on the prepared baking sheet, spaced about 2 inches apart.
- Create a small indentation in the center of each ball using your thumb or the back of a teaspoon.
- Fill each indentation with chocolate chips or your favorite jam.
- Bake the cookies for 12-15 minutes, until the edges are firm but the centers are still soft.
- Allow the cookies to cool on the baking sheet for a few minutes before transferring them to a wire rack. Dust with powdered sugar if desired.


Leave a Reply