
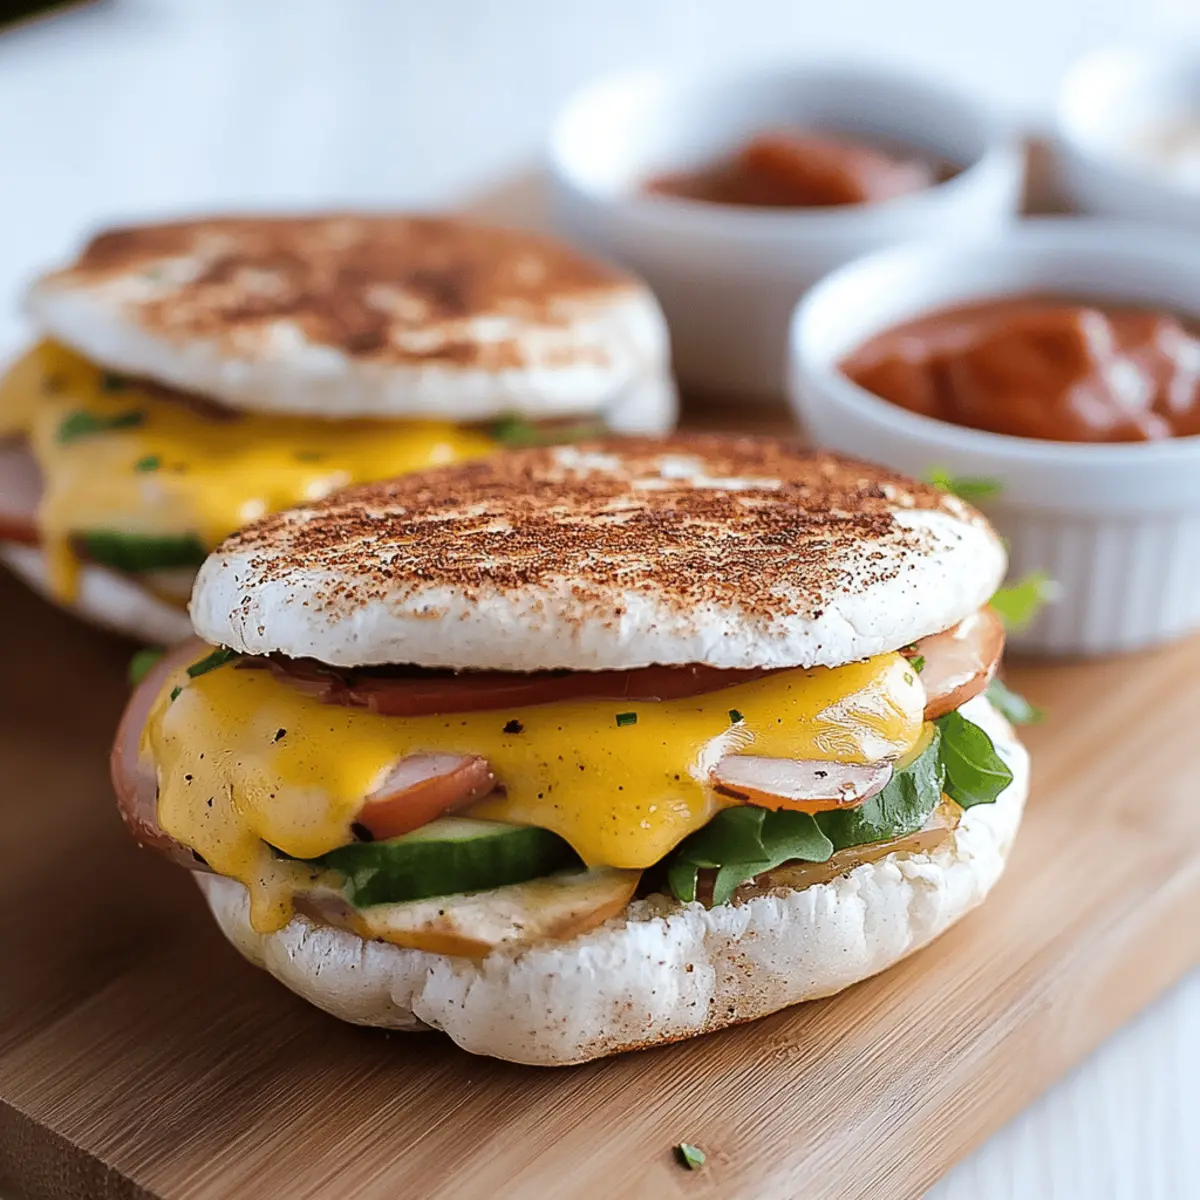
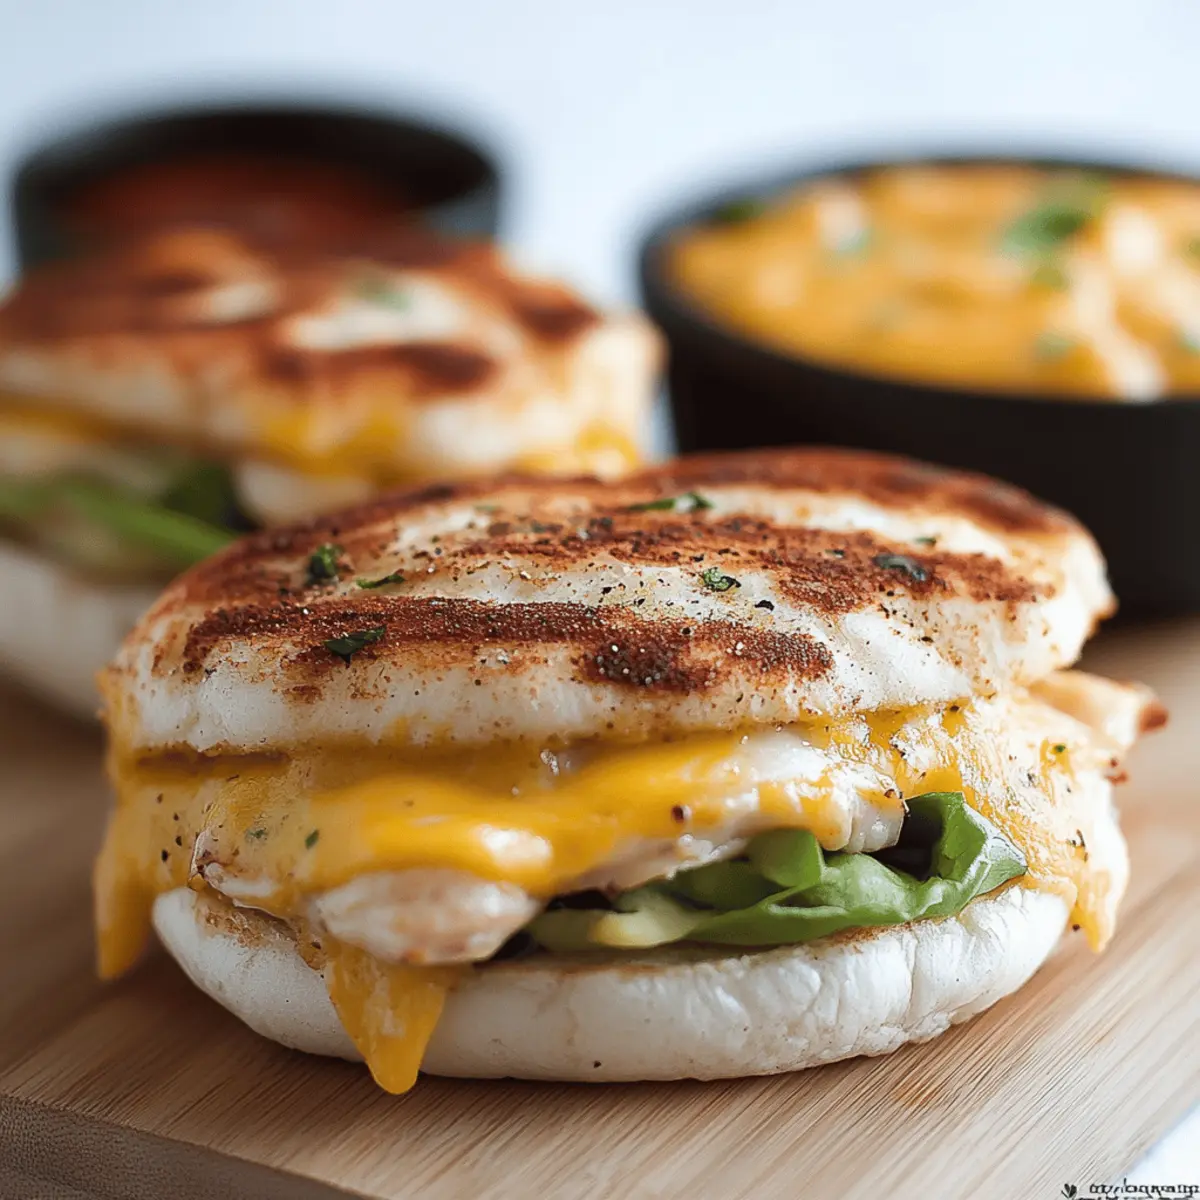
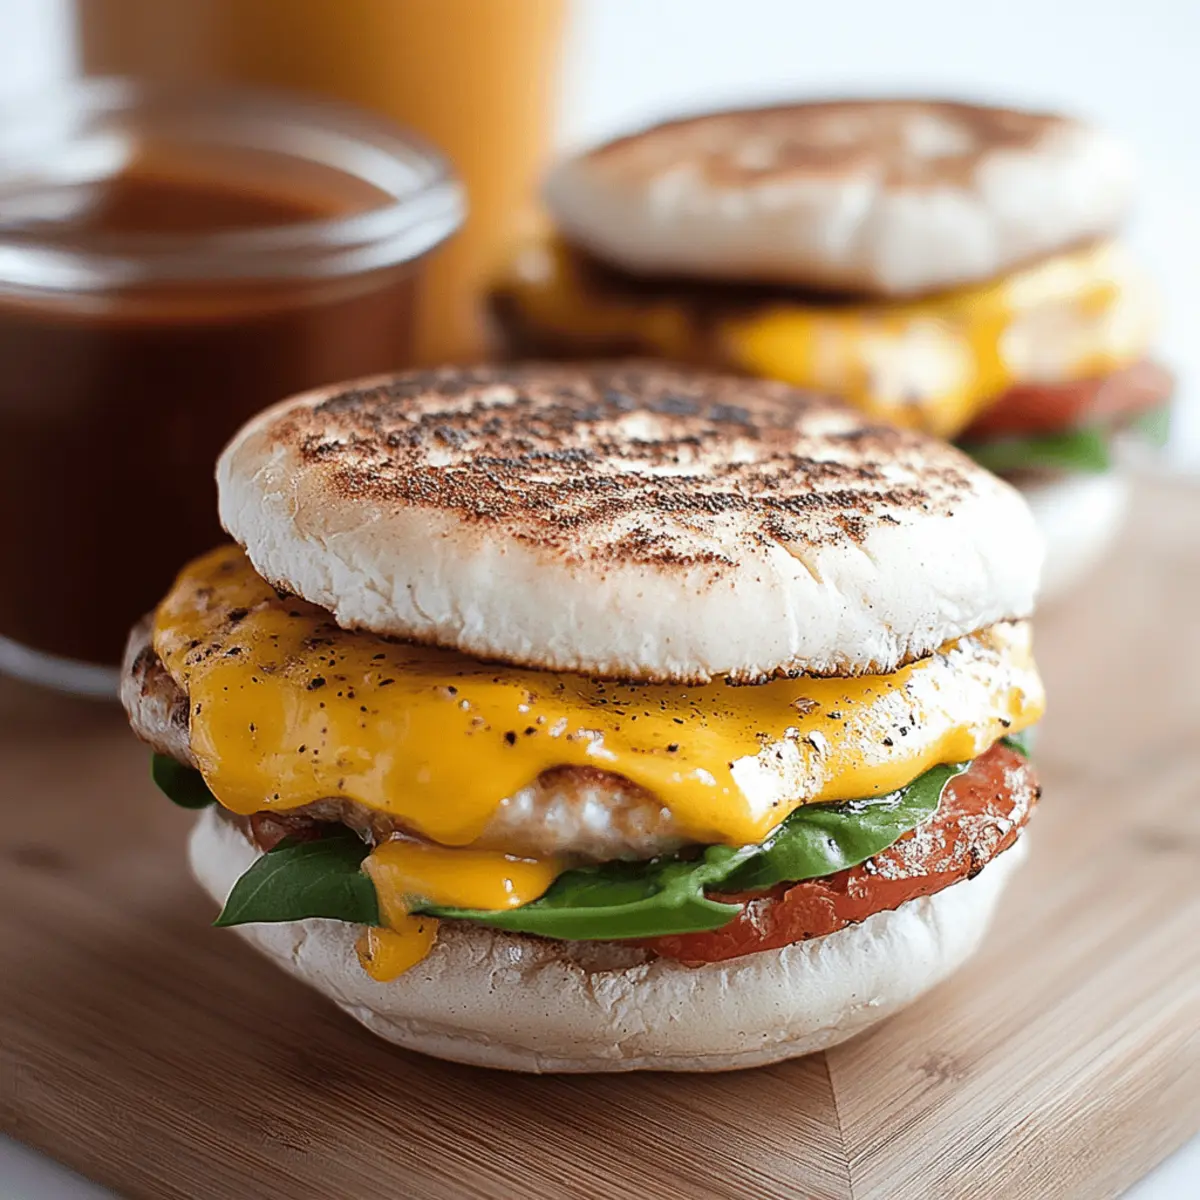
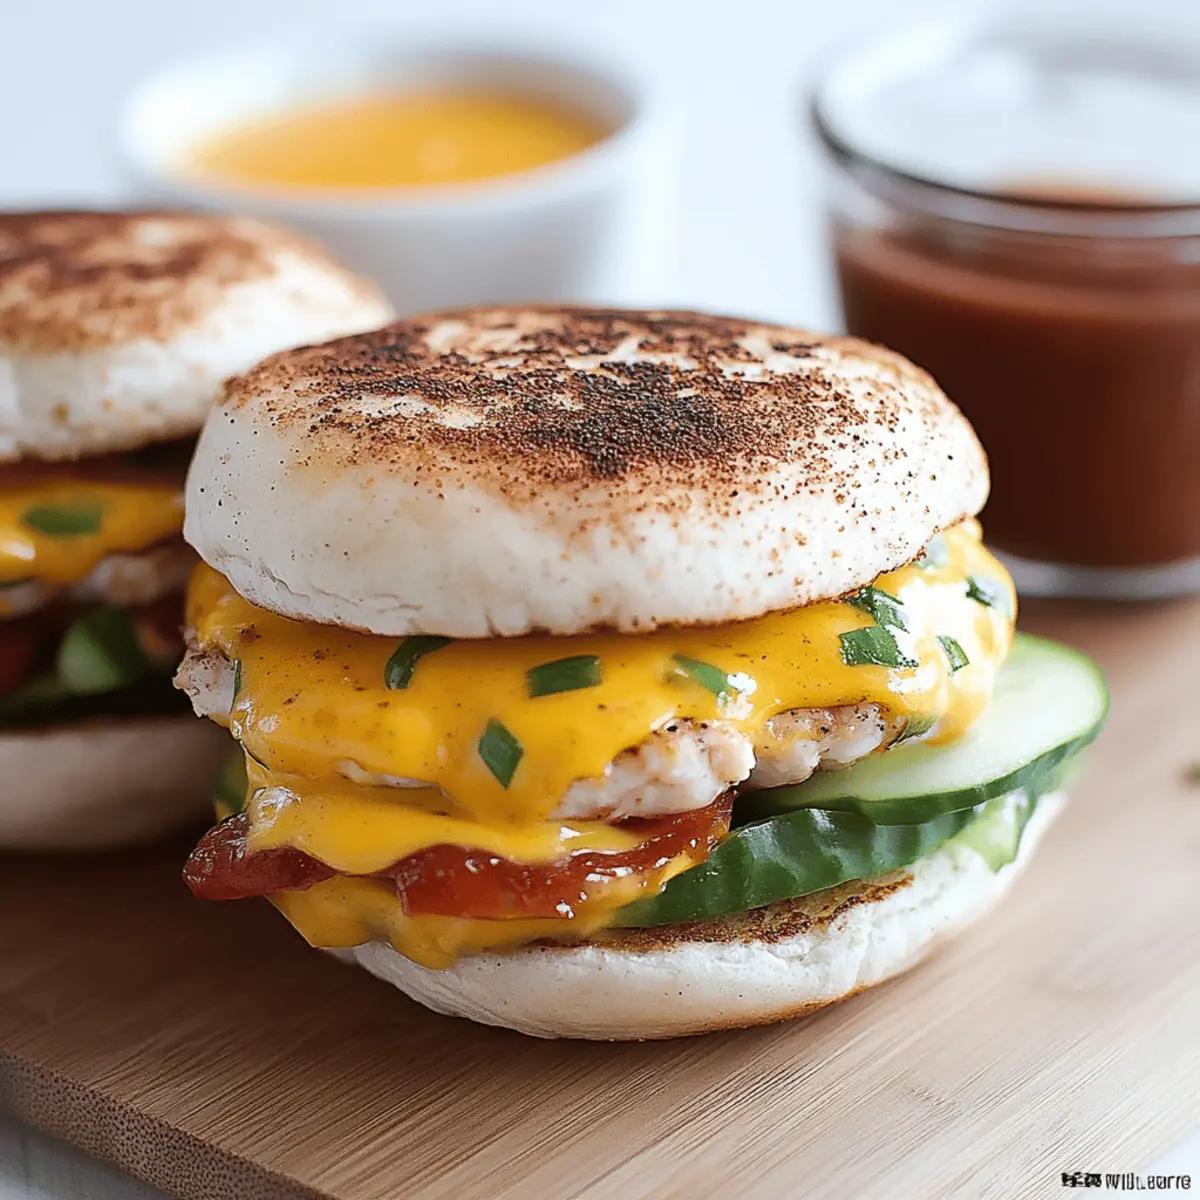
As the morning sun streams through my kitchen window, I can't help but feel that familiar tug of hunger, mixed with the chaos of a busy day ahead. That’s when I whip up my beloved Freezer Breakfast Sandwiches. They’re not just a time-saver—these delicious little gems are a game changer for busy mornings, allowing me to enjoy a homemade breakfast without the hassle of standing over a hot stove. With crispy bacon, savory sausage, and cheesy eggs nestled between warm English muffins, each bite transports me to a cozy diner, even if I'm just at home. Plus, these freezer-friendly sandwiches are perfect for meal prep, ensuring I always have a satisfying breakfast at my fingertips. Are you ready to simplify your mornings and keep the fast food at bay? Let's dive into making these scrumptious sandwiches!
Why make Freezer Breakfast Sandwiches?
Convenience: These sandwiches are a busy person’s dream, allowing you to make a week’s worth of breakfast in one go.
Homemade Goodness: Enjoy the comfort and flavor of homemade food, making them a delightful upgrade from fast food.
Customizable: Whether you prefer bacon, sausage, or even a veggie option, these sandwiches are perfect for personalizing to your taste.
Hearty and Satisfying: With layers of protein and eggs, they keep you fueled for the day ahead.
Freezer-Friendly: Stock up and save time! You can keep them in the freezer for up to 3 months, making breakfast a breeze.
Time-Saving: With just 45 minutes of cook time, these Freezer Breakfast Sandwiches will transform your mornings into a more pleasant experience.
Freezer Breakfast Sandwich Ingredients
For the Eggs
• 12 large eggs – The star ingredient, providing a hearty base for your sandwiches!
• ¼ cup milk – Adds creaminess to the eggs, making them fluffier.
• Salt – Season to taste for a flavorful bite.
• Pepper – A pinch elevates the taste profile beautifully.
For the Meats
• 12 slices bacon – Crispy, savory goodness that pairs perfectly with eggs.
• 12 sausage patties – For those who crave a hearty, meaty option in their sandwich.
For the Sandwich Base
• 6 English muffins – They create the perfect, toasty pocket for your fillings.
• Butter – Use for spreading on the muffins for extra flavor and richness.
These delicious Freezer Breakfast Sandwiches will not only simplify your morning routine but will also bring a delightful homemade touch to your breakfast!
Step‑by‑Step Instructions for Freezer Breakfast Sandwiches
Step 1: Cook the Bacon
Preheat your oven to 325°F (165°C) and line a sheet pan with parchment paper. Arrange the bacon slices on the pan in a single layer, ensuring they don’t overlap. Bake for about 15 minutes or until they are crispy and golden brown. Once done, transfer the bacon to a paper towel-lined plate to drain excess grease while you prepare the sausage.
Step 2: Sauté the Sausage Patties
In a skillet over medium-high heat, add the sausage patties in a single layer. Allow them to cook for 3–4 minutes per side, or until they are golden brown and fully cooked through. The internal temperature should reach 160°F (70°C). Once they are cooked, drain them on paper towels to remove any excess fat before moving to the next step.
Step 3: Bake the Eggs
In a large mixing bowl, crack the 12 eggs and whisk them together with ¼ cup of milk, salt, and pepper until fully combined. Pour the egg mixture onto a parchment-lined baking sheet and spread it out evenly. Bake at 325°F (165°C) for 30 minutes, or until the eggs are set and slightly golden around the edges. Let the baked eggs cool before cutting them into 12 equal portions.
Step 4: Prepare the English Muffins
While the eggs cool, slice each English muffin in half and lightly butter each side. This will add extra flavor and ensure a golden-toasted finish. Place them cut-side up on a baking sheet and toast under the broiler until they are crispy and golden, which should take about 2–3 minutes—be sure to watch them closely!
Step 5: Assemble the Sandwiches
Once all components are cool, it’s time to assemble your Freezer Breakfast Sandwiches. On the bottom half of each toasted English muffin, layer a portion of the egg, followed by a slice of crisp bacon and a sausage patty. Top it off with the other half of the muffin, pressing down gently to secure all ingredients in place for easy wrapping.
Step 6: Wrap and Freeze
After assembling, allow the sandwiches to cool completely. Wrap each breakfast sandwich tightly in parchment paper or plastic wrap. Label each sandwich with its main ingredient—bacon or sausage—and place all wrapped sandwiches in a large freezer bag. Be sure to squeeze out any air before sealing. These sandwiches can be frozen for up to 3 months, making meal prep a breeze!
Step 7: Reheat for Enjoyment
To enjoy your homemade Freezer Breakfast Sandwiches, you can cook them straight from frozen or allow them to thaw overnight in the fridge. For reheating, simply place them in the microwave for about 1-2 minutes, or until heated through. You can also use an oven to reheat them at 350°F (175°C) for about 15 minutes for a crispier finish.
Freezer Breakfast Sandwiches Variations
Feeling adventurous? Customize these delightful sandwiches to match your cravings and dietary needs!
-
Vegetarian Option: Replace bacon and sausage with sautéed spinach, mushrooms, and a slice of cheese for a hearty, meat-free twist.
You’ll still get a fabulous flavor while keeping it light and healthy! -
Gluten-Free: Use gluten-free English muffins or wraps to cater to your dietary preferences while enjoying this breakfast favorite.
It ensures that no one misses out on delicious mornings! -
Spicy Kick: Add diced jalapeños or chili flakes into the egg mixture for an irresistible heat.
It’s a sure way to wake up your taste buds in the best possible way! -
Herb-Infused: Mix fresh herbs like chives, parsley, or basil into the egg mixture for an aromatic burst of flavor.
This adds a fresh touch that brightens each bite! -
Cheesy Delight: Layer on your favorite cheese—like cheddar, pepper jack, or even feta—between the egg and meat.
It brings a gooey, satisfying richness that elevates your sandwich! -
Swap the Meats: Try turkey bacon or chicken sausage as a leaner option while still enjoying that meaty taste.
These healthy alternatives are a wonderful way to keep things interesting! -
Sweet Surprise: Add a light spread of jam or fruit preserves on the muffin for a sweet and savory combination.
It’s an unexpected twist that’s surprisingly delightful with eggs and meat! -
Breakfast Burrito: Wrap the egg and meat filling in a tortilla instead of using English muffins for a fun, portable take.
Great for on-the-go meals that don’t skimp on comfort!
For even more delicious ideas, check out how to make freezer-friendly meals like Freezer Breakfast Burritos or bring new flavors to your morning with our Best Breakfast Casserole Recipes!
Storage Tips for Freezer Breakfast Sandwiches
Fridge: Store your Freezer Breakfast Sandwiches in an airtight container for up to 3 days if you plan to eat them soon.
Freezer: Wrap each sandwich tightly in parchment paper or plastic wrap, then place them in a large freezer bag. They can be frozen for up to 3 months, ensuring you have a quick breakfast option on hand.
Reheating: For best results, reheat sandwiches directly from frozen in the microwave for 1-2 minutes or warm in a preheated oven at 350°F (175°C) for about 15 minutes to maintain their texture.
Labeling: Don’t forget to label your sandwiches with their contents—bacon or sausage—so you can easily grab your favorite!
Make Ahead Options
These Freezer Breakfast Sandwiches are a fantastic meal prep option that will save you precious time during busy mornings! You can prepare the bacon, sausage, and eggs all up to 24 hours in advance. Simply cook everything as instructed and store the components in separate airtight containers in the refrigerator to maintain freshness. When you’re ready to assemble, layer the components on toasted English muffins, wrap each sandwich tightly in parchment or plastic wrap, and label them before placing them in the freezer, where they can last for up to 3 months. For the best quality, ensure they are completely cool before wrapping. To reheat, just pop them in the microwave directly from frozen or thaw overnight in the fridge for a quick breakfast that's just as delicious as day one!
What to Serve with Freezer Breakfast Sandwiches
As you savor the deliciousness of your homemade sandwiches, consider these delightful pairings to create a well-rounded breakfast experience.
-
Fresh Fruit Salad: A vibrant mix of seasonal fruits adds a refreshing sweetness and brightens up the plate.
-
Crispy Hash Browns: These golden, crispy bites provide a wonderful crunch that complements the softness of the sandwiches.
-
Creamy Avocado Toast: Smooth, buttery avocado spread on toasted bread brings a rich creaminess that balances the savory flavors.
-
Herbed Yogurt Dip: A mix of Greek yogurt with fresh herbs is a delicious, tangy side that contrasts the richness of the sandwiches.
-
Smoothies: Whipping up a fruity smoothie can add a splash of color and nutrition, making mornings even more delightful. Use a blend of berries and spinach for an energizing boost.
-
Café-Style Coffee: A warm cup of coffee or your favorite latte elevates the entire breakfast experience, inviting a cozy pause before starting the day.
With these options, you can craft a breakfast spread that not only fills the stomach but also warms the heart!
Expert Tips for Freezer Breakfast Sandwiches
-
Use Fresh Ingredients: Make sure to use fresh eggs and high-quality meats for the best flavor. Check expiration dates and avoid pre-cooked sausages, which can alter the sandwich taste.
-
Perfect Egg Texture: Avoid overcooking your eggs. They should be set but still moist; let them cool fully before cutting to ensure ease of handling.
-
Layer Strategically: For the best bite, layer ingredients thoughtfully. Place eggs first to anchor the sandwich, then add crispy bacon or sausage for a delightful crunch.
-
Avoid Freezer Burn: Wrap sandwiches tightly in parchment or plastic wrap and remove excess air from the freezer bag. This keeps your Freezer Breakfast Sandwiches tasting fresh for months.
-
Reheat with Care: Thaw in the fridge overnight for a quick microwave snack or heat directly from frozen. Use a microwave cover for even heating, avoiding rubbery textures.
Freezer Breakfast Sandwiches Recipe FAQs
How do I choose the right eggs for my sandwiches?
Absolutely! When selecting eggs, look for ones with a clean and uncracked shell. Fresh eggs will have a vibrant yolk and firm whites. For the best flavor and texture, I recommend using large eggs, as they are perfect for filling those sandwich layers beautifully!
What’s the best way to store my Freezer Breakfast Sandwiches?
You can keep your sandwiches in the fridge for up to 3 days in an airtight container. If you choose to freeze them, wrap each sandwich tightly in parchment paper or plastic wrap, then place them in a large freezer bag. Make sure to remove as much air as you can to prevent freezer burn. They can last up to 3 months in the freezer!
Can I freeze these sandwiches, and what’s the best method?
Certainly! After assembling your Freezer Breakfast Sandwiches, allow them to cool completely. Wrap each one securely in parchment paper or plastic wrap, and label them with their contents. Place all wrapped sandwiches in a large freezer bag, removing excess air. For maximum quality, enjoy them within 3 months, but they're viable for longer!
My eggs turned out rubbery—what happened?
That can happen if eggs are overcooked! When baking them, ensure you take them out as soon as they're set and slightly golden around the edges. Let them cool completely before cutting, as this helps retain moisture and makes them easier to handle. Aim for a cook time of 30 minutes at 325°F (165°C) for perfect results.
Are these sandwiches suitable for people with allergies?
Great question! If you’re accommodating dietary restrictions, you can easily swap ingredients. For egg allergies, consider using egg substitutes available in stores. For gluten-free options, use gluten-free English muffins. Always check labels on meats to avoid allergens like gluten or dairy; it’s always better to choose your ingredients carefully!
Make-Ahead Freezer Breakfast Sandwiches for Busy Mornings
Ingredients
Equipment
Method
- Preheat your oven to 325°F (165°C) and line a sheet pan with parchment paper. Arrange the bacon slices on the pan in a single layer, ensuring they don’t overlap. Bake for about 15 minutes or until they are crispy and golden brown. Once done, transfer the bacon to a paper towel-lined plate to drain excess grease while you prepare the sausage.
- In a skillet over medium-high heat, add the sausage patties in a single layer. Allow them to cook for 3–4 minutes per side, or until they are golden brown and fully cooked through. The internal temperature should reach 160°F (70°C). Once they are cooked, drain them on paper towels to remove any excess fat before moving to the next step.
- In a large mixing bowl, crack the 12 eggs and whisk them together with ¼ cup of milk, salt, and pepper until fully combined. Pour the egg mixture onto a parchment-lined baking sheet and spread it out evenly. Bake at 325°F (165°C) for 30 minutes, or until the eggs are set and slightly golden around the edges. Let the baked eggs cool before cutting them into 12 equal portions.
- While the eggs cool, slice each English muffin in half and lightly butter each side. This will add extra flavor and ensure a golden-toasted finish. Place them cut-side up on a baking sheet and toast under the broiler until they are crispy and golden, which should take about 2–3 minutes—be sure to watch them closely!
- Once all components are cool, it’s time to assemble your Freezer Breakfast Sandwiches. On the bottom half of each toasted English muffin, layer a portion of the egg, followed by a slice of crisp bacon and a sausage patty. Top it off with the other half of the muffin, pressing down gently to secure all ingredients in place for easy wrapping.
- After assembling, allow the sandwiches to cool completely. Wrap each breakfast sandwich tightly in parchment paper or plastic wrap. Label each sandwich with its main ingredient—bacon or sausage—and place all wrapped sandwiches in a large freezer bag. Be sure to squeeze out any air before sealing. These sandwiches can be frozen for up to 3 months, making meal prep a breeze!
- To enjoy your homemade Freezer Breakfast Sandwiches, you can cook them straight from frozen or allow them to thaw overnight in the fridge. For reheating, simply place them in the microwave for about 1-2 minutes, or until heated through. You can also use an oven to reheat them at 350°F (175°C) for about 15 minutes for a crispier finish.


Leave a Reply