
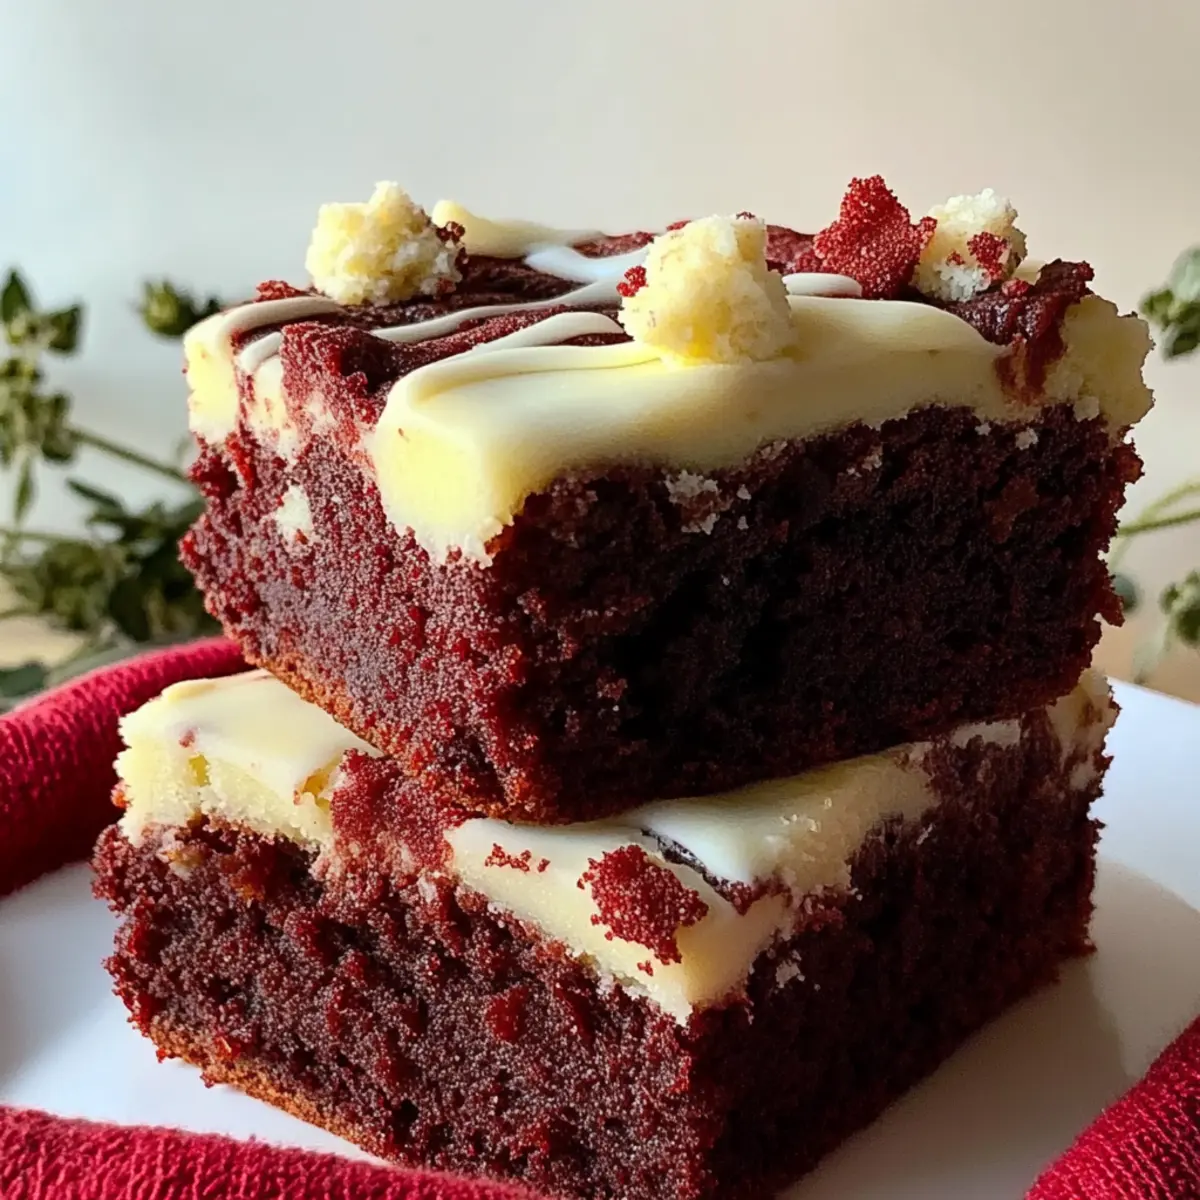
You know that feeling when a simple recipe transforms into an unforgettable treat? That’s exactly the magic of these Red Velvet Cookie Bars. In just over an hour, you can whip up a delightful batch that’s sure to impress friends and family alike. These bars are not only quick to prepare and bake, but they also combine the rich, velvety flavor of red velvet with the creamy sweetness of white chocolate chips and a luscious cream cheese frosting. Whether you’re planning a cozy night in or a gathering with loved ones, these cookie bars are the ideal solution to break free from the ordinary. So, who’s ready to indulge in a treat that looks as good as it tastes? Let’s dive into this delicious journey!
Why are Red Velvet Cookie Bars a must-try?
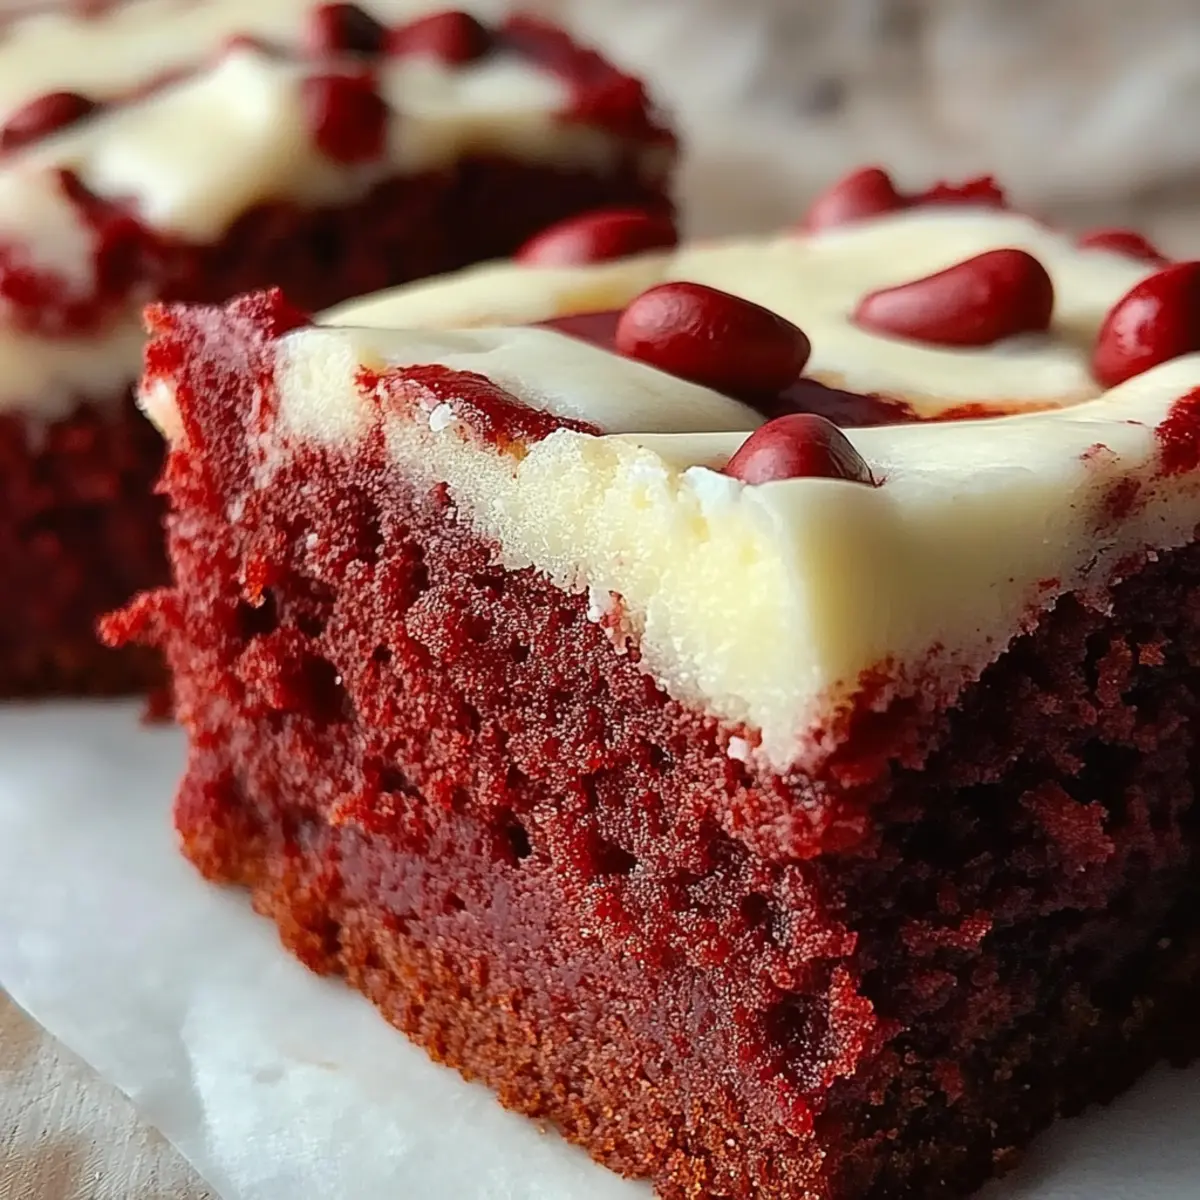
Irresistible Color: These cookie bars boast a stunning red hue that catches everyone's eye.
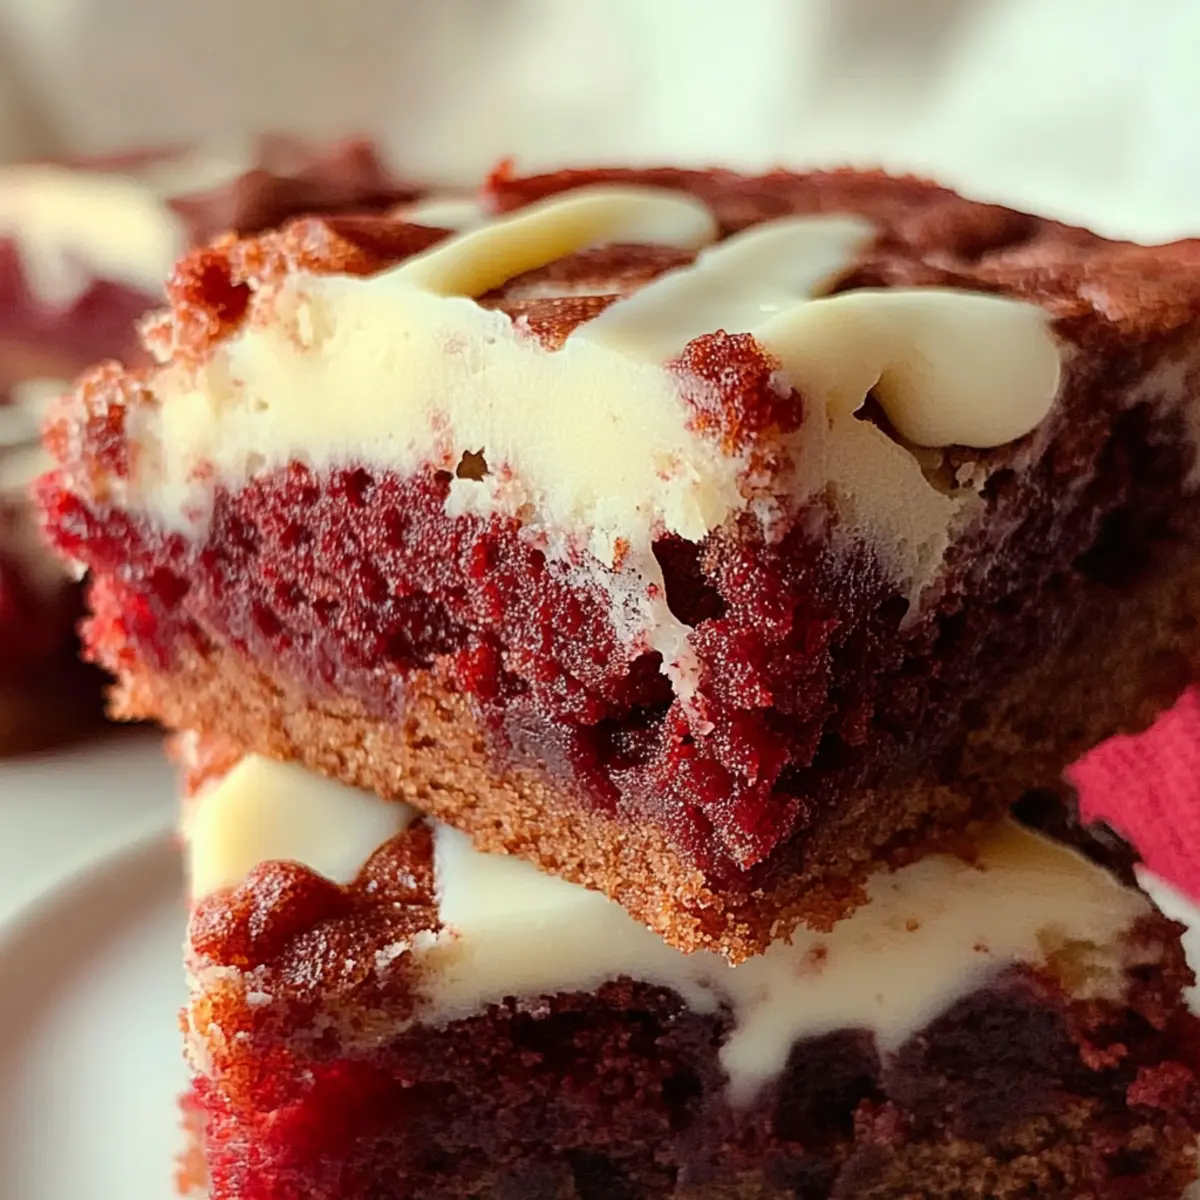
Decadent Creaminess: Topped with velvety cream cheese frosting, each bite is pure bliss.
Quick and Easy: Perfect for both novice cooks and seasoned bakers, you can whip these up in just over an hour.
Perfect for Sharing: Great for parties or family gatherings, they’ll leave your guests wanting more.
Unique Twist: They bring a delightful twist to classic red velvet flavors, making them a standout dessert. Enjoy your own homemade delight or check out more desserts like Chocolate Chip Cookie Bars for even more sweetness!
Red Velvet Cookie Bars Ingredients
These delightful Red Velvet Cookie Bars come together with just a few simple ingredients!
For the Cookie Base
- All-purpose flour – 2 ½ cups – essential for structure and texture.
- Cocoa powder – 2 tablespoons – adds a subtle chocolate flavor.
- Baking soda – 1 teaspoon – helps the cookie bars rise beautifully.
- Salt – ½ teaspoon – enhances all the flavors wonderfully.
- Unsalted butter – 1 cup, softened – provides a rich, creamy base for the bars.
- Granulated sugar – 1 ½ cups – sweetens the cookie base perfectly.
- Brown sugar – ½ cup, packed – adds moisture and depth of flavor.
- Eggs – 2 large – bind the ingredients together for a deliciously chewy texture.
- Vanilla extract – 2 teaspoons – brings warmth and flavor to the mix.
- Red food coloring – 1 tablespoon – gives the bars their signature vibrant hue.
For the Mix-Ins
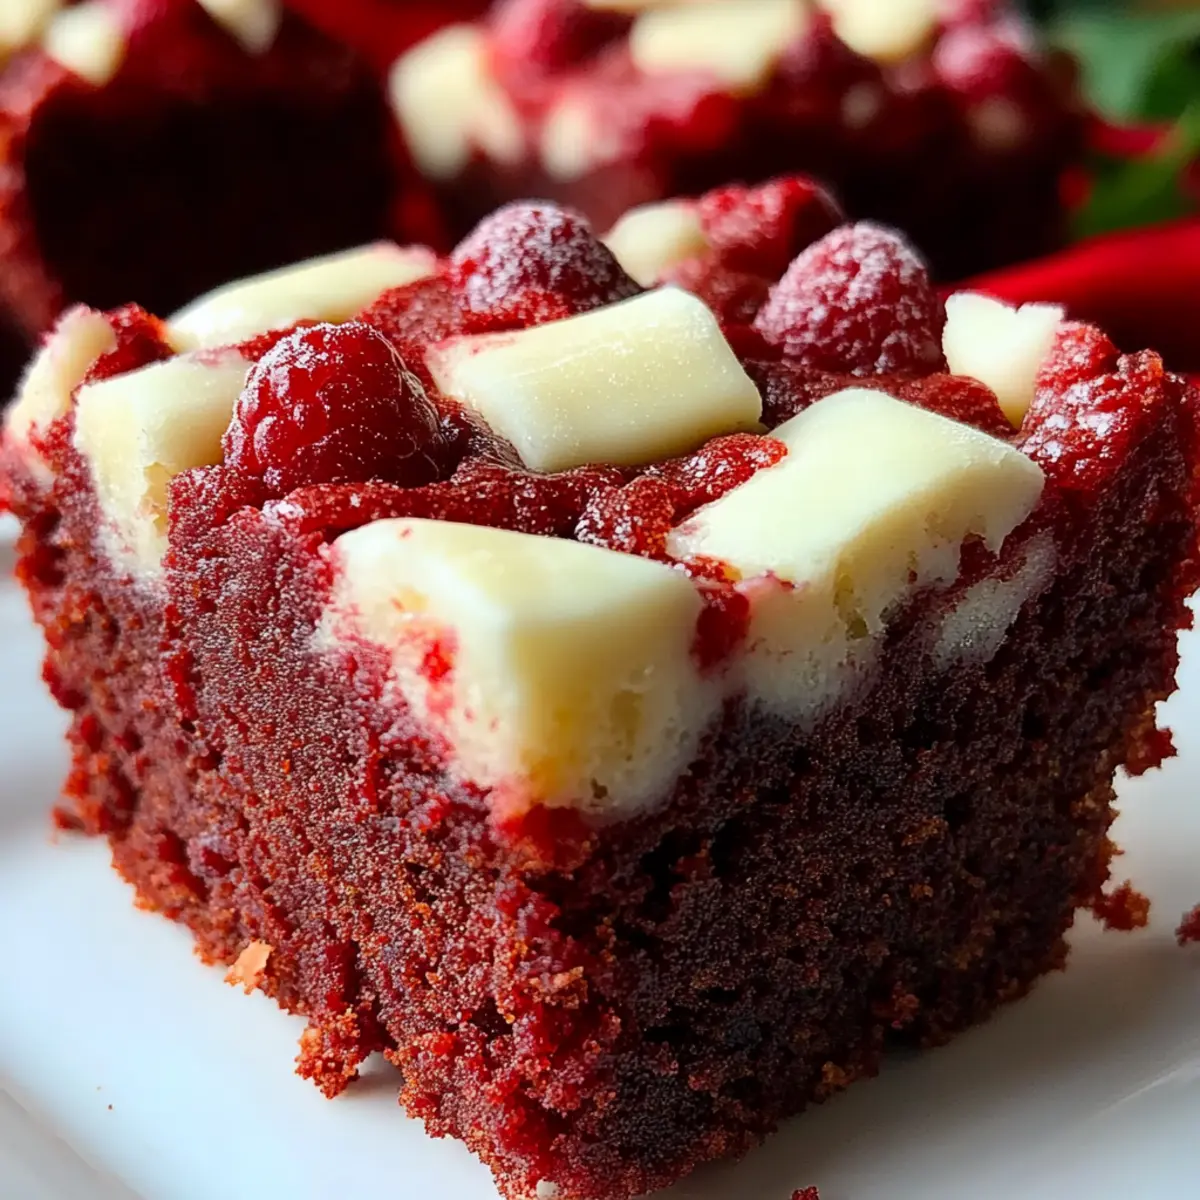
- White chocolate chips – 1 cup – adds creamy sweetness that pairs beautifully with red velvet.
For the Topping
- Cream cheese frosting – 1 cup (store-bought or homemade) – provides a luscious and tangy finish to these Red Velvet Cookie Bars.
Get ready for a delightful baking adventure that your friends and family will love!
Step‑by‑Step Instructions for Red Velvet Cookie Bars
Step 1: Preheat Your Oven
Begin by preheating your oven to 350°F (175°C). While the oven warms up, grease a 9x13 inch baking pan with butter or line it with parchment paper. This preparation will ensure easy removal of your delicious Red Velvet Cookie Bars once they’re baked, and it establishes the perfect environment for them to rise beautifully.
Step 2: Mix Dry Ingredients
In a medium bowl, whisk together 2 ½ cups of all-purpose flour, 2 tablespoons of cocoa powder, 1 teaspoon of baking soda, and ½ teaspoon of salt. This dry mixture is crucial as it adds structure and flavor to your Red Velvet Cookie Bars. Set this bowl aside while you focus on the next step.
Step 3: Cream the Butter and Sugars
In a large mixing bowl, use an electric mixer to cream together 1 cup of softened unsalted butter, 1 ½ cups of granulated sugar, and ½ cup of packed brown sugar. Beat these ingredients on medium speed until the mixture is light and fluffy, about 3–4 minutes. The creaminess you achieve here is vital for a rich cookie base.
Step 4: Incorporate Eggs and Flavor
Add in 2 large eggs, one at a time, mixing well after each addition to ensure a smooth blend. Next, incorporate 2 teaspoons of vanilla extract and 1 tablespoon of red food coloring, continuing to mix until everything is fully combined. The batter will take on a vibrant red hue, which is the hallmark of these delightful Red Velvet Cookie Bars.
Step 5: Combine Dry and Wet Mixtures
Gradually add the dry mixture to the wet ingredients, mixing on low speed until just combined. It's important not to overmix at this stage to maintain a tender texture in your cookie bars. You'll notice the batter becoming moistened and cohesive, creating the perfect base for your sweet treat.
Step 6: Fold in White Chocolate Chips
Gently fold in 1 cup of white chocolate chips using a spatula. This step ensures that the chips are evenly distributed throughout the dough without breaking them. The chips will melt slightly while baking, adding extra richness to your Red Velvet Cookie Bars.
Step 7: Spread the Dough in the Pan
Carefully pour the cookie dough into your prepared baking pan, using a spatula to spread it out evenly. Make sure the dough reaches all corners of the pan for uniform baking. The mixture should be thick and luscious, promising to transform into a wonderful treat as it bakes.
Step 8: Bake to Perfection
Place the pan in the preheated oven and bake for 25–30 minutes. Keep an eye out for a toothpick inserted in the center to come out clean, indicating that your Red Velvet Cookie Bars are ready. The edges should be slightly golden, and the top should appear set yet soft.
Step 9: Cool the Bars
Once baked, remove the pan from the oven and allow the bars to cool in the pan for about 10–15 minutes. This initial cooling helps them set further. Then, carefully transfer the bars to a wire rack to cool completely, allowing time for the flavors to settle.
Step 10: Frost the Cookie Bars
When the cookie bars are completely cooled, spread 1 cup of cream cheese frosting evenly on top. This luscious frosting adds a sweet and tangy touch that perfectly complements the rich flavors of the Red Velvet Cookie Bars.
Step 11: Cut and Serve
Finally, cut the bars into squares. You can serve them immediately for a delightful treat or store them in an airtight container at room temperature for later. These Red Velvet Cookie Bars are perfect for sharing or indulging in a little sweet nostalgia!
Make Ahead Options
These delightful Red Velvet Cookie Bars are perfect for busy weeknights and make meal prep a breeze! You can prepare the dough up to 24 hours in advance by mixing the wet and dry ingredients separately and keeping them in the refrigerator. Just remember to refrigerate the mixed dough in an airtight container to maintain its freshness. When you’re ready to bake, simply bring the dough to room temperature for about 30 minutes, fold in the white chocolate chips, and spread it in the pan. Then bake as directed, and your cookie bars will be just as delicious and beautiful! Enjoy the time-savings while impressing family and friends with these vibrant treats.
Red Velvet Cookie Bars Variations
Feel free to let your imagination run wild and customize these cookie bars to suit your taste!
- Gluten-Free: Use a 1:1 gluten-free flour substitute for a gluten-free version.
- Chocolate Lovers: Add ½ cup of cocoa powder to the cookie dough for an even richer chocolate flavor.
- Nutty Crunch: Fold in 1 cup of chopped walnuts or pecans for a delightful crunch and added texture.
- Fruit Twist: Incorporate ½ cup of chopped strawberries or raspberries into the batter for a fruity surprise in every bite!
- Spice Infusion: Add 1 teaspoon of cinnamon or a pinch of nutmeg to the dry ingredients for a warm, aromatic twist.
- Cream Cheese Swirl: Before baking, drop spoonfuls of cream cheese frosting into the batter and swirl it gently for a marbled effect.
- Vegan Option: Replace eggs with flaxseed meal (1 tablespoon mixed with 2.5 tablespoons of water) and use vegan butter for a plant-based treat.
- Seasonal Spice: For a cozy fall flavor, add 1 teaspoon of pumpkin spice to the mix—perfect for autumn gatherings!
For more delightful twists, explore how to make the indulgent Chocolate Chip Cookie Bars or try adding a bit of zest with Lemon Bars for variety in your dessert lineup. Happy baking!
Expert Tips for Red Velvet Cookie Bars
-
Quality Ingredients: Use fresh eggs and pure vanilla extract to elevate the flavor of your Red Velvet Cookie Bars. Fresh ingredients make a noticeable difference!
-
Softened Butter: Ensure your butter is softened at room temperature, not melted. This helps create that light and fluffy texture when creaming, which is essential for the perfect cookie base.
-
Don’t Overmix: When combining the dry ingredients with the wet mixture, mix until just combined. Overmixing can lead to tough bars, so be gentle.
-
Cool Completely: Allow the cookie bars to cool completely before frosting. This prevents the frosting from melting and ensures a beautiful presentation when you cut them into squares.
-
Adjust Baking Time: Keep an eye on your bars during the last few minutes of baking. Ovens can vary, so don’t wait for a toothpick to come out entirely clean; a few moist crumbs are fine for a chewy texture.
What to Serve with Red Velvet Cookie Bars
Indulging in a batch of these gorgeous cookie bars makes you want to create a delightful meal to accompany them.
-
Velvety Cream Cheese Dip: The same cream cheese flavor in the frosting paired with fresh fruit adds a refreshing contrast to your sweet bars.
-
Classic Vanilla Ice Cream: A scoop of creamy vanilla ice cream balances the richness of the bars perfectly, making every bite a heavenly experience.
-
Fizzy Lemonade: Refreshing and zesty lemonade complements the sweet, velvety notes of the cookie bars while providing a bright and tangy contrast.
-
Chocolate-Covered Strawberries: These sweet treats elevate the dessert experience, echoing the chocolate notes in the bars and adding a fruity freshness.
-
Coffee or Espresso: A warm cup of coffee enhances the decadent flavors of the cookie bars while balancing the sweetness with a hint of bitterness.
-
Roasted Nuts: Crunchy roasted almonds or pecans add texture and a savory component that beautifully contrasts the softness of the cookie bars.
-
Milkshake: A rich, creamy milkshake echoes the indulgence of the bars and creates a nostalgic vibe that’s perfect for dessert time.
Don’t forget to savor every moment—combining these pairings with your Red Velvet Cookie Bars makes for an unforgettable indulgence!
How to Store and Freeze Red Velvet Cookie Bars
Room Temperature: Store the Red Velvet Cookie Bars in an airtight container at room temperature for up to 3 days to keep them fresh and moist.
Fridge: If you want to extend their life, refrigerate the bars in an airtight container for up to 1 week. Just remember to allow them to come to room temperature before serving for the best flavor!
Freezer: For longer storage, freeze the cookie bars in individual squares using plastic wrap or an airtight container for up to 3 months. Thaw overnight in the fridge or at room temperature before enjoying.
Reheating: To refresh the bars, gently warm them in the microwave for about 10-15 seconds, enhancing their soft and chewy texture.
Red Velvet Cookie Bars Recipe FAQs
What’s the best way to select ripe ingredients for this recipe?
Absolutely! For the best results in your Red Velvet Cookie Bars, choose fresh eggs that are not close to their expiration date and stick to high-quality ingredients. When selecting your butter, ensure it's softened but not melted—this means it should easily hold its shape but feel pliable when you press it.
How should I store the Red Velvet Cookie Bars?
To keep your cookie bars fresh, store them in an airtight container at room temperature for up to 3 days. If you want them to last longer, refrigerating them can preserve their freshness for up to a week. Simply allow them to come back to room temperature before serving for the best flavor.
Can I freeze Red Velvet Cookie Bars?
Indeed! For longer storage, you can freeze the cookie bars for up to 3 months. Start by cutting them into squares, then wrap each square tightly in plastic wrap, followed by placing them in an airtight container. To enjoy later, thaw them overnight in the refrigerator or at room temperature before serving. You can gently warm them in the microwave for 10-15 seconds if you’d like that fresh-baked taste again!
What should I do if my cookie bars turn out too dry?
If you find your Red Velvet Cookie Bars are too dry, it could be due to overbaking or not measuring your ingredients correctly. Be sure to check for doneness a couple of minutes early and use the toothpick test—aim for a few moist crumbs. If they do turn out dry, a simple fix is to add a slice of bread into the container with the bars overnight; it will help them regain some moisture!
Are there any dietary considerations I should be aware of when making these cookie bars?
Yes, if you’re serving these Red Velvet Cookie Bars to guests, keep in mind that they contain gluten from the flour and dairy from the butter and frosting. For gluten-free options, you can substitute with a gluten-free flour blend. Also, be cautious about food coloring if there are allergies; consider using natural alternatives or omitting it for a different look!
Decadent Red Velvet Cookie Bars with Creamy Frosting Bliss
Ingredients
Equipment
Method
- Preheat your oven to 350°F (175°C) and grease a 9x13 inch baking pan.
- In a medium bowl, whisk together flour, cocoa powder, baking soda, and salt.
- In a large mixing bowl, cream together butter, granulated sugar, and brown sugar until light and fluffy.
- Add eggs one at a time, then mix in vanilla extract and red food coloring until combined.
- Gradually add dry mixture to wet ingredients, mixing on low until just combined.
- Fold in white chocolate chips gently using a spatula.
- Spread the dough evenly in the prepared baking pan.
- Bake in the preheated oven for 25–30 minutes. Check for doneness with a toothpick.
- Allow to cool in the pan for 10–15 minutes, then transfer to a wire rack to cool completely.
- Once cool, spread cream cheese frosting evenly on top.
- Cut into squares and serve or store in an airtight container.


Leave a Reply