
As I stood in my kitchen surrounded by colorful ingredients, a sweet idea struck me: what if I could turn a classic dessert into something playful and fun? That’s how I ended up crafting these Ruler Rice Krispies, a delightful spin on the traditional treat that merges nostalgia with creativity. Perfect for kids and adults alike, this recipe guarantees a delightful blast of whimsy in the kitchen, making it a quick prep that will surely impress. Who knew that just a handful of Rice Krispies, marshmallows, and vibrant gel colors could transform into playful ruler-shaped bars? These treats are not just eye-catching; they’re also a fantastic project to do with loved ones, promoting quality time amid sweet chaos. Ready to dive into a world where your kitchen becomes a classroom? Let’s whip up a batch of Ruler Rice Krispies and indulge our inner child!
Why are Ruler Rice Krispies so special?
Whimsical fun: These vibrant treats bring creativity to snack time and turn any gathering into a celebration.
Easy-to-make: With just 25 minutes of your time, you can whip up these delightful bars—perfect for those busy afternoons!
Family bonding: Get your loved ones involved in the decorating process, making it a memorable kitchen adventure.
Versatile flavors: Feel free to customize your colors and add flavors, like a sprinkle of your favorite candy or festive sprinkles.
Crowd-pleaser: Whether for a school party or game night, these Ruler Rice Krispies are guaranteed to impress both kids and adults alike! Follow along the fun with our easy preparation.
Ruler Rice Krispies Ingredients
Get ready to create fun and colorful treats!
For the Base
• 6 cups Rice Krispies cereal – the perfect crispy crunch that holds everything together.
• 1 (10 oz) bag mini marshmallows – provides the sticky, sweet goodness essential for classic Rice Krispies.
• 3 tablespoons butter – adds richness and helps melt the marshmallows smoothly.
For the Coloring
• Red gel food coloring – use this to create vibrant, eye-catching red ruler sections.
• Yellow gel food coloring – adds a sunny touch, making your treats even more playful.
• Black gel food coloring – perfect for adding depth and detail in the decorating phase.
For the Decoration
• ½ cup white candy melts – ideal for creating a shiny, "metal-edged" appearance on your ruler bars.
• ½ cup chocolate chips (or brown candy melts) – use this to mimic the darker line markings on your ruler.
• Black decorating gel or black edible marker – for precise details and numbers on your finished treats.
For Preparation
• Non-stick cooking spray – ensures easy removal of your Ruler Rice Krispies from the baking dish.
• Parchment paper – provides a non-stick surface that makes clean-up a breeze.
Step‑by‑Step Instructions for Ruler Rice Krispies
Step 1: Prepare Your Baking Dish
Begin by prepping a 9×13 inch baking dish; line the bottom with parchment paper for easy removal, then lightly spray the parchment with non-stick cooking spray. This ensures that your Ruler Rice Krispies will come out smoothly without sticking, allowing for a clean-cut when you're ready to slice them into bars.
Step 2: Melt the Marshmallows
In a large saucepan over low heat, melt 3 tablespoons of butter. Once melted, add the entire bag of mini marshmallows, stirring continuously for about 5 minutes until the mixture is melted and smooth. You'll know it's ready when there are no lumps, and it has a glossy appearance, enticingly sweet and gooey!
Step 3: Mix in the Rice Krispies
Remove the saucepan from the heat and add in the 6 cups of Rice Krispies cereal. Gently fold the cereal into the melted marshmallow mixture until every piece is well-coated. This step is crucial for achieving that delightful crunch in your Ruler Rice Krispies, so make sure all the cereal is nicely combined.
Step 4: Divide the Mixture
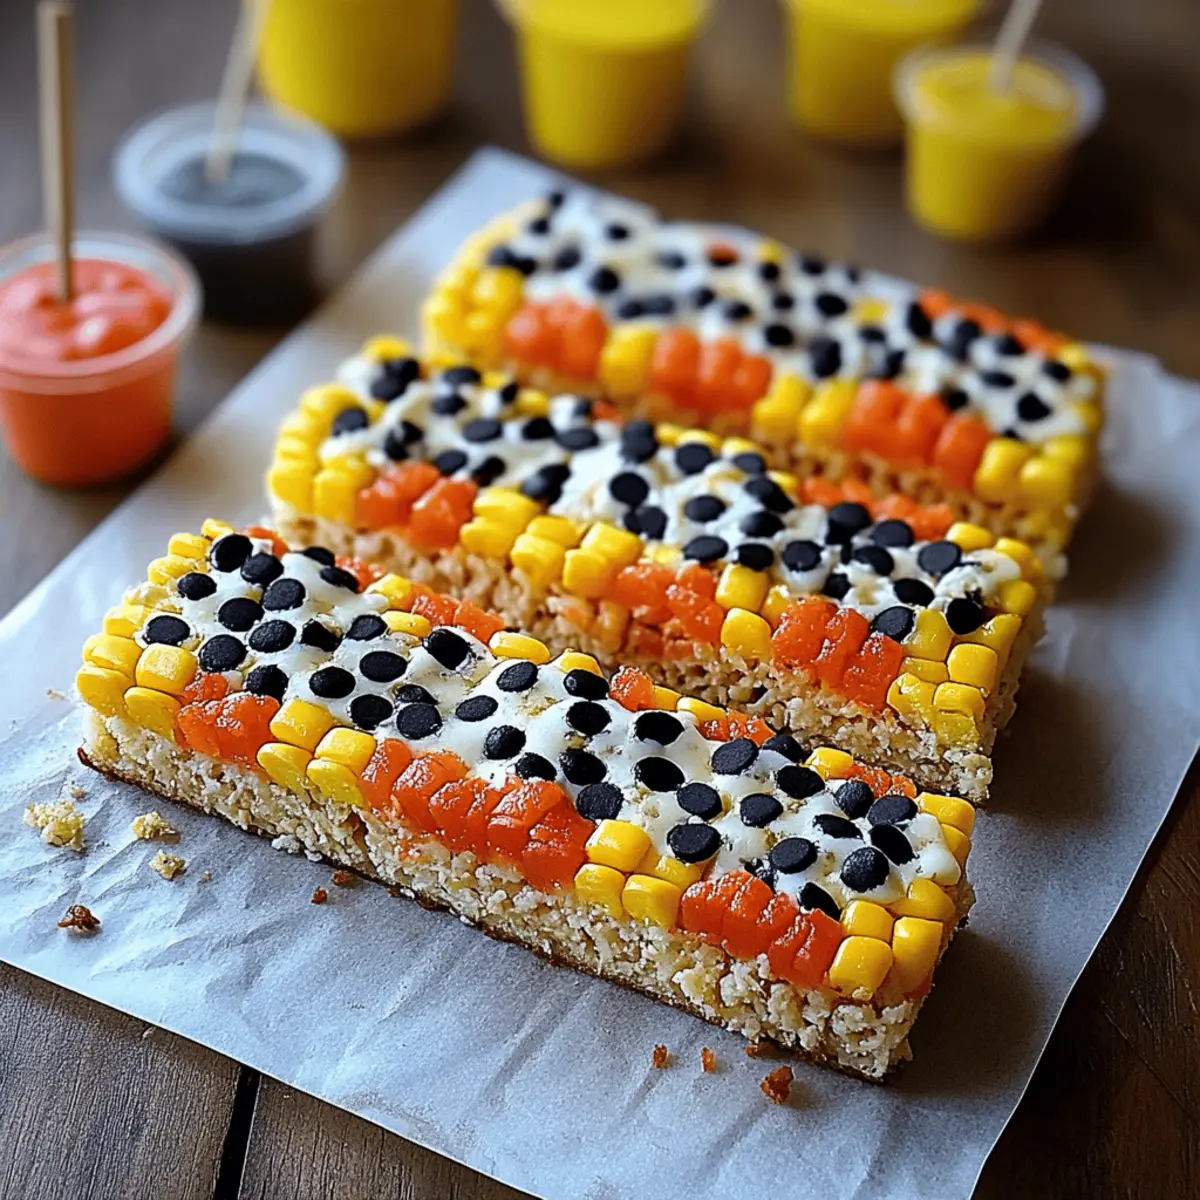
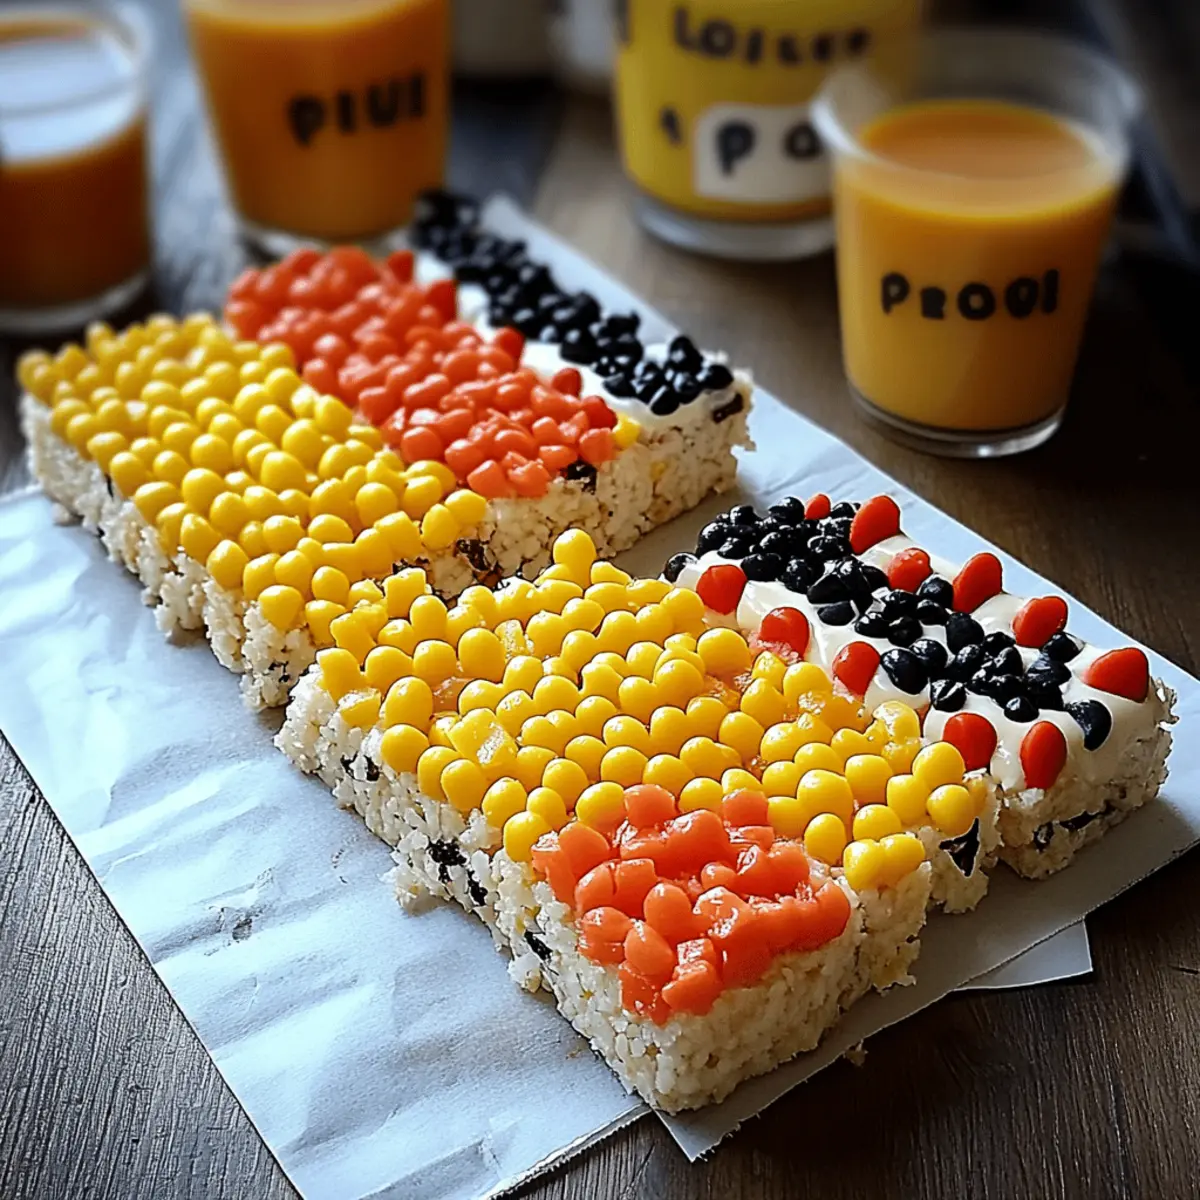
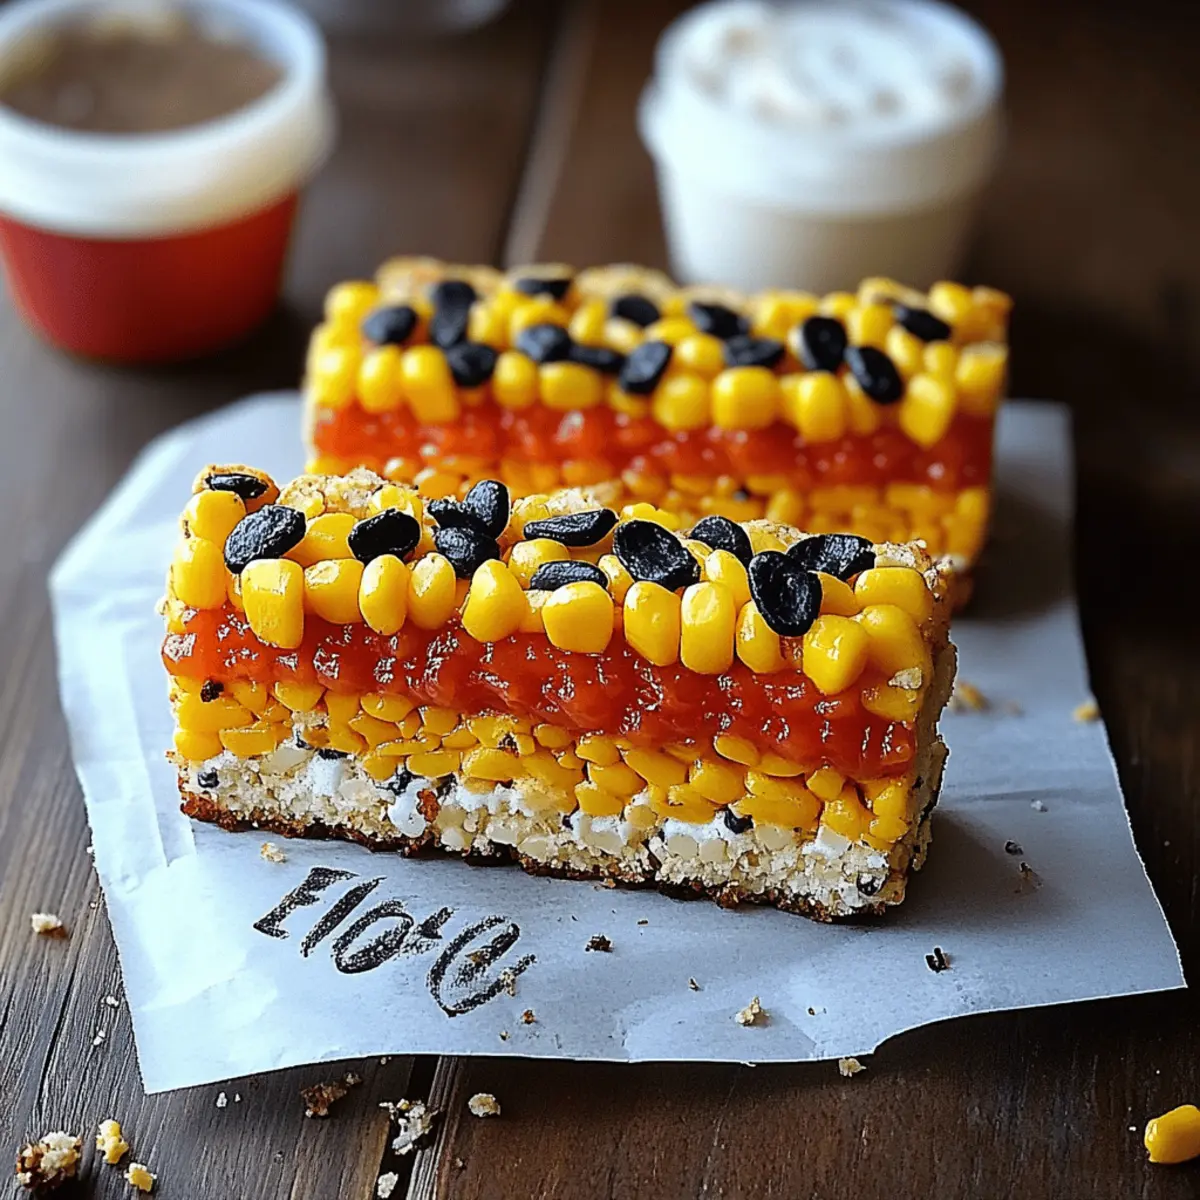
Once the mixture is evenly combined, divide it into three equal portions. Transfer one portion to a separate bowl and leave it plain. To another bowl, add red gel food coloring, and to the last bowl, add yellow gel food coloring. Mix each portion well until the colors are vibrant, creating your colorful Ruler Rice Krispies!
Step 5: Layer the Mixtures
Press the red mixture firmly into the bottom third of your prepared dish using a spatula. Next, add the yellow mixture in the center third, and finally, spread the plain portion on top. You want each layer to be snug and even, with colors showing through beautifully. Let it cool for at least 15 minutes until set.
Step 6: Cut into Bars
Once your Ruler Rice Krispies have cooled completely, it’s time to cut them. Use a sharp knife to slice them into long rectangle bars that resemble rulers. Aim for uniform sizes to make them visually appealing, ensuring each treat is easy to grab and enjoy later!
Step 7: Melt the Candy Coatings
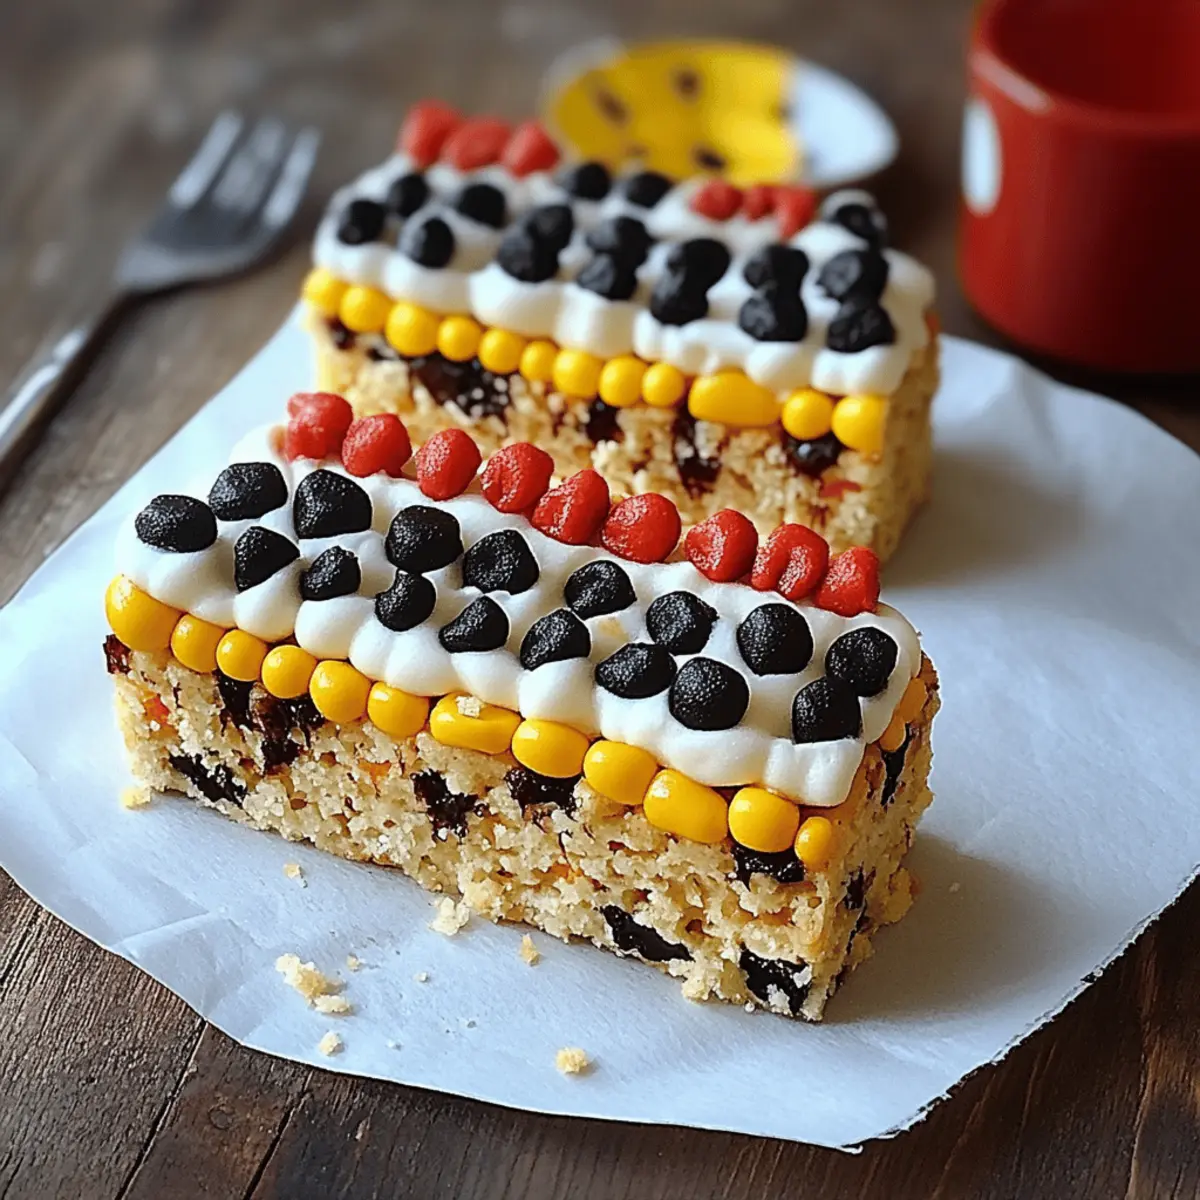
In separate microwave-safe bowls, melt the white candy melts and chocolate chips. Heat in 30-second intervals, stirring between each, until completely melted and smooth—this should take about 1 to 2 minutes. You’ll be using these melted coatings to add decorative touches to your ruler treats.
Step 8: Decorate Your Rulers
Using a piping bag or spoon, apply melted chocolate to create ruler markings and a "metal edge" with the white candy melts on one side of each Ruler Rice Krispies treat. This step adds character and makes them look realistic, infusing fun into your sweet creations.
Step 9: Final Touches
Wait for the color coatings to set slightly before adding the final details. Using a black edible marker or decorating gel, write numbers and small lines along your ruler for that authentic look. This final touch will elevate your Ruler Rice Krispies and make them irresistible to kids and adults alike.
Step 10: Let Set and Serve
Allow all decorations to set completely before serving or wrapping your Ruler Rice Krispies treats for later enjoyment. The bright colors and charming ruler design will not only satisfy sweet cravings but also spark joy in every bite as you share them with loved ones!
Make Ahead Options
These Ruler Rice Krispies are perfect for busy home cooks looking to save time without sacrificing fun! You can prepare the base mixture up to 24 hours ahead by following steps 1-5, allowing the layers to cool completely before covering tightly with plastic wrap and refrigerating. When you’re ready to serve, simply cut the treats into bars (step 6), melt your candy coatings (step 7), and decorate as desired (steps 8-10). To maintain their delightful texture and prevent them from becoming stale, store any leftover Ruler Rice Krispies in an airtight container for up to 3 days. Enjoy the sweet satisfaction of having these whimsical treats just a quick finish away!
What to Serve with Ruler Rice Krispies
Get ready to create a delightful spread that pairs perfectly with these whimsical treats!
-
Chilled Milk: Cool and refreshing, milk brings out the sweetness of the Rice Krispies, making it the ultimate nostalgic pairing.
-
Fresh Fruit Skewers: Bright fruit kebabs add a juicy contrast to the sweet, crunchy treats, making for a vibrant and refreshing combo.
-
Chocolate Dipped Pretzels: The salty crunch of pretzels balances the sweetness of your treats, offering a delightful contrast that will keep taste buds happy.
-
Peanut Butter Dip: This creamy, nutty dip provides a rich texture that complements the crispy bars, inviting everyone to indulge in a dip-and-enjoy experience!
-
Sparkling Lemonade: A fizzy, tangy beverage elevates the playful spirit of your dessert, quenching thirst while enhancing the colorful snack's fun vibe.
-
Mini Marshmallow Fruit Salad: A light and fluffy fruit salad sprinkled with mini marshmallows mirrors the Rice Krispies in texture while infusing freshness into the meal.
-
Cookies and Cream Milkshake: For a sweet twist, a creamy shake filled with cookie crumbles amplifies the joy of dessert time, making it an instant favorite!
-
Decorated Sugar Cookies: These colorful cookies echo the joy of creating, making them an attractive side that pairs wonderfully with the playful theme of your Rice Krispies.
Expert Tips for Ruler Rice Krispies
• Use Fresh Ingredients: Ensure your marshmallows and Rice Krispies are fresh to achieve the best texture and flavor—staleness can lead to hard, unappealing treats.
• Measure Accurately: Use exact measurements for Rice Krispies and marshmallows. Too much or too little can affect the binding and structure of these fun Ruler Rice Krispies.
• Color Gradually: Add gel food coloring bit by bit to achieve your desired shade; it’s easier to darken than lighten, ensuring your treats pop with vibrant colors.
• Cool Completely: Let the layers cool fully before cutting to prevent crumbling; warm bars can be messy and won't maintain their ruler shape.
• Decorate Creatively: Get creative with the markings and colors! Have fun and personalize each treat, making your Ruler Rice Krispies a unique statement piece for any occasion.
How to Store and Freeze Ruler Rice Krispies
Room Temperature: Store your Ruler Rice Krispies in an airtight container at room temperature for up to 3 days to keep them fresh and chewy.
Fridge: If you prefer to keep them longer, the fridge can help; store them in an airtight container for up to 5 days. Just remember they might lose some of their crispy texture.
Freezer: For long-term storage, wrap individual bars tightly in plastic wrap and place them in a freezer-safe bag. They can be frozen for up to 2 months, ensuring you have a fun snack ready whenever the craving strikes!
Reheating: When you're ready to enjoy your treats, simply thaw at room temperature for a few hours. For a warm, gooey treat, pop them in the microwave for just a few seconds!
Ruler Rice Krispies Variations & Substitutions
Feel free to unleash your creativity and personalize your Ruler Rice Krispies with these fun twists!
-
Dairy-Free: Substitute the butter with coconut oil for a rich, dairy-free option. This will add a hint of tropical flavor!
-
Gluten-Free: Ensure your Rice Krispies are certified gluten-free for a safe treat without compromising on taste. Perfect for everyone to enjoy!
-
Color Variations: Experiment with different gel food colors, like blue and green, for themed parties. Why not make a rainbow version? The playfulness will delight any crowd!
-
Add-ins: Mix in some mini chocolate chips or chopped nuts into the marshmallow mixture for added texture and surprises in every bite. Crunchy surprises elevate the experience!
-
Marshmallow Swap: Use flavored marshmallows, like strawberry or vanilla, to give a delightful twist to the classic flavor profile. It’s like a flavor adventure in each chewy bar!
-
Spicy Spin: Incorporate a pinch of cayenne pepper into the melted marshmallow for an unexpected kick. The sweet-meets-spicy combo can bring a new level of excitement to snack time!
-
Decorative Themes: Change up the decorations based on the season—add sprinkles for birthdays or chocolate shavings for a winter wonderland effect. Each batch can tell a different story!
-
Nut Allergy-Friendly: Make sure to check for nut-free versions of candy melts if serving to those with allergies. Safety and fun can go hand in hand!
Ruler Rice Krispies Recipe FAQs
What type of marshmallows work best for this recipe?
Absolutely! I recommend using mini marshmallows as they melt smoothly and evenly, creating that perfect gooey consistency that binds your Rice Krispies together. Regular-sized marshmallows can also work, but you may need to cut them into smaller pieces for an even melt.
How should I store Ruler Rice Krispies for freshness?
For optimal freshness, store your Ruler Rice Krispies in an airtight container at room temperature for up to 3 days. If you prefer, you can also keep them in the fridge for up to 5 days, but be aware that refrigeration might make them less crispy.
Can I freeze Ruler Rice Krispies?
Yes, you can freeze them! Wrap each Ruler Rice Krispies bar tightly in plastic wrap and place them in a freezer-safe bag. They can be stored in the freezer for up to 2 months. When you're ready to enjoy, simply thaw at room temperature or microwave for a few seconds for a warm treat.
What should I do if my mixture won't set properly?
If your Ruler Rice Krispies mixture is not setting, it could be due to not enough marshmallow or Rice Krispies. Make sure you're measuring accurately and following the recipe closely. If it appears too gooey, let it rest for a bit. Also, pressing it down firmly in the pan helps ensure proper compacting.
Are Ruler Rice Krispies safe for pets?
Not really! While the ingredients themselves aren’t toxic, they are not suitable for pets. The sugars and additives can cause digestive discomfort in animals. It’s always best to keep such treats out of reach from pets and stick to their specific treats.
Can I change the colors and flavors in this recipe?
Very! This recipe is super versatile and you can definitely change the colors using various gel food coloring. For flavors, consider mixing in some fun extracts, or adding chocolate chips or sprinkles into the mix before setting. The more, the merrier!
Delicious Ruler Rice Krispies Treats for Fun Snack Time
Ingredients
Equipment
Method
- Prepare your baking dish by lining the bottom with parchment paper and lightly spraying it with non-stick cooking spray.
- In a large saucepan over low heat, melt 3 tablespoons of butter and add mini marshmallows, stirring until smooth.
- Remove from heat and add in the Rice Krispies, gently folding until well-coated.
- Divide the mixture into three portions: one plain, one with red gel food coloring, and one with yellow gel food coloring.
- Press the mixtures into layers: red on bottom, yellow in the middle, plain on top, and let cool for at least 15 minutes.
- Once cooled, cut into long rectangle bars that resemble rulers.
- Melt white candy melts and chocolate chips separately in the microwave, stirring until smooth.
- Use melted chocolate to create markings and white candy melts for the 'metal edge'.
- Using a black edible marker or gel, write numbers and lines for an authentic look.
- Allow decorations to set completely before serving or wrapping for later enjoyment.


Leave a Reply