
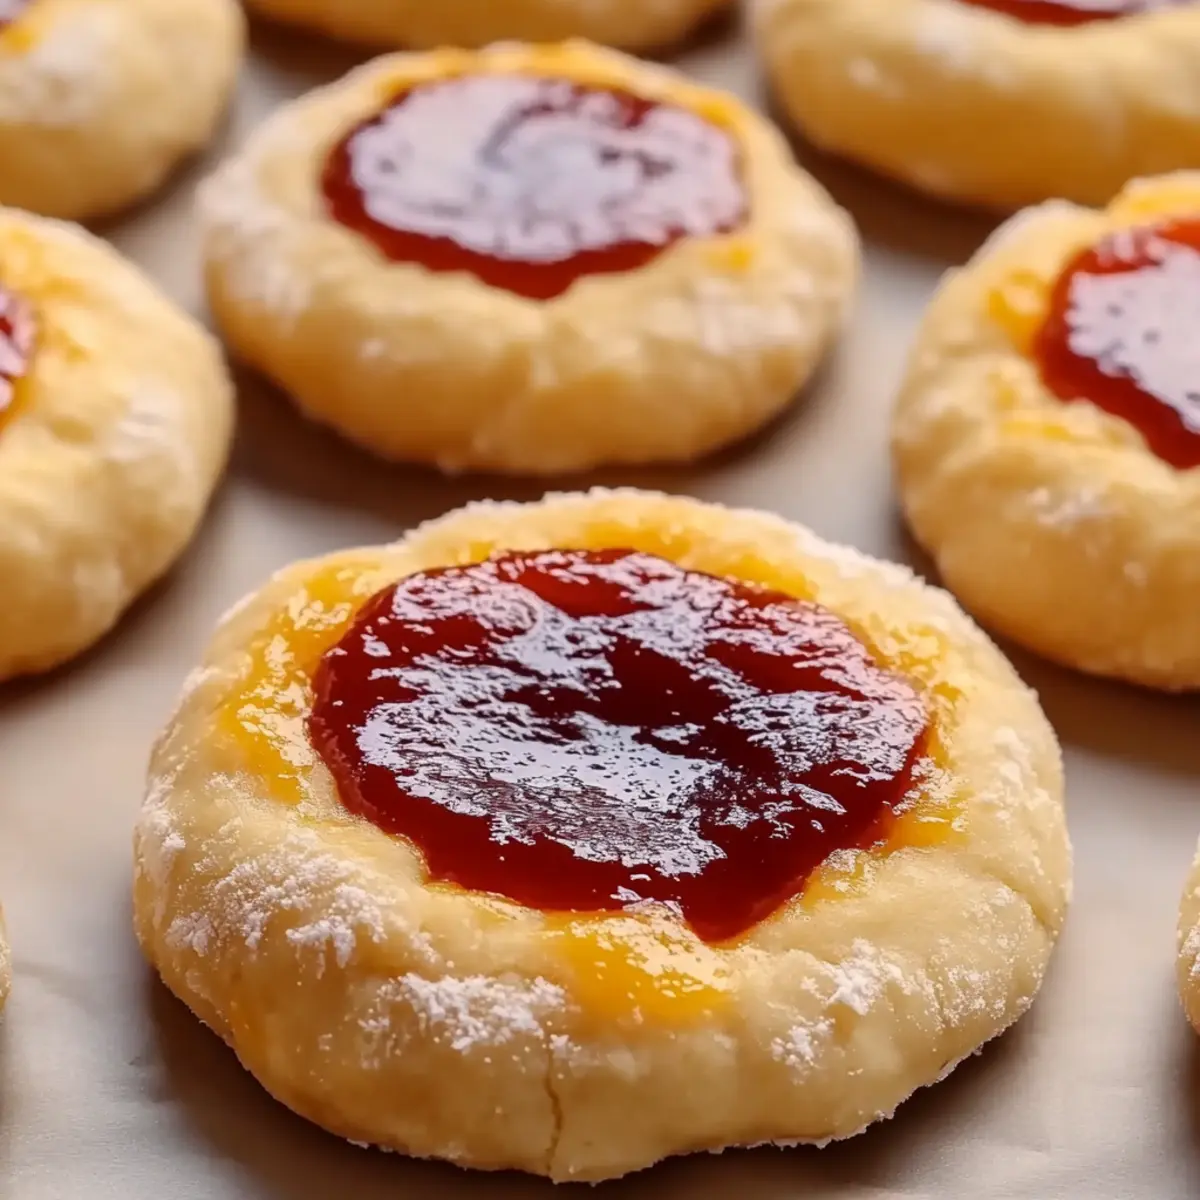
While rummaging through my favorite old cookbook recently, I stumbled across a timeless gem: Thumbprint Cookies. These delightful little treats have a charming way of making any kitchen feel like home, and what I love most is how they come together so quickly! In just about 30 minutes, you could transform simple ingredients into a dreamy batch of cookies filled with either luscious fruit preserves or rich chocolate ganache. Not only are they a fun baking project for the whole family, but they also make for a gorgeous centerpiece for any gathering. So, are you ready to indulge in the joy of baking these classic Thumbprint Cookies? Let's dive into the sweet simplicity of making this delightful treat!
Why Make These Thumbprint Cookies?
Irresistible Flavor: The delightful combination of buttery dough and rich fillings makes each bite a true indulgence.
Quick and Simple: With just a 30-minute commitment, you can whip up a batch of cookies that impresses every crowd.
Versatile Fillings: Choose between fruit preserves or chocolate ganache, allowing you to customize these cookies for any occasion.
Families Love to Help: Baking these cookies is fun and engaging for all ages—perfect for a weekend family activity!
Perfect for Sharing: Whether at parties or gift-giving, these treats are a delightful way to show you care. If you’re looking for more easy dessert ideas, check out my post on No-Bake Cheesecake.
Thumbprint Cookies Ingredients
For the Dough
- Unsalted butter – gives the cookies a rich, creamy base; be sure it's softened for easy mixing.
- Granulated sugar – adds sweetness and helps achieve that light, fluffy texture when creamed with butter.
- Egg yolk – enriches the dough and helps bind the ingredients together for the perfect cookie structure.
- Vanilla extract – infuses a warm, inviting flavor that complements the butter and sugar beautifully.
- All-purpose flour – the foundation of our cookie; don’t overmix to keep the texture light.
- Salt – balances the sweetness and enhances all the delicious flavors in your thumbprint cookies.
For the Filling
- Fruit preserves – brings a fruity burst of flavor; use your favorite variety for a delightful surprise!
- Chocolate ganache – adds a luxurious touch; melt chocolate with cream for an irresistible filling option.
Step‑by‑Step Instructions for Thumbprint Cookies
Step 1: Cream the Butter and Sugar
In a large mixing bowl, use an electric mixer to cream together 1 cup of softened unsalted butter and 1 cup of granulated sugar until the mixture is light and fluffy, about 3-5 minutes. You'll know it's ready when the color turns a pale yellow and a fluffy texture forms. This is the base for your delicious Thumbprint Cookies, so take your time to get it just right.
Step 2: Add Egg Yolk and Vanilla
Next, beat in 1 egg yolk and 1 teaspoon of vanilla extract into the butter mixture. Blend until fully combined, about 1 minute. You should see a smooth and cohesive mix, with the lovely vanilla aroma filling your kitchen, enhancing the sweet profile of your Thumbprint Cookies as the flavors meld.
Step 3: Combine Dry Ingredients
In a separate bowl, whisk together 2 ¼ cups of all-purpose flour and ½ teaspoon of salt. Gradually add this dry mixture to the wet ingredients, stirring gently with a wooden spoon or spatula until the dough just comes together. The dough should be soft, but not sticky, ready to be shaped into those adorable cookies.
Step 4: Chill the Dough
Cover the dough tightly with plastic wrap and refrigerate for at least 30 minutes. This step is crucial, as it firms up the dough, making it easier to work with later. While the dough chills, preheat your oven to 350°F (175°C) and prepare a baking sheet by lining it with parchment paper to prevent sticking.
Step 5: Shape the Cookies
Once the dough is chilled, scoop out tablespoon-sized portions and roll them into balls using your hands. Place the balls on the prepared baking sheet, spacing them about 2 inches apart to allow for spreading as they bake. You should have about 24 cookie balls ready for the next fun step!
Step 6: Create the Indentations
Using your thumb or the back of a spoon, gently press down in the center of each dough ball to create an indentation. This little well is where you'll later spoon in your delightful filling. Take care to not push too deep; you want enough space without compromising the cookie's structure.
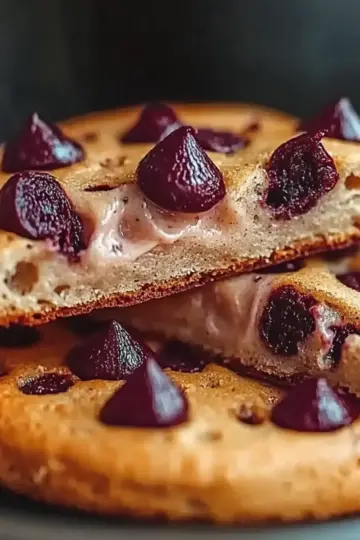
Step 7: Fill with Preserves or Ganache
Now, spoon a small amount of fruit preserves or chocolate ganache (about a teaspoon) into each indentation you've created. Choose your favorite filling to personalize your Thumbprint Cookies—what matters is that they are filled generously without overflowing.
Step 8: Bake the Cookies
Place the baking sheet in the preheated oven and bake for 12-15 minutes, or until the edges of the cookies turn a light golden brown. Keep an eye on them, as the tops should remain soft but firm to the touch. This slight golden hint is your signal that they are nearly ready to come out.
Step 9: Cool and Serve
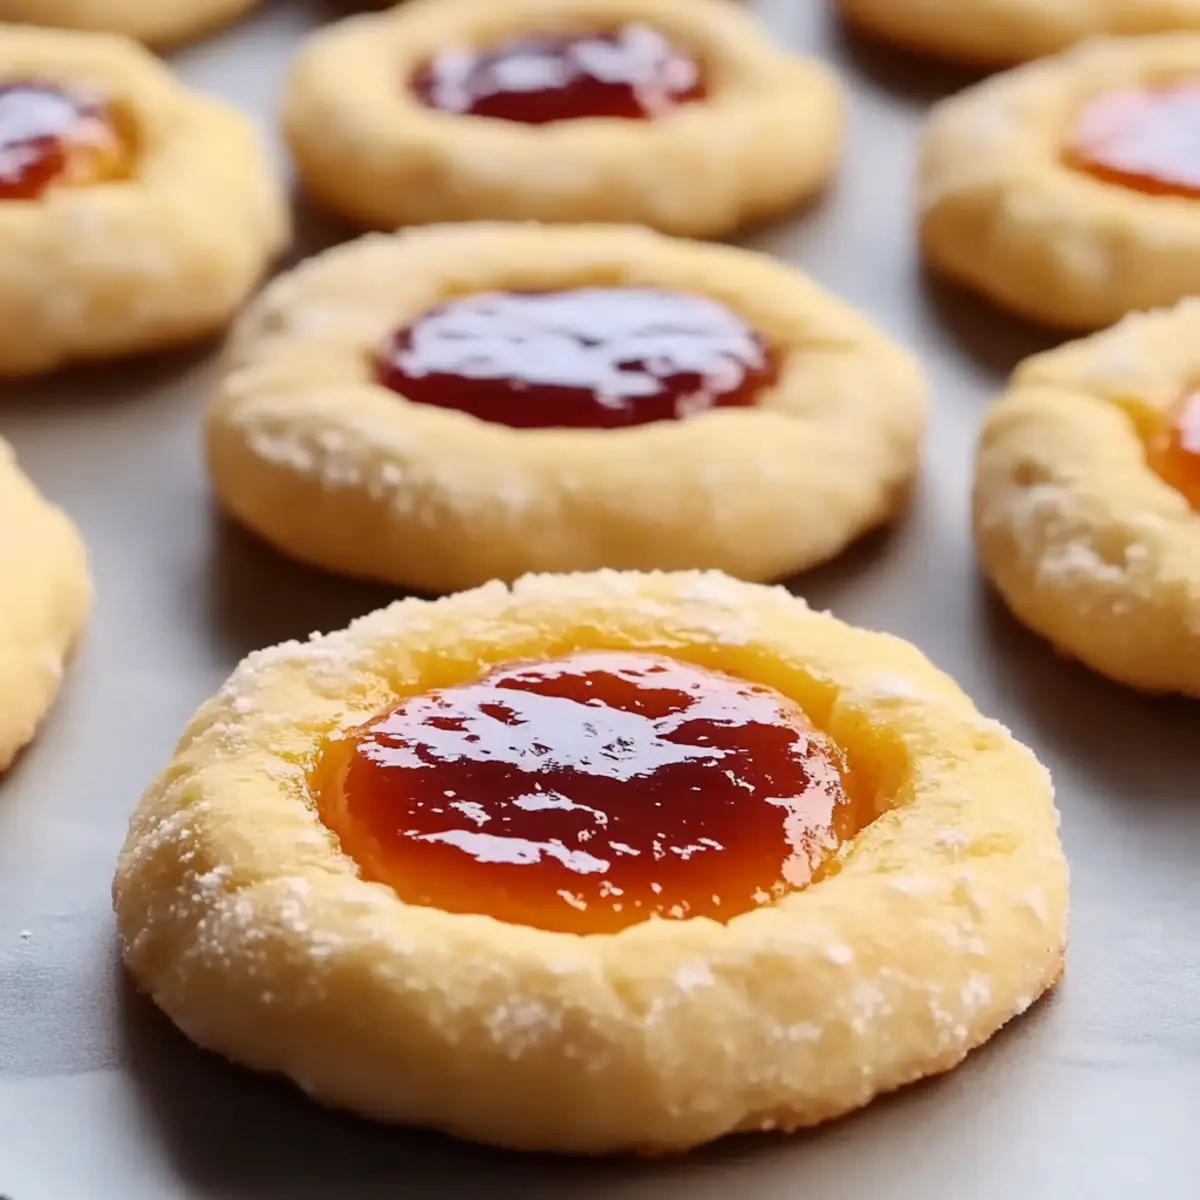
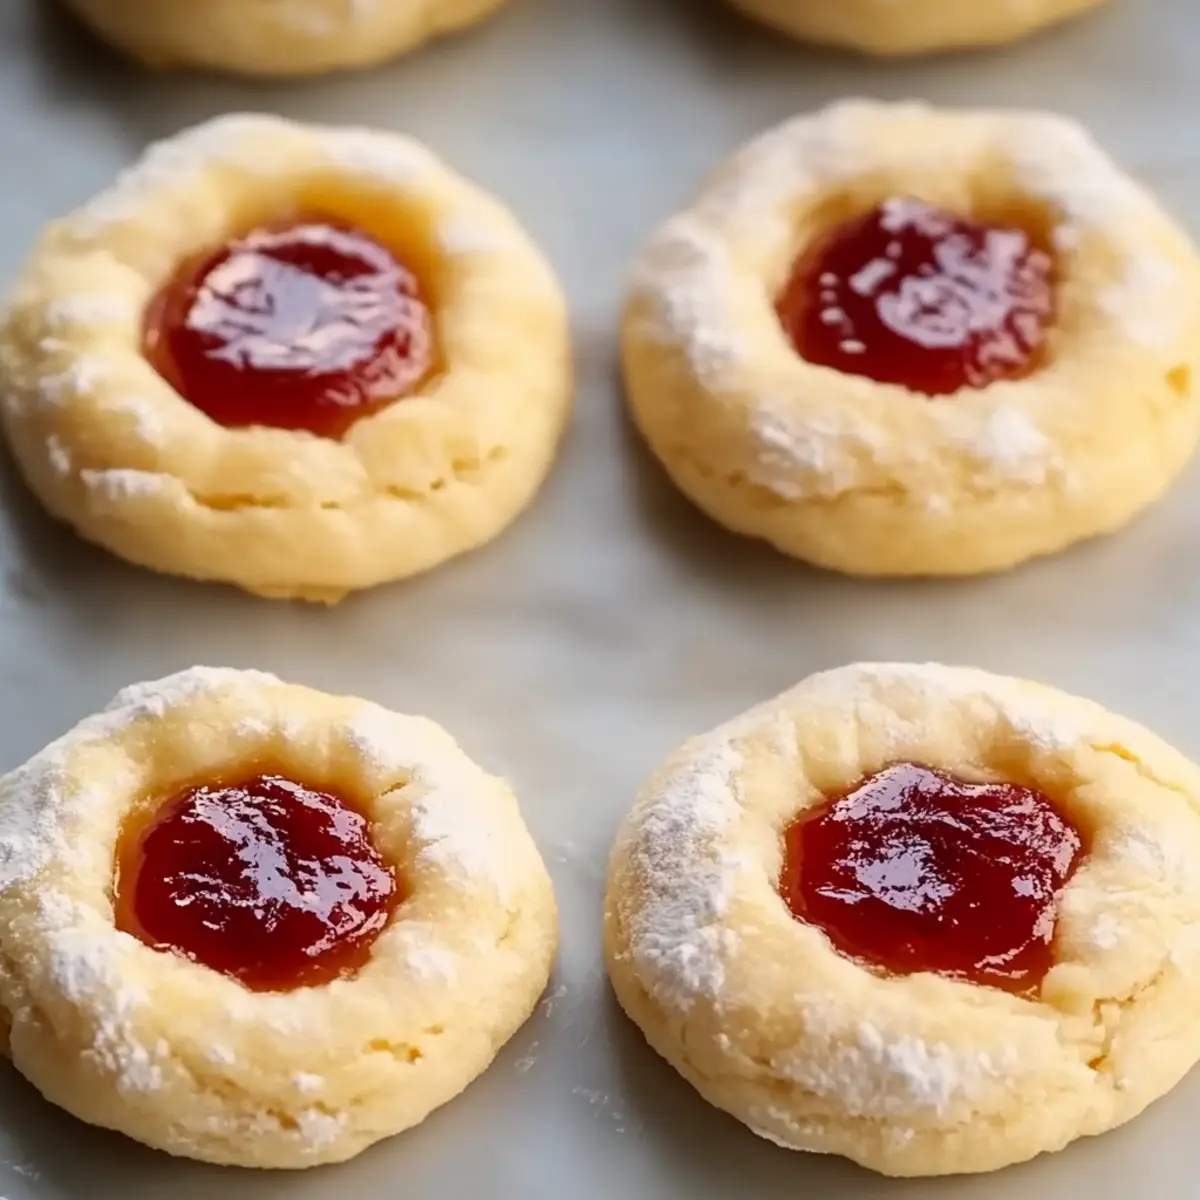
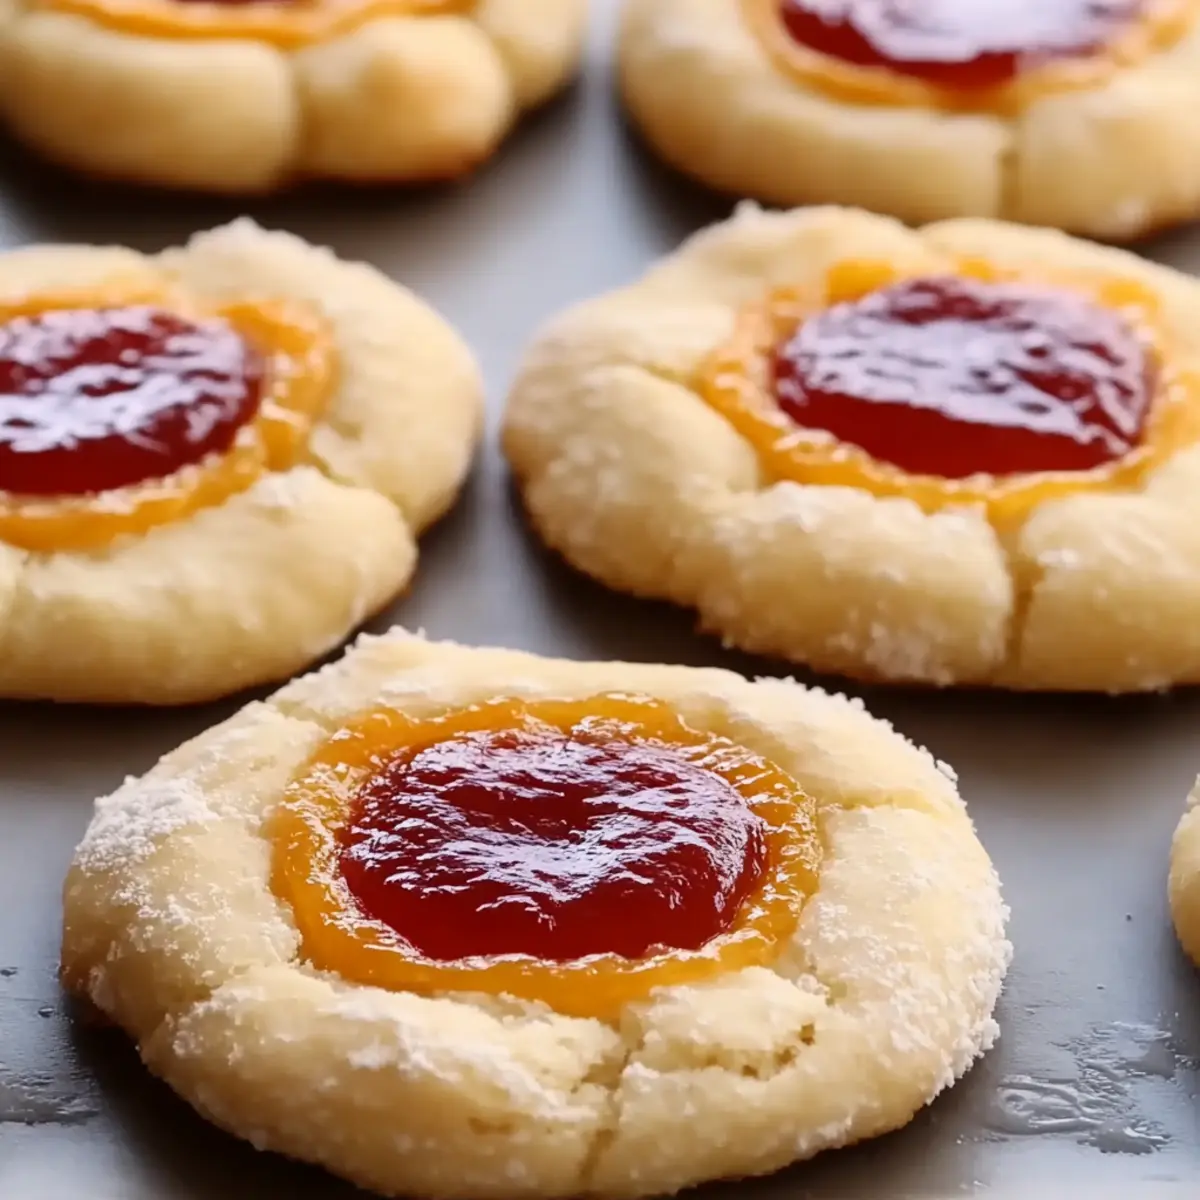
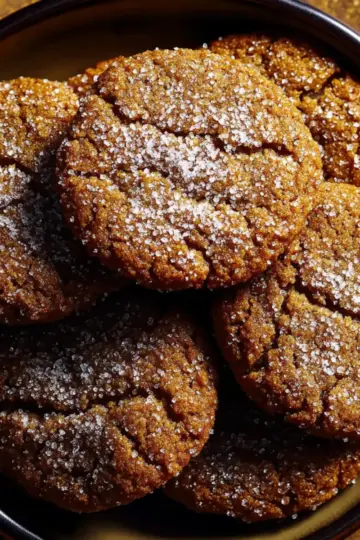
Once baked, let the cookies cool on the baking sheet for 3-5 minutes before transferring them to a wire rack. This allows them to set properly, and their delightful aroma will fill your home. If desired, dust with powdered sugar before serving these sweet, charming Thumbprint Cookies to family and friends!
What to Serve with Classic Thumbprint Cookies
Indulging in the sweet, buttery flavors of Thumbprint Cookies opens up a world of delightful pairings to create a full, satisfying meal.
-
Milk or Cream: A classic pairing that enhances the buttery flavor, making each bite of cookie a cozy treat.
-
Vanilla Ice Cream: Serve warm cookies alongside ice cream for a delightful contrast of hot and cold, taking dessert to the next level.
-
Fruit Salad: A refreshing mix of seasonal fruits adds a bright and juicy element that balances the sweetness of the cookies perfectly.
-
Coffee or Tea: The warmth and richness of a freshly brewed cup complements the sweet notes, enhancing the homemade charm of these treats.
-
Cheese Board: A selection of soft cheeses like brie or goat cheese provides a creamy, tangy contrast that makes for an unexpected yet impressive pairing.
-
Chocolate Sauce Drizzle: Elevate your cookies by drizzling warm chocolate sauce over them, appealing to chocolate lovers and adding decadence.
For a special touch, consider offering these cookies at a gathering with a variety of toppings, allowing everyone to personalize their own tasty creations!
How to Store and Freeze Thumbprint Cookies
Room Temperature: Store baked Thumbprint Cookies in an airtight container at room temperature for up to 3 days to keep them fresh and delicious.
Fridge: If you prefer them chilled, keep your cookies in the fridge in a sealed container, where they can last for up to a week without losing flavor.
Freezer: For longer storage, freeze unbaked cookie dough balls on a baking sheet, then transfer them to a zip-top bag. They'll stay fresh for up to 3 months.
Reheating: To enjoy frozen Thumbprint Cookies, simply bake them directly from the freezer—add an extra minute or two to the baking time, and enjoy!
Make Ahead Options
These Thumbprint Cookies are perfect for meal prep enthusiasts! You can prepare the cookie dough up to 24 hours in advance by mixing all the ingredients and then refrigerating it tightly wrapped in plastic wrap. This chilling step not only saves you time later but also enhances the flavors. Additionally, you can scoop and shape the cookies into balls, placing them on a baking sheet lined with parchment paper, and freeze them for up to 3 months. When you're ready to bake, simply transfer them from the freezer to the oven without thawing, adding an extra minute or two to the baking time. This way, you can enjoy fresh, home-baked Thumbprint Cookies whenever you desire, with minimal effort!
Tips for the Best Thumbprint Cookies
Chill the Dough: Always refrigerate the dough before baking; it helps prevent spreading and maintains a nice shape.
Avoid Overmixing: When combining dry and wet ingredients, mix just until incorporated; overmixing can lead to tough cookies.
Indent Gently: Use your thumb or the back of a spoon softly; pushing too hard can flatten the cookies and create misshapen tops.
Fill Sparingly: Don’t overfill the centers—just a teaspoon per indentation ensures the filling doesn’t overflow while baking.
Monitor Baking Time: Watch closely as cookies bake; they should be lightly golden on the edges while remaining soft in the center.
Thumbprint Cookies Variations
Feel free to get creative and make these Thumbprint Cookies your own with fun twists and substitutions!
- Gluten-Free: Substitute all-purpose flour with a 1:1 gluten-free flour blend for a gluten-free delight.
- Nutty Flavor: Add ½ cup of chopped nuts, like walnuts or pecans, to the dough for a satisfying crunch.
- Citrus Zest: Incorporate the zest of one lemon or orange into the dough for a refreshing citrus burst. This adds a bright, fragrant twist that elevates the cookies.
- Dark Chocolate: Swap milk chocolate with dark chocolate ganache for a richer, more intense flavor profile that chocolate lovers will appreciate.
- Spicy Kick: Mix in a pinch of cayenne pepper or cinnamon to the dough for a subtle warm kick, enhancing the sweet taste beautifully.
- Fruit Puree: Replace traditional filling with a homemade fruit puree for a unique flavor–think strawberry or raspberry purees for a fresh touch!
- Caramel Swirl: Drizzle a bit of caramel sauce into your thumbprints for added sweetness and indulgence, creating a wonderful blend of flavors.
- Mini Cookies: Shape smaller dough balls for bite-sized cookies that are perfect for snacking; adjust baking time to 8-10 minutes for these cuties.
With these variations, you can turn a classic recipe into a personal favorite! If you want to explore more unique textures, try making some delicious No-Bake Cheesecake to accompany your cookies. One taste of these little delights, and you’ll be in cookie heaven!
Classic Thumbprint Cookies Recipe FAQs
How do I know if my ingredients are ripe or fresh?
Absolutely! For the best Thumbprint Cookies, make sure your unsalted butter is softened to room temperature, meaning it's pliable but not melted. When choosing fruit preserves, look for options without dark spots or separation—this signals quality. If you decide to use chocolate ganache, opt for fresh chocolate rather than older bars that may have lost their flavor.
How should I store my Thumbprint Cookies?
Very simply! You can store your baked Thumbprint Cookies in an airtight container at room temperature for up to 3 days. If you'd like to keep them longer, refrigerate them in a sealed container for up to a week. Just be sure to keep them away from strong odors in your fridge!
Can I freeze the dough or baked cookies?
Absolutely! To freeze unbaked cookie dough, shape the balls, place them on a baking sheet, and freeze until firm. Then transfer them to a zip-top bag and they will keep well for up to 3 months. If you've already baked the cookies, you can freeze them in a single layer, then move them to a container. Just thaw in the fridge or at room temperature before enjoying.
What should I do if my dough feels too sticky?
If you find your dough a bit too sticky, don’t worry! You can add a little more flour, about a tablespoon at a time, until you reach the right consistency. It should be soft but manageable when rolled into balls. Also, chilling the dough helps firm it up, making it easier to handle.
Are these thumbprint cookies safe for those with allergies?
When considering dietary restrictions, it's important to note that this recipe contains common allergens such as gluten (from flour) and dairy (from butter). You can replace the all-purpose flour with a 1:1 gluten-free blend and use dairy-free butter as alternatives. Always check the labels of your fruit preserves and chocolate ganache for hidden allergens, especially for nut allergies!
Delicious Thumbprint Cookies That Melt in Your Mouth
Ingredients
Equipment
Method
- Cream together the softened butter and granulated sugar until light and fluffy.
- Beat in the egg yolk and vanilla extract until fully combined.
- Whisk together the all-purpose flour and salt in a separate bowl, then gradually add to the wet ingredients.
- Cover the dough with plastic wrap and refrigerate for at least 30 minutes.
- Scoop out tablespoon-sized portions and roll them into balls, placing them on the prepared baking sheet.
- Create indentations in the center of each dough ball using your thumb or the back of a spoon.
- Fill each indentation with fruit preserves or chocolate ganache.
- Bake in a preheated oven for 12-15 minutes until edges are light golden brown.
- Cool on baking sheet for 3-5 minutes before transferring to a wire rack.

Leave a Reply