
As Halloween creeps closer, I find myself daydreaming about sweet treats that capture the spirit of the season. That's why I'm excited to share my recipe for Wicked Witch Hat Brownies! These delightful brownies not only bring a whimsical twist to your dessert table but also come together quickly, making them perfect for spontaneous get-togethers or family fun. The combination of rich chocolate and playful ice cream cone hats will not only impress your guests but also bring a charming touch to your fall festivities. Plus, they’re a crowd-pleaser that even the pickiest eaters will adore! Ready to dive into this enchanting treat? Let’s conjure up some brownie magic together!
Why Are These Brownies So Magical?
Unique Twist: These Wicked Witch Hat Brownies blend rich, fudgy chocolate with playful ice cream cone hats, making them a hit for any Halloween celebration.
Quick & Easy: With minimal effort, this recipe comes together in just 50 minutes—perfect for busy schedules or last-minute gatherings.
Crowd-Pleasing Delight: Everyone loves brownies, and the whimsical hats make these treats irresistible to both kids and adults alike.
Versatile Decor: Feel free to get creative! Swap out the Halloween sprinkles for any seasonal theme or color palette to make them your own.
Perfect for Sharing: With 12 servings, they're ideal for potlucks and parties—your guests will rave about this delightful and spooky treat!
Wicked Witch Hat Brownies Ingredients
For the Brownie Batter
• Unsalted butter – 1 cup (225g), melted for that rich, fudgy texture.
• Granulated sugar – 2 cups (400g), essential to sweeten these magical brownies.
• Large eggs – 4, providing structure and moisture for the brownie base.
• Vanilla extract – 1 teaspoon, adding a warm flavor note to your batter.
• All-purpose flour – 1 cup (125g), to give the brownies just the right firmness.
• Unsweetened cocoa powder – 1 cup (90g), for an intense chocolatey goodness.
• Salt – ½ teaspoon, balancing the sweetness in every bite.
• Baking powder – ½ teaspoon, a little lift to keep them blissfully chewy.
For the Topping
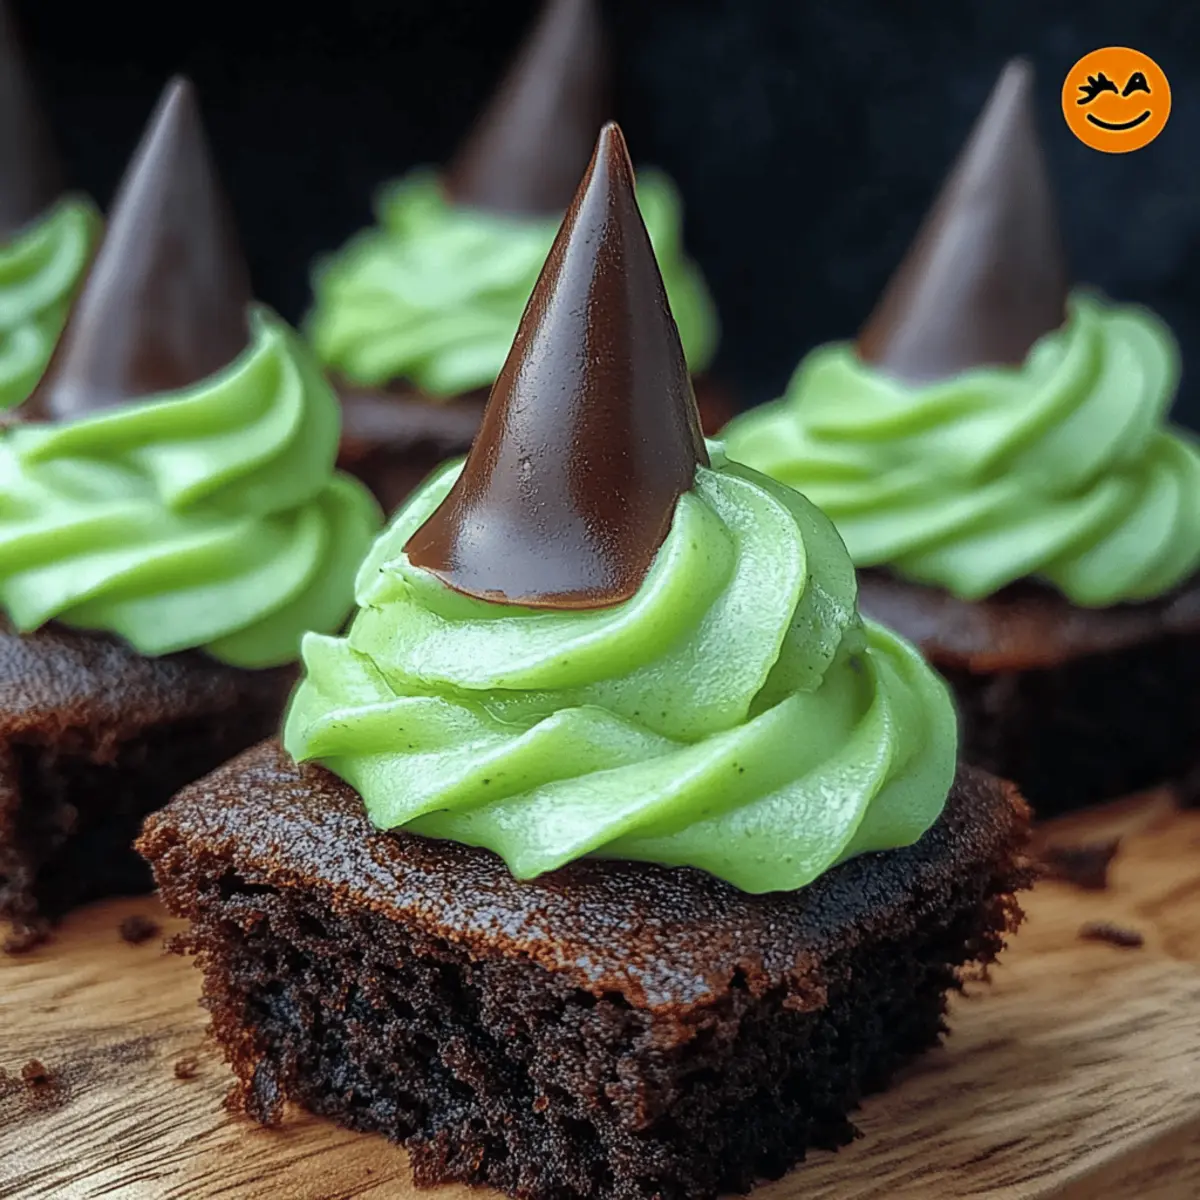
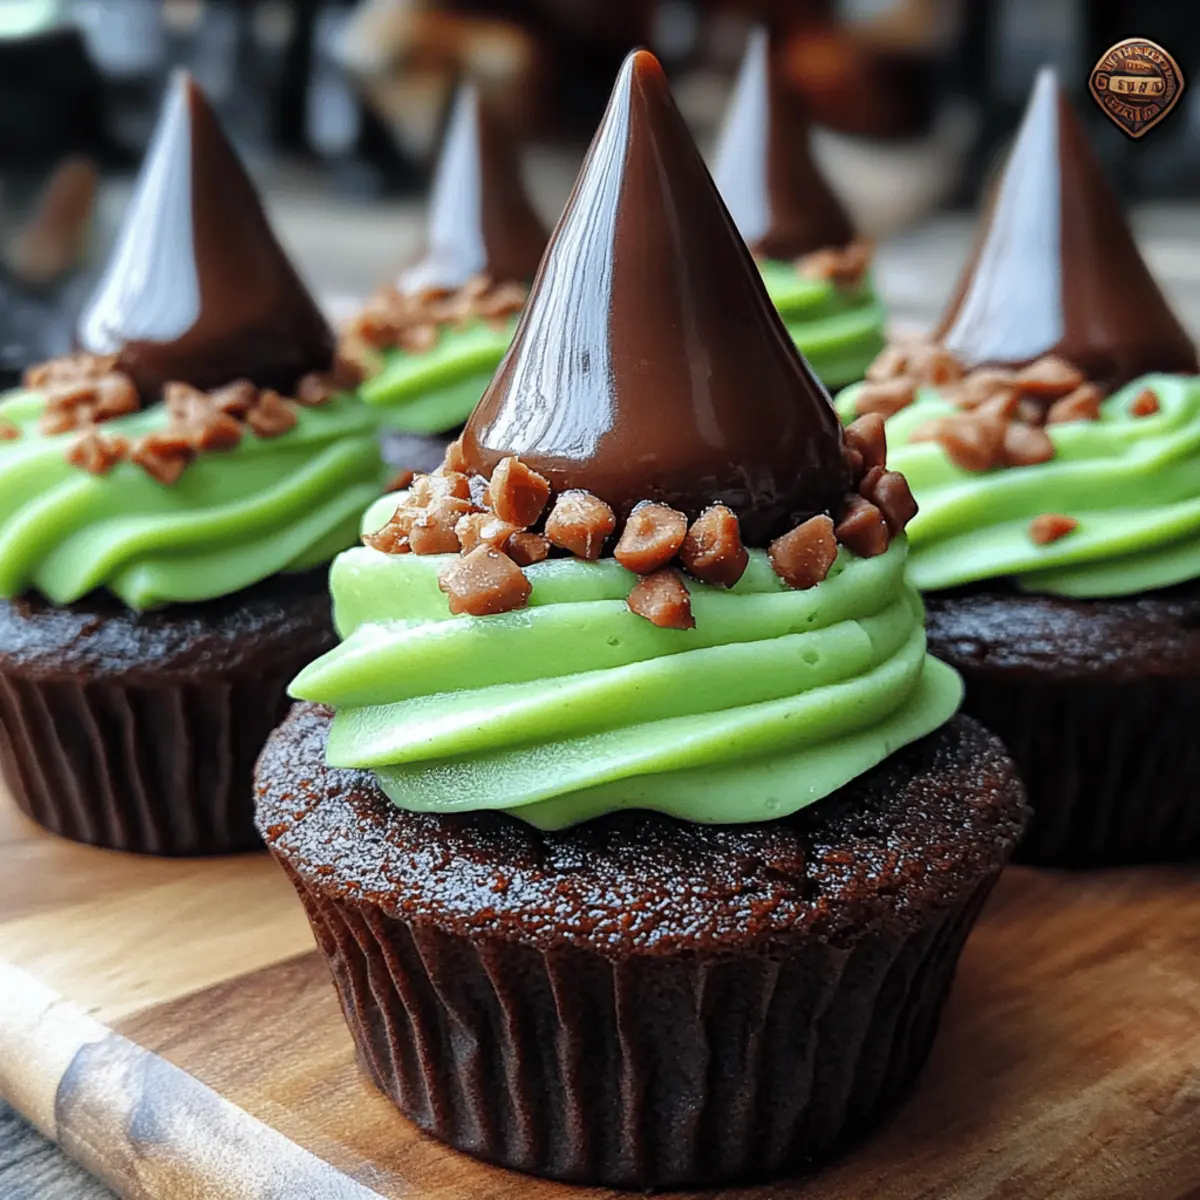
• Chocolate ice cream cones – 12, transformed into whimsical witch hats for a fun presentation.
• Powdered sugar – 2 cups (300g), creating a luscious frosting that pairs perfectly with brownies.
• Milk – ¼ cup (60ml), ensuring your frosting is smooth and spreadable.
• Vanilla extract (for frosting) – 1 teaspoon, to enhance the flavor of your green topping.
• Green food coloring – for a spellbinding hue, making your frosting truly enchanting!
• Halloween-themed sprinkles – to add that final festive touch of magic.
These Wicked Witch Hat Brownies are a delightful way to celebrate the spooky season!
Step‑by‑Step Instructions for Wicked Witch Hat Brownies
Step 1: Melt the Butter
Begin by melting 1 cup of unsalted butter in a medium saucepan over low heat. Stir occasionally, allowing it to melt smoothly. Once fully melted, remove the saucepan from the heat and let the butter cool for about 5 minutes. This step ensures the brownies maintain their fudgy consistency without cooking the eggs later.
Step 2: Mix Sugar and Butter
In a large mixing bowl, pour the cooled melted butter and add 2 cups of granulated sugar. Using a whisk or an electric mixer, blend the ingredients together until the mixture is smooth and glossy. This should take about 1-2 minutes, ensuring that the sugar is well incorporated into the butter, forming a luscious base for your Wicked Witch Hat Brownies.
Step 3: Incorporate Eggs and Vanilla
Crack in 4 large eggs, one at a time, mixing well after each addition to create a rich, cohesive batter. Follow this with 1 teaspoon of vanilla extract, stirring gently until well combined. The mixture should be thick and slightly creamy, setting the perfect foundation for adding the dry ingredients next.
Step 4: Combine Dry Ingredients
In a separate bowl, whisk together 1 cup of all-purpose flour, 1 cup of unsweetened cocoa powder, ½ teaspoon of salt, and ½ teaspoon of baking powder. This step helps to evenly distribute the leavening agent and cocoa throughout the brownie mix. Once combined, gradually add this dry mixture to the wet ingredients, stirring gently until just incorporated—be careful not to overmix.
Step 5: Prepare the Baking Pan
Pour the brownie batter into a prepared 9x13 inch baking pan, ensuring it’s evenly spread across the bottom. Use a spatula to smooth the surface if needed. This step is crucial for achieving that beautiful, even bake. Preheat your oven to 350°F (175°C) while you prepare to bake your batch of Wicked Witch Hat Brownies.
Step 6: Bake the Brownies
Place the baking pan in the preheated oven and bake for 25-30 minutes. Check for doneness by inserting a toothpick into the center; it should come out with a few moist crumbs attached, ensuring a fudgy center. Once baked, carefully remove the brownies from the oven and allow them to cool completely in the pan on a wire rack.
Step 7: Prepare the Cone Hats
While the brownies are cooling, optionally dip the tops of 12 chocolate ice cream cones in melted chocolate, then gently roll them in Halloween-themed sprinkles for an extra festive touch. Set them aside on parchment paper to allow the chocolate coating to firm up, adding a playful flair to your wicked witch hats.
Step 8: Make the Frosting
In a mixing bowl, combine 2 cups of powdered sugar, ¼ cup of milk, and 1 teaspoon of vanilla extract. Blend on low speed until the mixture is smooth and creamy. Gradually add green food coloring until you achieve your desired shade of enchanting green. This frosting will give the Wicked Witch Hat Brownies a magical appearance.
Step 9: Frost the Brownies
Once the brownies are cooled completely, use a spatula to generously frost the surface with your vibrant green frosting, creating a fun base for your witch hats. Make sure to spread the frosting evenly, covering the entire surface and making it look irresistibly delicious and festive.
Step 10: Assemble with Cone Hats
Carefully place an upside-down chocolate ice cream cone on top of each frosted brownie, resembling a witch's hat. Press gently to ensure they stick but be cautious not to squish the brownies. Finally, sprinkle extra Halloween-themed decorations on top to enhance the fun, making your Wicked Witch Hat Brownies a delightful centerpiece for any Halloween celebration!
Make Ahead Options
These Wicked Witch Hat Brownies are fantastic for meal prep, allowing you to save time during the busy Halloween festivities! You can prepare the brownie batter up to 24 hours in advance; simply cover it tightly and refrigerate it. Bake the brownies straight from the fridge to ensure they’re just as delicious and fudgy. You can also frost the brownies and prepare the ice cream cone hats up to 3 days ahead—store them in an airtight container to retain their freshness. When you're ready to serve, top the frosted brownies with the cone hats, and watch as the whimsical presentation enchants your guests with minimal effort!
What to Serve with Wicked Witch Hat Brownies
Indulging in these delightful brownies is fantastic, but pairing them with the right sides can elevate your dessert experience to a whole new level.
-
Vanilla Ice Cream: A scoop of creamy vanilla ice cream enhances the richness of the brownies and adds a refreshing contrast. The cold, smooth texture is a delightful match for the fudginess.
-
Pumpkin Spice Latte: This warm, spiced beverage mirrors the fall season’s flavors, making it a classic companion. Enjoying a sip alongside your brownies creates a snug, cozy experience.
-
Chocolate-Dipped Strawberries: The fruity freshness of strawberries beautifully balances the dense chocolate brownies and adds a splash of color to your plate. Plus, they are a fun finger food option!
-
Ghostly Meringues: Light and airy meringue cookies shaped into ghosts add whimsy to your dessert spread. Their delicate sweetness complements the dense, rich brownies perfectly.
-
Caramel Sauce: Drizzling warm caramel sauce over your brownies introduces an indulgent layer of flavor. The gooey sweetness enhances each bite, making them even more irresistible.
-
Chilled Milk: A glass of cold milk can never go wrong with brownies. Its creamy richness washes down the chocolate delightfully, leaving your taste buds satisfied.
-
Halloween Fruit Platter: Bright, fresh fruit shaped like ghosts or spiders can add a fun pop of color and lightness to your spooky spread. This is a lovely counterpoint to the rich brownies.
-
Spiced Cider: A warm cup of spiced cider brings comforting autumn aromas to your gathering. Its tangy sweetness can lighten up the intense chocolate flavor of the brownies.
-
Autumn-Themed Cookies: Consider serving with pumpkin cookies or ginger snaps; their unique spices harmonize beautifully with the chocolate, creating a well-rounded treat table.
-
Chewy Caramel Brownies: For the ultimate brownie lover, offer a contrasting layer of chewy caramel brownies alongside for a double chocolate experience that will leave guests raving!
Expert Tips for Wicked Witch Hat Brownies
• Cooling Time: Allow the brownies to cool completely before frosting. Frosting warm brownies can melt the icing, ruining the magical look.
• Avoid Overmixing: When combining the wet and dry ingredients, stir gently until just combined. Overmixing can lead to tough, dry brownies instead of the desired fudginess.
• Cone Stability: Make sure to let the chocolate on the ice cream cones set properly before placing them on the brownies. This ensures they won’t topple over during serving.
• Flavor Variations: Experiment with different flavor extracts or add-ins such as chocolate chips or nuts for a unique twist on your Wicked Witch Hat Brownies!
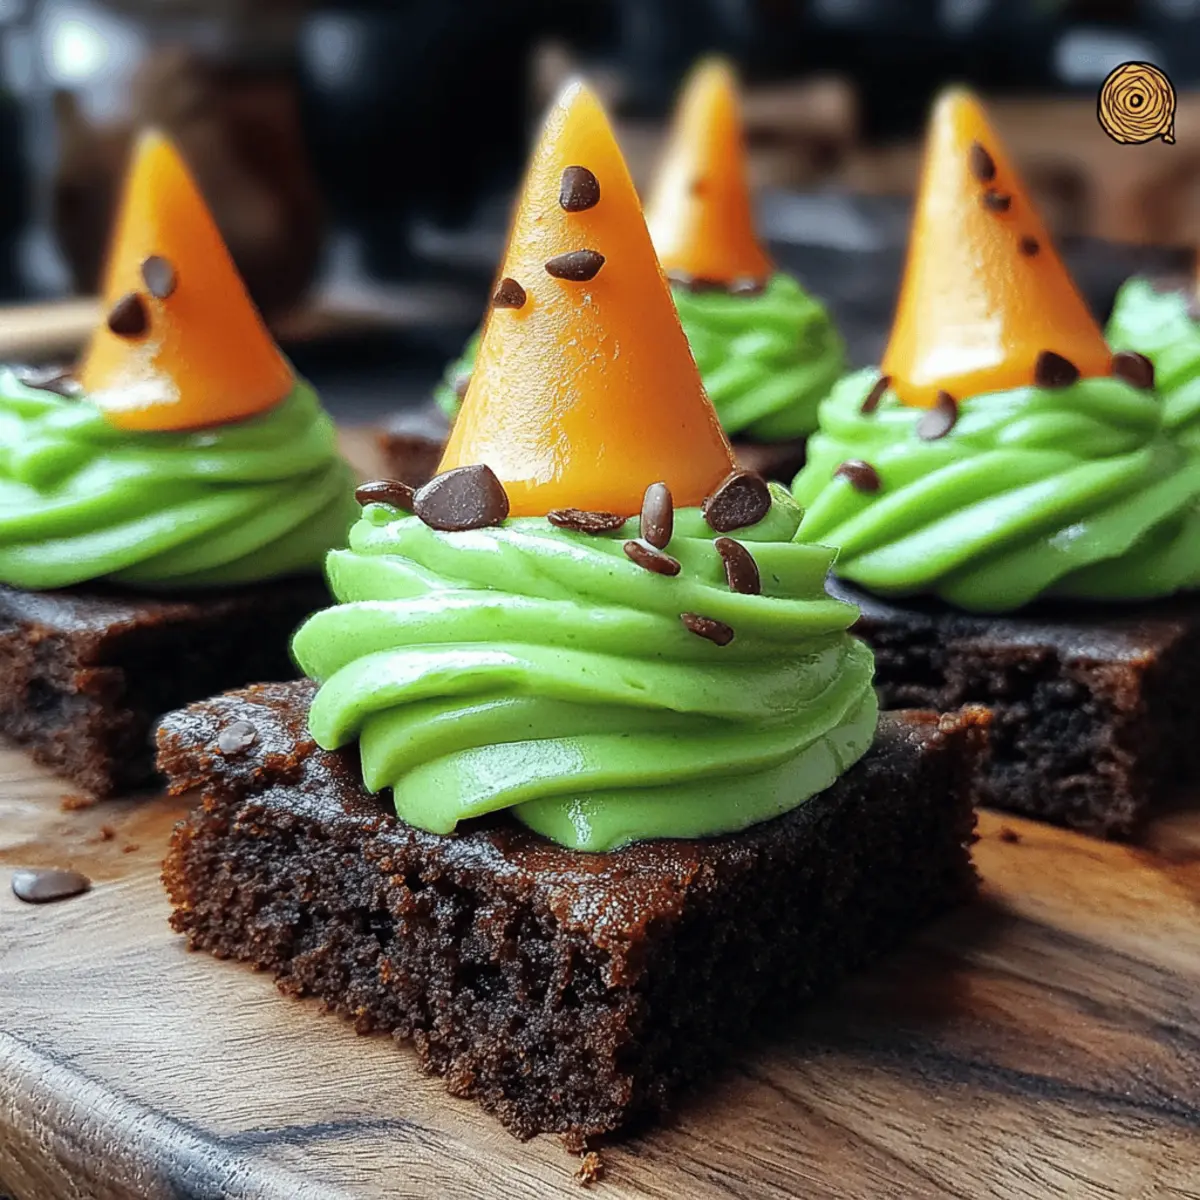
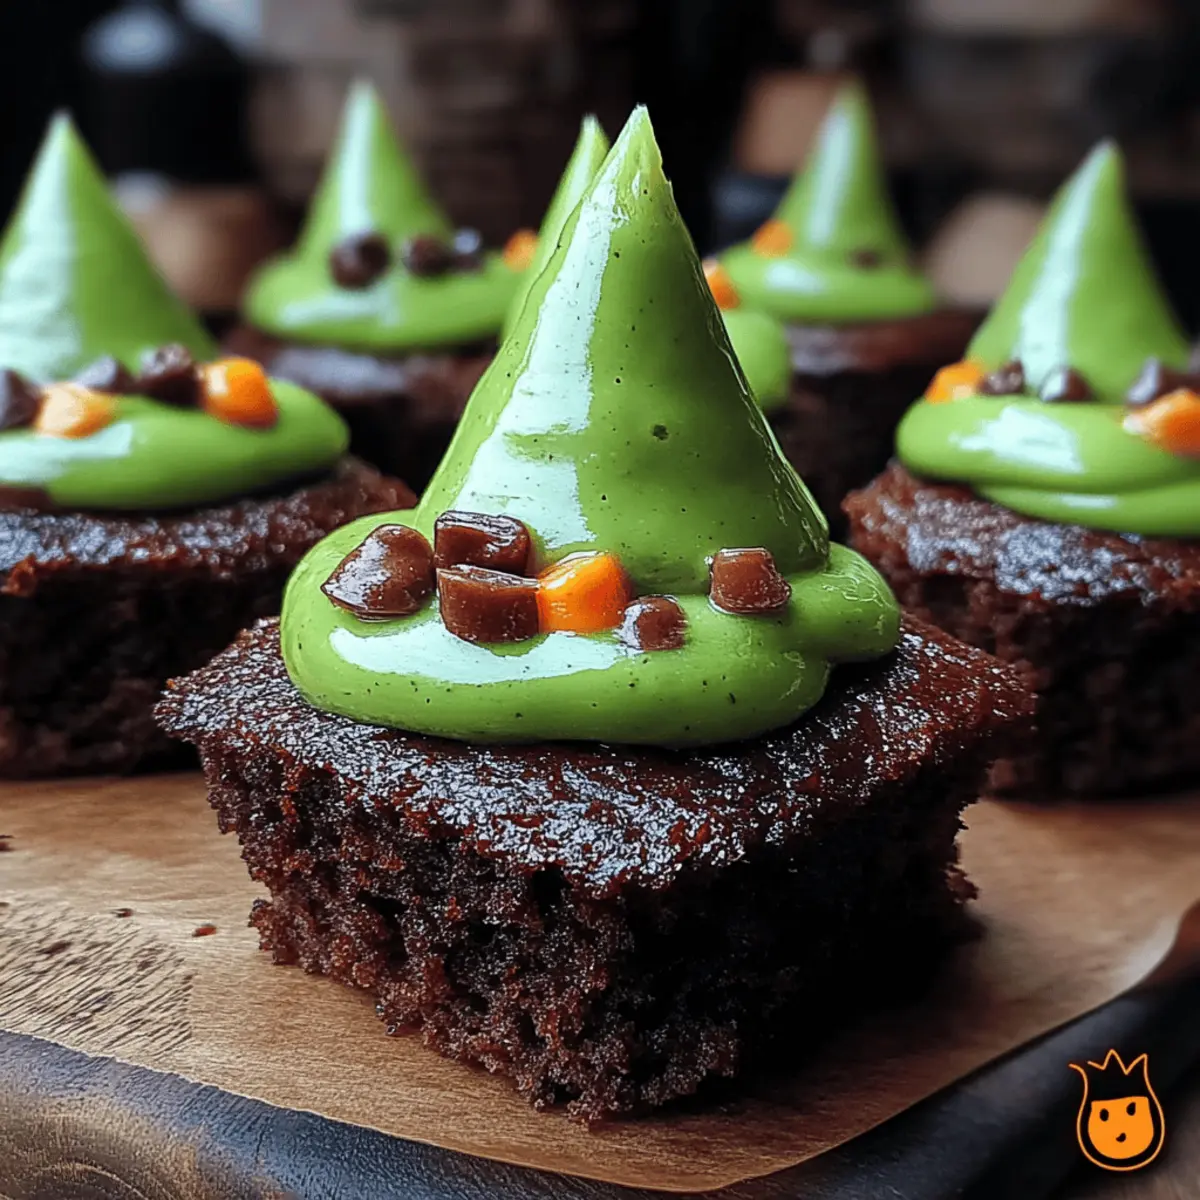
• Cute Decorations: Get creative with your Halloween-themed sprinkles. Using a variety of shapes and colors can make your treats even more festive and fun!
How to Store and Freeze Wicked Witch Hat Brownies
Room Temperature: Store leftovers in an airtight container at room temperature for up to 3 days. Enjoy them while they’re still soft and fudgy!
Fridge: For extended freshness, place the brownies in the fridge for up to a week. Just be sure to cover them well to prevent them from drying out.
Freezer: You can freeze Wicked Witch Hat Brownies for up to 3 months. Wrap them individually in plastic wrap, then place them in a freezer-safe bag to keep them fresh.
Reheating: To enjoy your frozen brownies, let them thaw in the fridge overnight. For a warm treat, microwave on low for 10-15 seconds before serving!
Wicked Witch Hat Brownies Variations
Feel free to get creative with these Wicked Witch Hat Brownies; there are countless ways to customize this recipe!
- Gluten-Free: Substitute all-purpose flour with a gluten-free blend for a delightful treat everyone can enjoy.
- Dairy-Free: Use plant-based butter and non-dairy milk to make these brownies friendly for lactose-intolerant friends. They’ll still be rich and fudgy!
- Nutty Addition: Stir in 1 cup of chopped nuts or chocolate chips for a delightful crunch that contrasts beautifully with the soft brownies. Imagine the delightful texture!
- Spice It Up: Add a teaspoon of cinnamon or coffee granules to the batter for a warm, aromatic flavor boost that elevates the chocolate taste beautifully.
- Fun Flavor Twist: Instead of vanilla extract, try using almond or peppermint extract for a unique twist that will surprise your taste buds.
- Chili Kick: For those who like heat, add a pinch of cayenne pepper or chili powder to the batter. The chocolate and spice combo is truly enchanting!
- Seasonal Sprinkles: Swap out Halloween-themed sprinkles for seasonal decorations, such as snowflakes or hearts, turning these brownies into a perfect treat for any occasion!
- Layered Treats: Create a layered dessert by crumbling brownies into a parfait with layers of whipped cream and your favorite pie filling—how fun would that be?
Looking for more brownie recipes? Check out my Easy Chocolate Chip Brownies or for something festive, give my Pumpkin Spice Brownies a try! Enjoy embracing your inner chef and let your creativity shine through each batch!
Wicked Witch Hat Brownies Recipe FAQs
What type of chocolate should I use for the brownies?
Absolutely! For the rich chocolate flavor in Wicked Witch Hat Brownies, I recommend using unsweetened cocoa powder, as specified in the recipe. This will provide that deep chocolate taste that's perfectly complemented by the sweetness of the sugar. If you prefer, you can also use high-quality dark chocolate, just make sure to melt it along with the butter for a decadent twist!
How should I store leftover brownies?
You can store leftover Wicked Witch Hat Brownies in an airtight container at room temperature for up to 3 days. To keep that fudgy texture, make sure they’re sealed well. Alternatively, for longer freshness, place them in the fridge where they can last for up to a week. Just don’t forget to cover them tightly to avoid drying out!
Can I freeze these brownies?
Yes, you can freeze Wicked Witch Hat Brownies for up to 3 months, which is a fantastic way to save some for later. Start by wrapping each brownie individually in plastic wrap to prevent freezer burn. Then, place them in a freezer-safe zip-lock bag. When you're ready to enjoy them again, let them thaw in the fridge overnight. For a warm treat, pop them in the microwave on low for about 10-15 seconds.
What if my brownies turn out cakey instead of fudgy?
To achieve that gooey texture, it’s essential to avoid overmixing the brownie batter once you combine the wet and dry ingredients. Stir gently until just combined. Also, be mindful of your baking time—check for doneness around the 25-minute mark. If the toothpick comes out clean, you may have baked them too long. A few moist crumbs are perfect for that fudgy finish!
Are these brownies suitable for gluten-free diets?
To make Wicked Witch Hat Brownies gluten-free, simply substitute the all-purpose flour with a 1:1 gluten-free baking blend. I often find great success with brands that include xanthan gum in their mix for that perfect texture. Just make sure to double-check your chocolate cone's ingredients as well to ensure they're gluten-free. Enjoy the magic without worry!
Wicked Witch Hat Brownies: Spooktacular Treats for Halloween
Ingredients
Equipment
Method
- Melt 1 cup of unsalted butter in a medium saucepan over low heat. Stir occasionally and cool for 5 minutes.
- In a large mixing bowl, mix the cooled melted butter with 2 cups of granulated sugar until smooth and glossy.
- Add 4 large eggs one at a time, mixing well after each, and then stir in 1 teaspoon of vanilla extract.
- In another bowl, whisk together 1 cup of all-purpose flour, 1 cup of cocoa powder, ½ teaspoon of salt, and ½ teaspoon of baking powder. Gradually mix into wet ingredients until just combined.
- Pour batter into a greased 9x13 inch baking pan and preheat the oven to 350°F (175°C).
- Bake for 25-30 minutes, checking for doneness with a toothpick. Allow to cool completely.
- Dip tops of chocolate ice cream cones in melted chocolate and roll in sprinkles. Let set.
- Combine 2 cups of powdered sugar, ¼ cup of milk, and 1 teaspoon of vanilla extract until smooth. Add green food coloring to desired shade.
- Frost the cooled brownies evenly with the green frosting.
- Carefully place an upside-down chocolate cone on each frosted brownie and sprinkle with Halloween decorations.


Leave a Reply