
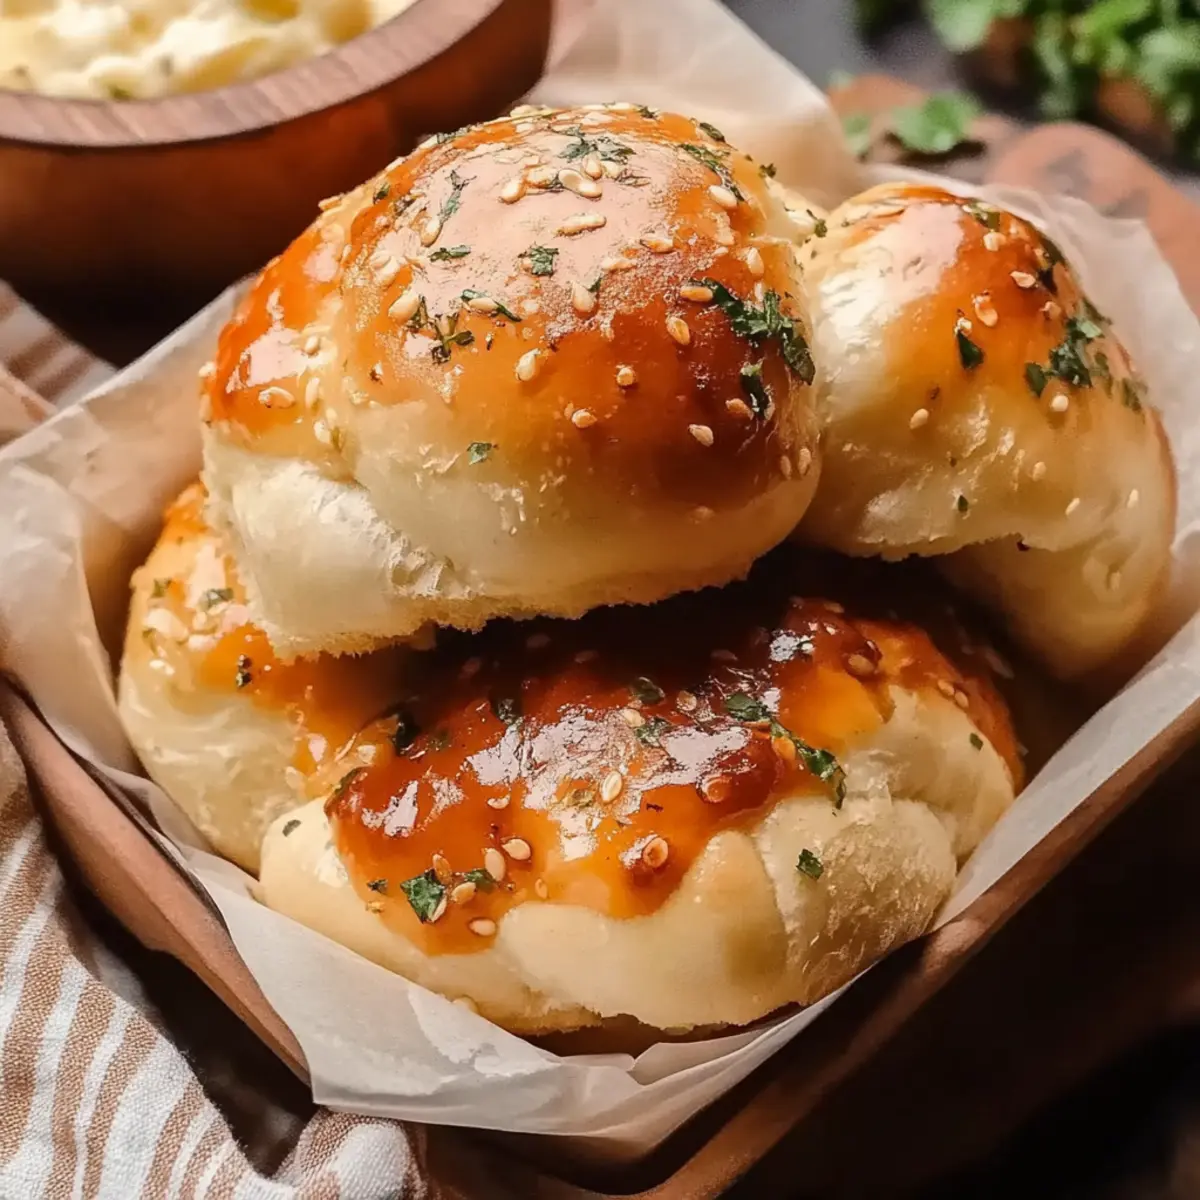
There’s something special about the aroma of freshly baked bread that can instantly lift your spirits. Today, I’m thrilled to share my recipe for Cheesy Garlic Dinner Rolls, a delightful treat that merges comfort and flavor in the best way possible. With just under an hour of active time, these soft, pillowy rolls are not only incredibly easy to make but also a guaranteed crowd-pleaser that will have your loved ones begging for more. Imagine sinking your teeth into warm bread filled with gooey cheese and the rich scent of garlic wafting through your kitchen—it’s simply irresistible! Plus, these rolls are perfect for a cozy family dinner or as an indulgent side for your favorite entrees. Ready to dive into baking bliss? Let’s get started!
Why Are These Rolls So Special?
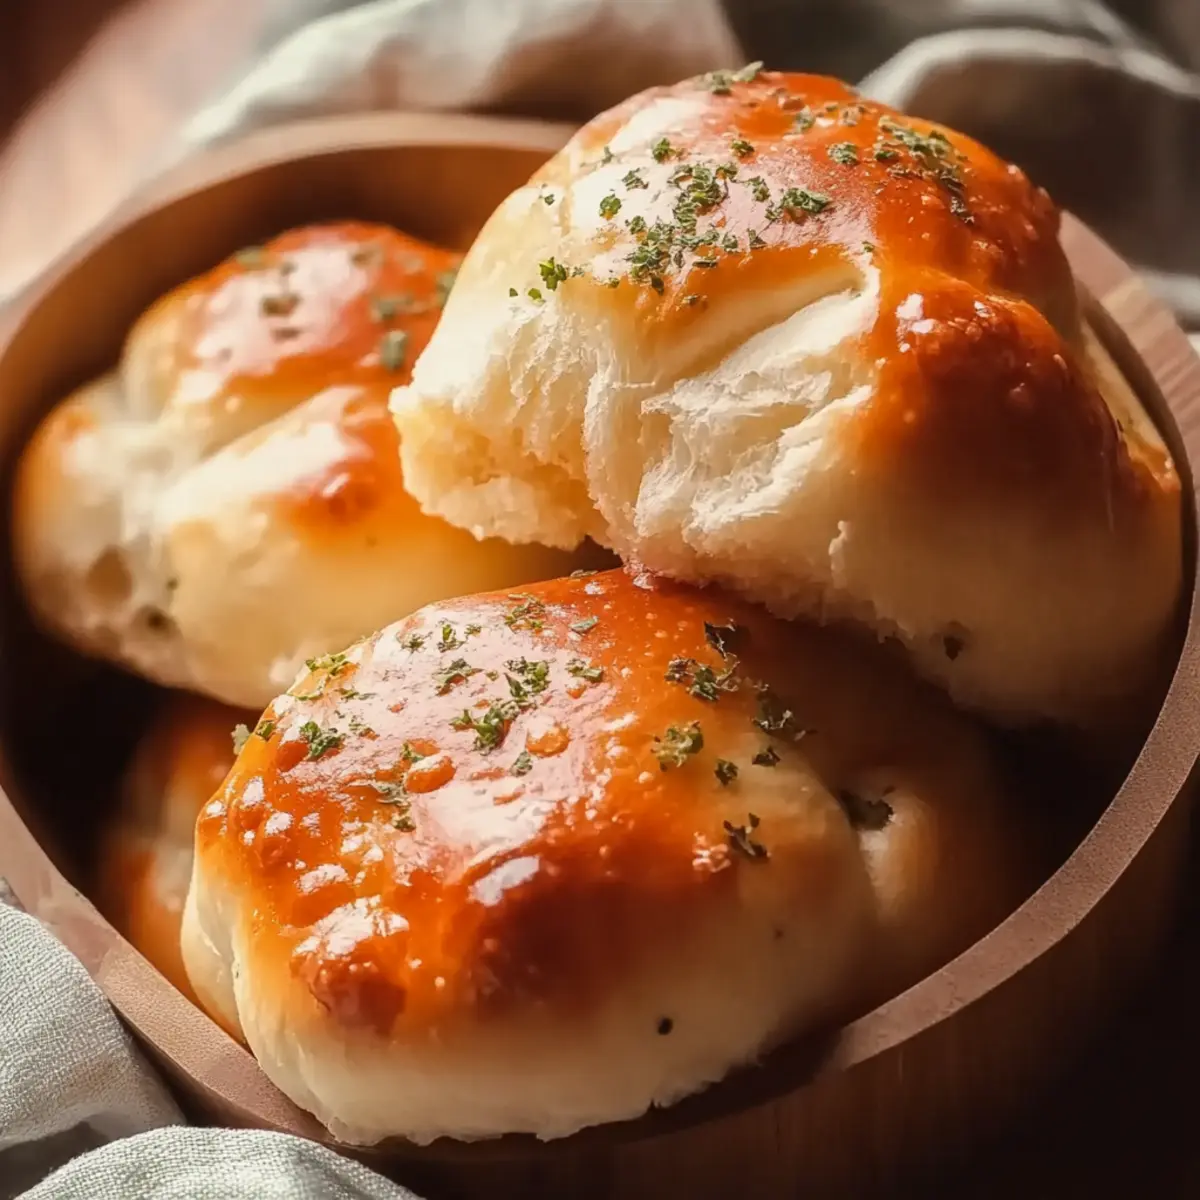
Soft, Fluffy Texture: Each roll is baked to perfection, offering a luxurious, airy bite that is hard to resist.
Cheesy Goodness: With a delightful blend of ooey-gooey cheese and savory garlic, these rolls create a delectable flavor explosion.
Quick Preparation: You can whip these up in under an hour (plus rising time), making them perfect for any weeknight dinner or last-minute gathering.
Versatile Treat: Serve them as an appetizer, alongside your main dishes, or even as a delicious snack—there's no wrong way to enjoy them!
Guaranteed Crowd-Pleaser: These rolls are sure to impress family and friends; pair them with your favorite main course for a complete meal experience.
Easy to Make: With simple ingredients and straightforward steps, even novice bakers can achieve stunning results in no time!
Cheesy Garlic Dinner Rolls Ingredients
Get ready to transform simple ingredients into a heavenly homemade delight!
For the Dough
- Warm milk – creates a soft texture that’s perfect for bread-making.
- Sugar – feeds the yeast for a beautiful rise in your rolls.
- Active dry yeast – ensures your rolls are light and fluffy; don't skip this!
- Melted butter – adds richness and flavor that elevates every bite.
- Salt – enhances the overall taste of your rolls.
- Large eggs – provide moisture and help bind the dough together.
- All-purpose flour – gives structure and chewiness to your rolls.
For the Filling
- Shredded cheese (e.g., mozzarella or gouda) – melted cheese creates that gooey, irresistible center.
- Minced garlic – adds a fragrant punch that pairs perfectly with cheesy goodness.
For Finishing Touches
- Additional melted butter – brushing on top before baking keeps the rolls moist and adds a golden finish.
- Fresh parsley – not just for garnish; it adds a pop of color and freshness!
Now that you have all the essential ingredients ready, let’s create these Cheesy Garlic Dinner Rolls that will make your kitchen smell absolutely divine!
Step‑by‑Step Instructions for Cheesy Garlic Dinner Rolls
Step 1: Activate the Yeast
In a small bowl, combine 1 cup of warm milk with 2 ¼ teaspoons of sugar and 2 ¼ teaspoons of active dry yeast. Let this mixture sit for about 5-10 minutes until it becomes frothy and bubbly, indicating the yeast is activated and ready to help your Cheesy Garlic Dinner Rolls rise beautifully.
Step 2: Prepare the Dough
In a large mixing bowl, whisk together the melted butter, 1 teaspoon of salt, and 2 large eggs. Once combined, stir in the yeast mixture, then gradually add 3 ½ cups of all-purpose flour while mixing until a soft dough forms. The dough should be slightly sticky but manageable, signaling it is ready for the next step.
Step 3: Knead the Dough
Lightly flour a clean surface and transfer the dough onto it. Knead the dough for about 5-7 minutes, until it becomes smooth and elastic. You'll know it’s ready when the dough springs back when lightly pressed. This step is essential for ensuring your Cheesy Garlic Dinner Rolls have that delightful, fluffy texture.
Step 4: Let the Dough Rise
Place the kneaded dough in a greased bowl, covering it with a kitchen towel. Set it in a warm area to rise for 1-2 hours, or until it doubles in size. Keep an eye on it, as a properly risen dough will look puffy and airy, indicating that the yeast has done its job.
Step 5: Prepare the Filling
While the dough is rising, mix the minced garlic with 1 cup of shredded cheese in a separate bowl. Set aside this delicious filling for your rolls. The combination of cheese and garlic will infuse the Cheesy Garlic Dinner Rolls with irresistible flavors once baked.
Step 6: Shape the Rolls
After the first rise, gently punch down the dough and divide it into 12 equal pieces. Flatten each piece slightly, placing about one tablespoon of the cheese-garlic mixture in the center. Pinch the edges around the filling to seal it and shape it into a ball. This process forms the delightful pockets of gooey goodness within your rolls.
Step 7: Second Rise
Arrange the shaped rolls seam-side down in a greased baking dish. Cover with a towel again and let them rise for another 30-45 minutes until they appear puffy and nearly doubled in size. This gentle rising will yield Cheesy Garlic Dinner Rolls that are light and airy, perfect for baking.
Step 8: Preheat the Oven
Preheat your oven to 375°F (190°C) while the rolls complete their second rise. This temperature is ideal for achieving a beautifully golden brown color. As the oven heats, brush each roll with melted butter to enhance moisture and flavor during baking.
Step 9: Bake the Rolls
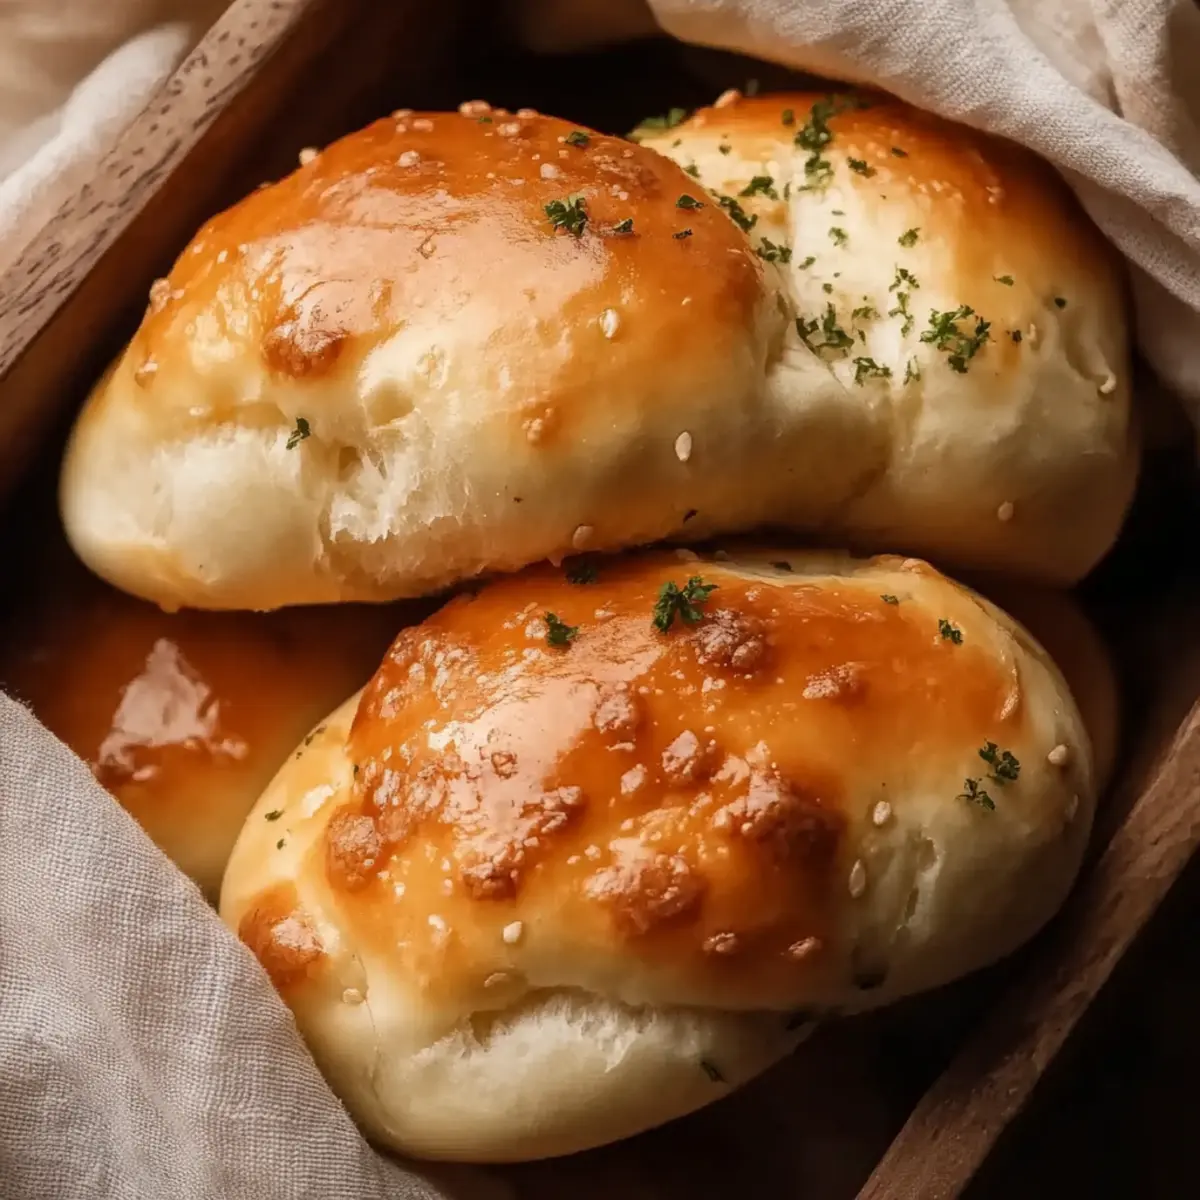
Once your oven reaches the desired temperature, place the baking dish inside and bake for approximately 20-25 minutes. Watch for the rolls to turn golden brown on top, which signals they’re ready to come out and be enjoyed, filling your kitchen with a heavenly aroma.
Step 10: Finish and Serve
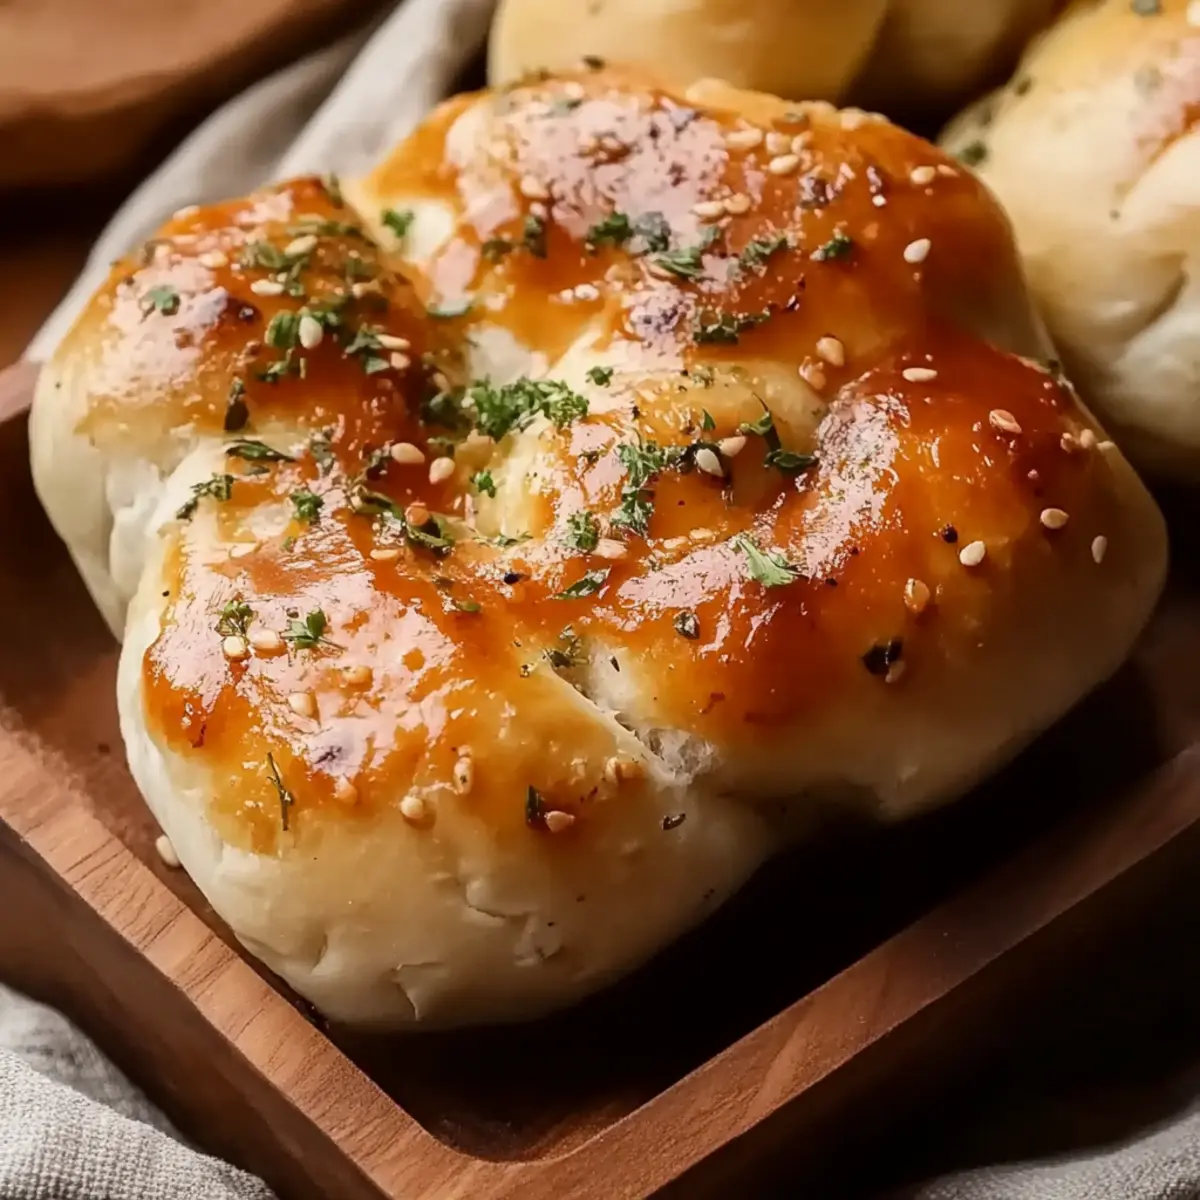
After baking, remove the Cheesy Garlic Dinner Rolls from the oven and brush them again with melted butter. Sprinkle fresh parsley on top for a burst of color and flavor before serving. These rolls are best enjoyed warm and fresh, offering a delightful combination of cheesy, garlic-infused goodness in every bite!
How to Store and Freeze Cheesy Garlic Dinner Rolls
Room Temperature: Store leftover Cheesy Garlic Dinner Rolls in an airtight container at room temperature for up to 3 days to maintain their soft texture.
Fridge: If you want to keep them longer, refrigerate them for up to a week, but note that this may slightly affect their fluffiness.
Freezer: For long-term storage, freeze the rolls in a freezer bag or wrap them tightly in plastic wrap for up to 3 months.
Reheating: To enjoy, simply thaw in the fridge overnight then reheat in a preheated oven at 350°F (175°C) for about 10-15 minutes until warm and fresh again.
Make Ahead Options
These Cheesy Garlic Dinner Rolls are a fantastic option for meal prep enthusiasts! You can prepare the dough up to 24 hours in advance by following steps 1 through 4, then cover it tightly with plastic wrap and refrigerate. When you're ready to bake, let the dough come to room temperature for about 30 minutes before shaping the rolls and proceeding with the second rise (steps 6 and 7). Additionally, the cheese-garlic filling can be prepped up to 3 days ahead and stored in the refrigerator for maximum freshness. To maintain their delightful texture, avoid freezing the rolls after baking, as they are best enjoyed fresh from the oven. Simply brush them with melted butter and serve warm to revel in that irresistible cheesy goodness!
What to Serve with Cheesy Garlic Dinner Rolls
The delightful aroma of freshly baked rolls can elevate any dinner experience, making it all the more rewarding to pair them with the right accompaniments.
-
Creamy Tomato Soup: The rich, tangy flavors of tomato soup complement the cheesy goodness perfectly, creating a comforting duo that warms the soul. This classic pairing is perfect for rainy days or cozy evenings with loved ones.
-
Hearty Salad: A fresh salad filled with mixed greens, cherry tomatoes, and a light vinaigrette adds a crisp contrast to the soft, warm rolls. Every bite of the salad enhances the experience and provides a refreshing crunch.
-
Savory Roasted Vegetables: Roasting carrots, zucchini, and bell peppers brings out their natural sweetness. These veggies add a satisfying texture and are a guilt-free way to elevate your meal alongside the rolls.
-
Grilled Chicken or Steak: The tender, juicy flavors of grilled meats are a fantastic way to round out your dinner plate. Pairing them with the cheesy garlic dinner rolls will leave guests with satisfied smiles!
-
Potato Wedges: Crispy potato wedges seasoned with herbs will provide a wonderful contrast in texture. Their savory flavor harmonizes beautifully with the rolls’ cheesy interior.
-
Herbed Butter: A simple and elegant addition, herbed butter served on the side can enhance the rolls to new heights. Just a swipe adds a burst of flavor while keeping them moist.
-
Garlic Bread: If you can’t get enough of that garlic goodness, serve these rolls with classic garlic bread for an extra indulgent feast. The double hit of garlic will be a hit with lovers of bold flavors.
-
Sparkling Lemonade: To wash it all down, a refreshing glass of sparkling lemonade offers a zesty counterpoint to the rich, cheesy rolls. The lively bubbles will brighten up your dining experience!
-
Chocolate Chip Cookies: Finish your meal on a sweet note with warm chocolate chip cookies. Their gooey, melty chocolate creates a delightful contrast after the savory dinner rolls.
These pairings will make your meal unforgettable while highlighting the delightful flavors of the Cheesy Garlic Dinner Rolls!
Cheesy Garlic Dinner Rolls Variations
Feel free to personalize these rolls with a few easy twists that’ll elevate your baking experience!
-
Dairy-Free: Substitute regular milk with almond or oat milk and replace butter with coconut oil for a plant-based version.
-
Add Herbs: Enhance flavor by mixing in fresh herbs like rosemary or thyme into the dough for an aromatic touch.
-
Spicy Kick: Incorporate red pepper flakes into the cheese-garlic filling for a zesty finish, adding a delightful heat to every bite.
-
Cheese Swap: Experiment with different cheeses like feta or pepper jack to vary the flavor profile and add a unique twist.
-
Whole Wheat Flour: Use whole wheat flour in place of all-purpose flour for a healthier option that still delivers a soft texture.
-
Garlic Butter Topping: After baking, brush the rolls not just with regular melted butter but with a garlic-infused butter for an extra punch of flavor.
-
Stuffed Rolls: Try stuffing the rolls with cooked spinach or caramelized onions for a tasty surprise inside that pairs well with the cheesy garlic flavor.
-
Sweet Touch: Add a hint of cinnamon to your dough for a slightly sweet background that contrasts beautifully with the savory garlic.
With these variations, you'll have the perfect opportunity to make your Cheesy Garlic Dinner Rolls uniquely yours! And don't forget to serve them alongside your favorite main course for a truly delightful meal experience. Enjoy experimenting!
Expert Tips for Cheesy Garlic Dinner Rolls
-
Don’t Rush the Yeast: Allow the yeast to foam for the full time needed; this ensures your rolls rise properly for that fluffy texture.
-
Knead with Care: Knead until smooth and elastic, but avoid over-kneading, as it can lead to tough rolls rather than soft, pillowy Cheesy Garlic Dinner Rolls.
-
Temperature Matters: Let the dough rise in a warm, draft-free area to encourage optimal rising. A cool environment can hinder this crucial step.
-
Seal Well: Make sure to completely seal the rolls around the filling to avoid any leakage during baking, which can lead to flattened rolls.
-
Keep an Eye on Baking Time: Ovens can vary; check your rolls a few minutes early to prevent over-baking. Look for a golden-brown finish for perfect results.
-
Storage Smartly: For leftovers, store rolls in an airtight container at room temperature. Reheat in the oven for that freshly baked taste!
Cheesy Garlic Dinner Rolls Recipe FAQs
What type of milk should I use for the dough?
Absolutely! I recommend using whole milk or 2% milk as they provide the fat content needed for a rich and flavorful roll. Warm milk helps activate the yeast effectively, leading to beautifully soft Cheesy Garlic Dinner Rolls.
How should I store the leftover rolls?
For the best results, store your leftover Cheesy Garlic Dinner Rolls in an airtight container at room temperature for up to 3 days. This keeps them soft and pillowy. If you need them to last longer, refrigerate them for up to a week, although this may slightly affect their texture. Always reheat them in the oven for that freshly baked taste!
Can I freeze these rolls, and if so, how?
Yes, you can absolutely freeze Cheesy Garlic Dinner Rolls! Once they are completely cooled, wrap each roll tightly in plastic wrap and then place them in a freezer bag. They will keep well for up to 3 months. When you're ready to enjoy them, thaw them in the fridge overnight and reheat them in a preheated oven at 350°F (175°C) for 10-15 minutes. It’s like baking fresh rolls again!
What should I do if my rolls don't rise properly?
If your rolls don't rise, it might be due to the yeast not activating. Ensure that your milk is warm but not hot, ideally around 110°F (43°C). If the yeast mixture doesn't foam after 5-10 minutes, it might be inactive, so consider starting anew with fresh yeast. Also, make sure you're placing the dough in a warm, draft-free area for rising.
Are these rolls suitable for people with allergies?
Great question! These Cheesy Garlic Dinner Rolls contain gluten, dairy, and eggs, which are common allergens. If any family member has allergies, consider substituting an alternative flour, non-dairy milk, and an egg replacer—but be mindful that this might alter the texture and flavor.
Can I make the dough ahead of time?
Very! If you wish to make the dough ahead, prepare it and let it rise. After the first rise, you can either shape the rolls and let them rise for the second time before refrigerating them, or you can punch down the dough and cover it tightly. If refrigerating, allow it to come to room temperature and rise again before baking, as cold dough may take longer to rise. This way, you can have fresh rolls ready anytime!
Irresistibly Soft Cheesy Garlic Dinner Rolls You’ll Love
Ingredients
Equipment
Method
- Activate the Yeast: In a small bowl, combine warm milk, sugar, and active dry yeast. Let sit for 5-10 minutes until frothy.
- Prepare the Dough: Whisk together melted butter, salt, and eggs. Stir in the yeast mixture and add flour gradually until a soft dough forms.
- Knead the Dough: Transfer dough to a floured surface and knead for 5-7 minutes until smooth and elastic.
- Let the Dough Rise: Place in a greased bowl, cover with a towel, and let rise in a warm area for 1-2 hours until doubled in size.
- Prepare the Filling: Mix minced garlic with shredded cheese in a bowl and set aside.
- Shape the Rolls: Punch down dough and divide into 12 pieces. Create balls with cheese-garlic filling in the center.
- Second Rise: Arrange rolls seam-side down in a greased baking dish, cover, and let rise for 30-45 minutes.
- Preheat the Oven: While rolls rise, preheat oven to 375°F (190°C) and brush each roll with melted butter.
- Bake the Rolls: Bake for 20-25 minutes until golden brown.
- Finish and Serve: Brush rolls with melted butter and sprinkle with parsley before serving.


Leave a Reply