
As I was flipping through my favorite Halloween recipe book, I stumbled upon a spine-tingling idea: Cheesy Pizza Skulls. These delightful bite-sized treats aren’t just a feast for the eyes; they’re a canvas for creativity! Packed with gooey cheese and your favorite toppings, they’re fully customizable and perfect for gathering family and friends around the kitchen. Best of all, you can whip them up in about 30 minutes, making them an easy and fun project for young chefs and seasoned cooks alike. Whether you stick with classic pepperoni or dare to include colorful veggies, these Halloween Pizza Skulls are sure to create lasting memories. Curious about how to bring a little spooky fun to your table? Let’s dive in!
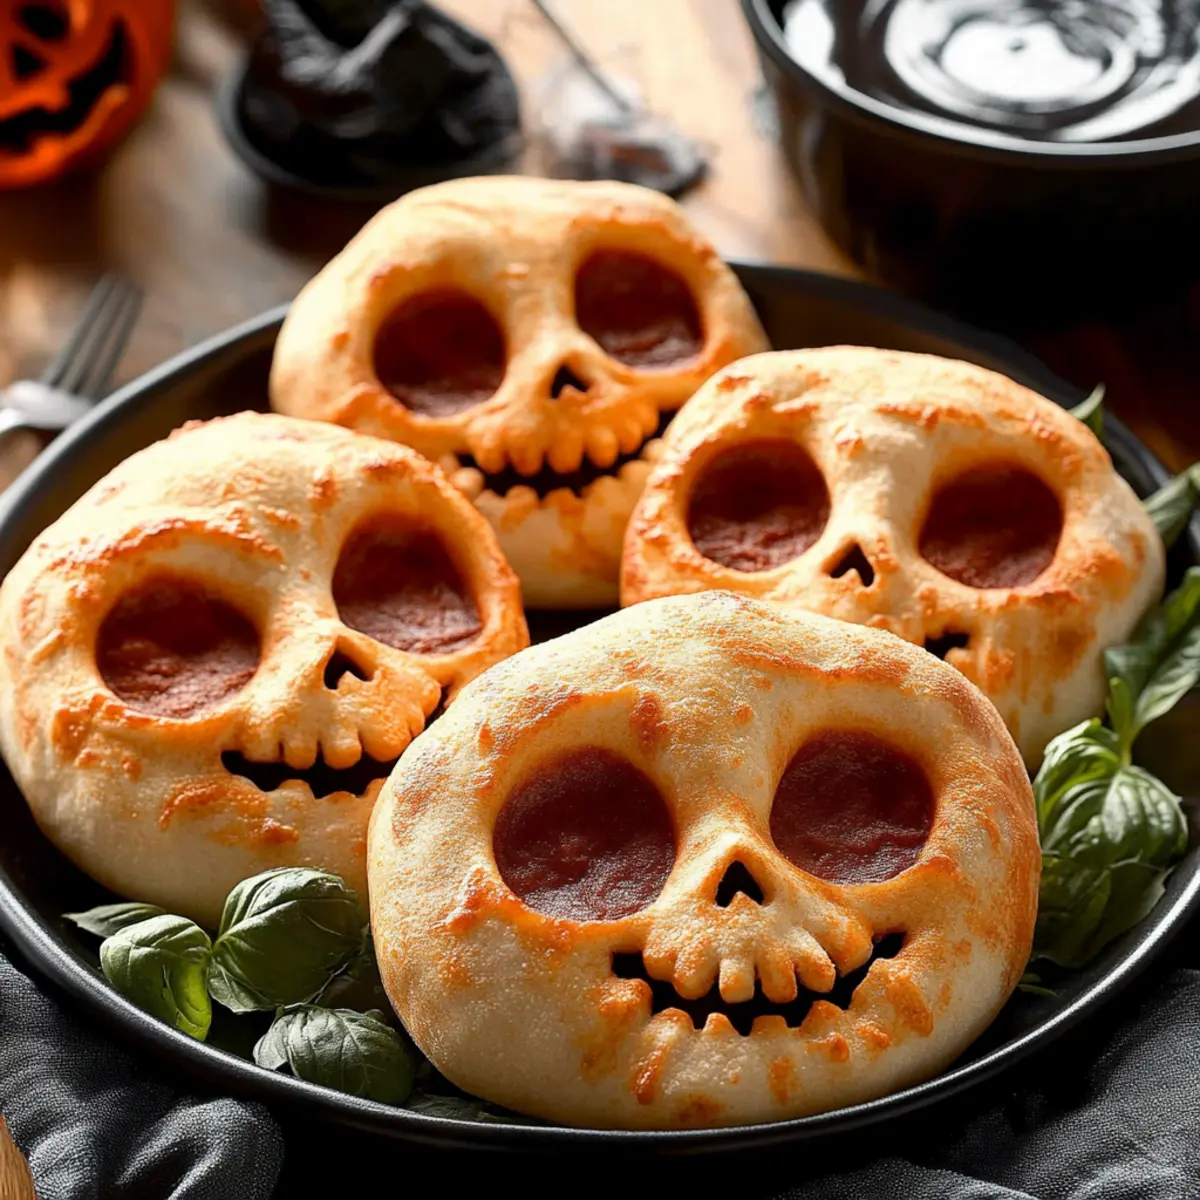
Why Are Halloween Pizza Skulls So Fun?
Deliciously Customizable: These pizza skulls invite you to unleash your creativity! Family-Friendly Fun: Perfect for kids and adults alike, everyone can choose their favorite toppings. Quick to Make: With just 30 minutes preparation, they’re a breeze for busy weeknights or festive gatherings. Eye-Catching Presentation: Their spooky shape is sure to impress guests and add a festive flair to your table. Great for Sharing: Serve them warm with marinara for dipping—ideal for parties or movie nights. You might also enjoy experimenting with recipes like Pizza Pot Pies for more fun in the kitchen!
Halloween Pizza Skulls Ingredients
• For the Dough
- Pre-made Pizza Dough – Use boxed rolled dough or fresh dough sold in bags for convenience.
• For the Filling
- Pizza Sauce – Adds moisture and flavor; about ¾ to 1 cup is recommended.
- Shredded Mozzarella – Essential for that gooey texture; you’ll need 2 cups.
- Parmesan Cheese – For a dash of extra flavor, about ¼ cup works well.
- Toppings – Choose from:
- Cooked Sausage (8 oz) – Adds a savory kick; swap for turkey sausage for a lighter option.
- Mini Pepperoni (6 oz) – Classic favorite, irresistible for all ages.
- Sliced Black Olives – Great for adding a salty bite and festive appearance.
- Chopped Ham – Deliciously sweet and savory.
- Crumbled Bacon – For those who love extra crunch and flavor.
- Mini Meatballs – Cute additions that pack a punch!
- Corn – Sweet and colorful, perfect for a pop of flavor.
- Baby Spinach – A healthy option that adds nice color.
- Fresh Basil – For a burst of freshness that elevates the dish.
• For Serving
- Marinara Sauce – Perfect for dipping, enhancing the cheesy goodness.
- Chopped Parsley or Basil – Optional garnish to add a touch of color and flavor when serving.
These Halloween Pizza Skulls are not only exciting to make but also allow you to customize your favorite flavors. Enjoy creating delicious, spooky treats your loved ones will adore!
Step‑by‑Step Instructions for Halloween Pizza Skulls
Step 1: Preheat the Oven
Begin by preheating your oven to 400°F (200°C). This ensures that your Halloween Pizza Skulls bake evenly and become deliciously golden brown. While the oven heats up, gather your ingredients and prepare your workspace to make the process smooth and enjoyable.
Step 2: Prepare the Baking Pan
Spray the skull-shaped baking pan generously with cooking spray to prevent the pizza skulls from sticking. Make sure every crevice is coated well to avoid any frustration when it’s time to unmold your spooky treats. Set the pan aside, ready for the dough.
Step 3: Roll Out the Dough
Lightly flour your countertop and roll out the pre-made pizza dough to about ¼ inch thick. This thickness will provide a sturdy structure while allowing for a chewy texture. Cut the dough into 6 uniform rectangles, ensuring they are large enough to fill the skull cavities comfortably.
Step 4: Fill the Cavities
Gently place each dough rectangle into the prepared skull cavities, pressing down lightly. Spoon in a generous amount of pizza sauce, followed by a mountain of shredded mozzarella and a sprinkle of Parmesan cheese. Add your choice of toppings such as cooked sausage or sliced olives for a personalized touch.
Step 5: Add Extra Sauce
After adding your favorite toppings, place a small spoonful of pizza sauce on top of the filling. This extra layer of sauce will keep the ingredients moist and flavorful while they bake, enhancing the taste of your Halloween Pizza Skulls.
Step 6: Seal the Pizza Skulls
Carefully fold the dough over the fillings to create a pizza pocket. Press the edges firmly to seal them, ensuring the delicious contents stay inside during baking. This step is crucial for creating those adorable skull shapes, so take your time to form them well.
Step 7: Chill Before Baking
Place the filled baking pan in the refrigerator while the oven finishes preheating. This chilling step helps the dough hold its shape during baking and prevents any over-expansion, allowing your Halloween Pizza Skulls to bake evenly and hold their spooky form.
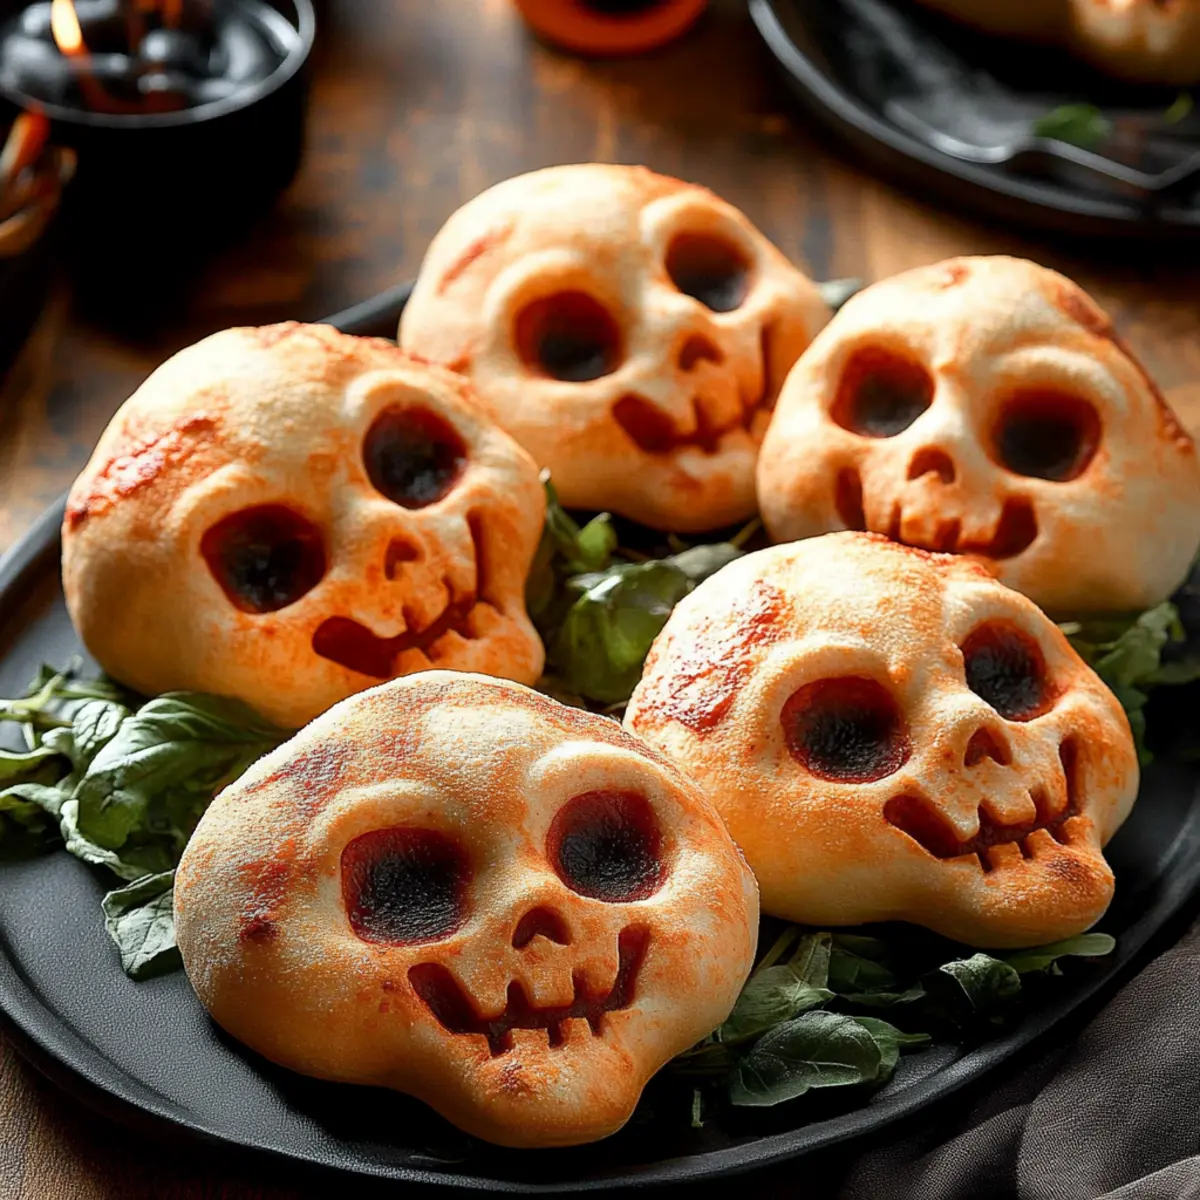
Step 8: Bake to Perfection
Once the oven is ready, put the baking pan inside and bake the Halloween Pizza Skulls for 16-20 minutes. Keep an eye on them as they bake; they should turn a lovely golden brown and your kitchen will fill with a mouthwatering aroma.
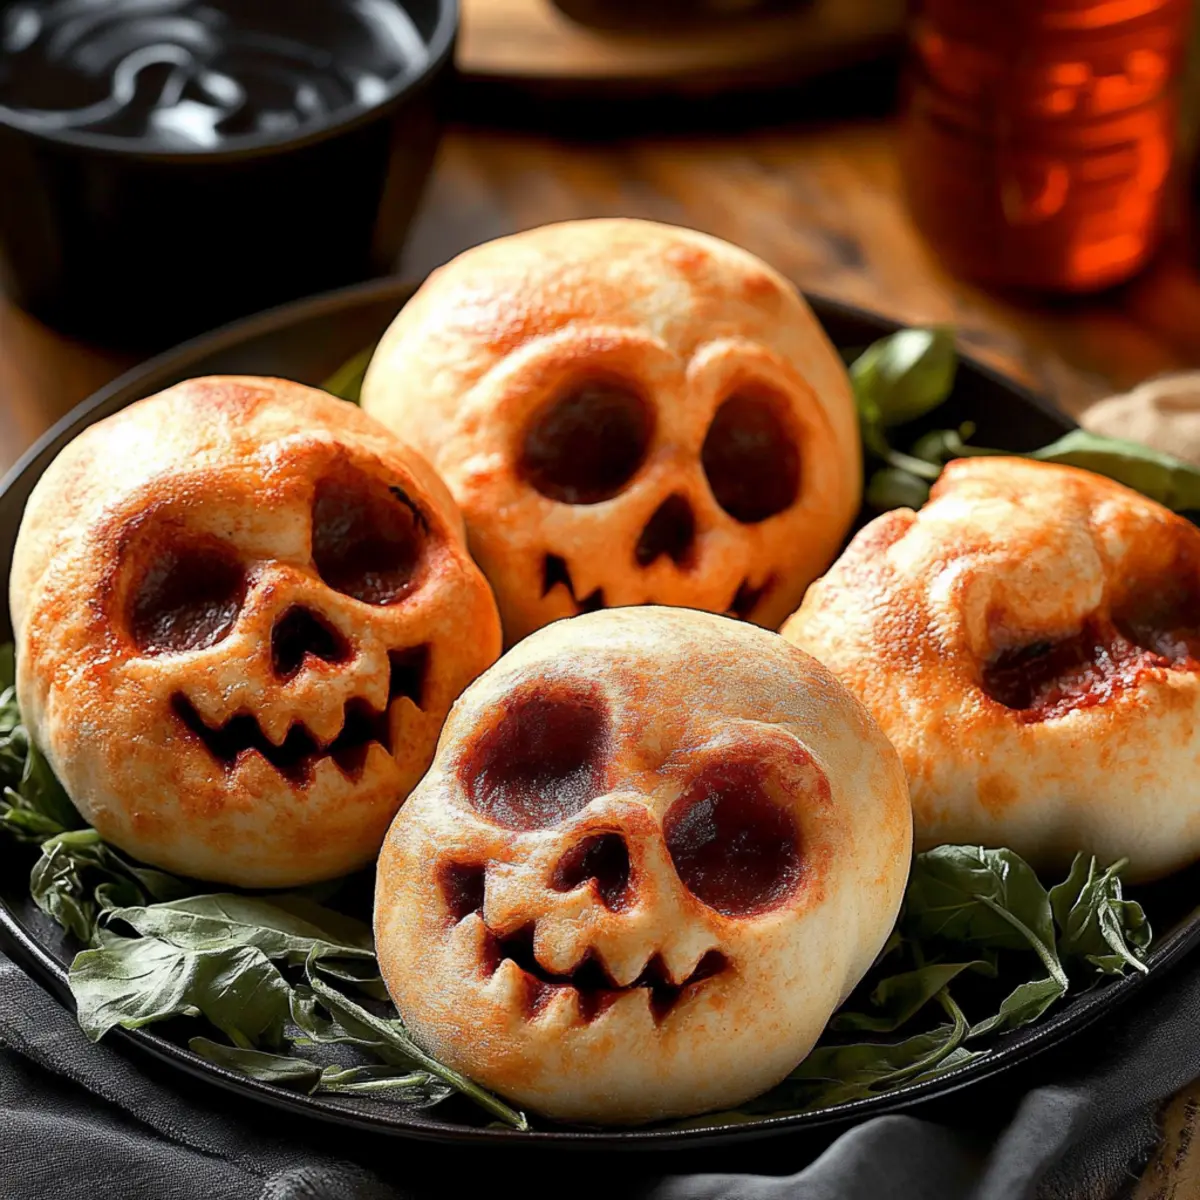
Step 9: Cool and Unmold
After baking, let the pizza skulls cool in the pan for about 5 minutes. This cooling period allows the filling to firm up a bit, making it easier to unmold without spilling. Carefully remove each skull and arrange them on a serving plate.
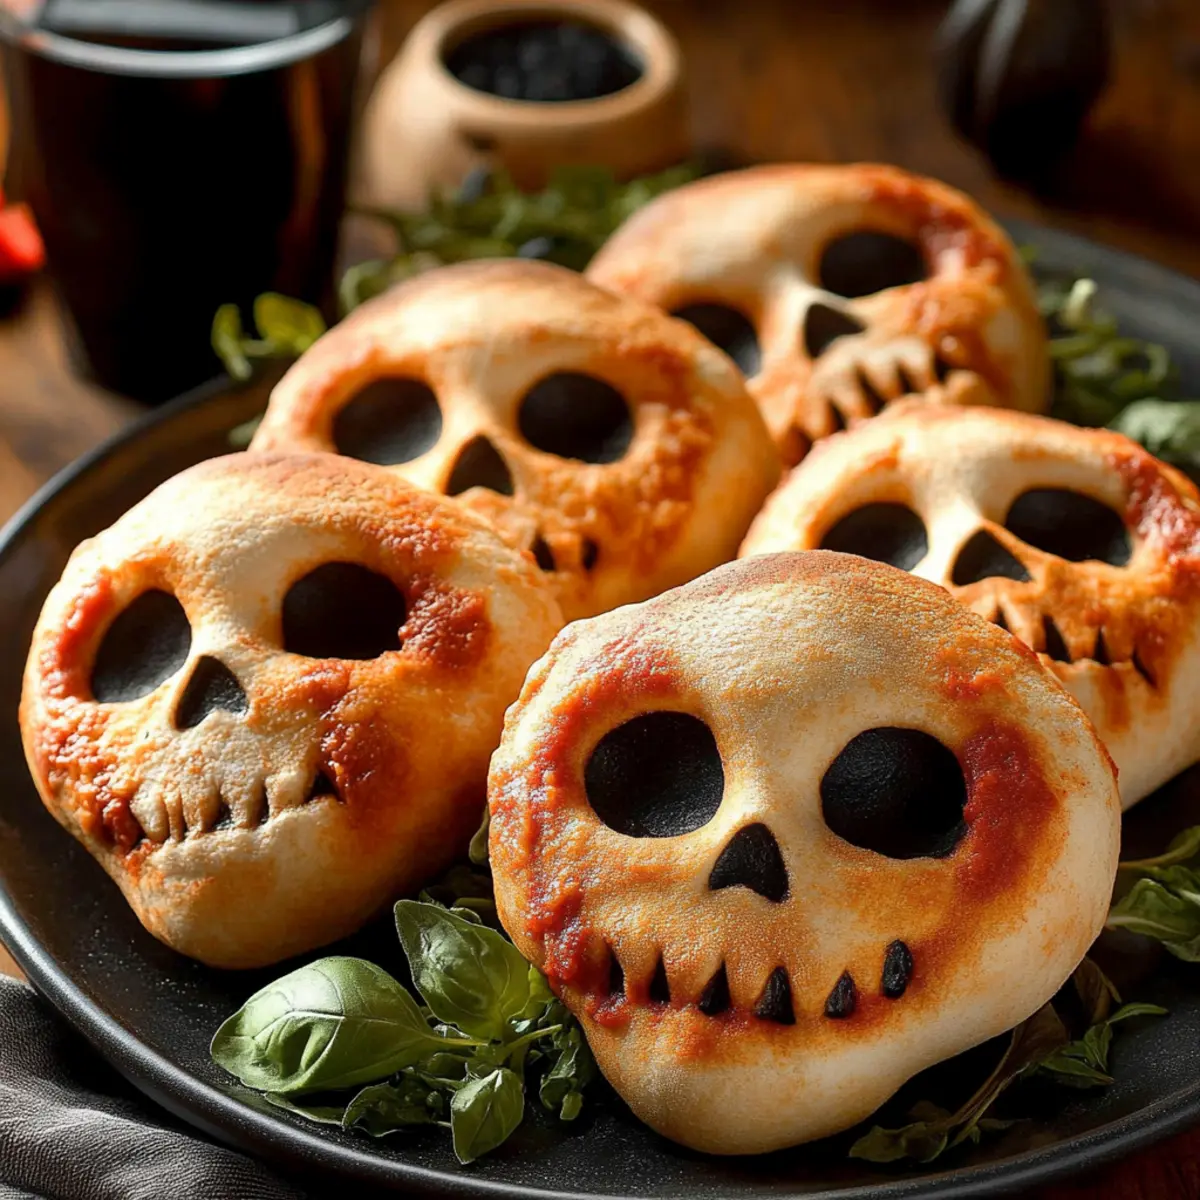
Step 10: Serve with Dipping Sauce
Serve the Halloween Pizza Skulls warm and alongside marinara sauce for dipping. This salty and savory accompaniment perfectly enhances each delicious bite. Consider garnishing with chopped parsley or basil for an extra touch of festivity!
What to Serve with Halloween Pizza Skulls
Creating a fun and festive meal is easy when you know the best pairings to complement your cheesy treats!
-
Crispy Garlic Bread: The buttery, garlicky flavor of crispy garlic bread adds a delightful crunch and is perfect for dipping in marinara sauce.
-
Caesar Salad: A bright and refreshing Caesar salad provides a nice contrast to the cheesy richness, balancing flavors and textures beautifully.
-
Spooky Veggie Platter: Create a colorful veggie tray with cucumbers, cherry tomatoes, and bell peppers, encouraging healthy snacking amidst the Halloween festivities.
-
Pumpkin Soup: Serve a warm bowl of creamy pumpkin soup on the side for a rich and seasonal taste that pairs wonderfully with pizza skulls.
-
Apple Cider: A mug of warm apple cider, spiced with cinnamon, creates an inviting, autumnal atmosphere while harmonizing beautifully with the savory pizza flavors.
-
Ghostly Cupcakes: Finish off with some whimsical ghost-themed cupcakes that add a sweet touch to your spooky feast, delighting both kids and adults alike!
Storage Tips for Halloween Pizza Skulls
Fridge: Store cooked Halloween Pizza Skulls in an airtight container in the refrigerator for up to 3 days. This keeps them fresh and ready to enjoy anytime!
Freezer: Freeze any leftover pizza skulls by wrapping them individually in plastic wrap and then placing them in a freezer-safe bag. They'll stay good for up to 2 months.
Reheating: To reheat, pop the frozen pizza skulls directly in a preheated oven at 350°F (175°C) for about 15 minutes or until warmed through. This helps maintain their delightful crispy texture.
Make-Ahead Tip: Assemble your Halloween Pizza Skulls ahead of time and store them in the refrigerator until you're ready to bake. This makes it super convenient for festive gatherings!
Make Ahead Options
These Halloween Pizza Skulls are perfect for meal prep enthusiasts! You can assemble the pizza skulls up to 24 hours in advance, ensuring that you have a fun treat ready to bake when needed. Simply prepare the skulls by filling them with sauce, cheese, and your favorite toppings, then seal them up tight and refrigerate until it’s time to bake. To maintain their quality, make sure to cover the filled pan with plastic wrap while in the fridge to prevent them from drying out. When you’re ready to enjoy, just pop them in the oven as directed, and you’ll have deliciously cheesy, spooky treats with minimal effort!
Expert Tips for Halloween Pizza Skulls
- Keep It Simple: Stick to a few toppings to prevent overwhelming flavors. Too many ingredients can also lead to messy pizza skulls.
- Seal Properly: Make sure to seal the edges of the dough tightly to avoid any filling leaks during baking. A good seal creates that perfect skull shape!
- Watch the Bake Time: Every oven is different, so keep an eye on your Halloween Pizza Skulls. They'll be ready when they're golden brown and firm to the touch.
- Customize with Care: While it's fun to customize toppings, avoid overfilling them; too much stuffing can lead to bursting during baking.
- Use Fresh Ingredients: Fresh veggies or high-quality cheese will enhance flavor and texture, making your Halloween Pizza Skulls a hit!
Halloween Pizza Skulls Variations
Make your Halloween Pizza Skulls even more special by mixing flavors and textures!
- Dairy-Free: Use plant-based cheese instead of mozzarella for a vegan take that still offers gooey goodness.
- Meatless Marvel: Swap in marinated tofu or tempeh for a hearty vegetarian option that packs protein. Consider adding extra seasonings for an umami punch.
- Spicy Twist: Add jalapeños or red pepper flakes to the filling for a fiery kick that spice lovers will adore. This adds a nice heat without overpowering the other flavors.
- Herb-Infused: Mix in fresh herbs like oregano or thyme into the cheese filling for an aromatic enhancement that sings of fresh garden flavors. This will elevate every bite, inviting a delightful taste surprise.
- Chunky Veggie: Fold in diced bell peppers, zucchini, or mushrooms for added nutrition and a colorful appearance. Vegetables can bring subtle sweetness and texture contrasts!
- BBQ Flavor: Incorporate barbecue sauce in place of pizza sauce for a smoky flavor that will excite your taste buds. Pair this with grilled chicken or pulled jackfruit for a delicious twist!
- Breakfast Blend: Swap traditional toppings for scrambled eggs, cheese, and crispy bacon for a fun breakfast-themed version. Imagine enjoying these savory skulls with a side of crispy hash browns!
- Sweet Surprise: Get creative by adding a hint of apple or butternut squash with cheese for a sweet-savory combination that’s enchanting for fall. The hint of sweetness will make these skulls unforgettable!
Halloween Pizza Skulls Recipe FAQs
What is the best way to choose ripe ingredients for my Halloween Pizza Skulls?
Absolutely! When selecting toppings, look for fresh vegetables with vibrant colors and no dark spots. For meat options, ensure they are fully cooked and look fresh—not discolored. For cheese, pick brands that are high-quality; they add that delicious creamy texture you want.
How should I store leftover Halloween Pizza Skulls?
You can keep cooked Halloween Pizza Skulls in an airtight container in the fridge for up to 3 days. If you haven’t finished them all, simply reheat and enjoy!
Can I freeze Halloween Pizza Skulls?
Yes, you can! To freeze, wrap each cooled pizza skull individually in plastic wrap and place them in a freezer-safe bag. They will last up to 2 months. When you’re ready to enjoy them, bake from frozen at 350°F (175°C) for about 15 minutes, ensuring they remain crispy and delicious.
What should I do if my pizza skulls burst during baking?
Very! If your Halloween Pizza Skulls burst, it likely means they were overfilled or the edges weren’t sealed properly. Next time, make sure to fill them only halfway and press the edges tightly to create a good seal before baking.
Are there any dietary considerations for Halloween Pizza Skulls?
Absolutely! For those with dietary restrictions, feel free to use gluten-free pizza dough and vegetable proteins like plant-based sausage. Always check ingredient labels for potential allergens such as dairy and gluten. For a kid-friendly twist, keep toppings simple and fun!
Can I prepare Halloween Pizza Skulls ahead of time?
Yes, you can! Assemble your Halloween Pizza Skulls but do not bake them yet. Store the filled pan in the refrigerator for up to 24 hours. When ready, simply pop them in the oven, and they’ll be just as fresh as if made that day!
Halloween Pizza Skulls - The Best Cheesy Treats for Fun Nights
Ingredients
Equipment
Method
- Preheat your oven to 400°F (200°C). Gather your ingredients and prepare your workspace.
- Spray the skull-shaped baking pan with cooking spray.
- Roll out the pre-made pizza dough to about ¼ inch thick and cut into 6 rectangles.
- Place each dough rectangle into the prepared skull cavities and fill with pizza sauce, mozzarella, and toppings.
- Add a spoonful of pizza sauce on top of the fillings.
- Fold the dough over the fillings and press edges to seal.
- Chill the pan in the refrigerator while the oven finishes preheating.
- Bake for 16-20 minutes until golden brown.
- Let cool for 5 minutes before unmolding onto a serving plate.
- Serve warm with marinara sauce for dipping and optional garnish.
Leave a Reply