
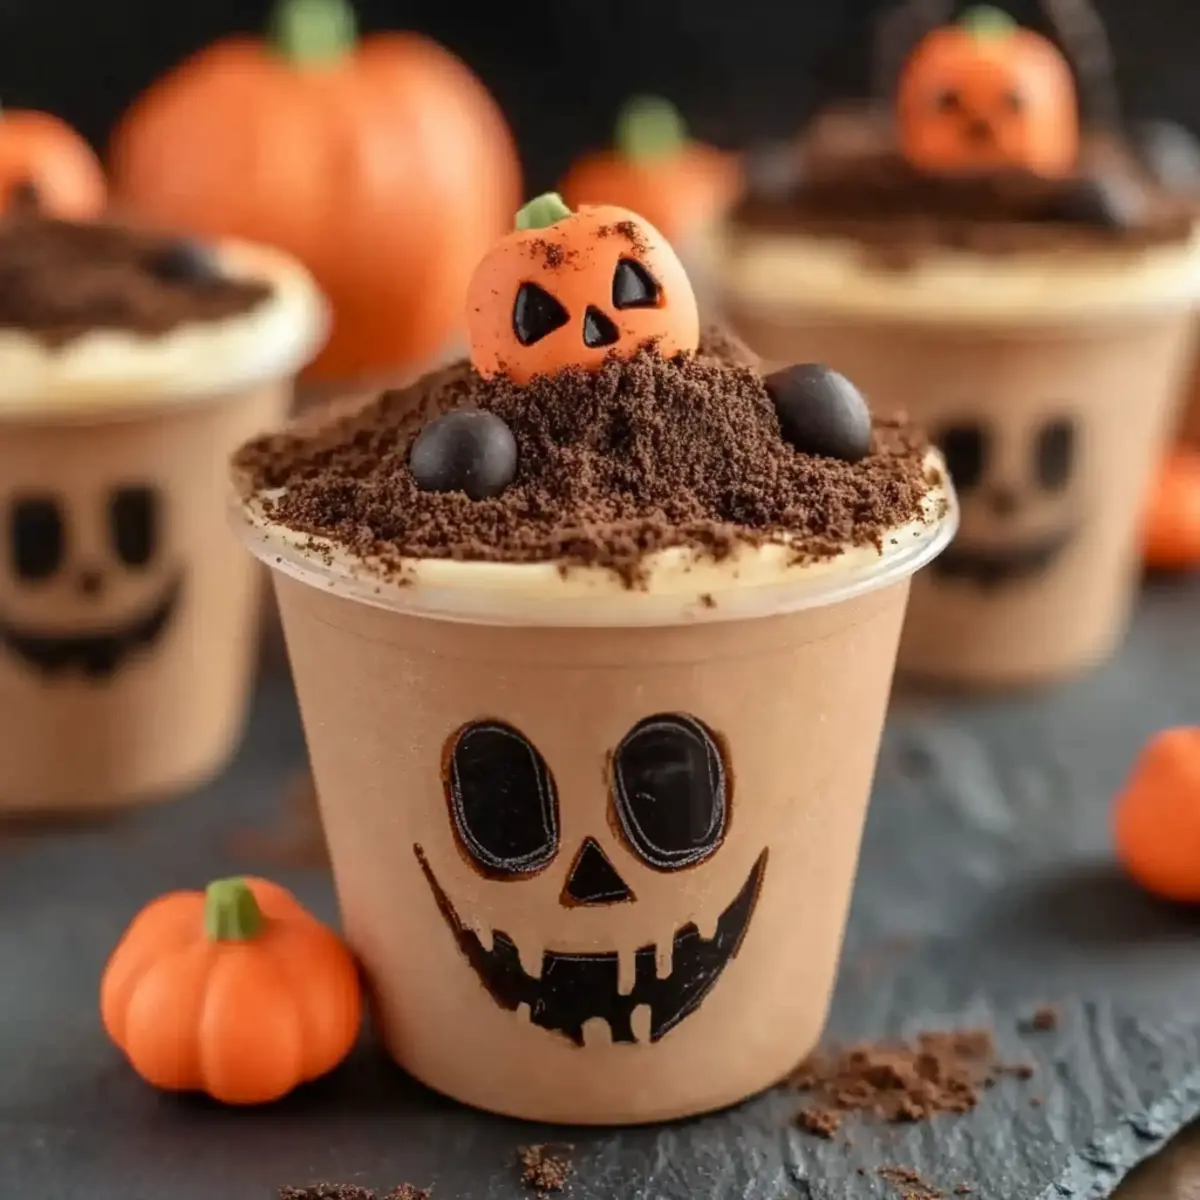
As the days grow shorter and leaves turn to a tapestry of fiery hues, there's a magical anticipation in the air—Halloween is just around the corner! With it comes the delightful chaos of cobwebs, jack-o'-lanterns, and the sweet scent of treats filling our homes. One of my absolute favorite no-bake creations for this spooky season is Halloween Dirt Cups. These playful cups are not only a hit with the kids but also a breeze to put together, making them the perfect choice for busy parents or anyone looking to add a festive touch to their gatherings. Layered with creamy chocolate pudding and crunchy cookie "dirt," these delightful sweets are customizable and absolutely fun to make. Plus, you can whip them up in no time, leaving you free to enjoy the Halloween festivities! Ready to dive into this sweet and spooky creation? Let's get started!
Why Are Halloween Dirt Cups So Fun?
Easy Prep: With just a few simple ingredients, these no-bake treats can be whipped up quickly, making them perfect for last-minute gatherings.
Kid-Friendly Fun: Kids love both making and eating these spooky delights, which invites creativity—let them decorate their own cups!
Customizable: You can easily personalize the ingredients, swapping out cookies or toppings based on preferences.
Festive Presentation: The layered look not only tastes delicious but also adds a festive cheer to any table.
For a delicious twist, try serving alongside other treats like Strawberry Pretzel Salad, making your Halloween spread even more tempting!
Crowd-Pleaser: With their winning combination of flavors and textures, these cups will be the star of your spooky celebrations.
Halloween Dirt Cups Ingredients
• Dive into the delicious details of making Halloween Dirt Cups with these simple ingredients!
For the Pudding Layer
- Instant Chocolate Pudding Mix – This simplifies the recipe and provides a rich, chocolatey base.
- Milk – Essential for preparing the pudding; any milk variation works wonderfully.
- Cool Whip – Adds a light and creamy topping, making the dessert heavenly; it can be replaced with homemade whipped cream.
For the Crust
- Oreo Cookies – These create the chocolate crumb layer, perfect for mimicking dirt; substitute with any chocolate sandwich cookie you love.
For Decorating
- Milano Cookies – Use these as decorative "tombstones" on top of the cups; any cookie that can be decorated works too.
- Wilton Black Writing Icing – Perfect for detailing tombstones with “RIP,” or you can use melted chocolate for a different touch.
Fun Toppings
- Gummy Worms and Candy Pumpkins – These fun toppings tie the theme together; feel free to swap in your favorite Halloween candy for added creativity!
Embrace the spirit of the season with these ingredients and get ready to craft your very own Halloween Dirt Cups!
Step‑by‑Step Instructions for Halloween Dirt Cups
Step 1: Prepare the Pudding Mixture
In a mixing bowl, whisk together the instant chocolate pudding mix and 2 cups of cold milk until completely smooth, about 2 minutes. The mixture should thicken slightly. Once combined, cover the bowl with plastic wrap and refrigerate for about 10 minutes, allowing it to set and achieve a creamy texture perfect for your Halloween Dirt Cups.
Step 2: Fold in the Cool Whip
After the pudding has chilled, gently fold in an entire container of Cool Whip until fully combined. The Cool Whip adds a light, fluffy texture, making the dessert even more delightful. Once mixed well and evenly incorporated, return the bowl to the refrigerator for an additional 20 minutes, letting the flavors marry beautifully.
Step 3: Crush the Oreo Cookies
While the pudding and Cool Whip chill, take 10 Oreo cookies and crush them into fine crumbs using a food processor or by placing them in a resealable bag and using a rolling pin. You want the consistency to resemble dirt for your Halloween Dirt Cups. Set aside the crumbled cookies in a bowl, ready for layering.
Step 4: Layer the Dessert
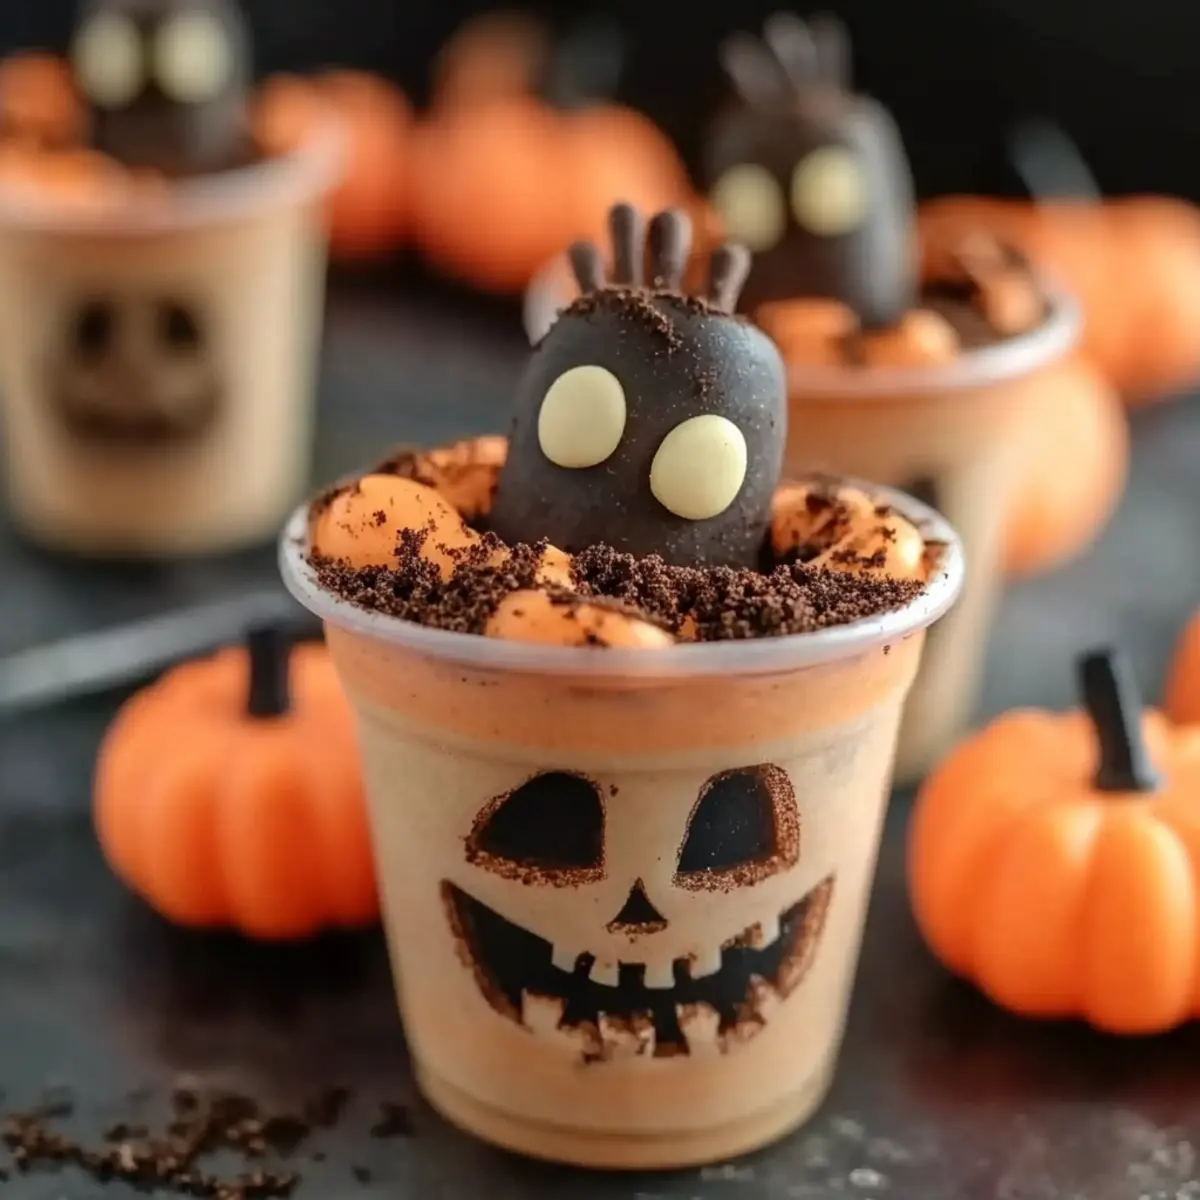
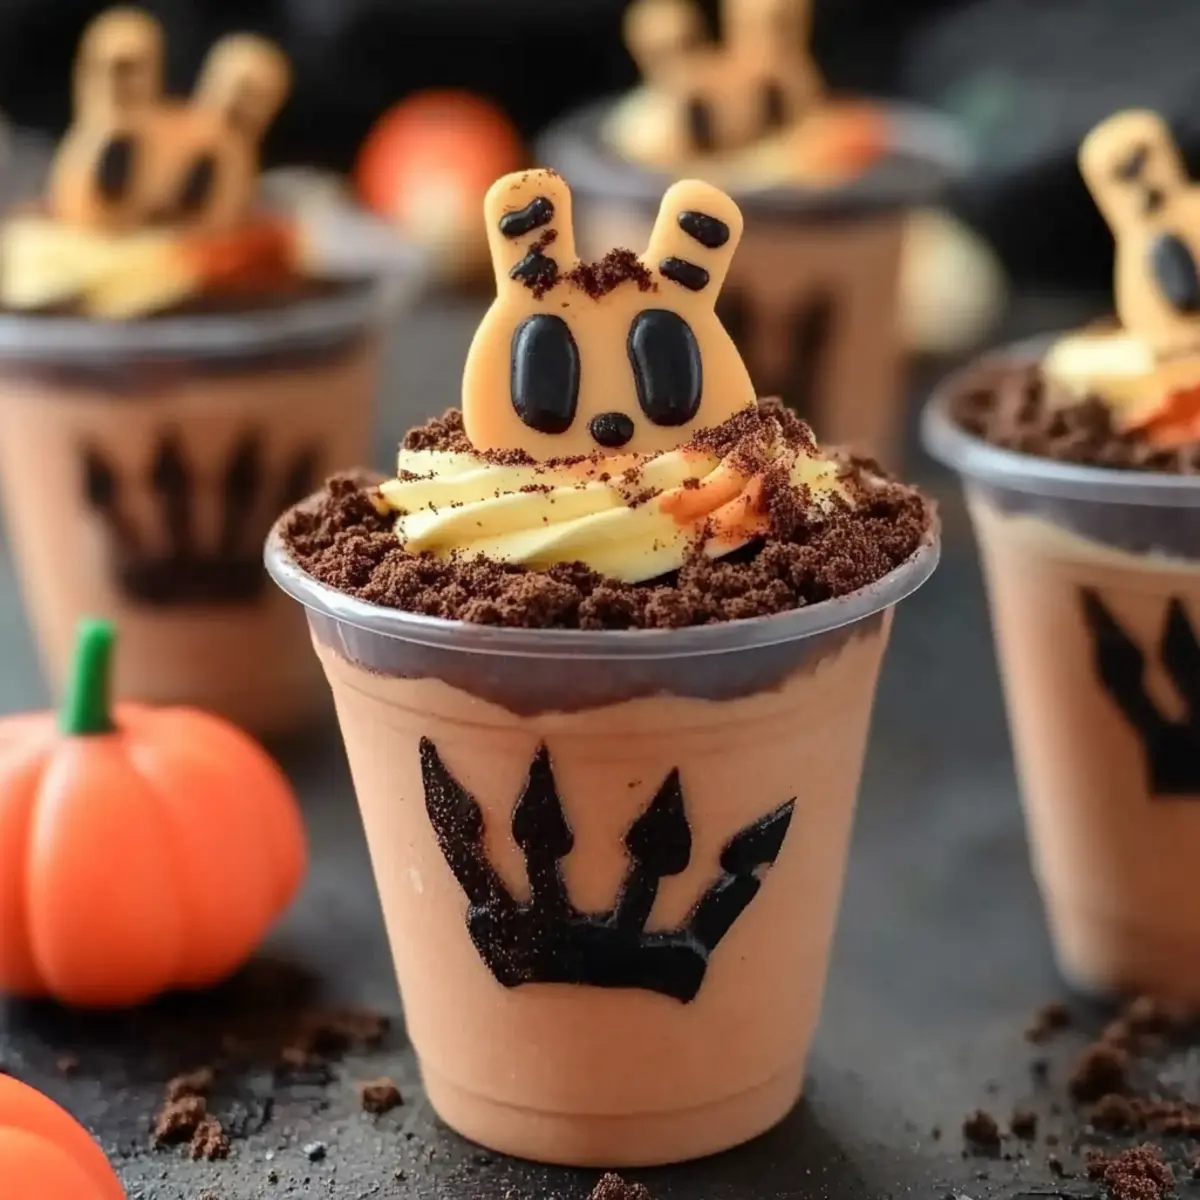
Begin constructing your Halloween Dirt Cups by spooning a layer of the chocolate pudding mixture into clear cups. Add a generous layer of the crushed Oreo cookies on top to mimic the appearance of soil. Repeat the layers until your cups are filled, finishing with another layer of cookie crumbs for that perfect spooky effect.
Step 5: Decorate the Cups
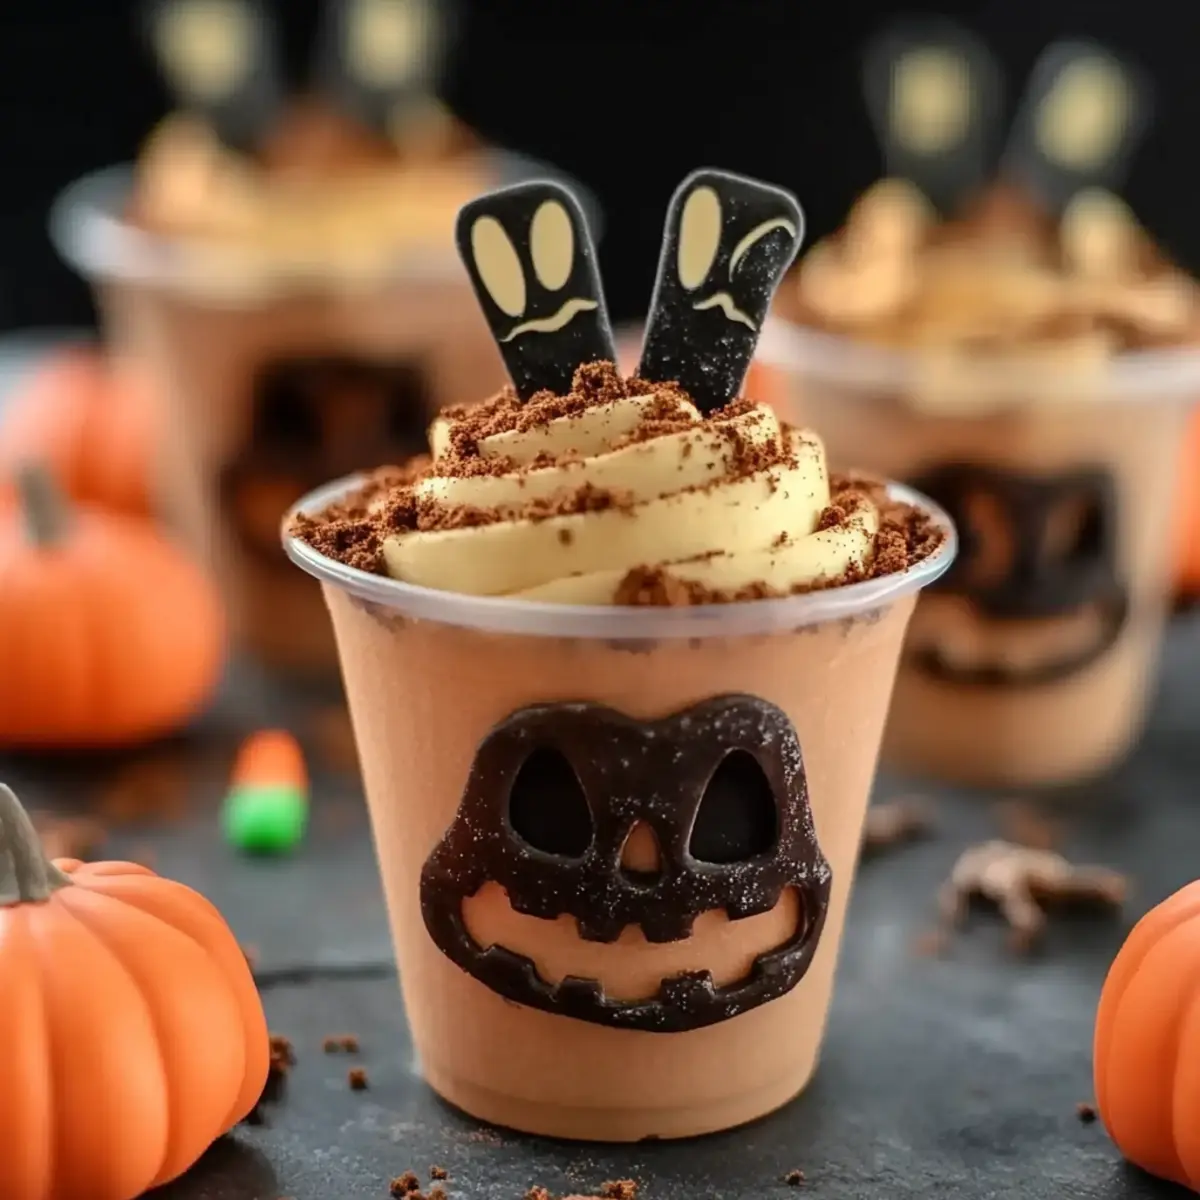
To finish, take a Milano cookie and use Wilton black writing icing to draw "RIP" on the front as if it were a tombstone. Place the decorated cookie gently on top of each cup. Add a few gummy worms and candy pumpkins around the cookie for a fun and festive touch, transforming your Halloween Dirt Cups into a delightful treat.
Step 6: Chill Before Serving
Once assembled, cover the cups with plastic wrap and refrigerate until you’re ready to serve. For the best presentation and to keep the decorations fresh, add the gummy worms and candy just before serving. These spooky treats can be stored for up to 3 days in the fridge, ready to impress your guests!
What to Serve with Halloween Dirt Cups
Get ready to delight your guests with a colorful spread that brings together the essence of Halloween!
- Crispy Brussels Sprouts: The crunchy texture and savory flavor balance the sweetness of the dirt cups beautifully.
- Pumpkin Soup: A warm, comforting bowl of pumpkin soup sets a cozy tone and complements the Halloween theme perfectly.
- Cheddar and Jalapeño Cornbread: This slightly spicy side brings a fun twist and pairs wonderfully with sweet treats like dirt cups for a dynamic flavor combo!
- Fruit Skeleton Platter: Fresh fruits carved into spooky shapes add a vibrant, healthy option that’s fun for kids and adults alike.
- Spooky Mocktails: Serve ghostly drinks like kiwi-lime spritzers, which are refreshing and visually captivating alongside your dessert.
- Chocolate-Covered Pretzels: These salty-sweet bites add a crunchy element that will leave your guests wanting more as they enjoy their dirt cups!
- Candy Apples: Dipped in caramel and draped in nuts, these festive treats echo the fun, playful theme of Halloween.
- Mini Pumpkin Pies: These adorable pies bring traditional flavors and a touch of nostalgia, making them a great end to your Halloween feast.
- Witch’s Brew Punch: A vibrant, fizzy beverage that’s not only refreshing but will captivate everyone’s imagination—perfect for your festive gathering!
Halloween Dirt Cups Variations & Substitutions
Unlock your creativity and add a personal touch to your delightful Halloween Dirt Cups with these fun variations!
-
Dairy-Free: Swap traditional pudding and Cool Whip with almond milk and coconut cream for a lactose-friendly version.
Using coconut cream adds a luscious creaminess while keeping the spooky vibes alive! -
Flavor Twist: Use butterscotch or vanilla pudding instead of chocolate for a different flavor profile entirely.
This simple change can brighten the dessert and surprise your taste buds with a sweet and buttery experience. -
Chocolate Mint: Replace Oreo cookies with chocolate mint cookies for a refreshing twist that pairs beautifully with chocolate pudding.
The minty goodness adds an extra layer of flavor that dances delightfully on your palate! -
Crunchy Add-Ins: Incorporate crushed nuts or granola in the layers for a satisfying crunch.
This unexpected texture can elevate your Halloween Dirt Cups and satisfy those crunch cravings! -
Spicy Kick: Mix in a pinch of cayenne pepper into the pudding for a shockingly delicious heat.
Balancing sweet and spicy can create a unique culinary experience that tickles your taste buds and livens the party! -
Fruity Fun: Top with gummy fruits or add a layer of fruit compote for a refreshing burst of flavor.
Layers of fruity goodness can not only enhance taste but also add a pop of color to your spooky creation! -
Caramel Drizzle: Finish your cups with a drizzle of caramel sauce for that sweet, sticky goodness everyone loves.
The caramel makes your dessert extra indulgent, turning each bite into a rich treat that’ll have everyone coming back for more! -
Nut-Free Option: Simply replace any nut-based ingredients with seeds or puffed rice to make this a nut-free delight.
With these substitutions, you can ensure that everyone can indulge in the fun without worry!
How to Store and Freeze Halloween Dirt Cups
Fridge: Keep assembled Halloween Dirt Cups in the refrigerator, covered, for up to 3 days. This preserves the creamy layers and crunchy cookie "dirt."
Airtight Container: If you have leftover pudding or cookie layers, store them separately in airtight containers. The pudding can last for 5 days, while cookie crumbs should be used within a week.
Freezer: Freezing isn't recommended for fully assembled cups due to texture changes; however, you can freeze the pudding and cookie layers separately. Thaw in the fridge before assembly.
Reheating: There’s no need to reheat Halloween Dirt Cups, as they are best enjoyed chilled right from the fridge, making them the perfect festive treat anytime!
Expert Tips for Halloween Dirt Cups
• Chill Time Matters: Ensuring that your pudding layer sets properly is key for achieving the perfect texture in your Halloween Dirt Cups.
• Layering Technique: For a visually appealing presentation, use clear cups to showcase those delightful layers of pudding and cookie "dirt."
• Timing Toppings: Avoid adding gummy worms or decorations until just before serving to keep them fresh and prevent sogginess.
• Creative Substitutions: Feel free to swap out Oreo cookies for any chocolate cookie you love to play with different flavors in your Halloween Dirt Cups!
• Kid Involvement: Allow children to help with assembling and decorating the cups—it's a fun way to get them engaged in the Halloween spirit!
• Serving Size Tip: Consider using mini cups for smaller portions; it’s a fun way to encourage tasting different desserts at your spooky gatherings!
Make Ahead Options
These Halloween Dirt Cups are perfect for meal prep enthusiasts looking to save time during the spooky season! You can prepare the pudding layer and crush the Oreo cookies up to 24 hours in advance, keeping them in separate airtight containers in the refrigerator to maintain freshness. When you're ready to serve, simply layer the pudding with the cookie crumbs and refrigerate for up to 3 days before the party. To keep the gummy worms and candy pumpkins from becoming soggy, hold off on adding these toppings until just before serving. With this prep approach, you’ll have quick and delightful treats ready to impress your guests!
Halloween Dirt Cups Recipe FAQs
How do I choose the right Oreo cookies for my Halloween Dirt Cups?
Absolutely! Regular Oreos work perfectly, but you can also opt for seasonal variations like Halloween-themed Oreos or even chocolate mint for a twist! The key is to ensure they’re fresh and crunchy to maintain that delightful “dirt” texture.
How should I store leftover Halloween Dirt Cups?
Keep your assembled Halloween Dirt Cups in the refrigerator, covered, for up to 3 days. This helps preserve the creamy layers and crunchy cookie top. If you have leftover components, like pudding or cookie crumbs, store those separately in airtight containers. Pudding can last for about 5 days, while the cookie crumbs are best used within a week.
Can I freeze Halloween Dirt Cups?
Freezing fully assembled Halloween Dirt Cups isn’t recommended as the texture will suffer. However, if you want to prepare in advance, you can freeze the pudding layer and cookie crumbs separately. For pudding, store it in an airtight container for up to 3 months. Thaw in the fridge, and assemble the cups when you’re ready to serve!
What if my pudding doesn’t thicken properly?
No worries! If your pudding mix doesn’t thicken after whisking with milk, try whisking for an extra minute or two. It should thicken fairly quickly. Ensure that you’re using the right amount of milk as per the package instructions. If needed, allow it to rest in the fridge a bit longer to achieve that creamy texture before mixing with Cool Whip.
Are there any dietary considerations for Halloween Dirt Cups?
Very! If you have allergies to dairy, you can substitute the milk with almond or oat milk, and use a dairy-free whipped topping. Additionally, make sure to check for gluten if you or any guests have gluten sensitivities, as Oreo cookies contain gluten. You can opt for a gluten-free chocolate cookie alternative to ensure everyone can indulge!
Spooktacular Halloween Dirt Cups: Easy, Fun No-Bake Treats
Ingredients
Equipment
Method
- In a mixing bowl, whisk together the instant chocolate pudding mix and 2 cups of cold milk until completely smooth.
- Gently fold in an entire container of Cool Whip until fully combined.
- Crush 10 Oreo cookies into fine crumbs using a food processor.
- Layer the chocolate pudding mixture and crushed Oreo cookies in clear cups.
- Decorate with a Milano cookie and add gummy worms and candy pumpkins.
- Cover with plastic wrap and refrigerate until ready to serve.
Leave a Reply