
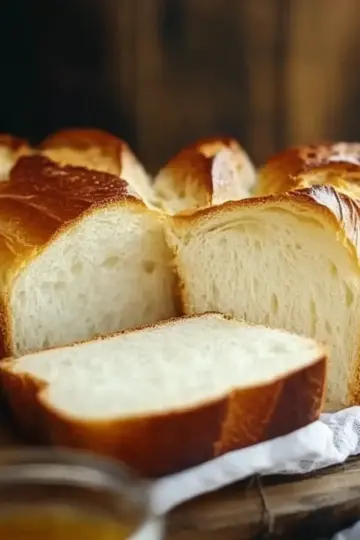
The sweet aroma of warm, freshly baked cookies can transform even the roughest day into something special. If you’re anything like me, those cozy moments in the kitchen are where magic happens, and today, I’m excited to share my cherished recipe for chocolate chip cookies. Not only are these cookies a nostalgic comfort food, but they’re also a crowd-pleaser that comes together in just 25 minutes! Imagine serving up a plate of gooey, chocolatey goodness that will have your loved ones rushing for seconds — there’s nothing quite like it. Plus, they freeze wonderfully, making them perfect for those spontaneous cravings. So, are you ready to dive into the delightful world of cookie-baking? Let’s get started!
What makes these cookies irresistible?
Quick and Easy: With just 15 minutes of prep time, this recipe is a breeze, perfect for busy weekdays or surprise guests.
Melt-in-Your-Mouth Goodness: These chewy, gooey cookies deliver rich chocolate flavor in each bite, making them a favorite among kids and adults alike.
Customizable: Add your favorite nuts or swap in different chocolate types for a unique twist each time.
Baking Ahead: Freeze a batch for later; they bake up beautifully from the freezer, so you can always have a warm treat on hand!
Crowd-Pleasing Delight: These cookies are perfect for parties, festive gatherings, or just a cozy night in. Get ready for compliments and requests for the recipe!
Chocolate Chip Cookie Ingredients
• Here’s everything you need to whip up these scrumptious cookies!
For the Dough
- Unsalted butter – this softens beautifully for that perfect creamy texture.
- Granulated sugar – adds sweetness and helps create that light, fluffy dome.
- Brown sugar – packed for a rich, caramel-like flavor and chewier texture.
- Vanilla extract – a splash brings warmth and depth to the flavor profile.
- Large eggs – essential for binding and moisture; feel free to use flax eggs for a vegan version!
- All-purpose flour – the backbone of the dough; don’t forget to spoon it lightly into the measuring cup.
- Baking soda – provides the lift needed for that soft, tender bite.
- Salt – just a pinch enhances all those delicious flavors.
- Semi-sweet chocolate chips – the star of the show, delivering that gooey, chocolatey bliss.
Optional Mix-ins
- Nuts (walnuts or pecans) – add crunch and extra flavor; a great choice for a heartier cookie.
- Milk chocolate chips – for a sweeter take, substitute half of the semi-sweet chips for a delightful twist.
Step‑by‑Step Instructions for Chocolate Chip Cookies
Step 1: Preheat the Oven
Begin your journey to homemade chocolate chip cookies by preheating your oven to 375°F (190°C). This important first step ensures that your cookies will bake evenly, creating that delightful golden edge we all love. While the oven warms up, gather your baking sheets and line them with parchment paper to make for easy cookie removal later.
Step 2: Cream the Butter and Sugars
In a large mixing bowl, combine 1 cup of softened unsalted butter, ¾ cup of granulated sugar, and ¾ cup of packed brown sugar. Using a hand mixer or a sturdy spatula, cream these ingredients together until they are smooth and creamy, which usually takes about 2-3 minutes. The mixture should be light and fluffy, with a lovely pale color that sets the stage for your delicious cookie dough.
Step 3: Add the Eggs and Vanilla
Next, crack in 2 large eggs one at a time, mixing thoroughly after each addition to ensure they are fully incorporated. Follow this with stirring in 1 teaspoon of vanilla extract. The batter will become richer and more aromatic, filling your kitchen with a warm scent that speaks of freshly baked cookies. Continue mixing until everything is well combined.
Step 4: Combine Dry Ingredients
In a separate bowl, whisk together 2 ¼ cups of all-purpose flour, 1 teaspoon of baking soda, and ½ teaspoon of salt. This helps even out the baking soda and salt throughout the flour. Gradually add this dry mixture into the wet ingredients, folding it in gently with a spatula or wooden spoon. Mix until just combined; be careful not to overmix, as we want our chocolate chip cookies to stay tender and chewy.
Step 5: Fold in the Chocolate Chips
Now for the best part! Gently fold in 2 cups of semi-sweet chocolate chips into your cookie dough. This will create pockets of gooey chocolate goodness in every bite. Make sure the chips are evenly distributed throughout the dough for a perfect chocolatey delight with every cookie.
Step 6: Prepare to Bake
Using a rounded tablespoon, scoop the cookie dough and drop it onto ungreased baking sheets, leaving about 2 inches of space between each cookie for them to spread while baking. This spacing is crucial for achieving those perfectly shaped chocolate chip cookies without them merging into each other.
Step 7: Bake the Cookies
Place the baking sheets in your preheated oven and allow the cookies to bake for 9 to 11 minutes. You’ll know they’re ready when the edges are golden brown but the centers still look slightly soft; they will firm up as they cool. Keep an eye on them, as ovens can vary!
Step 8: Cool and Enjoy
Remove the baking sheets from the oven and let the cookies cool on the sheets for a few minutes—this will help them set. After about 5 minutes, carefully transfer them to wire racks to cool completely. Watching your homemade chocolate chip cookies cool is almost as satisfying as indulging in them – get ready for that delightful warm treat!
Expert Tips for Chocolate Chip Cookies
-
Butter Temperature: Start with softened butter, not melted. This ensures your cookies maintain their shape and achieve that perfect chewy texture.
-
Measure Flour Properly: Spoon flour into your measuring cup rather than scooping it. This prevents packed flour, which can lead to dry cookies—nobody wants that!
-
Don’t Overmix: Once you combine the wet and dry ingredients, mix until just combined. Overmixing can create tough cookies instead of the desired tender ones.
-
Chocolate Chip Choice: Use a mix of semi-sweet and milk chocolate chips for extra richness. The blend will delight any chocolate lover!
-
Cooling Time: Allow the cookies to cool on the baking sheet before transferring them to wire racks. This helps maintain their shape and ensures a perfect bite!
-
Freezing Tips: Freeze extra cookie dough in individual scoops for quick baking later. Just bake straight from the freezer, adjusting the time by a few minutes!
Make Ahead Options
These chocolate chip cookies are a fantastic choice for busy home cooks looking to streamline their baking! You can prepare the dough up to 24 hours in advance; simply mix the ingredients as directed and refrigerate the dough, tightly wrapped in plastic wrap to prevent it from drying out. Alternatively, you can scoop individual cookie portions onto baking sheets, freeze them until solid, then transfer them to an airtight container to store for up to 3 months. When you're ready to bake, just add a couple of extra minutes to the baking time if baking from frozen, and enjoy warm, gooey cookies that are just as delightful as freshly made — perfect for satisfying those spontaneous cravings!
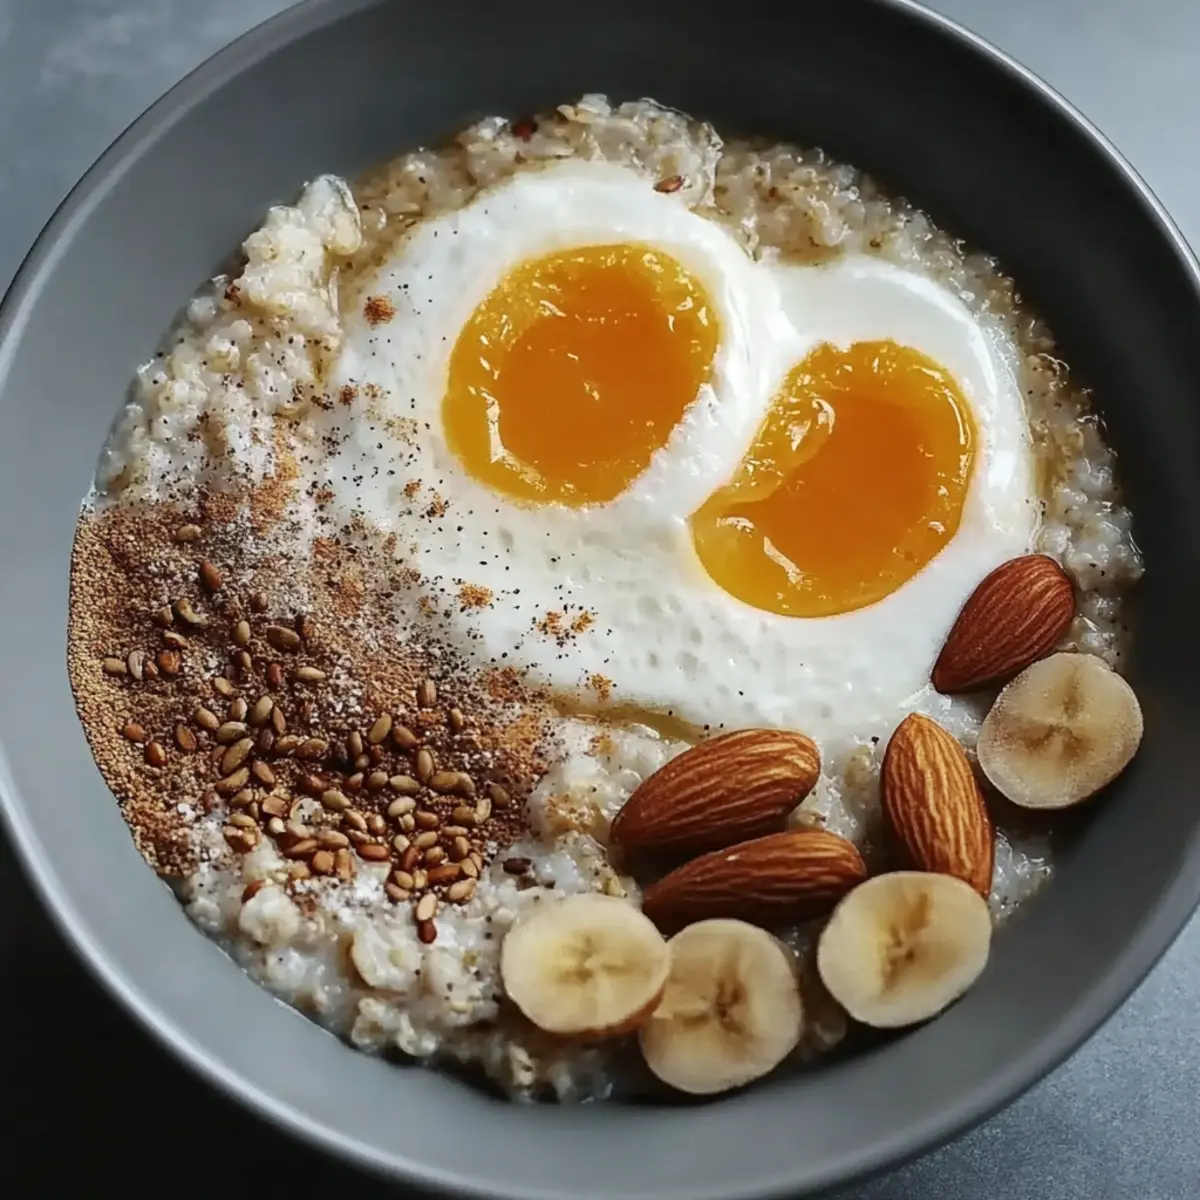
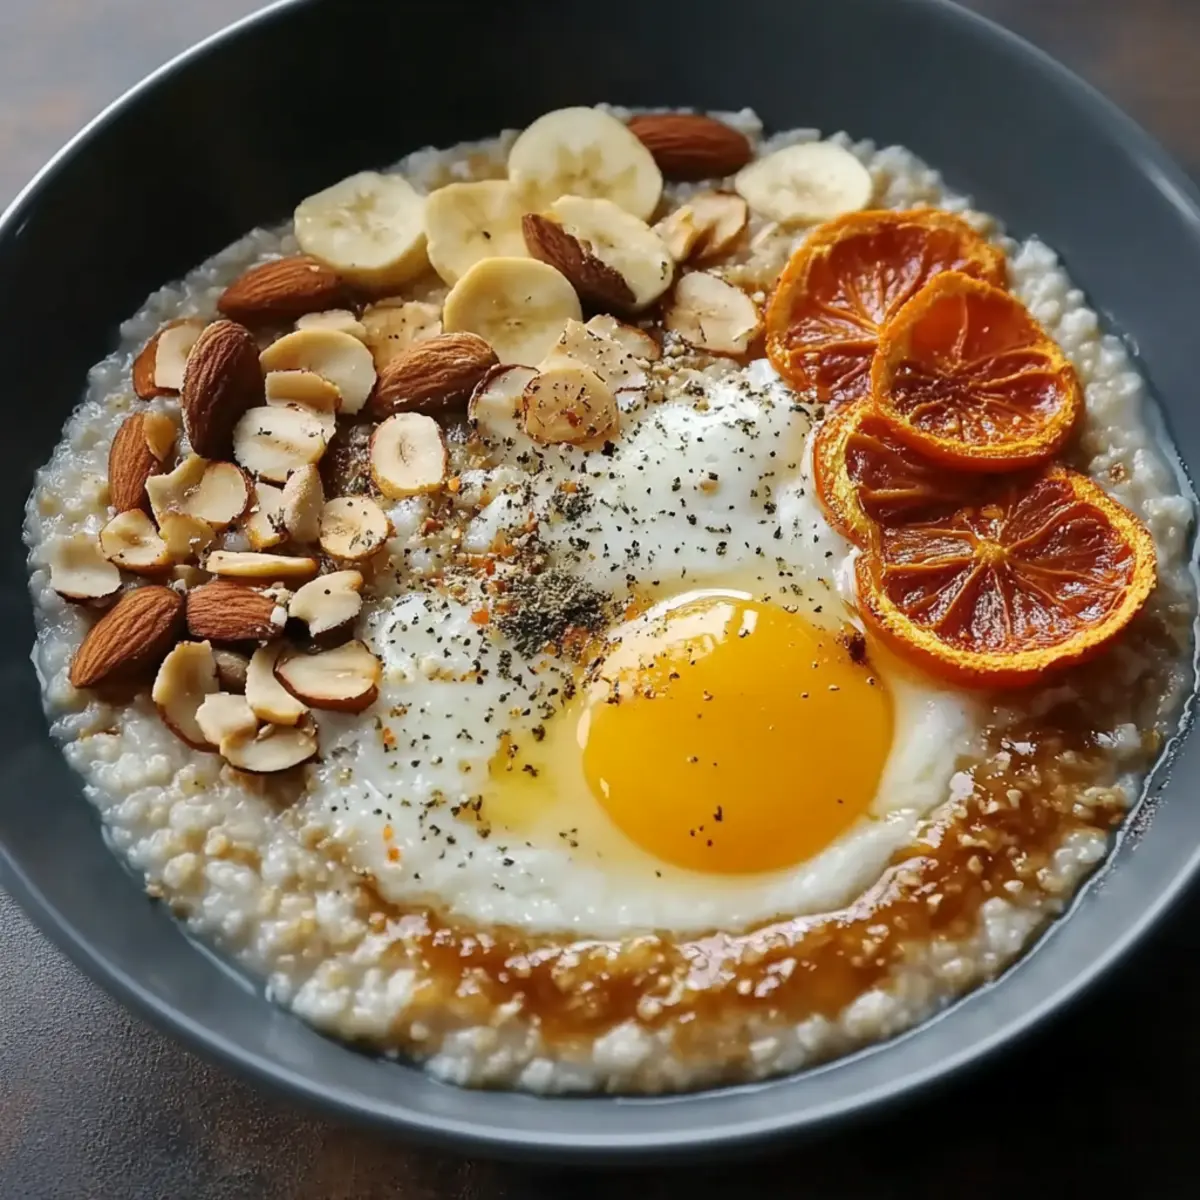
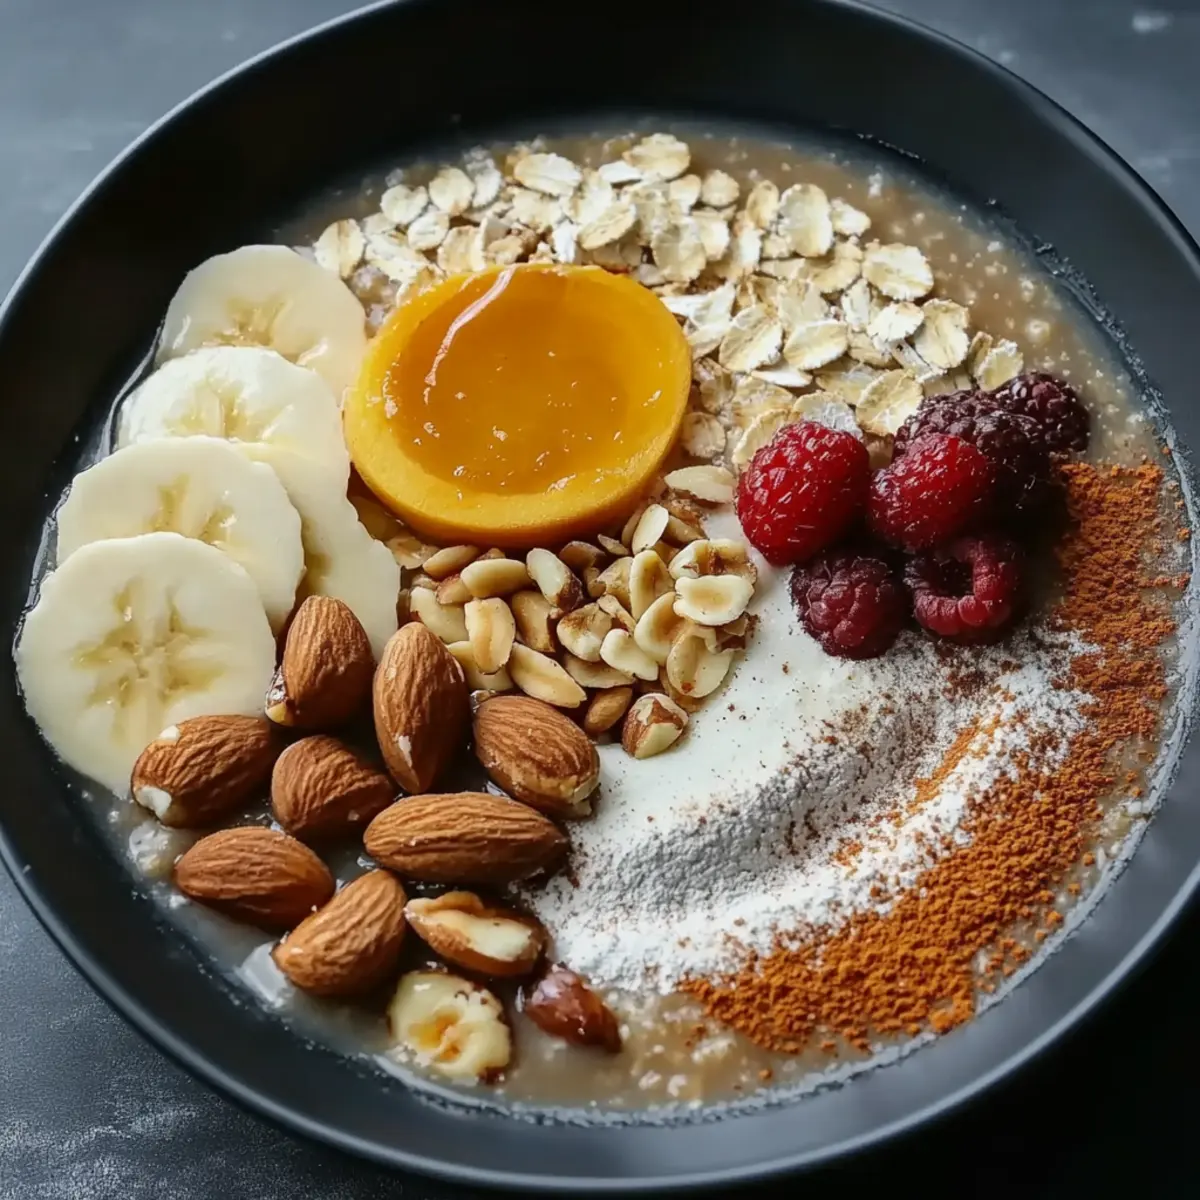
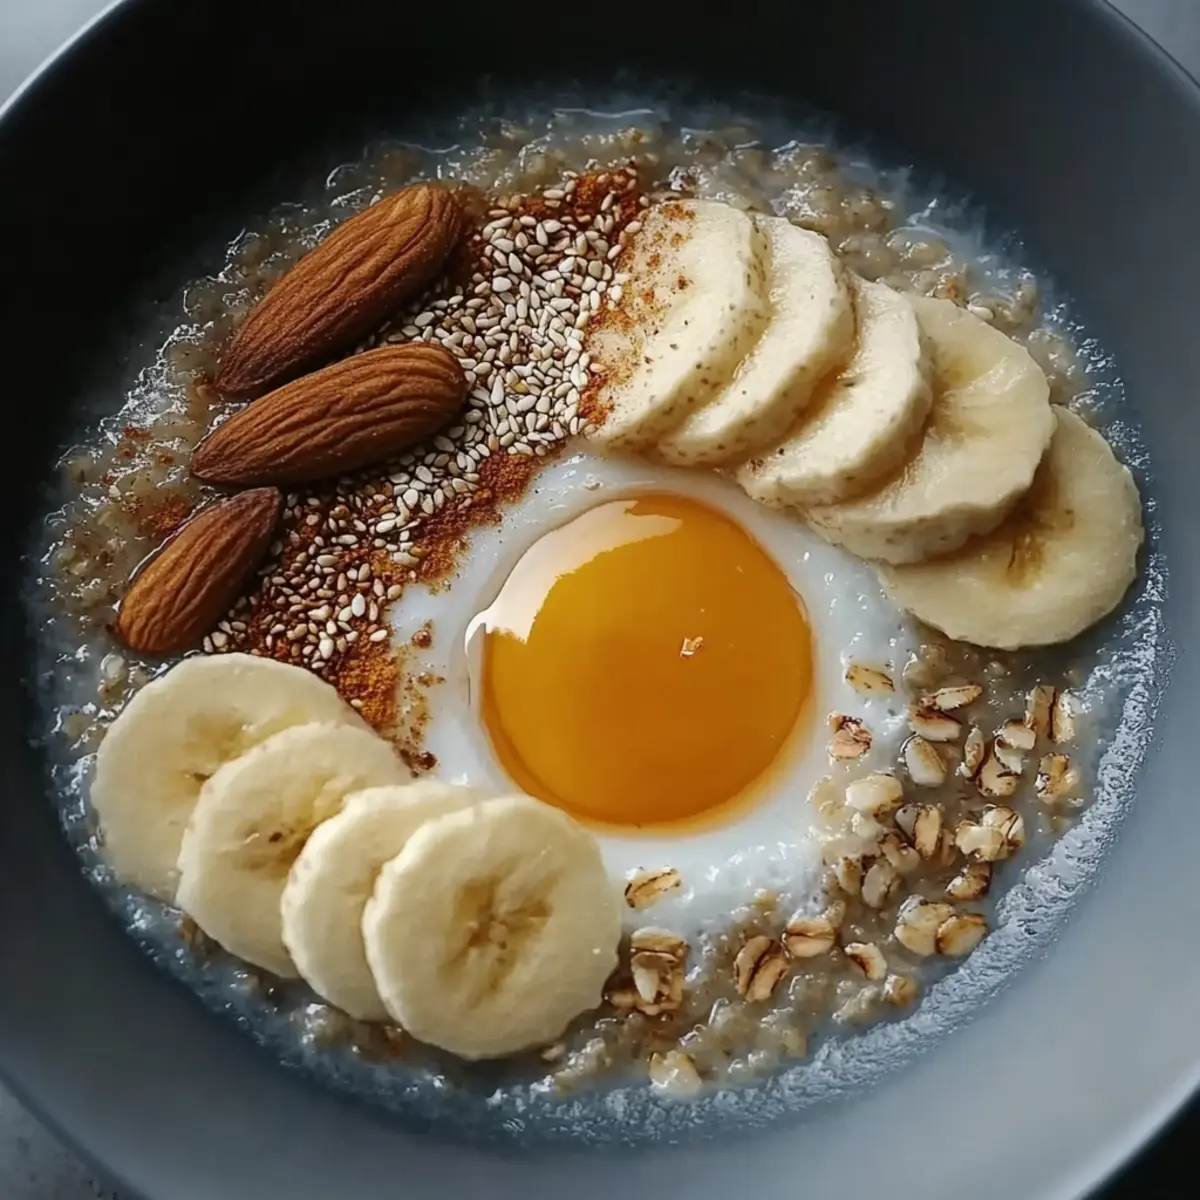
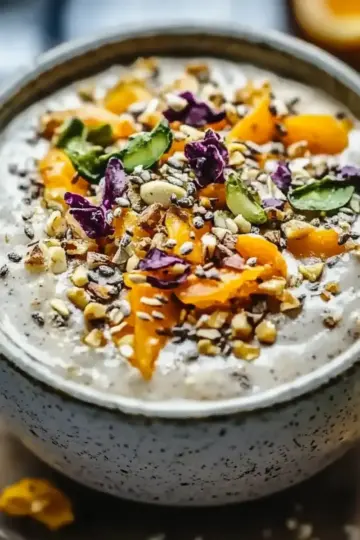
High-Protein Healthy Breakfast Variations
Feel free to make these high-protein healthy breakfast ideas your own and indulge your senses with unique twists!
-
Greek Yogurt: Swap out traditional yogurt for Greek yogurt to boost protein and creaminess, perfect for a filling start to your day.
-
Egg Whites: For a lighter option, substitute whole eggs with egg whites in your morning scramble. You’ll still get that satisfying fluffiness without the extra fat.
-
Cottage Cheese: Use cottage cheese as a spread on whole-grain toast for a protein-packed base, topped with sliced tomatoes or fresh herbs.
-
Nut Butters: Slather almond or peanut butter on your toast instead of butter for a nutty flavor and healthy fat, which complements fruit beautifully!
-
Chia Seeds: Add chia seeds to smoothies or oatmeal for a satisfying texture and an extra protein punch, transforming your meals into energy-packed delights.
-
Quinoa: Swap traditional grains for quinoa in your breakfast bowls; this ancient grain offers a nutty flavor and is rich in protein to keep you full longer.
-
Protein Powder: Blend a scoop of your favorite protein powder into smoothies or oatmeal to supercharge your morning with an extra boost.
Whether you’re whipping up a quick breakfast or indulging in a leisurely morning, these variations enhance that loving, nourishing feeling while starting the day right! If you’re looking for more tips on delicious breakfast ideas, check out our guide on creative breakfast combinations.
How to Store and Freeze Chocolate Chip Cookies
Room Temperature: Keep your cookies in an airtight container for up to 3 days to maintain freshness and chewiness. A layer of parchment paper between layers can help prevent sticking.
Fridge: If you want to store them longer, place the cookies in the fridge, where they can last up to 1 week. Ensure they’re in a sealed container to prevent them from absorbing other flavors.
Freezer: For even longer storage, freeze the cookies in a single layer on a baking sheet until solid, then transfer them to a freezer-safe bag. They’ll stay fresh for up to 3 months!
Reheating: To enjoy frozen chocolate chip cookies, preheat your oven to 350°F (175°C) and bake for 5-8 minutes straight from the freezer for that freshly-baked warmth again.
What to Serve with Chocolate Chip Cookies?
Imagine blissful bites of warm cookies paired with comforting sides that create the ultimate dessert experience.
-
Vanilla Ice Cream: A classic choice that adds creamy goodness, balancing the sweetness of the cookies excellently. The cold, smooth texture complements the warm, gooey chocolate perfectly.
-
Homemade Hot Chocolate: Rich and velvety hot chocolate drizzled with whipped cream elevates your cookie enjoyment to new heights, making each dunk irresistible!
-
Fresh Berries: Juicy strawberries or raspberries offer a tart contrast that brightens the rich flavors of chocolate, adding freshness to your plate.
-
Milk: A simple glass of chilled milk provides the perfect dunking experience that enhances each bite of chocolatey delight. It's nostalgic and satisfying!
-
Nutty Granola: Crunchy, homemade granola adds texture that contrasts beautifully with the softness of the cookies. It’s a delightful choice for a snack spread!
-
Coffee or Espresso: The bold flavors of coffee enhance the chocolate in the cookies, making it a sophisticated pairing for adults looking for a cozy treat.
-
Chocolate Fondue: For those extra special moments, serve a chocolate fondue alongside for a fun, interactive dessert experience — the ultimate indulgence!
-
Caramel Sauce: Drizzle warm caramel over your cookies for an extra layer of sweetness and decadence that will have everyone coming back for more.
-
Yogurt Parfait: A light, layered yogurt parfait with fruit and granola makes for a refreshing contrast that will complement your cookie feast perfectly!
Warm up your kitchen and inspire smiles with these delicious pairings!
Chocolate Chip Cookies Recipe FAQs
What type of butter should I use for the cookies?
Absolutely! For optimal results, use unsalted butter that is softened to room temperature. This provides the perfect creamy texture and helps to maintain the shape and chewiness of the cookies. Avoid melted butter, as it can lead to flat cookies instead of the wonderfully thick ones we all love.
How do I know when my cookies are perfectly baked?
Very! Observe the edges of the cookies—the perfect sign is when they turn golden brown, but the centers should still appear slightly soft. Remember, they will continue to set as they cool, so don’t worry if they look a bit underbaked. Keep an eye on them during the last few minutes, as oven temperatures can vary!
What’s the best way to store leftover cookies?
I recommend storing your chocolate chip cookies in an airtight container at room temperature for up to 3 days. If you want to keep them fresher for longer, store them in the fridge for about 1 week. Just be sure to use a sealed container to prevent them from absorbing any unwanted flavors.
Can I freeze the cookie dough?
Absolutely! To freeze the cookie dough, scoop it into rounded tablespoon portions on a baking sheet lined with parchment paper. Freeze until solid, then transfer the cookie dough balls to a freezer-safe bag. They can be kept for up to 3 months. When you’re ready to bake, simply preheat your oven and bake straight from the freezer, just adding a couple of extra minutes to the cooking time.
Are there any common problems while baking these cookies?
Very! One common issue is cookies spreading too much during baking. This can happen if the dough is too warm. Make sure your butter is softened rather than melted, and if needed, chill the dough for about 30 minutes before scooping it onto the baking sheets. Another tip is to measure your flour correctly—spooning it into the measuring cup rather than scooping can prevent dry cookies.
Can these cookies be made vegan or gluten-free?
Absolutely! If you’re looking for a vegan version, replace the eggs with flax eggs (1 tablespoon flaxseed meal mixed with 2.5 tablespoons water per egg) and choose a dairy-free chocolate chip. For a gluten-free option, use a 1:1 gluten-free baking flour substitute. Adjustments in baking time may be needed, so keep an eye on those magical baking moments!
Start Your Day Right with High-Protein Healthy Breakfast Ideas
Ingredients
Equipment
Method
- Preheat your oven to 375°F (190°C) and line baking sheets with parchment paper.
- In a large mixing bowl, cream together 1 cup of softened unsalted butter, ¾ cup of granulated sugar, and ¾ cup of packed brown sugar until smooth.
- Add in 2 large eggs one at a time, mixing thoroughly followed by 1 teaspoon of vanilla extract.
- In a separate bowl, whisk together 2 ¼ cups of all-purpose flour, 1 teaspoon of baking soda, and ½ teaspoon of salt, then gradually fold into the wet mixture.
- Gently fold in 2 cups of semi-sweet chocolate chips.
- Scoop the dough onto ungreased baking sheets, leaving about 2 inches between each cookie.
- Bake for 9 to 11 minutes until edges are golden; the centers should look slightly soft.
- Let cool on the sheets for a few minutes before transferring to wire racks.


Leave a Reply