
As I whisked together melted chocolate and cream, sparks of joy ignited—I realized I was creating something special. This Chocolate Hazelnut Cake Filling has become a cherished secret in my kitchen, offering a delightful blend of flavors that elevate even the simplest desserts. With just 15 minutes of prep time, it's an incredible crowd-pleaser that can transform anything from layer cakes to casual toast. Plus, the richness from the hazelnuts adds a unique twist that everyone will love, making it perfect for any occasion. What will you use this delightful filling for first—cakes, fruits, or perhaps a new creation of your own?
Why is this Chocolate Hazelnut Filling unforgettable?
Simplicity: This recipe promises deliciousness with just a few simple steps, making it perfect for home cooks and busy chefs alike.
Irresistible Flavor: The combination of rich chocolate and crunchy hazelnuts creates a luxurious filling that’s sure to impress your guests.
Versatile Use: Whether you're layering it in cakes or spreading it on toast, this filling offers endless options for creativity, making it a kitchen staple.
Crowd-Pleaser: With its delightful taste and texture, this Chocolate Hazelnut Cake Filling is bound to be a hit at any gathering, making you the star of the show.
Time-Saving: Whip it up in just 15 minutes, allowing you more time to enjoy delicious treats, or check out options for a dairy-free version to cater to different diets!
Chocolate Hazelnut Cake Filling Ingredients
For the Filling
• Melted chocolate – choose bittersweet or semisweet for a deeper flavor profile.
• Heavy cream – brings a rich texture; for a dairy-free option, use coconut cream instead.
• Unsalted butter – softened to ensure smooth blending with the other ingredients.
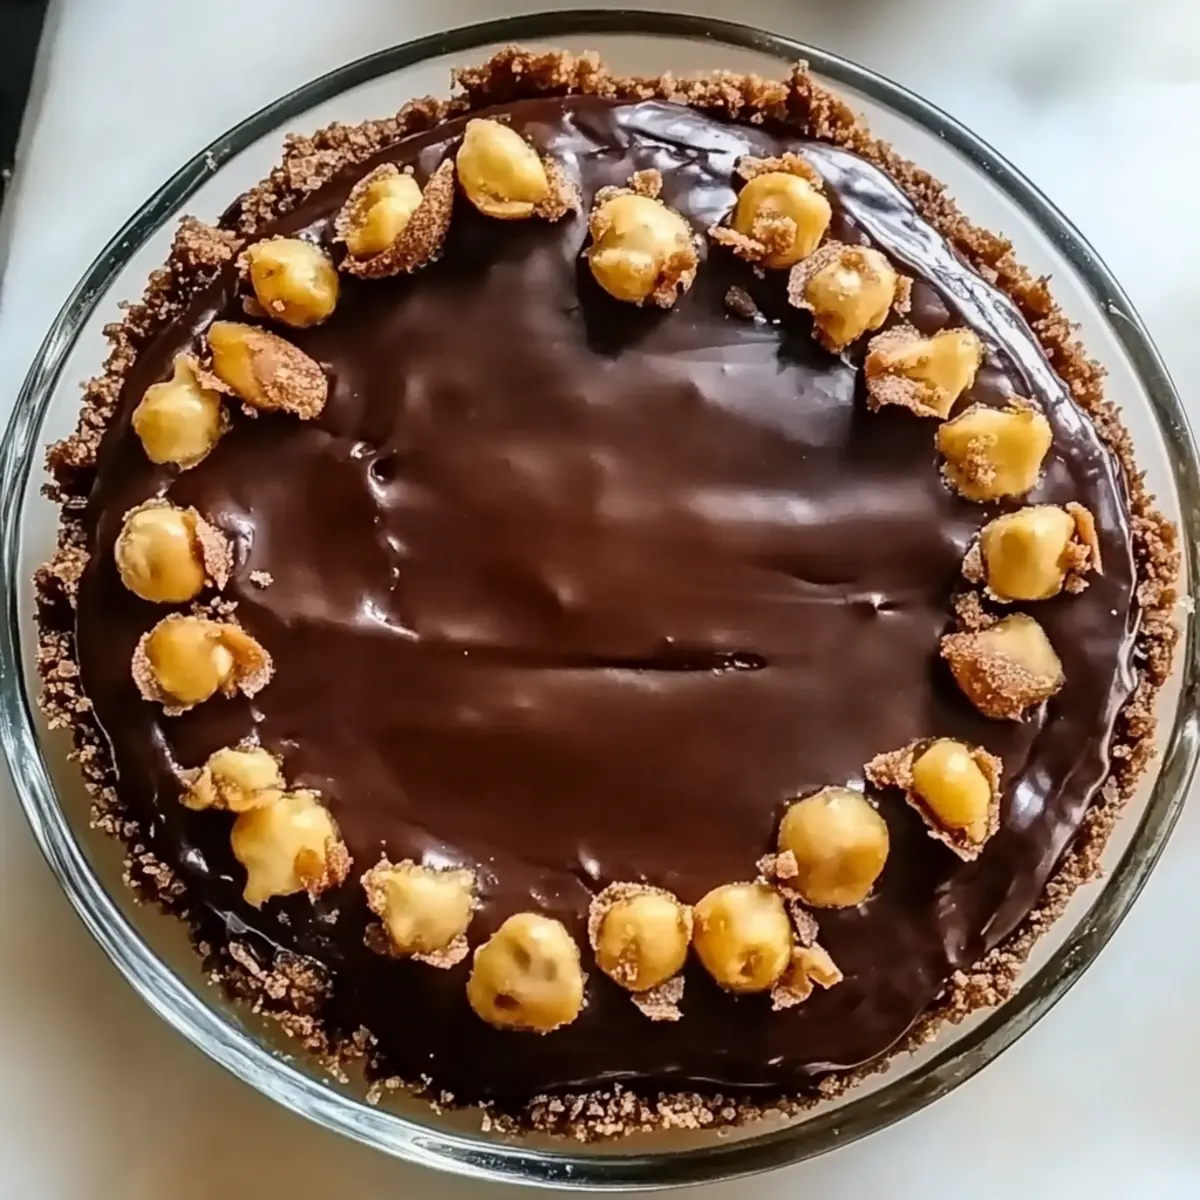
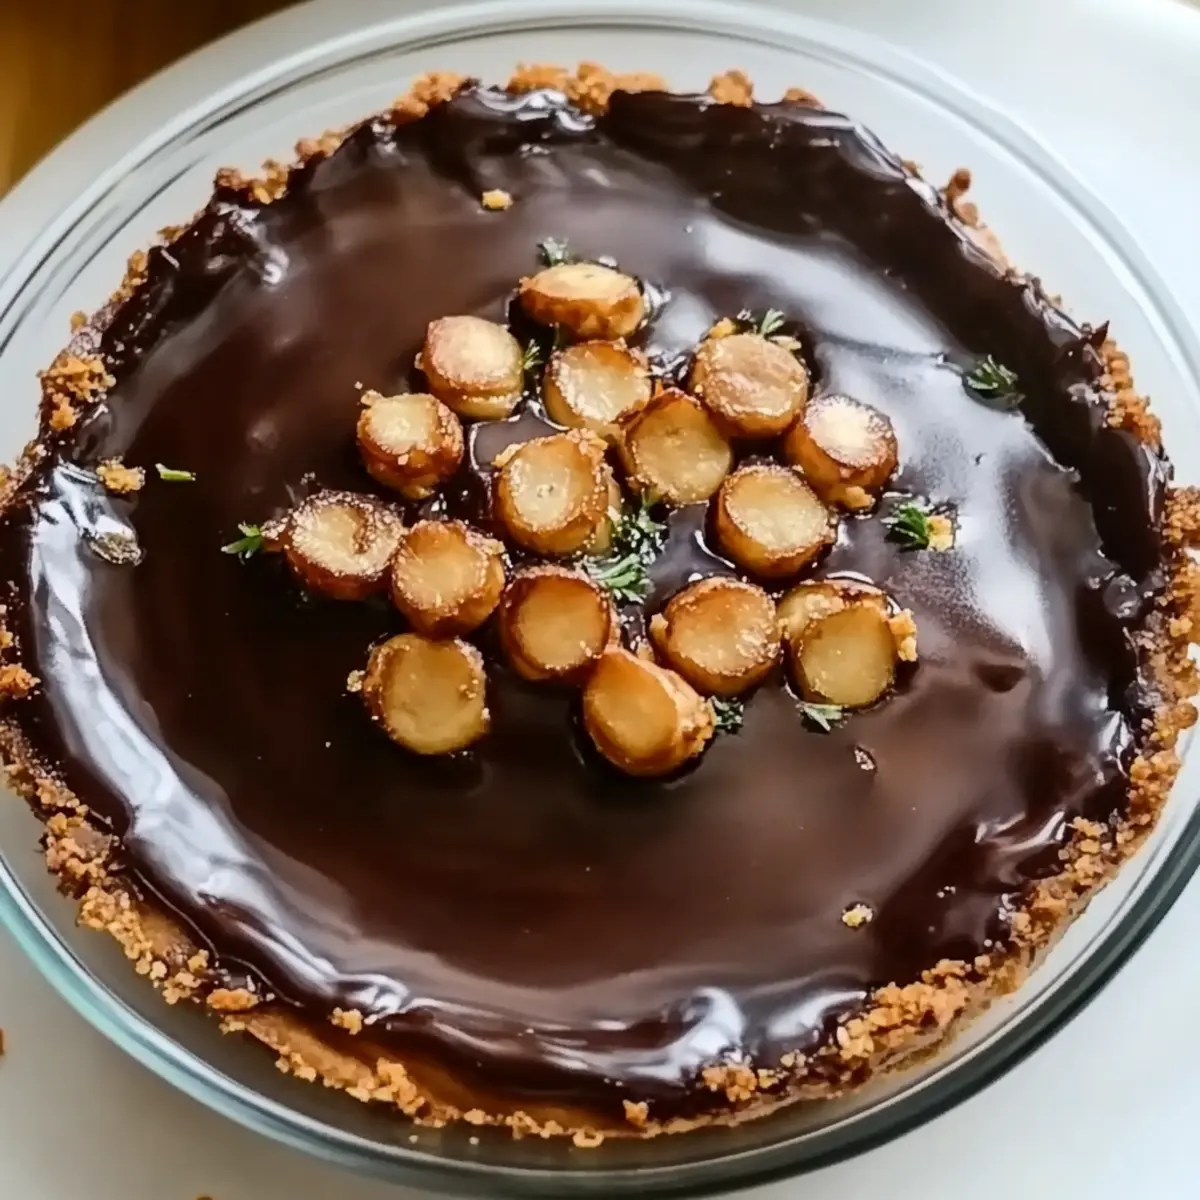
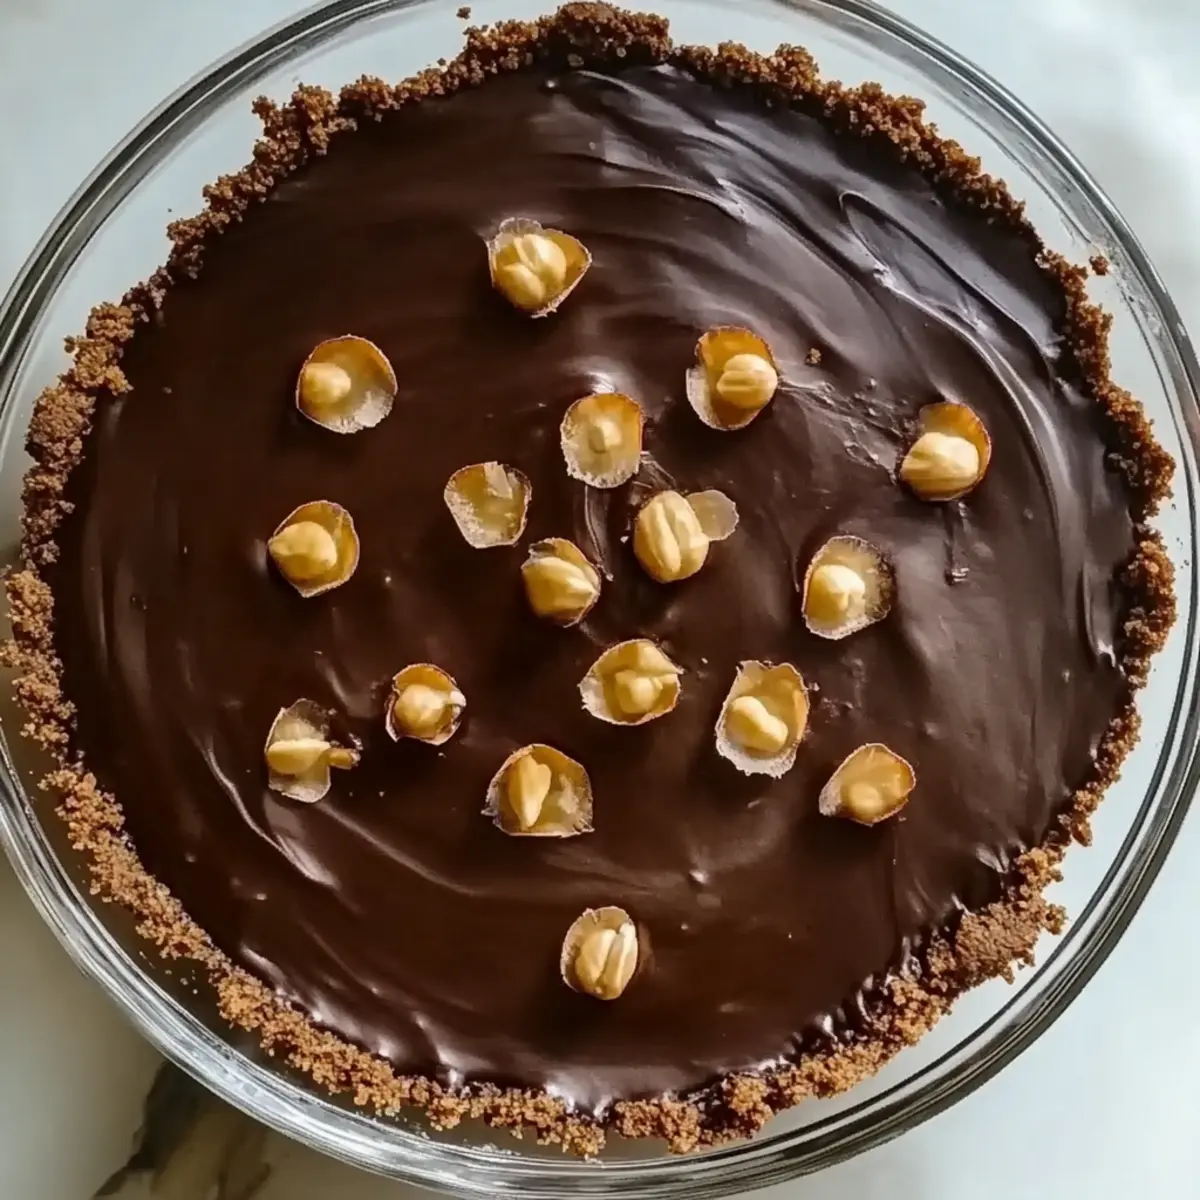
• Toasted hazelnuts – add a delightful crunch and nuttiness; chop them finely for even distribution.
Step‑by‑Step Instructions for Chocolate Hazelnut Cake Filling
Step 1: Gather Ingredients
Start by gathering all your ingredients: 1 cup of melted chocolate, 1 cup of heavy cream, ½ cup of softened unsalted butter, and ½ cup of chopped toasted hazelnuts. Make sure the chocolate is melted and slightly cooled, as this will prevent the butter from melting too quickly. Prepare a large mixing bowl and your whisk for smooth blending.
Step 2: Mix Chocolate Mixture
In the mixing bowl, combine the melted chocolate, heavy cream, and softened butter. Using your whisk, mix these ingredients together vigorously for about 2–3 minutes until the mixture is smooth and creamy. You should see a rich, glossy texture developing as the butter blends seamlessly into the chocolate mixture, indicating you're on the right track to making a delightful Chocolate Hazelnut Cake Filling.
Step 3: Incorporate Hazelnuts
Once your chocolate mixture is perfectly smooth, fold in the chopped toasted hazelnuts. Gently stir using a spatula for about a minute, ensuring that the hazelnuts are evenly distributed throughout the filling. You’ll start to see the delightful bits of hazelnuts peeking out in the creamy chocolate—this adds both texture and a burst of flavor to your filling.
Step 4: Cool the Mixture
Allow the chocolate hazelnut filling to cool at room temperature for about 15 minutes. This cooling period helps the filling thicken up, becoming spreadable without being too runny. Keep an eye on it, and you should notice a noticeable change in texture as it begins to set and firm up.
Step 5: Check Consistency
After 15 minutes, check the consistency of your filling. It should be thick yet still spreadable—perfect for layering in your favorite cakes or spreading on toast. If it feels too soft, you can refrigerate it for an additional 10-15 minutes to hasten the thickening process while moving it around occasionally for even cooling.
Step 6: Use or Store
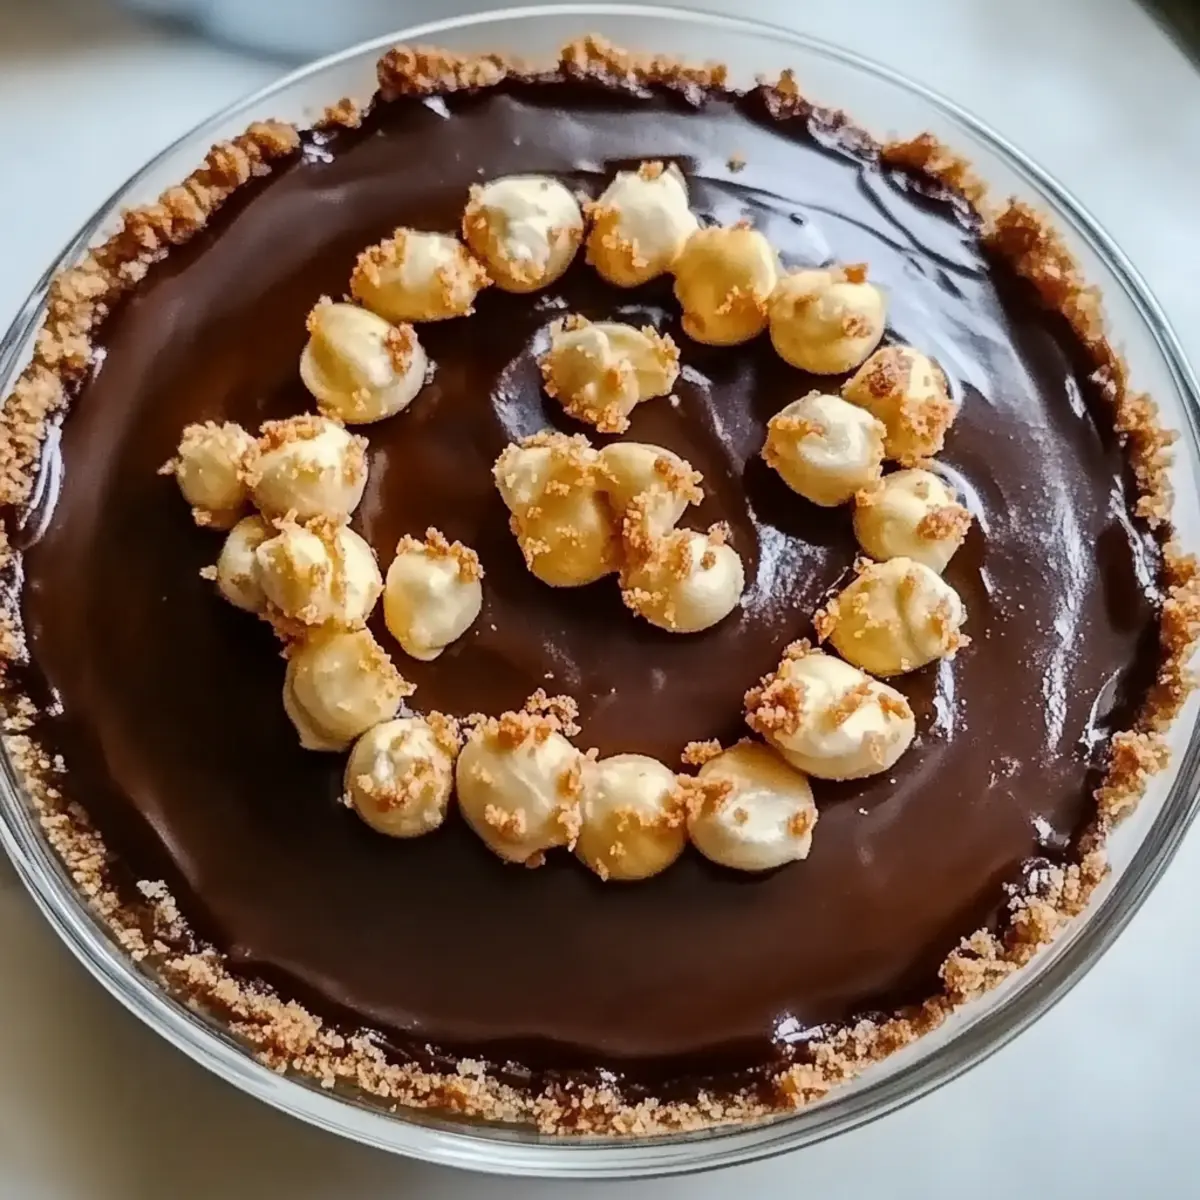
Finally, once your Chocolate Hazelnut Cake Filling has reached the desired consistency, use it as needed for layer cakes, dip fruits, or spread on toast for an indulgent treat. If you have leftovers, transfer them to an airtight container and refrigerate, where it will keep well for up to a week, allowing you to enjoy this delicious filling more than once!
Storage Tips for Chocolate Hazelnut Cake Filling
Fridge: Store the Chocolate Hazelnut Cake Filling in an airtight container in the refrigerator for up to 1 week. This keeps it creamy while preventing it from absorbing odors.
Freezer: For longer storage, freeze the filling in a freezer-safe container for up to 3 months. When ready to use, thaw it overnight in the fridge and re-whip for a smoother consistency.
Room Temperature: If you plan to use it immediately, let the filling sit at room temperature for about 15 minutes to soften, ensuring a perfect spreadable texture.
Reheating: If necessary, gently reheat the filling in a microwave at low power in short intervals, stirring frequently, until it reaches your desired consistency.
Expert Tips for Chocolate Hazelnut Cake Filling
Perfect Chocolate: Always use high-quality bittersweet or semisweet chocolate; it makes a significant difference in flavor and richness of the filling.
Room Temperature Butter: Make sure your butter is softened but not melted, as this ensures a creamy and smooth mixture without any lumps.
Don’t Overmix: When incorporating hazelnuts, gently fold them in rather than whisking, which keeps the texture light and airy in your Chocolate Hazelnut Cake Filling.
Cooling Time: Be patient during the cooling phase; a proper thicken will ensure your filling holds up beautifully in layer cakes, preventing any messy spills.
Storage Tips: Store in an airtight container and avoid exposing it to air to maintain its creamy texture. Freeze for long-term storage and simply thaw to use later!
What to Serve with Chocolate Hazelnut Cake Filling
Elevate your dessert game with these delightful pairings that complement the richness of chocolate hazelnut filling.
-
Fluffy Vanilla Cake: A light, airy cake balances the rich chocolate flavor, making every bite a heavenly experience.
-
Fresh Berries: Strawberries and raspberries add a tart contrast, brightening up the indulgent filling and adding a pop of color.
-
Crunchy Biscotti: These delightful cookies offer a satisfying crunch, perfect for dipping into the smooth chocolate hazelnut filling for a delightful treat.
-
Rich Espresso: A cup of dark espresso enhances the filling's chocolate notes, creating a wonderful harmony of flavors that’s perfect for coffee lovers.
-
Creamy Ice Cream: A scoop of vanilla or hazelnut ice cream provides a cool, creamy texture, merging beautifully with the decadent filling.
-
Chocolate Ganache: Drizzled atop or alongside, ganache can elevate the richness without overwhelming it, perfect for true chocolate aficionados.
-
Banana Slices: Soft banana slices can add natural sweetness, creating a creamy contrast that pairs beautifully with the crunchy hazelnuts.
-
Toasted Bread: Spread the filling on warm, toasted bread for a decadent breakfast or snack that feels luxurious yet simple.
-
Sparkling Wine: A glass of bubbly adds a refreshing touch that cuts through the richness, offering a playful pairing for special occasions.
Make Ahead Options
These Chocolate Hazelnut Cake Filling preparations are perfect for busy home cooks looking to save time during meal prep! You can prepare the filling mixture up to 24 hours in advance by following the first five steps—just allow it to cool and store it in an airtight container in the refrigerator. To maintain its luscious quality, ensure the container is tightly sealed to prevent any moisture from altering the consistency. When you’re ready to use it, simply take it out and let it sit at room temperature for about 10-15 minutes to soften a bit. Afterwards, give it a good stir to restore that creamy texture before layering it into cakes or spreading it on toast. Enjoy the convenience of delightful, homemade indulgences with minimal effort!
Chocolate Hazelnut Cake Filling Variations
Feel free to experiment with this delightful filling, making it uniquely yours with just a few easy substitutions!
-
Dairy-Free: Substitute heavy cream with coconut cream for a rich, creamy texture without the dairy. Just make sure to chill the coconut cream beforehand for the best results.
-
Nut-Free: Omit hazelnuts altogether and replace them with sunflower seed butter for a nut-free alternative that still offers a deliciously creamy texture.
-
Spicy Kick: Add a pinch of cayenne pepper or a sprinkle of chili powder to give your filling an unexpected heat. The spice elevates the chocolate experience, making it an exciting surprise!
-
Fruit Twist: Fold in some dried cherries or cranberries for a fruity burst that beautifully complements the chocolate and hazelnuts, enhancing both flavor and texture.
-
Instant Mochaccino: Mix in a teaspoon of instant coffee granules for that coffee-chocolate indulgence. This will elevate your filling to a mocha-inspired dessert treat!
-
Caramel Drizzle: Swirl in caramel sauce before serving to give your filling a sweet and salty bite that pairs perfectly with the rich chocolate, making it utterly irresistible.
-
Texture Boost: For a crunchier filling, toss in crushed graham crackers or crispy rice cereal. This creates a playful texture that contrasts wonderfully with the smooth chocolate.
-
Herbal Infusion: Experiment with a hint of lavender or mint extract to give a refreshing twist to your chocolate hazelnut filling. Just a drop goes a long way in adding an elegant flavor depth!
Embrace variations that suit your taste, and enjoy the process of creating something just for you!
Chocolate Hazelnut Cake Filling Recipe FAQs
What type of chocolate should I use for the filling?
Absolutely! I recommend using high-quality bittersweet or semisweet chocolate, as it enhances the flavor and richness of your Chocolate Hazelnut Cake Filling. Look for chocolate with at least 60% cocoa for that luxurious taste that everyone loves.
How should I store the filling, and how long does it last?
You can store the Chocolate Hazelnut Cake Filling in an airtight container in your refrigerator for up to 1 week. Make sure to keep it well-sealed to maintain its creamy texture and prevent it from absorbing any odors from the fridge.
Can I freeze the Chocolate Hazelnut Cake Filling?
Yes, you can freeze it! For best results, transfer the filling to a freezer-safe container and it will keep well for up to 3 months. When you’re ready to use it, thaw it overnight in the fridge and gently re-whip to restore its smooth, creamy consistency.
What should I do if my filling is too runny?
Very! If your Chocolate Hazelnut Cake Filling is too runny, don't worry. After mixing, let it cool at room temperature for about 15 minutes to thicken. If it still feels soft, place it in the refrigerator for an additional 10-15 minutes. Stir occasionally to promote even cooling until you reach your desired consistency.
Can I make this filling dairy-free?
Certainly! For a dairy-free version of the Chocolate Hazelnut Cake Filling, simply replace the heavy cream with coconut cream. Just make sure that the coconut cream is well-chilled for best results, and follow the same preparation steps. The rich coconut flavor beautifully complements the chocolate.
How can I tell if my hazelnuts are fresh?
Fresh hazelnuts will have a pleasant, nutty aroma without any rancid smell. Additionally, they should be firm and crunchy, not rubbery or overly soft. If you notice dark spots all over or any off smells, it's best to opt for new ones to maintain the freshness and flavor of your Chocolate Hazelnut Cake Filling.
Creamy Chocolate Hazelnut Cake Filling You’ll Love to Indulge In
Ingredients
Equipment
Method
- Gather all your ingredients: melted chocolate, heavy cream, softened butter, and chopped toasted hazelnuts.
- In a mixing bowl, combine melted chocolate, heavy cream, and softened butter. Whisk together for 2–3 minutes until smooth.
- Fold in the chopped toasted hazelnuts gently using a spatula.
- Allow the mixture to cool at room temperature for about 15 minutes to thicken.
- Check the consistency; it should be thick yet spreadable. Refrigerate if too soft.
- Use the filling as needed for cakes, fruits, or toast. Store any leftovers in an airtight container.


Leave a Reply