
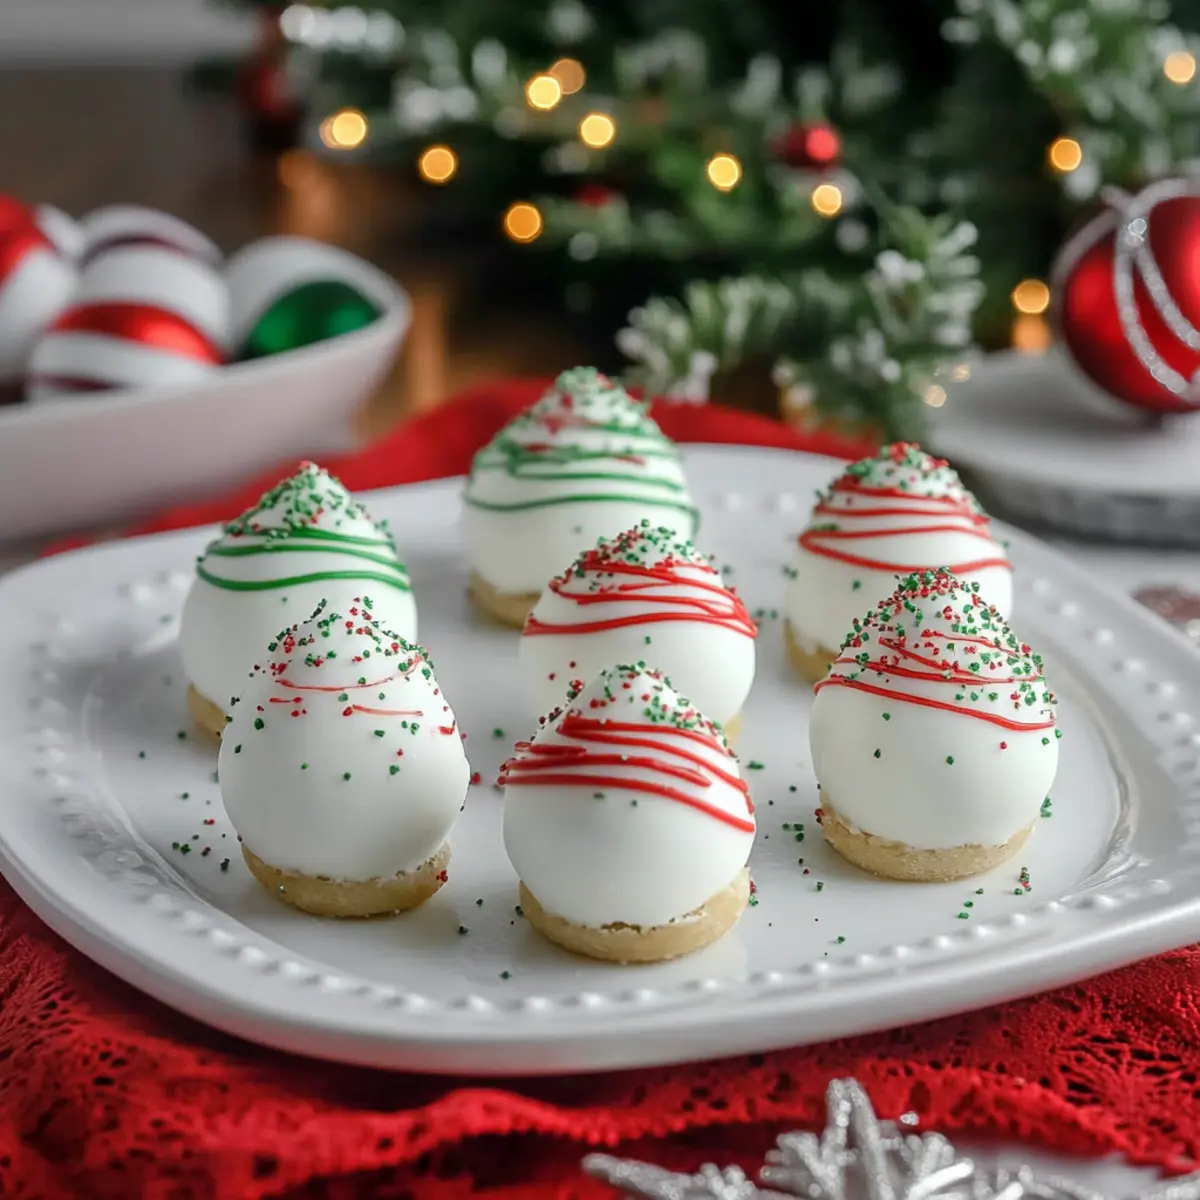
Imagine walking into a room filled with holiday cheer and the unmistakable aroma of sweet delights. That’s exactly how you’ll feel when you whip up these delightful Little Debbie Christmas Tree Cake Balls. These no-bake bites bring the nostalgic joy of Little Debbie snack cakes into a merry treat that’s easy to prepare and perfect for sharing. I love how quickly they come together—just a few simple steps and you’ll have a festive dessert that's not only visually stunning but also a joy to savor!
These cake balls are a show-stopping addition to any holiday gathering, guaranteed to catch the eye of every guest with their bright decorations and creamy texture. Plus, they’re incredibly flexible! Whether you choose to stick to the classic cream cheese filling or switch things up with vanilla frosting, each ball is a testament to your creativity in the kitchen.
Curious about how to make these irresistible holiday treats? Let’s dive into the recipe and make some festive magic together!

Why You'll Love These Little Debbie Christmas Tree Cake Balls
Ease of Preparation: These treats require no baking, making them perfect for busy holiday schedules.
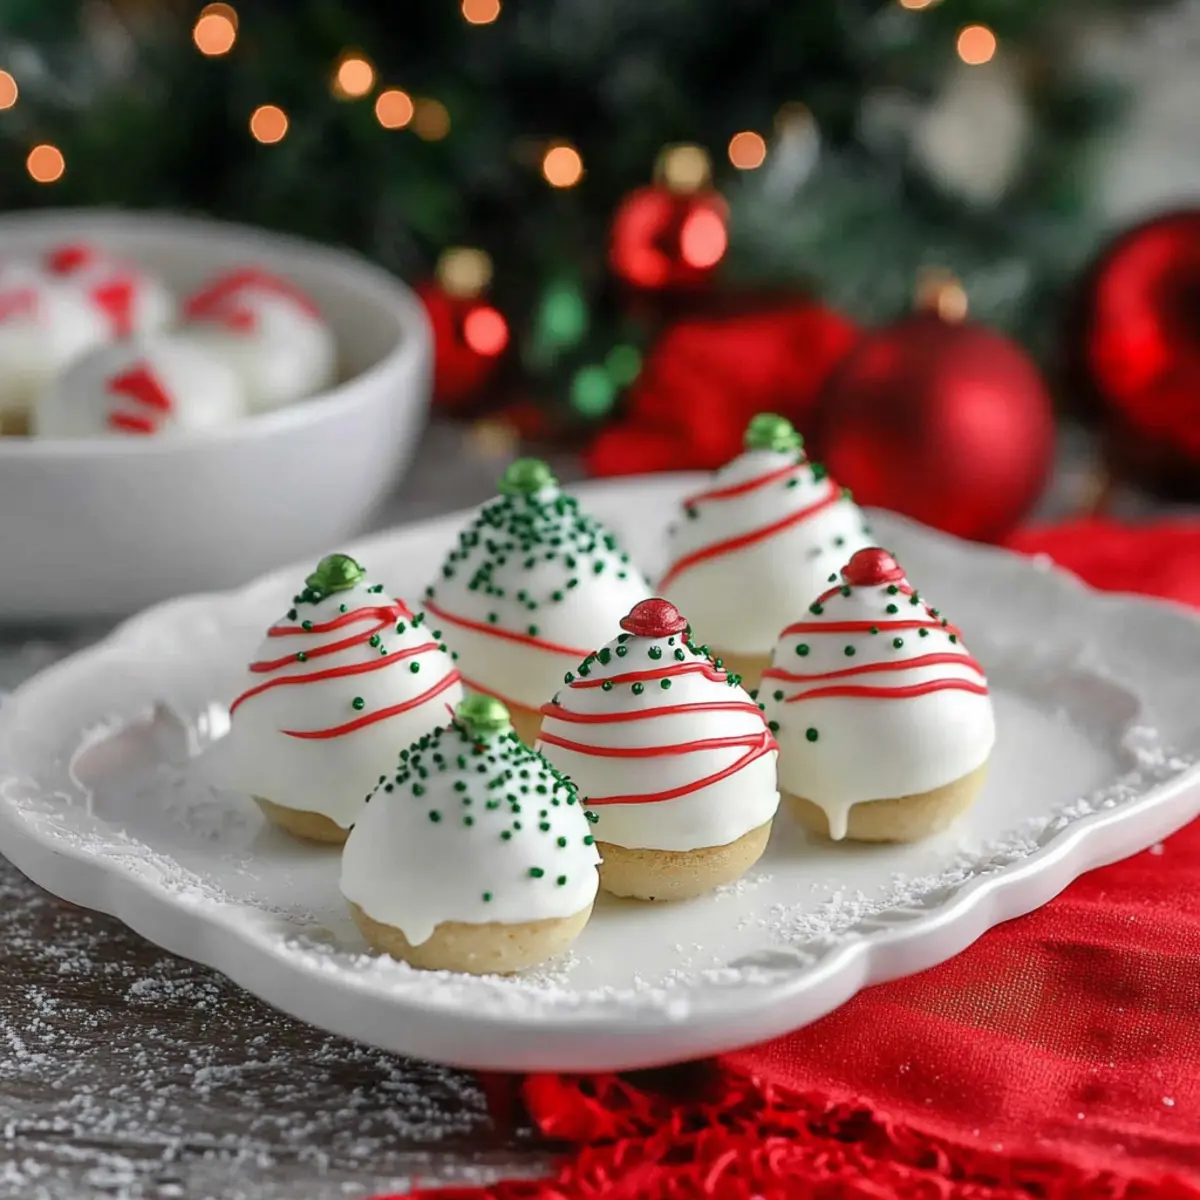
Festive Appeal: Bright decorations and a familiar nostalgic taste make them a standout centerpiece.
Versatile Options: Customize with vanilla frosting or different chocolate melts for new flavor twists.
Time-Saving Delight: Whip them up in just a few simple steps, ensuring you spend more time enjoying festivities.
Crowd-Pleasing Treats: Ideal for potlucks, parties, or as a sweet gift that everyone can enjoy. They’ll have everyone asking for your Little Debbie Christmas Tree Cake Balls recipe!
Little Debbie Christmas Tree Cake Balls Ingredients
For the Cake Balls
- Little Debbie Christmas Tree Cakes – The main ingredient that delivers nostalgic sweetness; if hard to find, other snack cakes can work in a pinch.
- Cream Cheese – This adds creaminess and binds the mixture; ensure it's softened for smooth blending or swap with vanilla frosting for a sweeter taste.
For the Coating
- White Candy Melts – Perfect for creating a smooth, sweet outer layer; feel free to experiment with colored candy melts for a festive twist.
- Red Candy Melts – Optional for a decorative drizzle; swap with any color chocolate melts for more variations.
For Decoration
- Sanding Sugars (Red and Green) – Elevate your cake balls with a fun, festive flair; while not necessary, they truly enhance visual appeal for your Little Debbie Christmas Tree Cake Balls.
Step-by-Step Instructions for No-Bake Little Debbie Christmas Tree Cake Balls
Step 1
Begin your festive journey by preparing a baking sheet. Line it with wax paper to prevent sticking and make cleanup a breeze. This will be the surface where your beautiful Little Debbie Christmas Tree Cake Balls will rest as they chill and firm up. Having a clean workspace sets the stage for an enjoyable cooking experience!
Step 2
In a large mixing bowl, take the crumbled Little Debbie Christmas Tree Cakes and combine them with the softened cream cheese. Use a sturdy spatula to blend the mixture until it's smooth and thoroughly combined. This should take about 3-5 minutes. The result will be a deliciously creamy mix that captures the nostalgic flavor of these beloved snack cakes.
Step 3
Once the mixture is ready, grab a cookie scoop and portion out tablespoon-sized amounts of the mixture. Roll each portion into neat 1-inch balls with your hands, making sure they’re compact and smooth. Arrange the cake balls on the prepared baking sheet, ensuring they have a little space between them, so they don't stick together. This step is essential for a nice presentation!
Step 4
Now it's time to firm things up! Place the baking sheet full of cake balls in the freezer for at least 15 minutes. This chilling period helps them hold their shape when dipped in coating later. You’ll know they’re ready when they’re firm to the touch but still slightly soft inside, ensuring a delightful texture when bitten into.
Step 5
While the cake balls are chilling, melt the white candy melts in a microwave-safe bowl. Heat them in 30-second intervals, stirring in between until smooth and fully melted—this should take about 1-2 minutes total. If the consistency is too thick, add a small amount of shortening to thin it out. The melted candy coating is what will give your Little Debbie Christmas Tree Cake Balls that beautiful, sweet finish.
Step 6
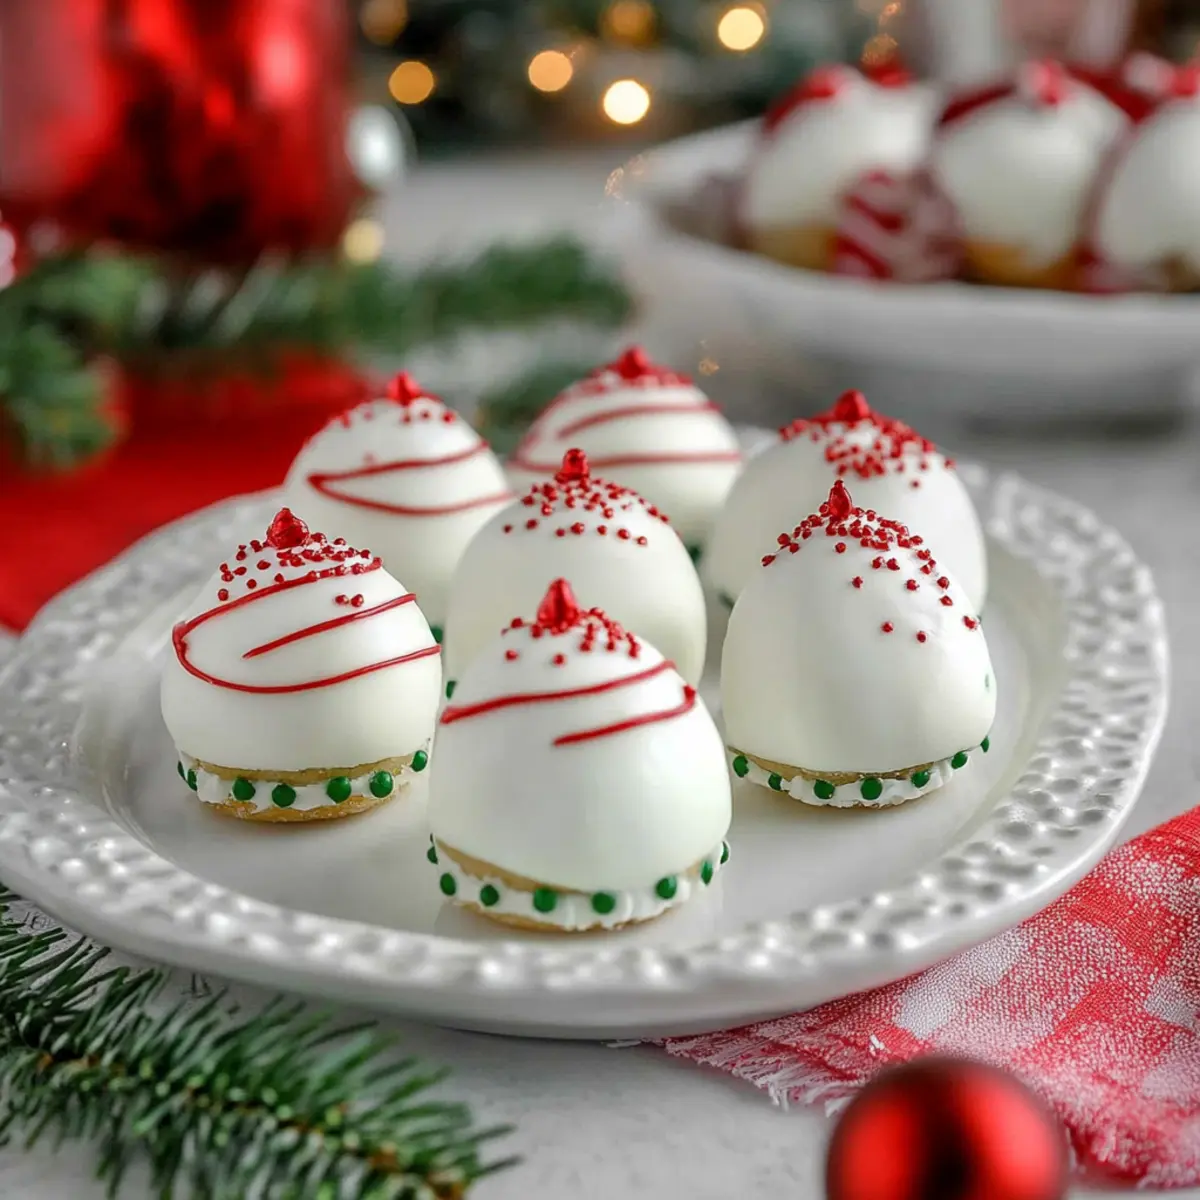
Once your cake balls are chilled, it's dipping time! Using a fork or a cake pop stick, dip each frozen ball into the melted candy coating, ensuring they are fully covered. Gently shake off any excess coating before placing them back on the lined baking sheet. The candy coating should be shiny and smooth, which adds to the wonderful festive look of your No-Bake Little Debbie Christmas Tree Cake Balls.
Step 7
While the coating is still wet, sprinkle some festive red and green sanding sugars on top for a cheerful holiday touch. If you’d like to create a decorative drizzle, melt the red candy melts and drizzle over the coated cake balls. This final touch will make each cake ball pop with color and charm—your guests won't be able to resist!
Step 8
Lastly, refrigerate your decorated cake balls for about an hour to allow the coating to set completely. You can tell they’re ready when the coating feels hard and the cake balls maintain their shape. After being chilled, your festive No-Bake Little Debbie Christmas Tree Cake Balls will be perfectly ready to be served at any holiday gathering!
What to Serve with Little Debbie Christmas Tree Cake Balls?
Elevate your festive gatherings with these delightful cake balls by pairing them with complementary flavors and textures.
- Warm Cocoa: The rich creaminess of hot cocoa contrasts beautifully with the sweetness of the cake balls, creating a cozy experience.
- Peppermint Bark: Add a crunchy and minty twist to your dessert table; the refreshing flavors of peppermint enhance the festive spirit beautifully.
- Fruit Platter: A colorful assortment of fresh fruits, like strawberries and grapes, provides a refreshing and juicy balance to the sweet treats.
- Dessert Wine: A glass of sweet dessert wine pairs exquisitely, bringing out the sweet notes of the cake balls while adding a touch of elegance.
- Whipped Cream: Light and fluffy, this classic topping offers a lovely creamy texture that complements the cake balls’ sweetness without overpowering them.
- Holiday Cookie Assortment: Serve alongside a variety of holiday cookies for a delightful dessert spread that appeals to everyone's sweet tooth and adds variety.
- Pineapple Upside-Down Cake: The moist and tangy flavors of this cake create a contrasting taste experience when served with the sweet cake balls.
- Vanilla Ice Cream: A scoop of velvety vanilla ice cream adds a delightful creaminess that pairs perfectly with the rich flavors of the cake balls.
- Coffee or Espresso: A cup of warm coffee cuts through the sweetness and enhances the flavors, making it a perfect companion to these festive treats.
Make Ahead Options
These Little Debbie Christmas Tree Cake Balls are a fantastic choice for meal prep during the busy holiday season! You can prepare the cake balls up to 24 hours in advance by rolling them and placing them in an airtight container in the refrigerator; this helps maintain their freshness and prevents sticking. Additionally, you can also melt the candy coating and store it in a separate container at room temperature for up to 3 days. When you're ready to serve, simply dip the chilled cake balls in the melted coating and sprinkle with sanding sugar before refrigerating them for about an hour to set. This way, you can enjoy the festive goodness with minimal effort when the time comes!
Little Debbie Christmas Tree Cake Balls Variations
Feel free to get creative and make these festive treats truly yours!
- Vanilla Frosting: Swap cream cheese for vanilla frosting for a sweeter, richer flavor that everyone will love.
Think of it as a sugary surprise wrapped in holiday cheer, perfect for those with a sweet tooth! - Chocolate Cake: Use chocolate Little Debbie cakes instead of the Christmas Tree variety for a delicious chocolatey spin.
This cozy version will definitely satisfy any chocolate cravings, making them ideal for the chocolate lover in your life. - Milk Chocolate Coating: Instead of white candy melts, dip the cake balls in milk chocolate for a creamy twist.
The combination of milk chocolate with the soft cake is a match made in dessert heaven—irresistibly tempting and utterly delightful! - Peppermint Twist: Add crushed peppermint candies to the coating or sprinkle on top for a minty freshness.
Imagine the refreshing crunch that perfectly complements the sweetness of the cake—it's like capturing the essence of holiday magic in each bite! - Nut Butter: Incorporate a bit of your favorite nut butter into the mixture for added depth and creaminess.
Almond or peanut butter can provide a delightful nutty flavor, taking these cake balls to new heights of deliciousness. - Spicy Kick: Mix in a pinch of cinnamon and a dash of cayenne for a surprising heat that adds depth to the sweetness.
This intriguing combination will irresistibly surprise your taste buds and bring warmth to every festive gathering! - Gluten-Free Option: Substitute gluten-free snack cakes for the Little Debbie cakes to make this recipe gluten-free.
With this adjustment, your cake balls will remain a crowd-pleasing treat, allowing everyone to join in on the fun! - Decorative Drizzles: Use colored candy melts for drizzling patterns on top for an artistic touch that complements the holidays.
Not only will they look stunning, but these creative designs are sure to capture the joy of the season in every delightful bite!
Expert Tips for Little Debbie Christmas Tree Cake Balls
- Room Temperature Cream Cheese: Ensure your cream cheese is at room temperature for smooth blending, avoiding lumps in your mixture.
- Proper Dipping Technique: Use a fork or cake pop stick to dip the balls into the melted chocolate; this keeps your hands clean and avoids messy fingers.
- Chill Before Dipping: Don’t skip the chilling step! Freezing the cake balls for at least 15 minutes helps them retain their shape during the dipping process.
- Colorful Variations: Experiment with different chocolate melts for coating; using milk or dark chocolate can give a delightful twist to your Little Debbie Christmas Tree Cake Balls.
- Storage Wisely: Store any leftovers in an airtight container with layers of wax paper in between to prevent sticking; they’ll stay fresh for up to 5 days in the fridge!
Storage Tips for Little Debbie Christmas Tree Cake Balls
Fridge: Store your cake balls in an airtight container in the refrigerator for up to 5 days to maintain their freshness and creamy texture.
Freezer: For longer storage, these Little Debbie Christmas Tree Cake Balls can be frozen for up to 4 months. Layer them with wax paper in an airtight container to prevent sticking.
Reheating: If you want a slightly softer texture, let frozen cake balls sit at room temperature for about 15 minutes before serving, or microwave for just a few seconds to warm slightly.
Serving Freshness: For the best taste, enjoy within the first week after preparation, ensuring you savor the delightful blend of flavors at their peak!
Little Debbie Christmas Tree Cake Balls Recipe FAQs
How do I select the right Little Debbie Christmas Tree Cakes?
Absolutely! Look for cakes that are fresh and without any sign of damage. The best ones will have a soft, moist texture and even frosting. If you spot any dark spots or excessive frosting seeping out, it’s best to choose another pack.
What’s the best way to store leftover cake balls?
Very good question! Store your Little Debbie Christmas Tree Cake Balls in an airtight container in the refrigerator for up to 5 days. Place pieces of wax paper in between layers to keep them from sticking together.
Can I freeze the cake balls, and how?
Definitely! To freeze your Little Debbie Christmas Tree Cake Balls, layer them with wax paper in an airtight container, and they can be stored for up to 4 months. When you're ready to enjoy them, let them sit at room temperature for about 15 minutes before indulging to restore their creamy texture.
What should I do if my candy coating becomes lumpy?
If your melting candy gets lumpy, it often means it got overheated. Simply add a splash of shortening to the mixture and microwave for an extra 10 seconds to melt it down smoothly again. Stir well, and don’t hesitate to add more shortening if it’s still not the desired consistency.
Are there any dietary substitutions I can make for these cake balls?
Certainly! For a dairy-free option, use dairy-free cream cheese and ensure the candy melts are also dairy-free. If you're avoiding gluten, check the labels on the Little Debbie cakes or swap them for gluten-free cake alternatives to keep the festive flavor without the gluten.
What's the secret to dipping cake balls perfectly?
Great question! The key is to ensure your cake balls are firmly chilled before dipping—at least 15 minutes in the freezer! Use a fork or cake pop stick for dipping and be sure to gently shake off excess coating to achieve a smooth finish before placing them on the lined baking sheet. This technique keeps the chocolate coating looking nice without making a mess.
Irresistibly Easy Little Debbie Christmas Tree Cake Balls
Ingredients
Method
- Prepare a baking sheet lined with wax paper.
- In a large mixing bowl, combine crumbled Little Debbie Christmas Tree Cakes with softened cream cheese until smooth.
- Portion the mixture into tablespoon-sized balls, roll smooth, and place on the baking sheet.
- Freeze the cake balls for at least 15 minutes.
- Melt the white candy melts in intervals until smooth, adjusting with shortening if needed.
- Dip each chilled cake ball into the melted candy coating, then place them back on the baking sheet.
- Sprinkle with sanding sugars and drizzle with melted red candy melts if desired.
- Refrigerate for about an hour to set coating.
Nutrition
Notes
- Use room temperature cream cheese for smooth blending.
- Chill cake balls before dipping to maintain shape.
- Experiment with different chocolate melts for coating.
- Store leftovers in an airtight container for up to 5 days.
Leave a Reply