
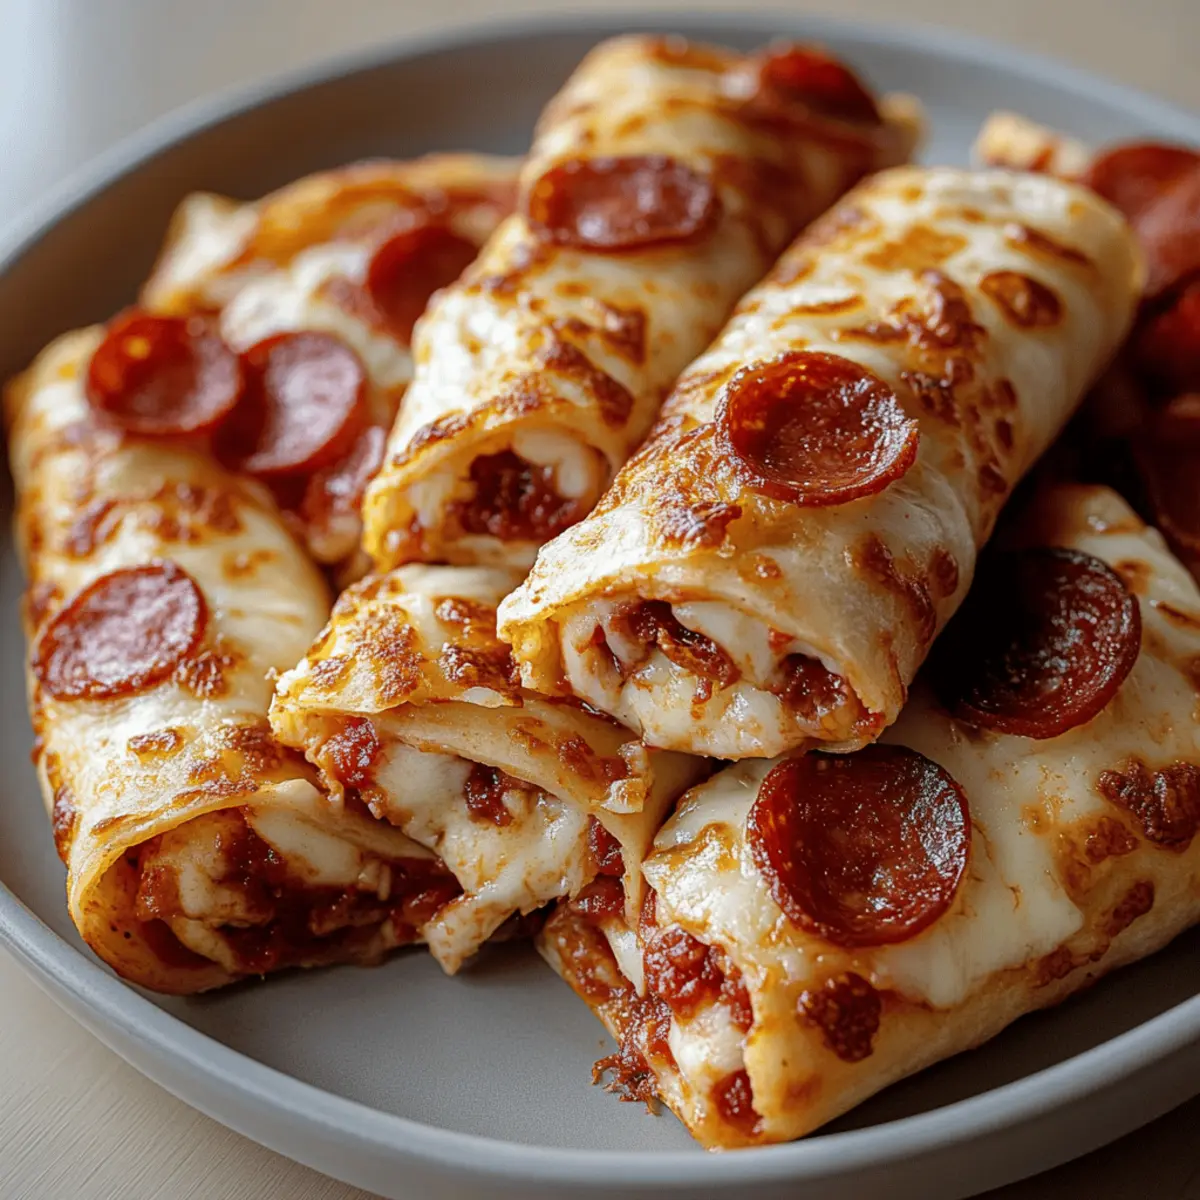
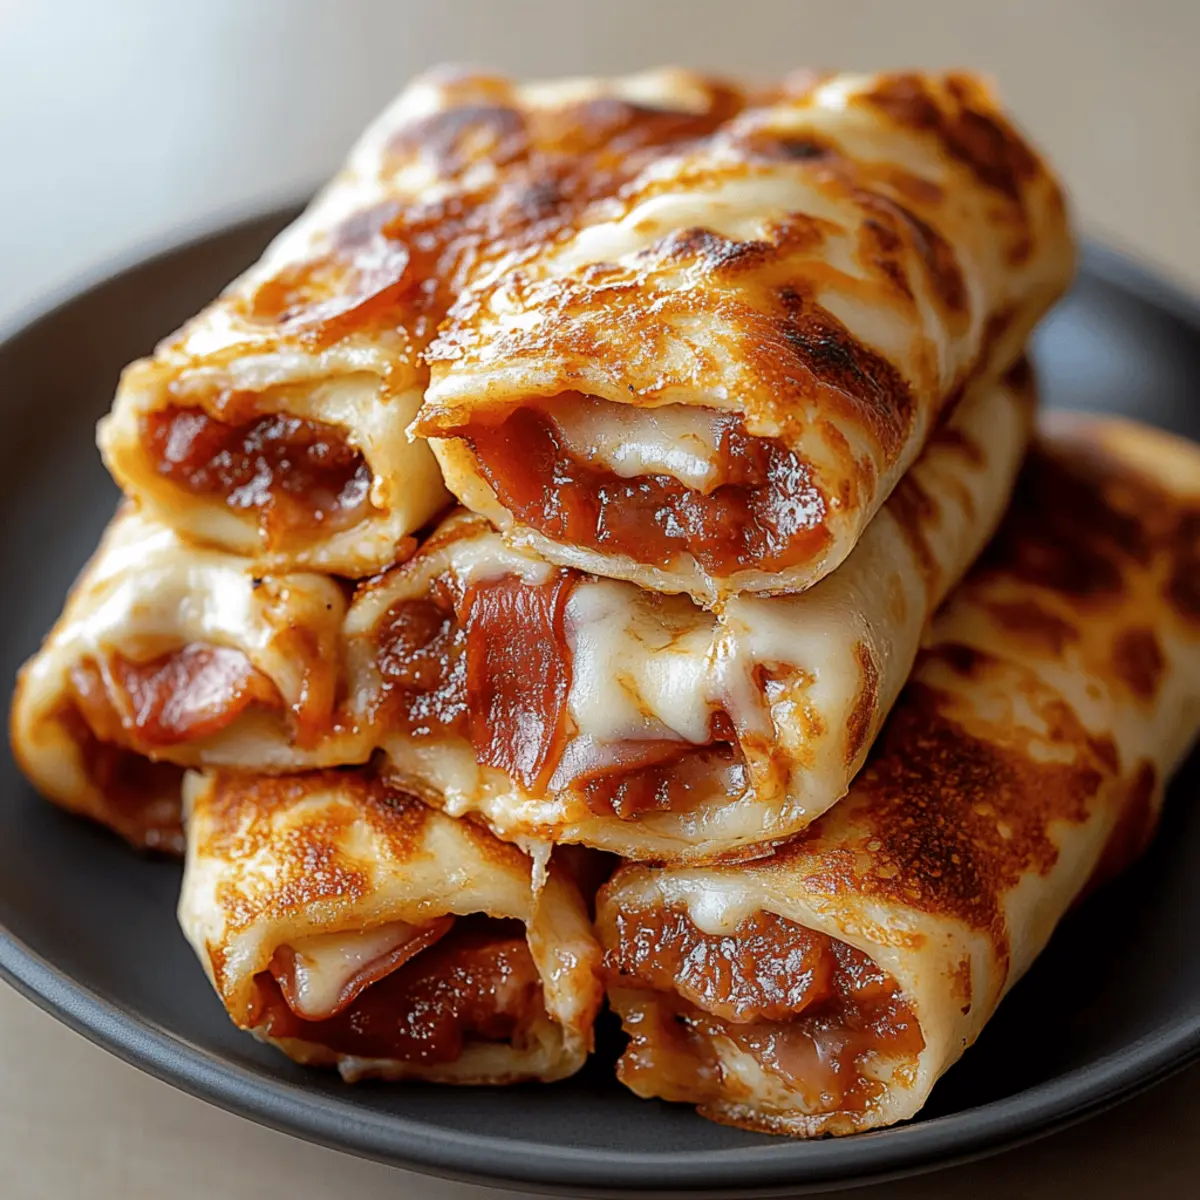
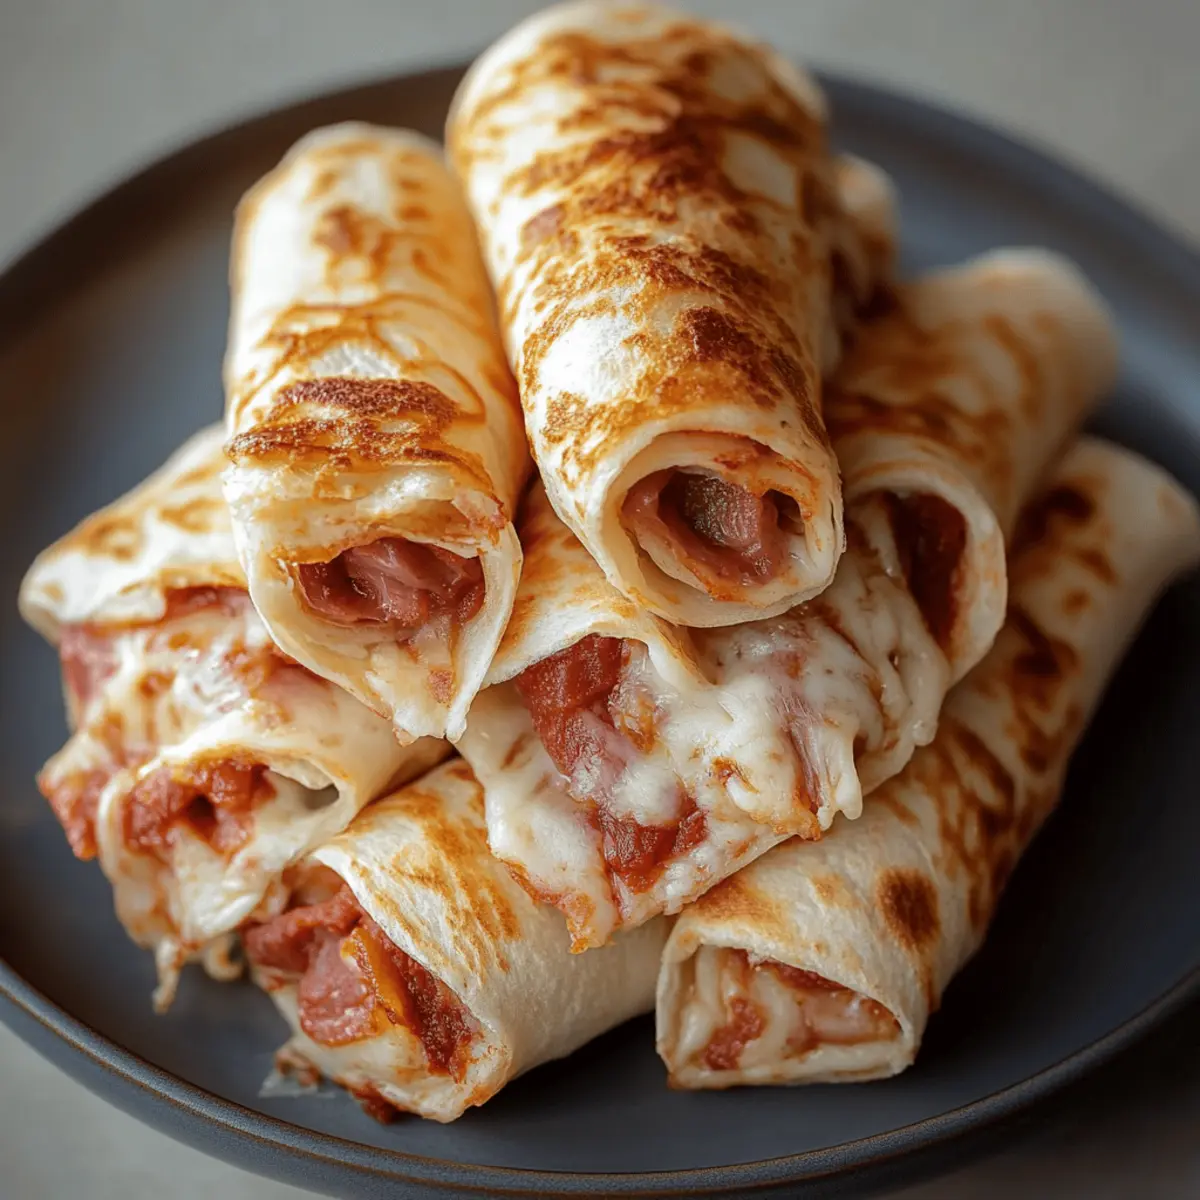
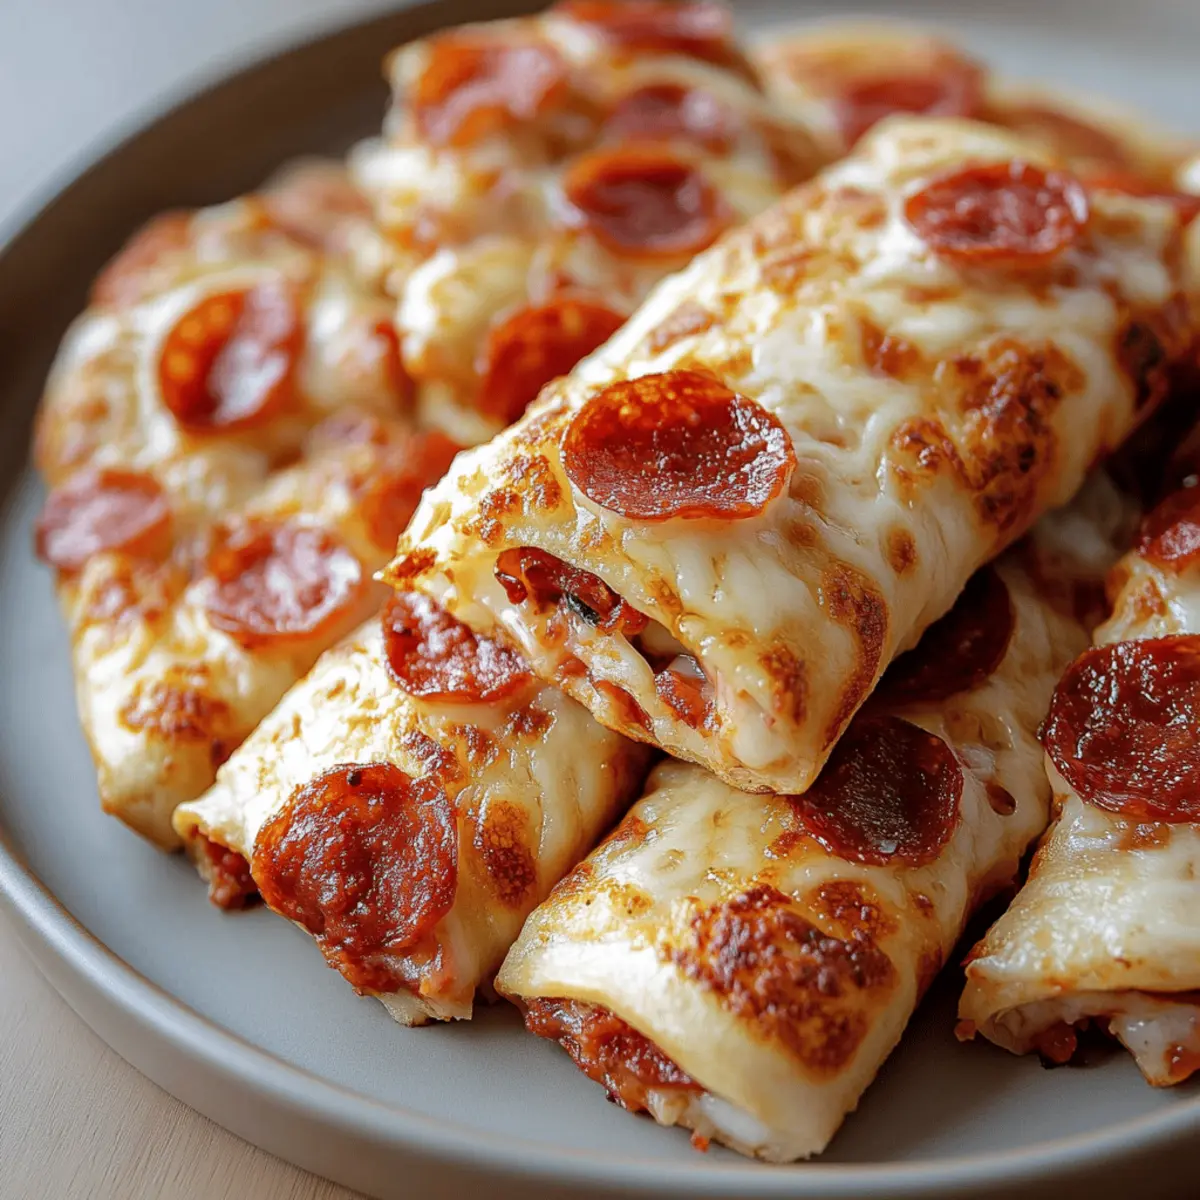
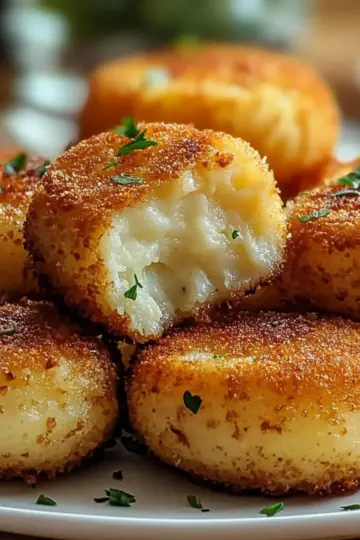
As I pulled a fresh batch of Cheesy Pepperoni Pizza Roll Ups from the oven, the tantalizing aroma wafted through my kitchen, instantly transporting me back to carefree pizza nights with friends. These delightful roll-ups not only deliver the comfort of pizza in a fun twist, but they also come together in a mere 17 minutes—perfect for satisfying late-night cravings without the fast-food guilt. With just a handful of low-carb ingredients, including mozzarella cheese and pepperoni, you can enjoy a tasty treat that’s both a crowd-pleaser and a lighter indulgence. Curious how to whip up these scrumptious bites? Let’s dive into the recipe!
Why are these roll-ups so irresistible?
Quick and Easy: With only 17 minutes from prep to plate, these Cheesy Pepperoni Pizza Roll Ups are perfect for busy weeknights or spontaneous gatherings.
Crowd-Pleasing Flavor: Cheese and pepperoni create a nostalgic taste that everyone loves, promising a fantastic experience for family or guests alike.
Low-Carb Solution: Enjoy a delicious pizza-inspired snack without the carb overload, making these roll-ups a smart choice for those watching their intake.
Versatile Snacking: Pair them with your favorite dipping sauces or a fresh salad for a delightful and satisfying meal. You can even explore endless variations by adding different toppings—just check out this guide on creating personalized pizza rolls for more ideas!
Cheesy Pepperoni Pizza Roll Ups Ingredients
For the Roll Ups
- Mozzarella cheese – a gooey delight that melts beautifully, bringing that familiar pizza flavor.
- Marinara sauce – adds a rich, tangy punch; feel free to use homemade for an extra layer of love.
- Low-carb tortillas – a fantastic base that keeps these roll-ups guilt-free and satisfying.
- Pepperoni slices – brings the classic pizza flair; consider turkey or vegetarian options for a healthier twist.
- Olive oil – enhances browning and crispness, ensuring your roll-ups are golden and delicious!
Feel free to explore variations and customize your Cheesy Pepperoni Pizza Roll Ups to suit your taste. Happy cooking!
Step‑by‑Step Instructions for Cheesy Pepperoni Pizza Roll Ups
Step 1: Preheat the Oven
Begin by preheating your oven to 375°F (190°C). This ensures the heat is just right for baking your Cheesy Pepperoni Pizza Roll Ups to a golden perfection. While the oven warms up, gather your ingredients and lay out a clean surface for assembling the roll-ups.
Step 2: Prepare the Tortillas
Lay the low-carb tortillas flat on your work surface. Ensure they are smooth and pliable, making it easier to spread the sauce. This step is crucial for a seamless rolling process, so take your time to position them correctly without any tears.
Step 3: Spread the Marinara Sauce
Evenly spread 2 tablespoons of marinara sauce on each tortilla, leaving about a half-inch border around the edges. A spatula or the back of a spoon works well for this. Visualize a pizza—this sauce will provide a flavorful base for your Cheesy Pepperoni Pizza Roll Ups.
Step 4: Add Mozzarella Cheese
Sprinkle the shredded mozzarella cheese generously over the marinara sauce. Make sure it's evenly distributed to maximize melty goodness in every bite. This layer will create that gooey texture we all love, reminding you of classic pizza flavors.
Step 5: Layer the Pepperoni
Next, arrange your pepperoni slices on top of the cheese, slightly overlapping them near the edges. This not only enhances flavor but also creates a visually appealing finish. The key is to cover the area well, ensuring every roll delivers that iconic pepperoni goodness.
Step 6: Roll the Tortillas
Starting from one end, tightly roll each tortilla, keeping the filling secure inside. Firm yet gentle pressure is essential here to maintain the roll's integrity. Once rolled, the seam should be on the bottom to prevent any filling from spilling out during baking.
Step 7: Brush with Olive Oil
Using a pastry brush, lightly coat the outside of the rolled tortillas with olive oil. This will help them achieve a delightful golden color and crispy texture when baked. Be generous but not overly heavy—just a thin layer will do wonders!
Step 8: Bake the Roll-Ups
Carefully place the roll-ups seam-side down on a baking sheet lined with parchment paper. Ensure they’re spaced apart for even cooking. Pop them into your preheated oven and bake for 10-12 minutes, or until they turn golden brown and the cheese starts bubbling deliciously.
Step 9: Cool and Serve
Once baked, remove the pan from the oven and let the roll-ups cool slightly. This will make them easier to handle and slice. After a few minutes, use a sharp knife to cut them into bite-sized pieces, perfect for dipping and sharing your Cheesy Pepperoni Pizza Roll Ups!
Make Ahead Options
These Cheesy Pepperoni Pizza Roll Ups are a fantastic choice for meal prep enthusiasts! You can prepare the roll-ups by assembling them up to 24 hours in advance, simply wrapping them tightly in plastic wrap to keep them fresh. To maintain optimal flavor and texture, refrigerate them overnight before baking. When you're ready to enjoy these delightful treats, just pop them in the oven at 375°F for 12-15 minutes, allowing a few extra minutes for a freshly baked finish. They’ll come out just as delicious—golden and crispy—giving you all of the comfort without any fuss, perfectly suited for busy weeknights or spontaneous gatherings!
Cheesy Pepperoni Pizza Roll Ups Variations
Feel free to let your creativity shine and customize these delicious roll-ups to suit your taste buds!
-
Vegetarian Delight: Swap out pepperoni for sautéed bell peppers and mushrooms. This adds freshness while keeping the pizza vibes alive.
-
Spicy Kick: Add sliced jalapeños to the cheese layer for a zesty twist. The heat balances beautifully with the gooey cheese.
-
Herbed Twist: Mix dried oregano and basil into the mozzarella cheese. This infusion adds a wonderful aroma reminiscent of traditional pizza.
-
Stuffed with Spinach: Incorporate fresh spinach into the mix. A handful of chopped spinach adds color and a nutritious boost.
-
Cheese Lovers: Use a blend of cheeses, such as cheddar or provolone, for a richer flavor profile that cheese enthusiasts will adore.
-
Buffalo Style: Drizzle some buffalo sauce into the roll before baking. You’ll get a fiery version that pairs excellently with ranch dressing.
-
Sweet and Savory: Add thin slices of pineapple with your pepperoni for a tropical twist that creates an exciting sweet contrast.
-
Gluten-Free Option: Use gluten-free tortillas instead of low-carb ones to accommodate dietary needs without sacrificing flavor.
Take a leap of faith with your own variations, and explore the endless possibilities of flavors. Remember, the heart of these Cheesy Pepperoni Pizza Roll Ups lies in their versatility—so feel free to experiment!
Expert Tips for Cheesy Pepperoni Pizza Roll Ups
Roll Tightly: Ensure you roll the tortillas tightly to prevent the filling from spilling during baking. A firm roll keeps every bite delicious!
Watch the Time: Baking for too long can dry them out. Keep an eye on your roll-ups, and remove them once they are golden brown and the cheese is bubbly.
Customize Ingredients: Feel free to swap out pepperoni for other toppings like diced vegetables or cooked chicken. Just remember to adjust cooking time for any extra moisture.
Keep It Crisp: For optimum crispiness, bake the roll-ups on a parchment-lined baking sheet. This helps to achieve a perfect golden exterior while keeping them mess-free.
Cool Before Slicing: Let your Cheesy Pepperoni Pizza Roll Ups cool for a few minutes before slicing; this will ensure that the cheese sets and the filling stays intact.
What to Serve with Cheesy Pepperoni Pizza Roll Ups
Create a cozy meal that envelops you in warmth and flavor with delightful pairings for these roll-ups.
- Simple Side Salad: A mix of greens, tomatoes, and cucumbers offers a refreshing contrast to the cheesy richness, making every bite pop!
- Garlic Knots: Soft and buttery, these knots add a fun twist to your meal, inviting everyone to indulge in that classic garlic bread comfort.
- Marinara Dipping Sauce: Serve with extra marinara for dipping, enriching each bite while deepening that beloved pizza flavor.
- Steamed Broccoli: Bright, crisp broccoli provides a healthy crunch and balances the creaminess of the roll-ups beautifully.
- Caesar Salad: The creamy dressing and crunchy croutons pair beautifully, adding a delightful texture alongside your cheesy pepperoni treats.
- Herbed Ranch Dip: A zesty ranch dip infused with herbs elevates your roll-ups while adding a cool and creamy component to each bite.
- Sparkling Water: A refreshing drink that cleanses the palate and complements the flavors perfectly—add a slice of lemon for zest!
- Chocolate Chip Cookies: For dessert, the sweet, gooey cookies are a nostalgic finish to your meal, leaving everyone with a smile.
- Coleslaw: This adds a crunchy, tangy element that contrasts well with the warm, cheesy roll-ups, inviting a delightful mix of flavors.
- Fruit Salad: Bright, juicy fruits offer a light and refreshing finish, cleansing your palate and rounding out the meal perfectly.
How to Store and Freeze Cheesy Pepperoni Pizza Roll Ups
Airtight Container: Store any leftover Cheesy Pepperoni Pizza Roll Ups in an airtight container in the refrigerator for up to 3 days to maintain freshness.
Freezer: For longer storage, wrap each roll-up tightly in plastic wrap and place them in a freezer-safe bag. They can last up to 3 months.
Reheating: To enjoy your roll-ups again, reheat them in a preheated oven at 350°F for about 5 minutes, ensuring they become crispy once more.
Serving Suggestion: Consider serving the roll-ups directly from the oven with your favorite dipping sauces for an even more delightful experience!
Cheesy Pepperoni Pizza Roll Ups Recipe FAQs
How do I choose the best mozzarella cheese for the roll-ups?
Absolutely! Look for fresh mozzarella cheese as it melts beautifully, giving you that gooey, dreamy texture. If you prefer a stronger flavor, opt for shredded mozzarella labeled as “pizza cheese.” Always check for a creamy white color and avoid any packages with dark spots, which indicate spoilage.
What is the best way to store leftover pizza roll-ups?
Very! To keep your Cheesy Pepperoni Pizza Roll Ups fresh, store them in an airtight container in the refrigerator for up to 3 days. You can also layer them with parchment paper to prevent sticking. A quick tip: if you're reheating, pop them in a preheated oven at 350°F for about 5 minutes to regain their crispy goodness!
Can I freeze Cheesy Pepperoni Pizza Roll Ups?
Absolutely! For longer storage, tightly wrap each roll-up in plastic wrap, making sure there’s no air inside, and place them in a freezer-safe bag. They can be stored in the freezer for up to 3 months. To enjoy, simply thaw them overnight in the fridge and reheat in the oven for that fresh-out-of-the-oven taste!
What should I do if the tortillas are cracking while rolling them?
If you find your tortillas are cracking, it may be due to them being too cold. Try warming them in the microwave for about 10 seconds before rolling. This should make them more pliable and easier to roll without tearing.
Are these roll-ups suitable for people with dietary restrictions?
Very! You can customize these roll-ups to accommodate dietary preferences. Use gluten-free tortillas for those avoiding gluten or swap the pepperoni for veggies or other proteins if you're looking for a healthier option. Always check your cheese and sauce for any allergens if serving to guests with specific needs.
Cheesy Pepperoni Pizza Roll Ups for a Cozy Night In
Ingredients
Equipment
Method
- Preheat your oven to 375°F (190°C).
- Lay the low-carb tortillas flat on your work surface.
- Evenly spread 2 tablespoons of marinara sauce on each tortilla.
- Sprinkle the shredded mozzarella cheese generously over the marinara sauce.
- Arrange your pepperoni slices on top of the cheese.
- Starting from one end, tightly roll each tortilla.
- Using a pastry brush, lightly coat the outside of the rolled tortillas with olive oil.
- Carefully place the roll-ups seam-side down on a baking sheet lined with parchment paper.
- Bake for 10-12 minutes until golden brown and cheese is bubbling.
- Remove from the oven and let cool slightly before slicing into pieces.


Leave a Reply