
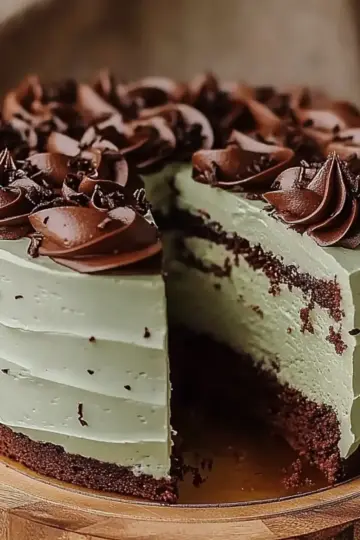
As I stood in my kitchen, the smell of warm cocoa mingling with bright citrus filled the air, transporting me to a cozy bakery on a sunlit street. This enchanting ambiance is just one of the many reasons I adore making this Chocolate & Orange Punchcake. It’s a delightful blend of rich chocolate and zesty orange flavors that’s not only a crowd-pleaser but also a breeze to whip up—even on busy days. With just a little over an hour from prep to plate, this recipe is perfect for satisfying those sweet cravings without spending all day in the kitchen. Trust me, your family and friends will be clamoring for seconds! Are you ready to create a dessert that will spark joy at your next gathering? Let’s dive into the recipe!
Why is This Punchcake a Must-Try?
Deliciously Unique: The combination of rich chocolate and zesty orange provides a flavor profile that’s absolutely irresistible.
Fast Prep: With just 20 minutes of prep time, this cake can be in the oven before you know it.
Crowd-Pleasing: It serves 12 generous slices, making it perfect for gatherings or potlucks. Everyone will be asking for your secret!
Simple Ingredients: Most of the components are kitchen staples, so you can whip it up any time the craving strikes.
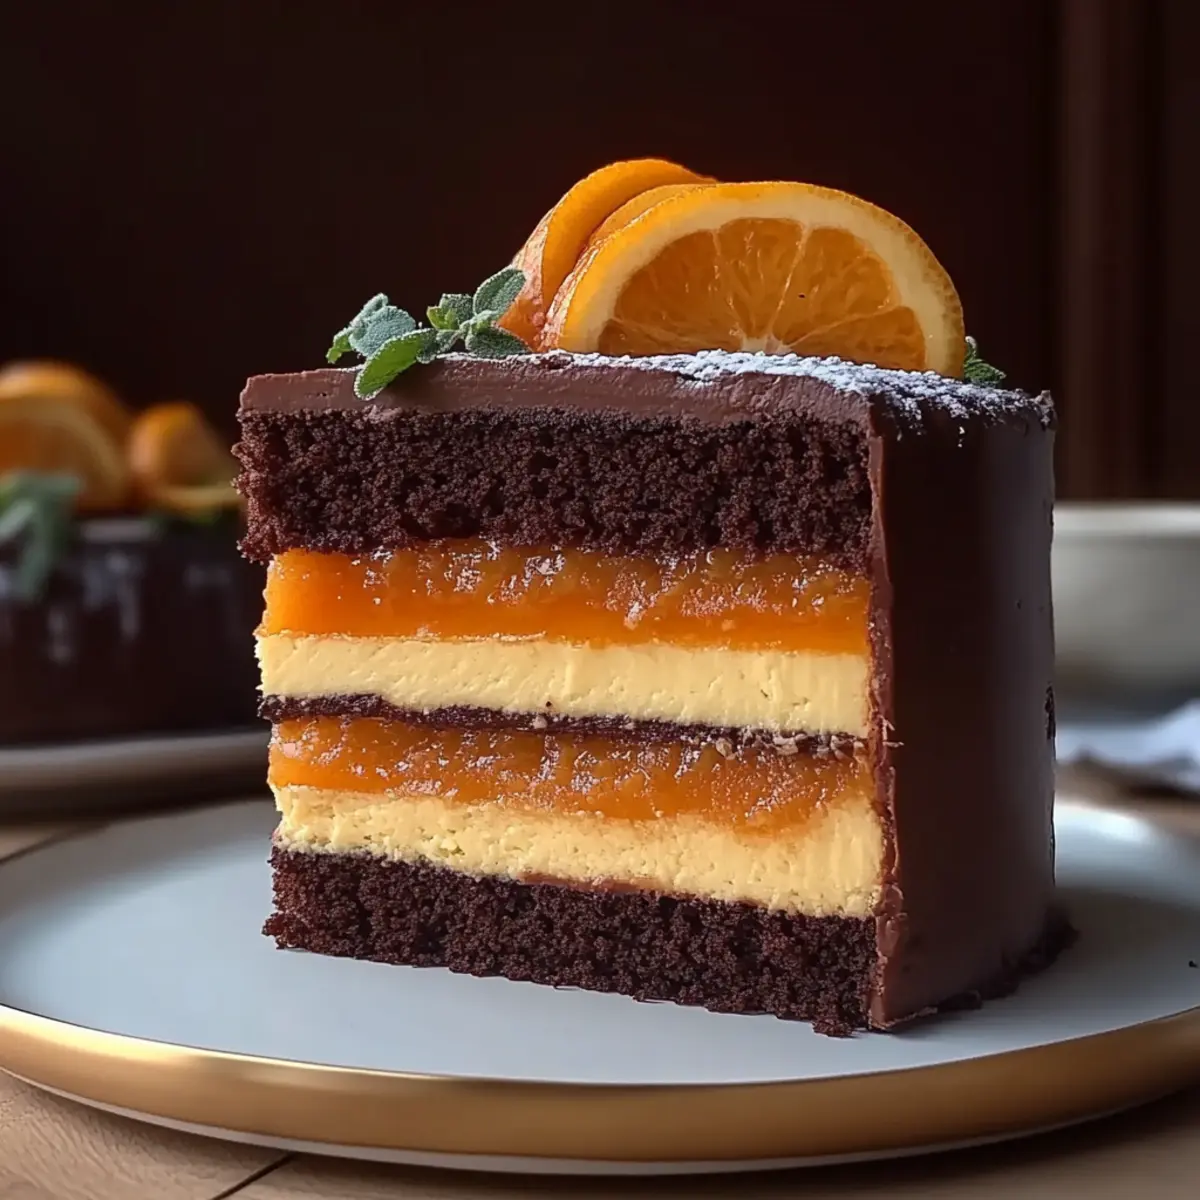
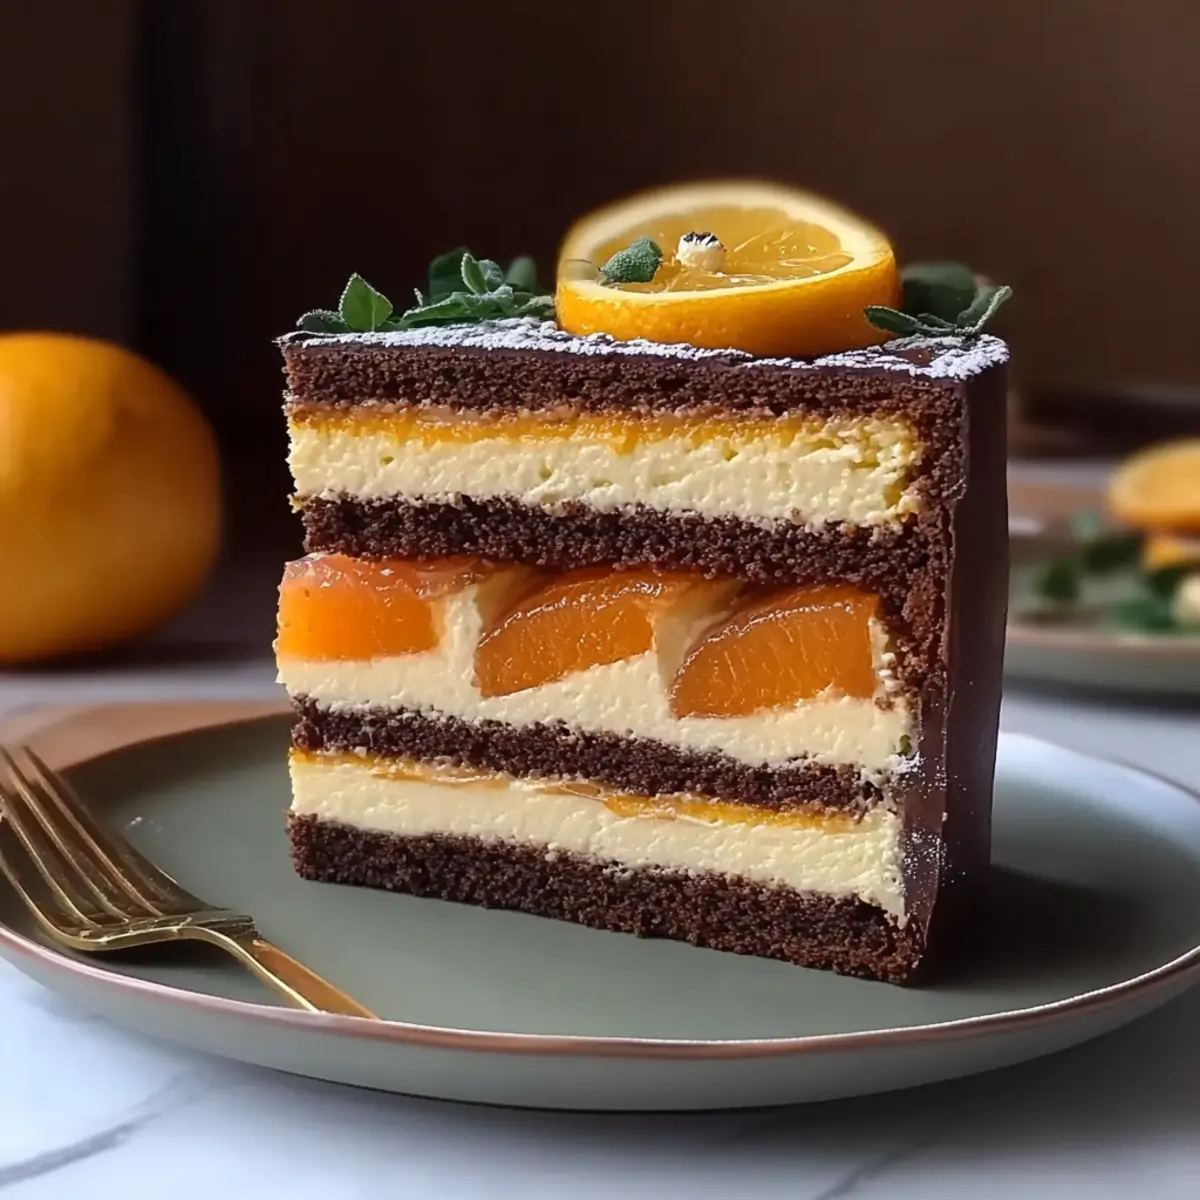
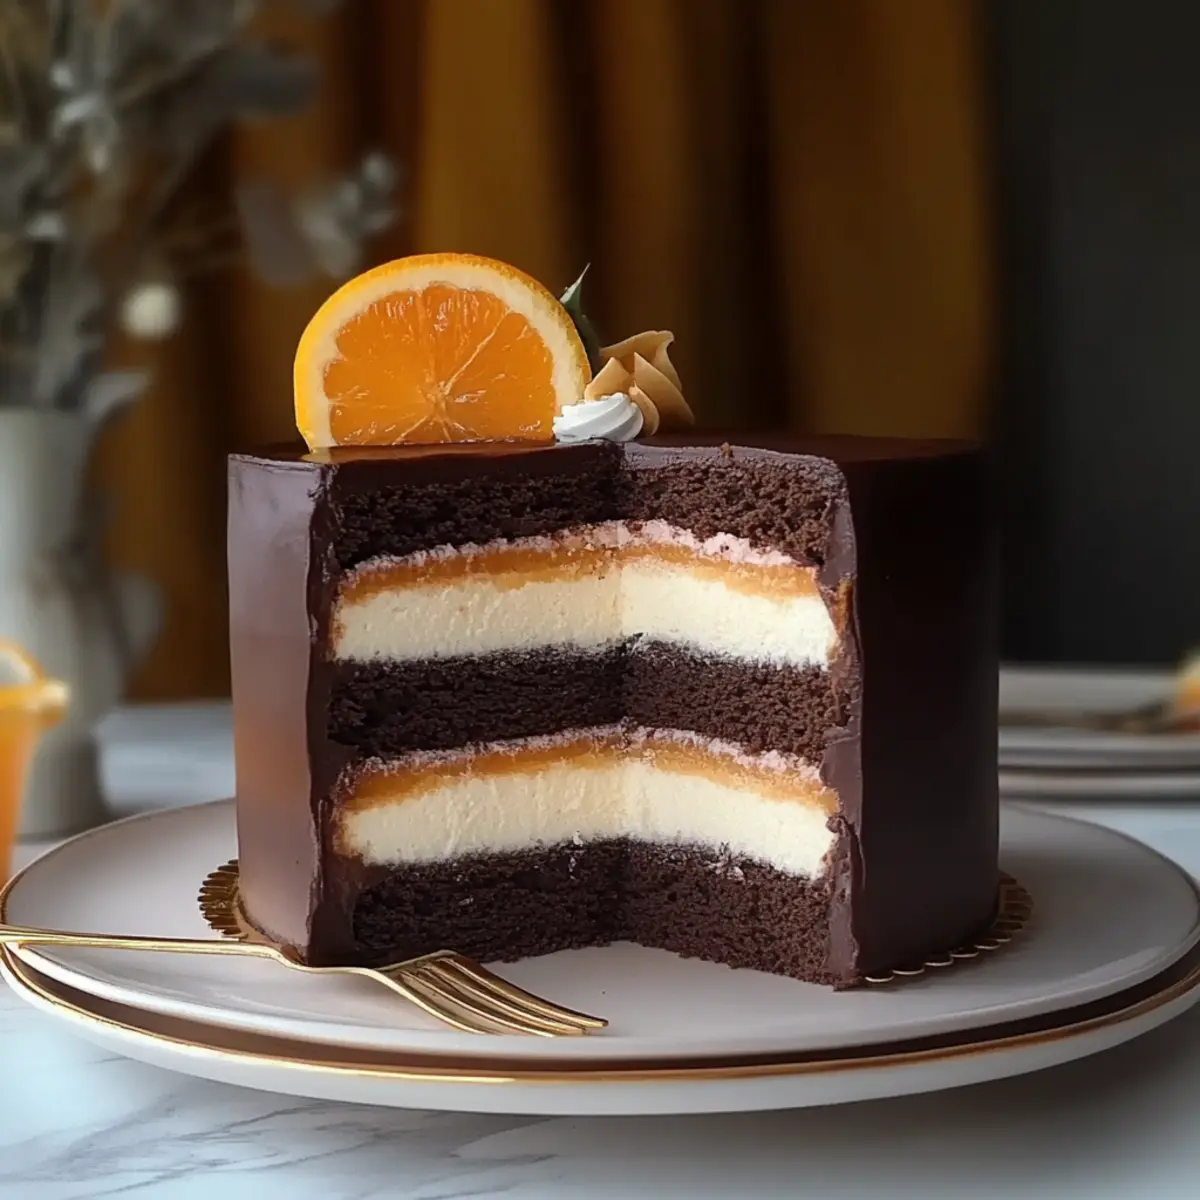
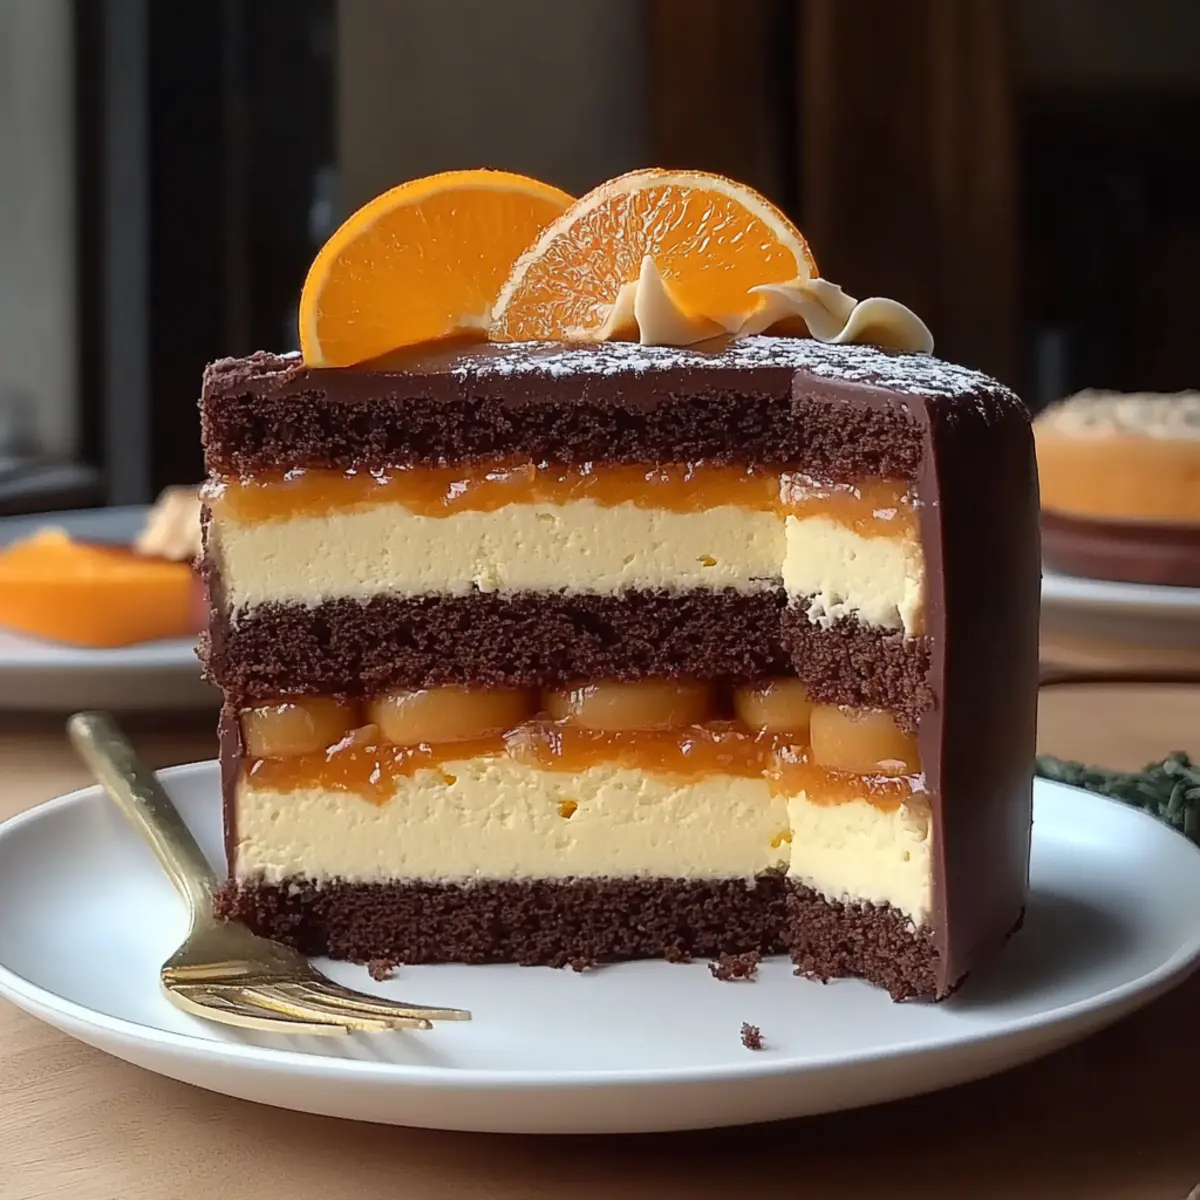
Impressive Presentation: Topping it with chocolate ganache and fresh orange slices makes it a showstopper on any dessert table.
Trust me, once you try this Chocolate & Orange Punchcake, you’ll wonder how you lived without it! Plus, if you're interested in other sweet treats, check out my guide on [essential baking tips]() for perfect results every time.
Chocolate & Orange Punchcake Ingredients
To create this delightful masterpiece, gather the following fresh ingredients:
For the Cake
• All-purpose flour – forms the base for your moist cake.
• Granulated sugar – sweetens the essence of this sumptuous treat.
• Unsweetened cocoa powder – delivers the rich chocolate flavor that makes this a Chocolate & Orange Punchcake.
• Baking powder – helps the cake rise to fluffiness.
• Baking soda – boosts the leavening and ensures a light texture.
• Salt – enhances the overall flavor profile perfectly.
• Large eggs – bind the ingredients together for a cohesive batter.
• Whole milk – adds creaminess and richness to the cake.
• Vegetable oil – keeps the cake moist and tender.
• Vanilla extract – infuses a warm, inviting aroma.
• Boiling water – helps bloom the cocoa powder for deeper flavor.
For the Zesty Addition
• Zest of 1 orange – brightens the cake with a refreshing citrus kick.
• Orange juice – adds a burst of flavor that complements the chocolate beautifully.
For the Chocolate Chips
• Semisweet chocolate chips – scattered throughout for melty, gooey pockets of chocolate bliss.
Enjoy gathering these ingredients and get ready to create a chocolate orange sensation that will brighten your day!
Step‑by‑Step Instructions for Chocolate & Orange Punchcake
Step 1: Preheat the Oven and Prepare Pans
Begin by preheating your oven to 350°F (175°C). While it warms up, take two 9-inch round cake pans and grease them well with butter or cooking spray. Next, lightly dust the pans with flour to ensure that your Chocolate & Orange Punchcake releases easily after baking.
Step 2: Mix the Dry Ingredients
In a large mixing bowl, sift together 1¾ cups of all-purpose flour, 1½ cups of granulated sugar, ¾ cup of unsweetened cocoa powder, 2 teaspoons of baking powder, 1 teaspoon of baking soda, and 1 teaspoon of salt. This step aerates the dry components and ensures an even blend, setting a great foundation for your cake's texture.
Step 3: Combine the Wet Ingredients
In a separate bowl, whisk together 2 large eggs, 1 cup of whole milk, ½ cup of vegetable oil, and 1 teaspoon of vanilla extract until fully combined. This rich mixture adds moisture and flavor to your Chocolate & Orange Punchcake, creating a luscious batter that brings joy with every bite.
Step 4: Integrate Wet and Dry Mixtures
Gradually pour the wet mixture into the bowl with the dry ingredients, mixing on medium speed until just combined. Carefully add 1 cup of boiling water to the batter, stirring until smooth and glossy. This step helps the cocoa bloom, enhancing the rich chocolate flavor of your cake.
Step 5: Add Citrus Zest and Chocolate Chips
Fold in the zest of 1 orange and ½ cup of orange juice into your batter. The citrus will uplift the chocolate’s richness beautifully. Gently fold in 1 cup of semisweet chocolate chips, ensuring they are evenly distributed throughout the batter, ready to melt into delightful pockets of chocolate bliss.
Step 6: Pour Batter into Pans
Evenly distribute the batter across the prepared cake pans, filling each about two-thirds full. Use a spatula to smooth the tops, ensuring they’re level. This careful pouring ensures that your Chocolate & Orange Punchcake will bake evenly for the perfect shape.
Step 7: Bake the Cakes
Place the cake pans in the preheated oven and bake for 30-35 minutes. You’ll know the cakes are done when a toothpick inserted in the center comes out clean or with a few moist crumbs. This is the moment when the sweet aroma fills your kitchen, promising a wonderful treat ahead.
Step 8: Cool the Cakes
Once baked, remove the pans from the oven and let them cool for about 10 minutes. After that, gently invert the cakes onto wire racks to cool completely. This step allows the chocolate and orange aromas to mingle and intensify as the cakes cool down.
Step 9: Assemble and Garnish
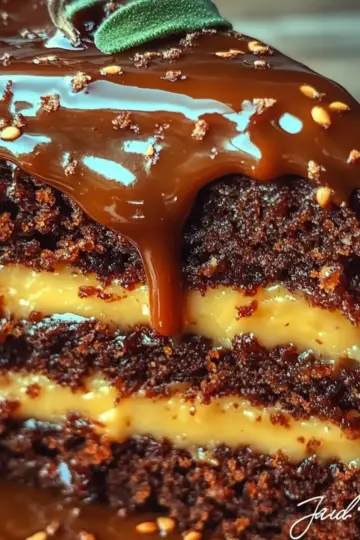
Once completely cool, spread a layer of chocolate ganache between the two cake layers, then cover the top and sides with the remaining ganache. For an extra splash of color and flavor, garnish your Chocolate & Orange Punchcake with fresh orange slices to make your dessert truly eye-catching before serving.
What to Serve with Chocolate & Orange Punchcake
Imagine a warm, inviting dessert that brightens any occasion and pairs deliciously with delightful sides and beverages.
-
Fresh Berries: A medley of strawberries, blueberries, and raspberries adds a burst of freshness that balances the rich flavors of the cake.
-
Vanilla Ice Cream: A scoop of creamy vanilla ice cream melts beautifully on a warm slice, enhancing the chocolate and orange notes in every bite.
-
Whipped Cream: Light and airy, a dollop of freshly whipped cream adds a luxurious touch that complements the cake’s texture.
-
Chocolate Sauce: Drizzling extra chocolate sauce over the cake brings out the cocoa richness, making each slice even more decadent and indulgent.
-
Mint Leaves: A simple garnish of fresh mint can brighten the dish visually and adds a refreshing aroma that enhances the overall experience.
-
Sparkling Water: Serve with a glass of sparkling water for a refreshing contrast; the bubbles cleanse the palate between bites.
-
Coffee or Espresso: A hot cup of coffee or espresso pairs wonderfully, as the bitterness contrasts delightfully with the sweet and citrusy cake. It’s the perfect pick-me-up after a delightful meal.
-
Lemonade or Citrus Punch: A chilled glass of lemonade or a refreshing citrus punch elevates the fruity elements of the cake, making it a delightful treat for warm gatherings.
Embrace the joy of sharing this delightful Chocolate & Orange Punchcake alongside these delicious pairings for an unforgettable dessert experience!
Make Ahead Options
These Chocolate & Orange Punchcake preparations are perfect for busy bakers! You can prepare the cake layers up to 24 hours in advance. Simply bake the cakes as directed, then allow them to cool completely. Once cooled, wrap each layer tightly in plastic wrap to prevent drying out, and store them in the refrigerator. On the day of serving, remove the cakes from the fridge to bring them to room temperature (this helps maintain their moisture). Finally, assemble by spreading chocolate ganache between the layers and on top, garnishing with fresh orange slices for that vibrant touch. With this plan, you'll have a stunning dessert ready with minimal effort!
How to Store and Freeze Chocolate & Orange Punchcake
Room Temperature: Store leftover slices in an airtight container for up to 3 days to maintain freshness. Keep it in a cool, dry place away from direct sunlight.
Fridge: If you want to extend its shelf life, refrigerate the cake for up to a week. Make sure to wrap it tightly in plastic wrap or aluminum foil to prevent drying.
Freezer: For longer storage, freeze individual slices or the whole cake wrapped in plastic wrap and aluminum foil for up to 3 months. Thaw in the fridge overnight before enjoying.
Reheating: To enjoy a slice warmed, heat it in the microwave for 10-15 seconds or wrap it in foil and warm in the oven at 350°F (175°C) for about 10-15 minutes. This Chocolate & Orange Punchcake will taste freshly baked once again!
Expert Tips for Chocolate & Orange Punchcake
Mixing Order Matters: Combine wet and dry ingredients separately before mixing to ensure an even batter and prevent clumps.
Boiling Water Boost: Always add boiling water gradually; it blooms cocoa for a richer chocolate flavor and prevents the batter from being lumpy.
Don't Overmix: Mix until just combined to keep the cake light and fluffy. Overmixing can lead to a dense texture, so be gentle!
Check for Doneness: Use a toothpick to test the center; moist crumbs are ideal for this Chocolate & Orange Punchcake. If it’s wet, bake a few more minutes.
Ganache Tips: Allow the chocolate ganache to cool slightly before spreading; it should be pourable but not hot, ensuring it sets beautifully on the cake.
Chocolate & Orange Punchcake Variations
Feel free to add your personal touch to the recipe and explore these delightful options that will take your Chocolate & Orange Punchcake to the next level!
-
Gluten-Free: Substitute all-purpose flour with a gluten-free blend to keep it light and tender for everyone to enjoy.
-
Nutty Twist: Fold in ½ cup of chopped walnuts or pecans for a delightful crunch and added flavor richness in every bite.
-
Citrus Explosion: Boost the orange flavor by adding 1 teaspoon of orange extract along with the zest, enhancing that vibrant citrus profile.
-
Dairy-Free: Replace whole milk with almond or coconut milk and use a plant-based egg substitute to make it suitable for dairy-free dieters.
-
Spicy Kick: Spice it up with ½ teaspoon of cayenne pepper or cinnamon to add warmth and excitement to this chocolate and orange pairing.
-
Fruity Favorite: Mix in ½ cup of chopped strawberries or raspberries for a refreshing fruit twist that complements the chocolate beautifully.
-
Dark Chocolate Lover: Swap out the semisweet chocolate chips for dark chocolate chips to deepen the indulgence and satisfy chocolate enthusiasts.
-
Frosting Variations: Instead of ganache, top your cake with a fluffy cream cheese frosting for a tangy contrast to the sweet cake!
Experimenting with these variations will create a dessert that reflects your personal taste, amplifying the joy of sharing this special treat with loved ones! If you're interested in other flavoring tips, don’t forget to check out my guide on how to elevate your baking with spices for even more inspiring ideas!
Chocolate & Orange Punchcake Recipe FAQs
What type of oranges should I use for the zest and juice?
I recommend using fresh navel or Valencia oranges for both zest and juice. They are sweet, juicy, and have a wonderful aroma. Avoid using oranges that show dark spots or feel mushy, as they may be past their prime.
How long can I store the Chocolate & Orange Punchcake?
To keep your cake fresh, store it in an airtight container at room temperature for up to 3 days. If you want it to last longer, refrigerate it for up to a week. Just make sure to wrap it tightly to avoid dryness!
Can I freeze the Chocolate & Orange Punchcake? How?
Absolutely! To freeze, slice the cake or leave it whole, and wrap it tightly in plastic wrap followed by aluminum foil to prevent freezer burn. It can last for up to 3 months. When you're ready to enjoy it, thaw it in the fridge overnight before serving. You can also reheat individual slices in the microwave for a quick treat!
The cake turned out dense; what might have gone wrong?
Density can often result from overmixing the batter or not properly measuring your flour. Make sure to always measure flour using the spoon-and-level method. Also, mixing until just combined helps incorporate air, keeping the cake light and fluffy. Next time, be gentle when folding in the wet and dry ingredients!
Is this recipe safe for people with nut allergies?
Yes! All the ingredients in the Chocolate & Orange Punchcake are nut-free, making it a delightful option for those with nut allergies. However, if you’re serving guests, always check if the chocolate chips you choose are produced in a nut-free facility to avoid cross-contamination.
How do I make sure the ganache sets nicely on the cake?
To achieve a smooth ganache, let it cool slightly after preparation before spreading it on your cake. It should still be pourable but not hot. Spread the ganache between the cake layers first, then apply it to the top and sides for a beautiful finish. This will also help it set nicely as it cools.
Delicious Chocolate & Orange Punchcake
Ingredients
Equipment
Method
- Preheat your oven to 350°F (175°C) and prepare two 9-inch round cake pans by greasing and dusting them with flour.
- Sift together the flour, sugar, cocoa powder, baking powder, baking soda, and salt in a large mixing bowl.
- In a separate bowl, whisk together the eggs, milk, oil, and vanilla extract until fully combined.
- Gradually pour the wet ingredients into the dry mixture, mixing until just combined, then add boiling water.
- Fold in the orange zest and juice, then gently fold in the chocolate chips.
- Pour the batter evenly into the prepared pans and smooth the tops.
- Bake for 30-35 minutes or until a toothpick inserted comes out clean.
- Cool the cakes in the pans for 10 minutes before transferring to wire racks.
- Spread chocolate ganache between the layers and on the outside, garnishing with fresh orange slices.


Leave a Reply