
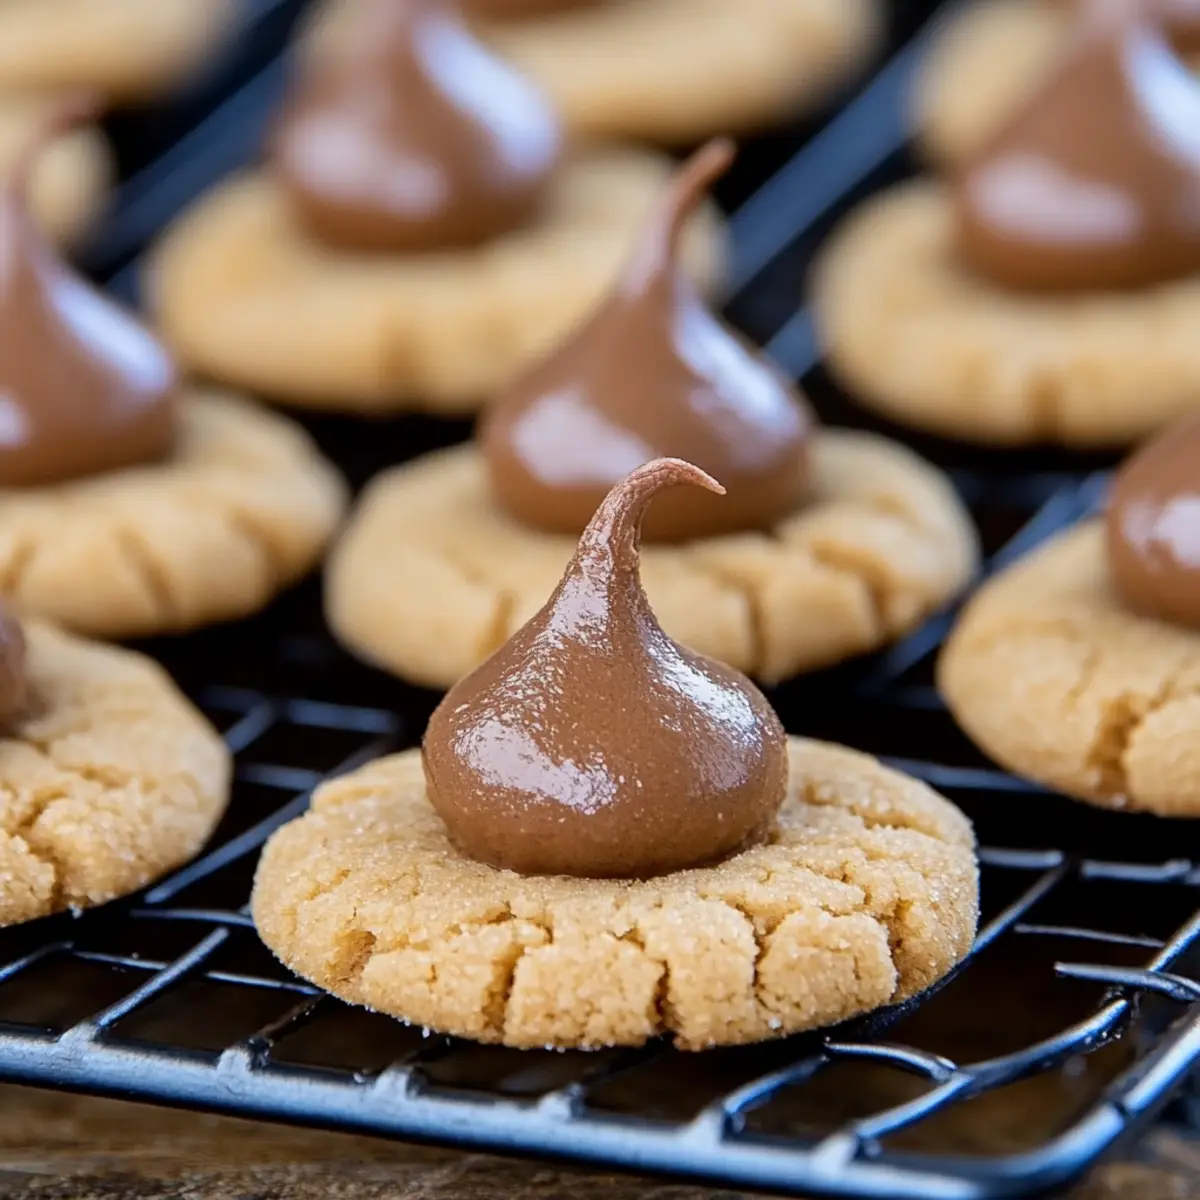
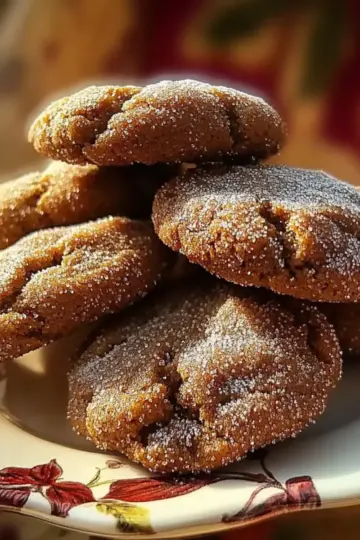
Walking through the bustling holiday market, the scent of spiced cookies in the air instantly takes me back to my childhood. Those magical moments spent baking with loved ones inspire me to create a nut-free version of a classic favorite: Cookie Butter Blossoms. These delightful treats combine the warm, spiced flavor of cookie butter with the sweetness of chocolate kisses, making them the perfect addition to any holiday gathering. Not only are they incredibly easy to whip up, but they also cater to those with nut allergies, offering a crowd-pleasing option that's sure to impress everyone. Ready to dive into this cozy recipe and fill your home with mouthwatering aromas? Let’s bring a little holiday cheer to your kitchen!
Why Will You Adore These Blossoms?
Irresistible Flavor: The marriage of warm, spiced cookie butter and creamy chocolate kisses creates an unforgettable taste sensation that brings joy to every bite.
Nut-Free Treat: Perfect for those with nut allergies, these blossoms ensure that everyone can indulge in a festive classic.
Quick & Easy: With just a few simple steps, these cookies come together in no time, making them ideal for busy holiday baking sessions.
Versatile Options: Feel free to experiment! Try using flavored kisses like caramel for a fun twist, or substitute cookie butter with a crunchy variety for extra texture.
Crowd-Pleasing Delight: Whether showcasing them on your holiday cookie tray or sharing them at gatherings, these cookies are sure to win hearts around the table.
Pair them with a glass of milk for the ultimate treat, and if you're in the mood for more sweet ideas, check out these Snowball Cookie Holiday and Christmas Sugar Cookie options for added variety!
Cookie Butter Blossoms Ingredients
-
For the Cookies
-
Sifted Flour – Adds structure to the cookies; ensure it's sifted for even texture.
-
Baking Soda – Provides leavening for a light texture; essential for proper rise.
-
Salt – Enhances flavor and balances sweetness; use fine salt for best distribution.
-
Butter or Margarine – Contributes richness and tenderness; can substitute with vegan options if desired.
-
Cookie Butter – The star ingredient offering unique flavor; can swap with almond butter if necessary, but will not be nut-free.
-
Granulated Sugar – Sweetens the dough and aids browning; for less sweetness, consider reducing slightly.
-
Brown Sugar – Adds moisture and a deeper flavor profile; light or dark brown sugar can be used based on preference.
-
Egg – Binds the ingredients and aids in leavening; ensure it's at room temperature for best mixing.
-
Vanilla Extract – Enhances overall flavor; use pure vanilla for a more robust taste.
-
For the Topping
-
Milk Chocolate Kisses – Adds sweetness and an inviting look; check brands for nut-free options if allergies are a concern.
Step‑by‑Step Instructions for Cookie Butter Blossoms
Step 1: Preheat the Oven
Begin by preheating your oven to 350°F (175°C). This step is crucial for achieving perfectly baked Cookie Butter Blossoms, ensuring they rise beautifully. While the oven heats up, gather your baking sheets and line them with parchment paper for easy cookie removal later.
Step 2: Combine Dry Ingredients
In a medium mixing bowl, sift together 2 cups of all-purpose flour, 1 teaspoon of baking soda, and ½ teaspoon of salt. This process aerates the flour and mixes the leavening agent and salt evenly. Set this dry mixture aside as it will help provide structure to your cookies.
Step 3: Cream the Butters
In a large mixing bowl, use an electric mixer to cream together ½ cup of softened butter and ½ cup of cookie butter until the mixture is light and fluffy, about 2 minutes. The combination of these two butters infuses your Cookie Butter Blossoms with rich, sweet flavor. Scrape down the sides of the bowl to ensure everything is well incorporated.
Step 4: Incorporate Sugars
Gradually add ½ cup of granulated sugar and ½ cup of brown sugar to the creamed butter mixture. Continue to beat with the electric mixer until the sugars are fully dissolved and the mixture is creamy. This process typically takes about 2 minutes. The sugar not only sweetens but also contributes to the cookie’s lovely golden color.
Step 5: Add the Egg and Vanilla
Beat in 1 large egg and 1 teaspoon of pure vanilla extract to the butter and sugar mixture until just combined. This will add moisture and flavor to your Cookie Butter Blossoms. Ensure that the egg is at room temperature for optimal mixing. It’s important to mix just until combined to keep the cookies tender.
Step 6: Mix in Dry Ingredients
Gradually add the sifted dry ingredients from your earlier bowl to the wet mixture. Stir gently with a spatula or wooden spoon until just combined, being careful not to overmix. Overmixing can lead to tough cookies. The dough should be soft and slightly sticky—a perfect consistency for creating delightful Cookie Butter Blossoms.
Step 7: Shape the Dough
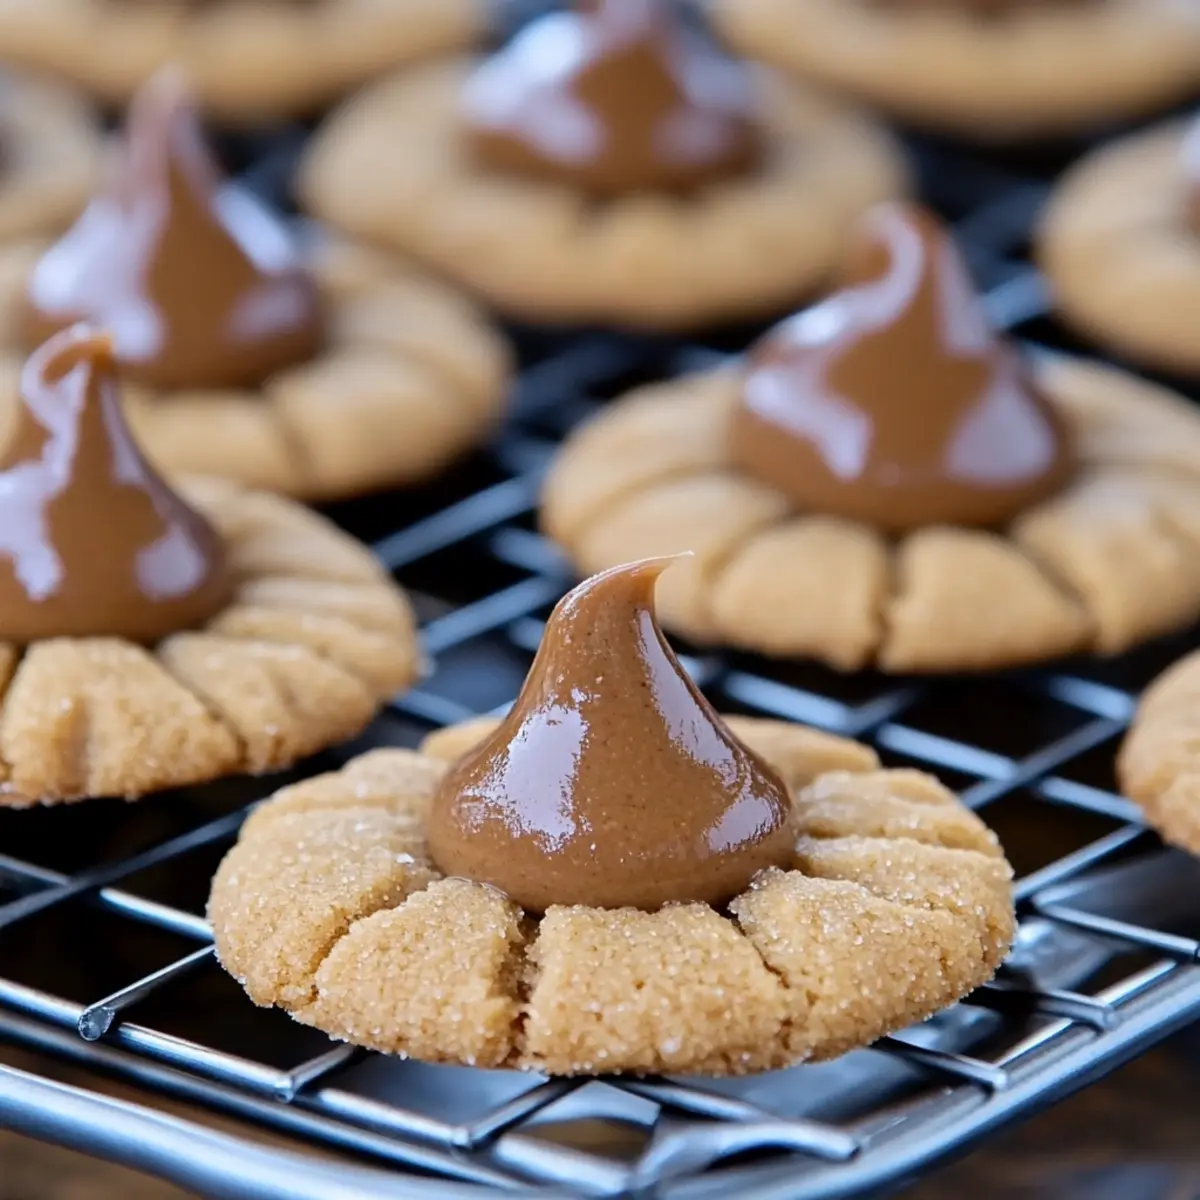
Using a teaspoon, scoop out portions of dough and roll them into balls about 1 inch in diameter. Roll each dough ball in granulated sugar to coat them evenly, adding extra sweetness and a glossy finish. This step gives your Cookie Butter Blossoms a delightful crunch on the outside.
Step 8: Bake the Cookies
Place the sugar-coated dough balls on ungreased cookie sheets, leaving about 2 inches of space between them to allow for spreading. Bake in your preheated oven for 8 minutes, or until the edges look slightly golden. At this point, the centers may look a bit underbaked, which is perfect for a chewy texture.
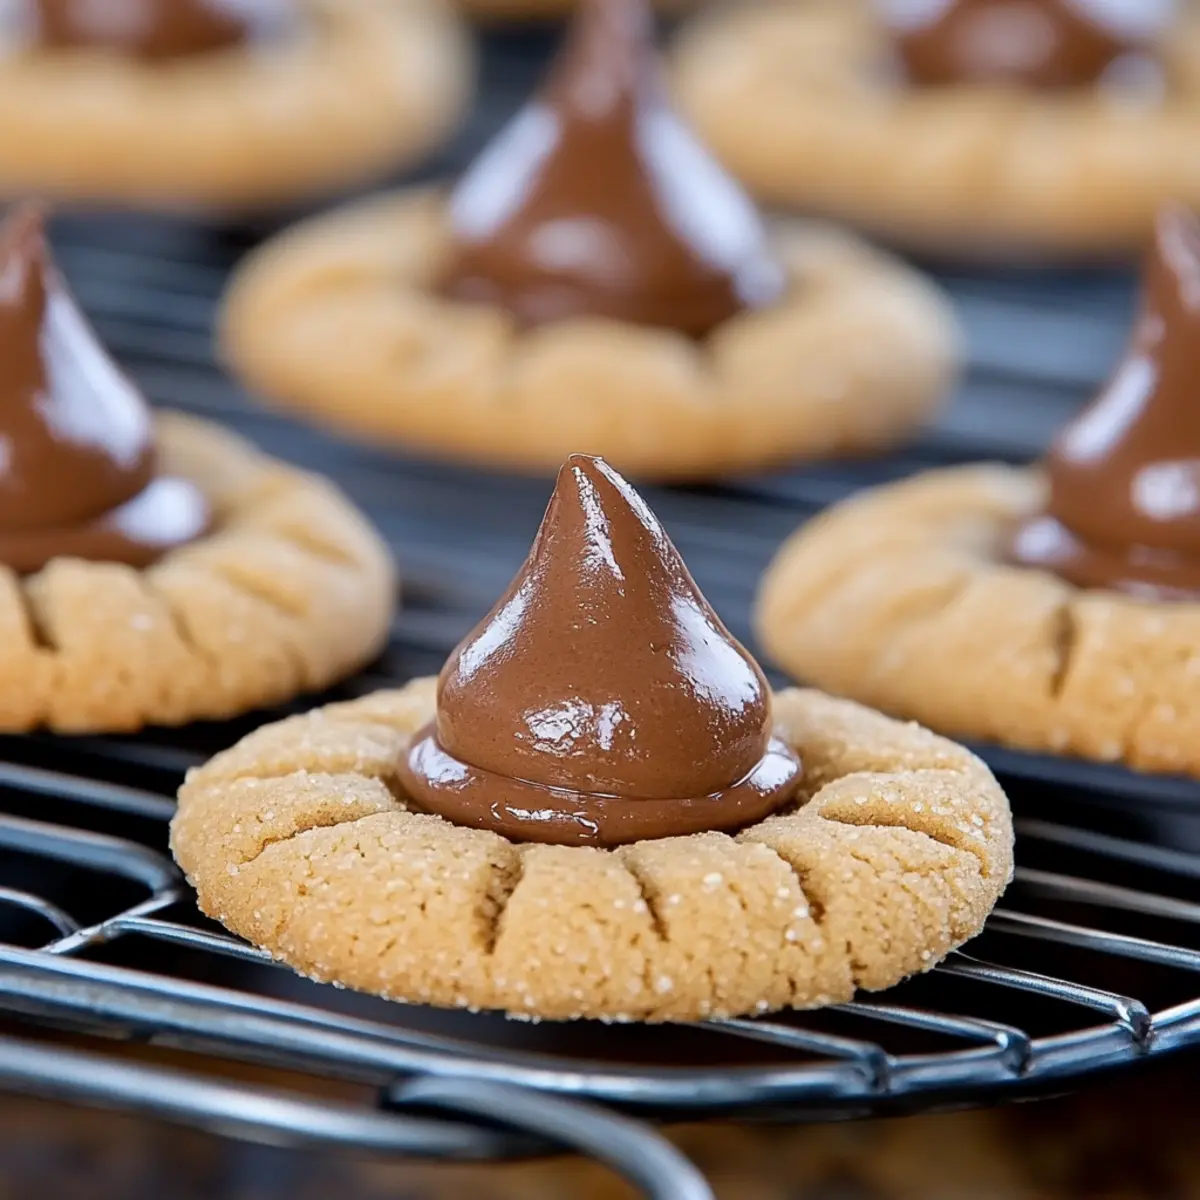
Step 9: Add the Chocolate Kisses
As soon as you pull the cookies from the oven, gently press a milk chocolate kiss into the center of each cookie. Be cautious—cookies will be hot! The warmth from the cookies will melt the kisses slightly, creating a lovely presentation and adding an irresistible sweetness to every bite.
Step 10: Final Baking
Return the cookie sheets to the oven and continue baking for an additional 2-5 minutes. Keep an eye on the cookies; they're ready when the edges are golden while the centers remain soft. This balance ensures your Cookie Butter Blossoms are chewy and gooey on the inside, making them a holiday favorite.
Step 11: Cooling the Cookies
Once baked, allow the cookies to cool on the baking sheet for about 5 minutes. This resting time helps them set and makes them easier to transfer. Then, gently move the cookies to a wire rack for complete cooling. Enjoy the delightful aroma that fills your kitchen!
Expert Tips for Cookie Butter Blossoms
-
Butter Temperature Matters: Make sure the butter is softened but not melted; this is key to achieving the right texture in your Cookie Butter Blossoms.
-
Don't Overmix: Mix the dough until just combined to ensure your cookies remain tender and chewy. Overmixing can lead to tough results!
-
Check Baking Time: Keep a close eye when baking! The cookies should be slightly underbaked in the center for that perfect chewy texture.
-
Use Parchment Paper: Lining your baking sheets with parchment makes removing the cookies a breeze and helps prevent sticking.
-
Cool on Sheets: Allow the cookies to cool on the baking sheet for a few minutes before transferring to a wire rack; this helps them set properly.
What to Serve with Nut-Free Cookie Butter Blossoms?
Embrace the spirit of the season by creating a delightful spread that complements these charming cookie bites, inviting joy to your table.
- Creamy Hot Chocolate: A warm cup of rich, creamy hot chocolate pairs perfectly, balancing the sweetness while adding cozy vibes to your gathering. Swirl in whipped cream for an extra indulgence!
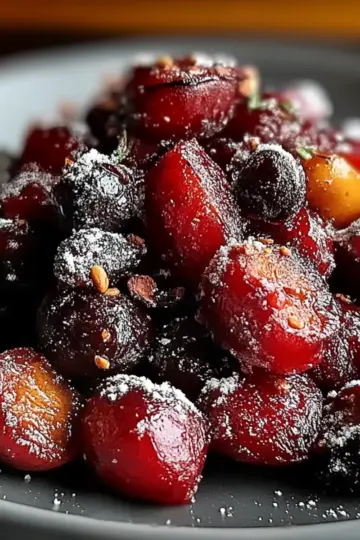
- Festive Fruit Salad: A fresh fruit salad brimming with cranberries, oranges, and apples offers a refreshing contrast to the sweetness of the cookies. The vibrant colors and zesty flavors enhance the holiday cheer.
- Cinnamon-Spiced Chai: This aromatic tea, filled with spices like cinnamon and cardamom, provides a warming backdrop that enhances the flavors of the Cookie Butter Blossoms beautifully. A comforting combo you won’t want to miss!
- Gingerbread Milkshake: Blend together gingerbread cookies, ice cream, and a splash of milk to create a holiday-flavored milkshake that will delight both kids and adults alike. It’s a creative twist on traditional pairings!
- Mini Cheesecake Bites: These bite-sized cheesecake treats offer a creamy, tangy counterpart to the cookies' sweetness. Serve them with a berry topping for a colorful, fresh feel that brightens the treat selection.
- Spiced Apple Cider: Warm spiced apple cider filled with fall flavors like cinnamon and cloves makes for a delightful pairing. Sip it alongside your cookies for a nostalgic taste of the season.
- Chocolate Chip Cookie Dough Dip: This indulgent dip is a playful twist on dessert. Pair it with graham crackers or apple slices for dipping, inviting everyone to enjoy sweet bites together.
- Nut-Free Holiday Snack Mix: A crunchy mix of pretzels, popcorn, and chocolate candies creates a fun snack to accompany the cookies, balancing sweetness with a satisfying crunch that everyone will love.
- Whipped Vanilla Yogurt: This lighter option allows the flavors of the cookies to shine while providing a creamy, refreshing element. Top it with some crushed cookies for added texture!
Cookie Butter Blossoms Variations
Let your creativity flow as you explore these delightful twists for your Cookie Butter Blossoms!
-
Crunchy Cookie Butter: Swap your smooth cookie butter for a crunchy version for added texture, enhancing every bite with a delightful crunch.
-
Flavored Chocolate Kisses: Use caramel or dark chocolate kisses instead of milk chocolate for an exciting flavor twist that will tantalize your tastebuds like never before.
-
Gluten-Free Blend: Replace all-purpose flour with a gluten-free baking blend to accommodate gluten-sensitive friends while keeping the flavor and texture intact.
-
Spiced Sweets: Add a teaspoon of cinnamon or nutmeg to the dry ingredients to infuse your cookies with warming spice notes, bringing more holiday cheer to each nibble!
-
Citrus Zest Boost: Brighten up the flavor by adding a teaspoon of orange zest to the dough for a refreshing citrus aroma that harmonizes beautifully with the cookie butter.
-
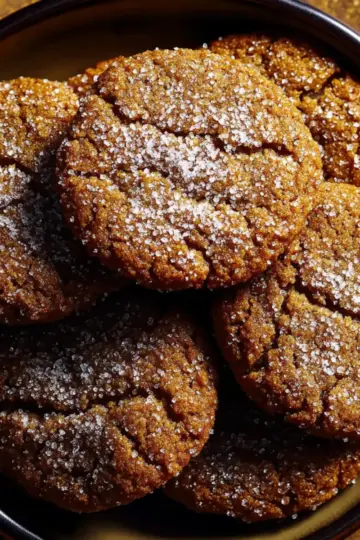
Chewy Molasses Cookie Blossoms: For a deeper flavor, substitute half the cookie butter with molasses. These cookies will have a rich taste that’s perfect for the holidays!
-
Nut-Free Sprinkles: Sprinkle some festive holiday-themed nonpareils over the chocolate kisses straight out of the oven for a playful, colorful finish that adds cheer to your cookie platter.
-
Mini Blossoms: Make mini versions of these cookies using half the dough per cookie. They're perfect for snacking and gathering around the festive table!
Each of these variations opens new avenues for your holiday baking traditions. While you're at it, consider pairing these treats with a cozy glass of milk or perhaps even explore other delightful options like Gooey Butter Cookies for a sweet adventure in your kitchen!
Make Ahead Options
These Nut-Free Cookie Butter Blossoms are perfect for meal prep enthusiasts! You can prepare the dough up to 24 hours in advance by mixing all the ingredients and storing the dough in an airtight container in the refrigerator. This not only saves you time on busy baking days but also helps the flavors meld beautifully. When you’re ready to bake, simply scooping and rolling the dough into balls, roll them in sugar, and bake as directed. Additionally, you can bake the cookies, let them cool, and store them in an airtight container at room temperature for up to 3 days, ensuring they stay just as delicious and chewy.
How to Store and Freeze Cookie Butter Blossoms
Room Temperature: Store the cookies in an airtight container at room temperature for up to 4-5 days to maintain freshness and softness.
Fridge: If you prefer a slightly firmer texture, consider refrigerating the cookies in an airtight container for up to a week.
Freezer: Freeze the Cookie Butter Blossoms in an airtight container or heavy-duty freezer bag for up to 6 months. To enjoy later, simply thaw them at room temperature.
Reheating: For a warm treat, reheat the cookies in the microwave for about 10-15 seconds or pop them into a preheated oven at 350°F for a few minutes until warmed through.
Cookie Butter Blossoms Recipe FAQs
How do I select the best cookie butter for this recipe?
Absolutely! When choosing cookie butter, look for options that are creamy and have a robust flavor. Check ingredient labels for those that use high-quality spices like cinnamon and nutmeg, which will enhance the taste of your cookies. Also, ensure it's nut-free if allergies are a concern—various brands offer tailored options specifically for nut-sensitive households.
How should I store my Cookie Butter Blossoms?
To keep your cookies fresh and tasty, store them in an airtight container at room temperature for up to 4-5 days. If you're making them ahead of time, consider stacking them with parchment paper in between layers to prevent sticking. This method keeps them from becoming too soft while ensuring each bite stays delicious!
Can I freeze Cookie Butter Blossoms?
Yes, I often freeze these gems! To freeze, let the cookies cool completely, then place them in an airtight container or a heavy-duty freezer bag. You can freeze them for up to 6 months. When you're ready to enjoy, just let them thaw at room temperature, or pop them in the microwave for about 10-15 seconds for that fresh-baked feel.
Why do my Cookie Butter Blossoms spread too much while baking?
Very! If your cookies are spreading too much, it could be due to warm butter or not using enough flour. Make sure your butter is just softened and measure your flour correctly—sifting helps! If you suspect it’s under-measured, you can try adding a tablespoon or two more of flour next time to help maintain their shape.
Can I substitute any of the ingredients, and will it affect the cookies?
Absolutely! While the star ingredient is cookie butter, you can substitute it with a crunchy version for texture or even a nut-free sunflower seed butter if you need a different flavor. However, swapping out ingredients like sugar or flour can affect the consistency and sweetness of the Cookie Butter Blossoms, so proceed with caution. If allergies are a concern, always check the labels for safe alternatives!
Are these Cookie Butter Blossoms suitable for children or those with allergies?
Yes, these cookies are a fantastic treat for kids and those with nut allergies since they are nut-free! However, ensure that all your ingredients are labeled as allergy-safe. Always be cautious with chocolate options as some brands may contain traces of nuts, and double-checking for any intolerances is always a good practice. Enjoy baking and sharing these delightful treats!

Delicious Nut-Free Cookie Butter Blossoms for Joyful Holidays
Ingredients
Equipment
Method
- Preheat your oven to 350°F (175°C) and line baking sheets with parchment paper.

- Sift together the flour, baking soda, and salt in a mixing bowl.
- Cream the softened butter and cookie butter together until light and fluffy.
- Add granulated sugar and brown sugar to the mixture, beating until creamy.
- Beat in the egg and vanilla extract until just combined.
- Gradually mix in the dry ingredients until just combined.
- Scoop the dough and roll into 1-inch balls, then roll in granulated sugar.
- Place dough balls on ungreased sheets, leaving space for spreading and bake for 8 minutes.
- Press a chocolate kiss into the center of each cookie as soon as they come out of the oven.
- Return to the oven and bake for an additional 2-5 minutes until edges are golden.
- Allow cookies to cool on the baking sheet for 5 minutes before transferring to a wire rack.
Leave a Reply