
As I was rummaging through my pantry, I stumbled upon a jar of Buffalo sauce and a vision sparked in my mind—a delicious, festive Buffalo dip that would be the star of any gathering! This Buffalo “Bat Nest” Dip is not only a crowd-pleaser but also a quick and delightful way to elevate your appetizer game. With just a handful of creamy ingredients and those vibrant blue corn chips, you'll create a dish that’s not just tasty but also visually stunning. It’s perfect for game days, Halloween parties, or cozy family nights when you need something comforting yet exciting. Curious about how to whip up this fun and flavorful dip that’s sure to impress your guests? Let’s dive in!

Why is this Buffalo Dip so irresistible?
Creamy, Dreamy Texture: The luscious cream cheese and cheddar meld perfectly with the zesty Buffalo sauce, creating a sumptuous dip that’s hard to resist.
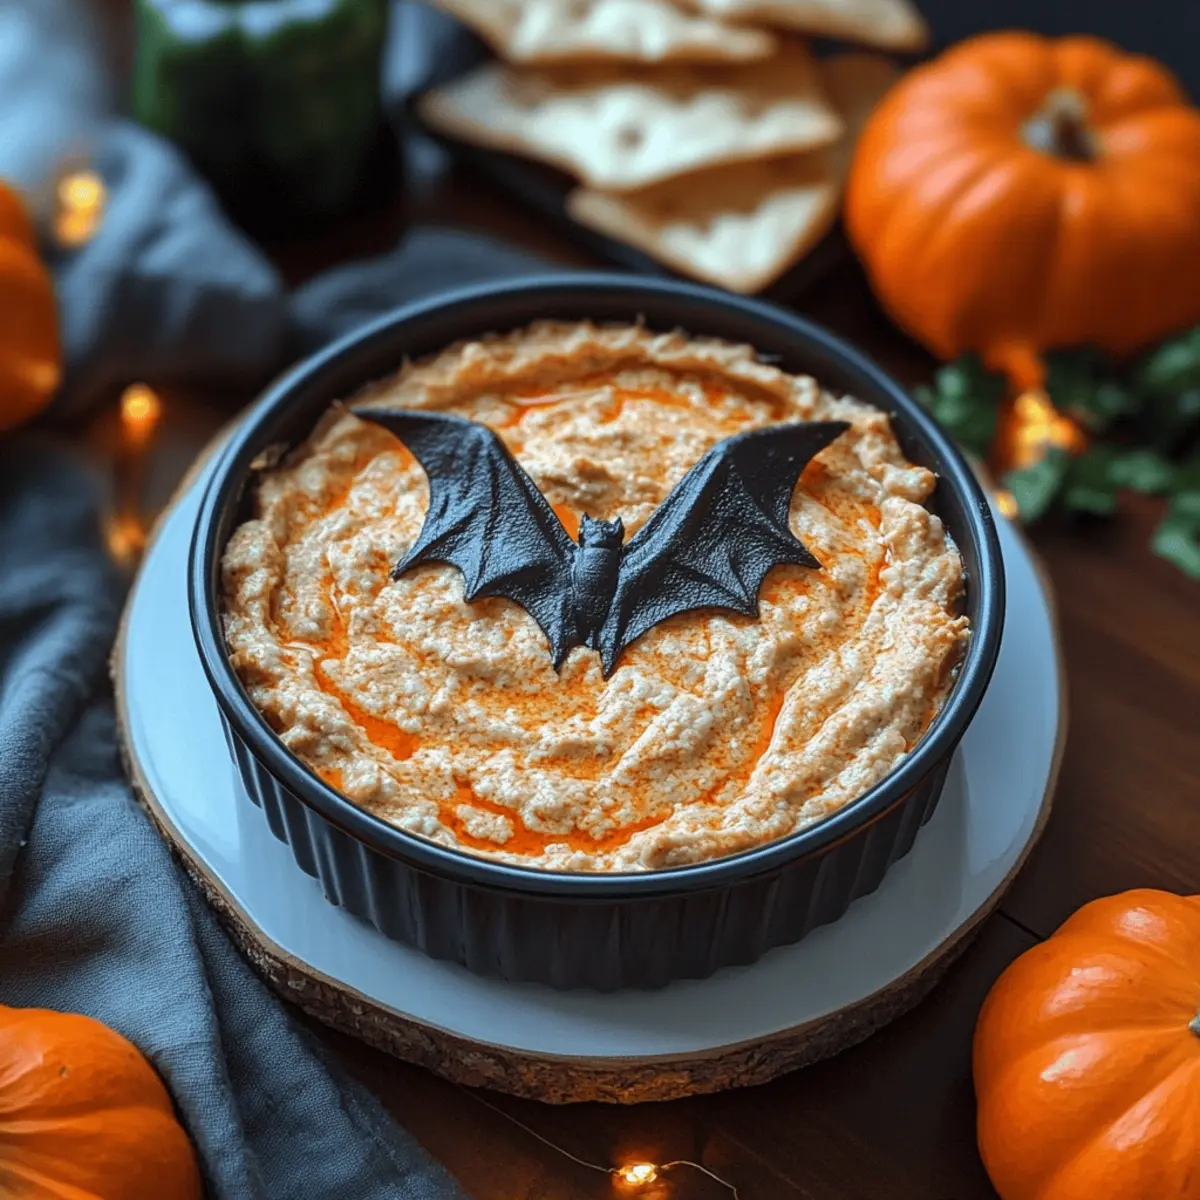
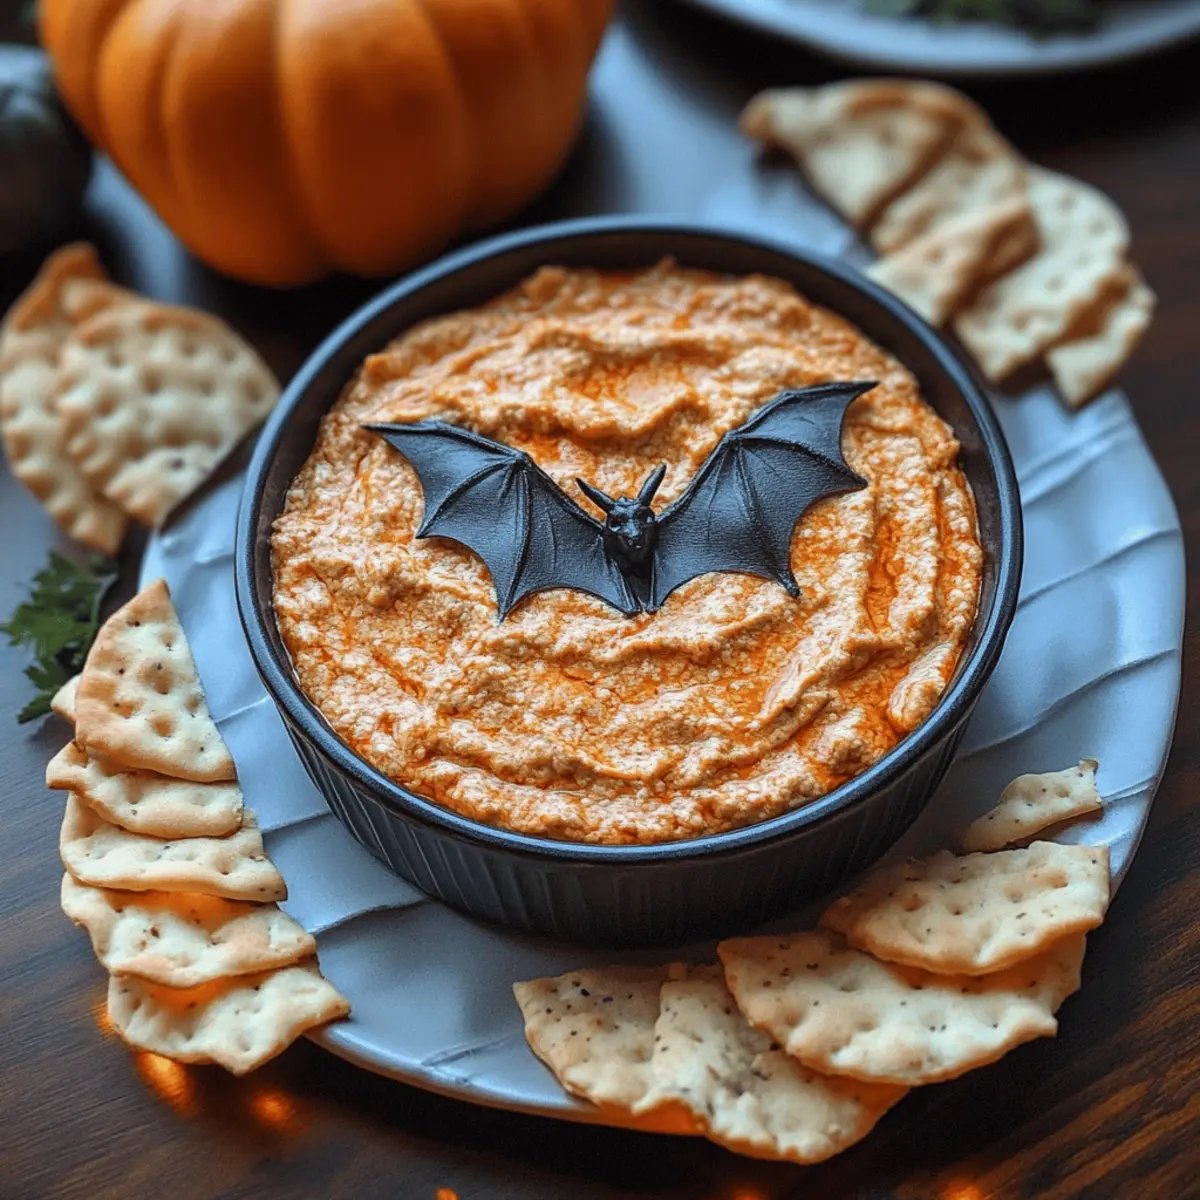
Visually Stunning: With its blue corn chip “wings” and festive bat decoration, this dip is sure to steal the show at any gathering.
Quick and Easy: In just 25 minutes, you can whip up a delicious appetizer that looks gourmet without the hassle.
Crowd-Pleaser: Whether it’s game day or Halloween, this dip is guaranteed to get everyone excited. Pair it with your favorite homemade tortilla chips for an extra crunch!
Flexible Ingredients: Customize the flavors by adding your favorite cheese or mixing in some veggies for a personal touch.
Elevate your snacking game with this delightful Buffalo Dip that your friends and family will rave about!
Buffalo Dip Ingredients
• Get ready to create a dip that defines delicious!
For the Dip
- Cream cheese – provides a rich, creamy base that balances the heat of the Buffalo sauce.
- Shredded cheddar cheese – adds a sharp flavor and melty goodness that complements the creaminess perfectly.
- Buffalo sauce – brings the bold, spicy kick that makes this dip so irresistible; you can adjust the amount for your heat preference!
For the Chips
- Blue corn chips – these vibrant chips not only look stunning but also provide a delightful crunch and a slightly sweet flavor contrast.
For Decoration
- Plastic bat – a fun, Halloween-inspired touch that turns this dip into an eye-catching centerpiece at your gathering!
Now you’re all set to whip up this delightful Buffalo dip that’s certain to wow your guests!
Step‑by‑Step Instructions for Buffalo “Bat Nest” Dip
Step 1: Preheat the Oven
Begin by preheating your oven to 350°F (175°C). This temperature is ideal for baking your Buffalo dip to creamy perfection. Use an oven thermometer if you have one to ensure accuracy—an evenly heated oven will make a big difference in the final texture of your dip.
Step 2: Prepare the Cheese Mixture
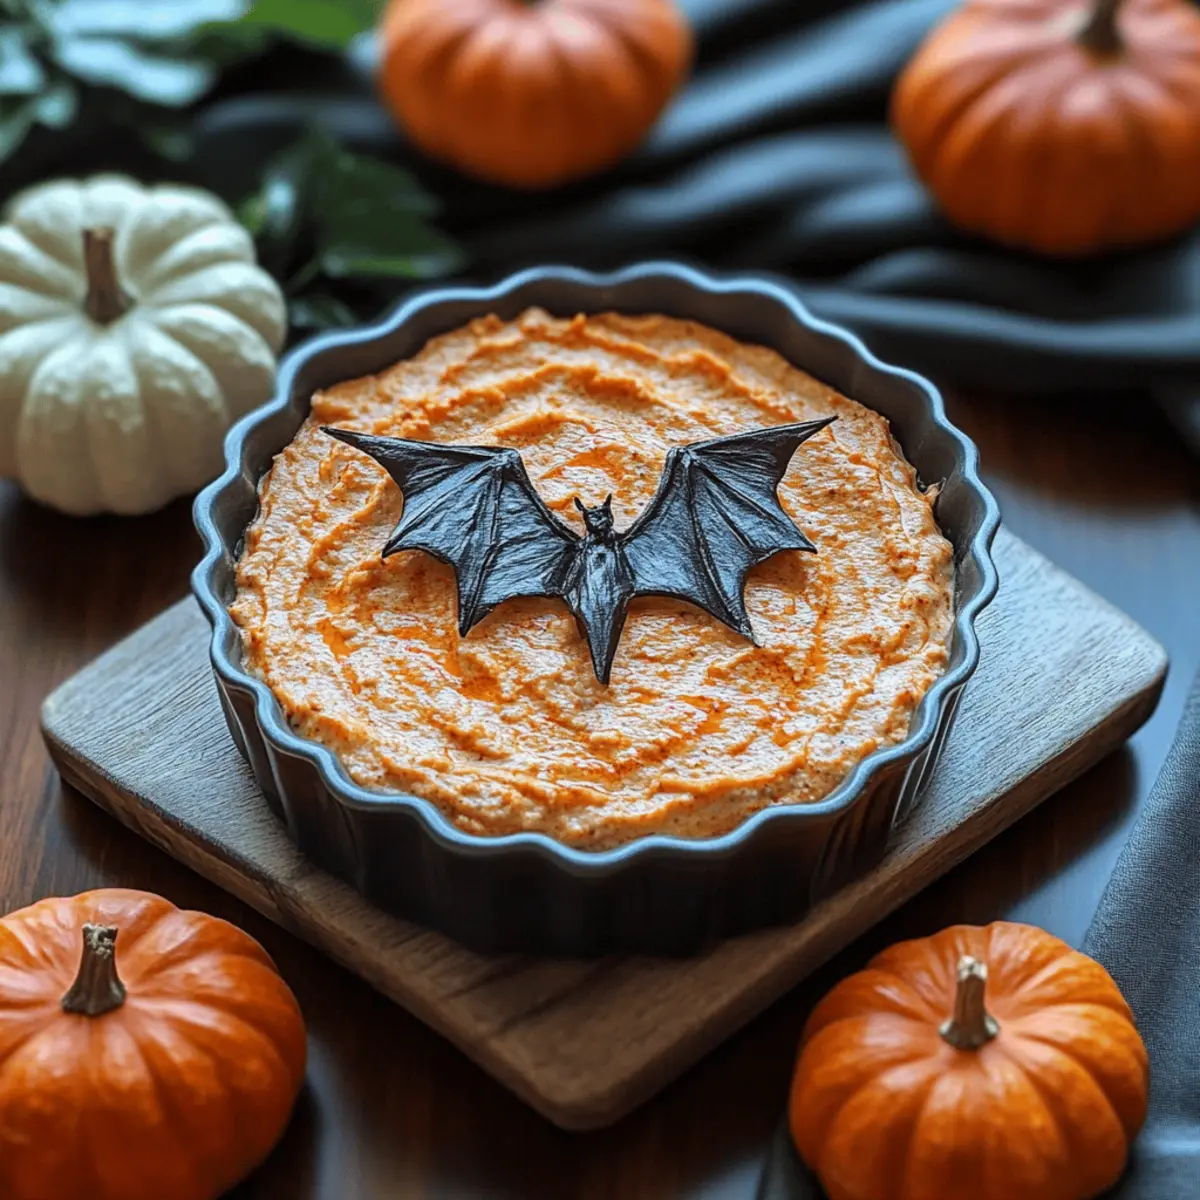
In a medium-sized mixing bowl, combine 1 cup of cream cheese, 1 cup of shredded cheddar cheese, and 1 cup of Buffalo sauce. Using a hand mixer or a sturdy spatula, mix until the ingredients are thoroughly combined and smooth—this should take about 2-3 minutes. The vibrant orange color of the Buffalo dip will be a visual cue that it’s ready for the next step.
Step 3: Spread the Mixture
Transfer the creamy Buffalo dip mixture into a baking dish, spreading it evenly to cover the bottom. Using a spatula, smooth the top to create an inviting surface for the blue corn chips. This step is crucial for achieving a deliciously bubbly top layer when baked.
Step 4: Arrange the Chips
Take a generous handful of blue corn chips and carefully arrange them around the edge of the dip. The chips should resemble wings, creating a festive visual for your Buffalo “Bat Nest” dip. Make sure to press them gently into the mixture, so they hold their shape during baking.
Step 5: Bake the Dip
Place the baking dish in the preheated oven and bake for 20-25 minutes. Keep an eye on the dip as it bakes; it’s ready when you see the edges bubbling and the top slightly golden. The savory aroma of the Buffalo dip filling your kitchen will be a sure sign you’re cooking something special.
Step 6: Decorate
Once the dip has finished baking, remove it from the oven and let it cool for a minute. For a fun Halloween touch, place a plastic bat on top of the dip as a decorative finishing flourish. This playful addition not only enhances the presentation but also adds to the excitement of enjoying your Buffalo dip.
Step 7: Serve and Enjoy
Your Buffalo “Bat Nest” dip is now ready to impress! Serve it warm with additional blue corn chips on the side, encouraging your guests to dive in with delight. Enjoy the creamy, zesty flavors with a hint of playful charm that make this dip a true crowd-pleaser!
What to Serve with Buffalo “Bat Nest” Dip
Create a memorable spread that will have everyone talking long after the party's over!
- Vegetable Crudités: A colorful platter of fresh veggies like carrots, celery, and bell peppers adds crunch and freshness to contrast with the creamy dip.
- Garlic Breadsticks: Soft and warm, these breadsticks are perfect for scooping and complement the bold flavors of Buffalo sauce.
- Ice-Cold Beer: A light lager or pale ale enhances the spicy kick of the dip—a classic pairing for game day enjoyment!
- Sweet Potato Fries: Crispy, slightly sweet, and full of flavor, these fries offer a delightful twist that pairs beautifully with the dip’s richness.
- Spicy Pickles: Add a tangy crunch with spicy pickles, helping cut through the creaminess while enhancing the overall flavor experience.
- Apple Slices with Cheddar: A refreshing twist that combines sweet and savory notes, creating a unique pairing that surprises and delights the palate.
Bring your loved ones together with these delicious accompaniments that truly enhance the joy of sharing your Buffalo dip!
Make Ahead Options
These Buffalo Dip preparations are perfect for busy cooks looking to save time! You can mix the cream cheese, shredded cheddar cheese, and Buffalo sauce up to 24 hours in advance. Simply store the blended mixture in an airtight container in the refrigerator to maintain its creamy texture. Additionally, you can set aside the blue corn chips and arrange them just before baking to keep them crispy. When you're ready to serve, spread the dip into a baking dish and bake for 20-25 minutes until bubbly and golden. This way, you’ll have a delicious centerpiece ready with minimal effort—perfect for game days or gatherings!
Buffalo Dip Variations & Substitutions
Feel free to get creative and make this Buffalo dip your own with these delicious twists!
-
Spicy Kick: Add diced jalapeños or cayenne pepper for an extra zesty punch. This will elevate your dip from simple to sensational!
-
Creamy Vegan Option: Substitute cream cheese with a dairy-free alternative and switch to vegan cheese. The result is a deliciously creamy dip that everyone can enjoy.
-
Chunky Add-ins: Mix in some shredded cooked chicken or diced celery for added texture and flavor. It adds heartiness, making your dip even more satisfying!
-
Herb-Infused: Sprinkle in chopped chives or cilantro to provide a fresh herbal note that complements the rich flavors beautifully. This simple addition can lighten the dip while keeping it vibrant!
-
Cheesy Delight: Experiment with different cheeses, such as pepper jack or gouda, for a fun flavor twist. You'll be amazed at the new taste dimensions you can create!
-
Sweet Balance: Drizzle a bit of honey or maple syrup on top before serving to balance the heat with a touch of sweetness. It's a delightful surprise that will have your guests coming back for more.
-
Nutty Crunch: For a unique texture, sprinkle some toasted walnuts or pecans over the top just before serving. Their crunch will add an exciting element to the creamy dip.
-
Veggie Lovers: Stir in some chopped spinach or artichoke hearts for a deliciously nutritious spin. It’s a wonderful way to sneak in extra greens without compromising on flavor!
Expert Tips for the Best Buffalo Dip
• Mix It Well: Ensure all ingredients are thoroughly combined for a smooth texture; this helps distribute the flavors evenly throughout the dip.
• Watch the Bake Time: Keep an eye on the dip while baking. Overcooking can lead to separation, while undercooking may result in an unappealing texture.
• Customize the Heat: Adjust the amount of Buffalo sauce according to your taste. Start with less if you're unsure, and add more for a bolder kick.
• Chill Before Serving: Letting the dip cool slightly after baking can enhance the flavors, allowing everything to meld together beautifully.
• Serving Suggestions: Pair your Buffalo dip with various crunchy veggies or pita chips for a fun, nutritious twist. This variety enhances the overall experience and complements the dip!
How to Store and Freeze Buffalo Dip
Fridge: Store any leftover Buffalo dip in an airtight container for up to 3 days. Reheat gently in the microwave or oven for the best texture before serving.
Freezer: If you’d like to keep it longer, freeze the dip in a freezer-safe container for up to 2 months. Thaw overnight in the fridge before reheating.
Reheating: When ready to enjoy, reheat the dip in the oven at 350°F (175°C) for about 15-20 minutes, or until bubbly, to restore its creamy goodness.
Assembly Tips: If you plan to freeze, consider storing the dip and blue corn chips separately to maintain their crispness until you’re ready to serve!
Buffalo “Bat Nest” Dip Recipe FAQs
How do I choose ripe ingredients for my Buffalo dip?
Absolutely! For the freshest taste, make sure your cream cheese is not expired and has a smooth texture. When selecting cheese, aim for a good quality shredded cheddar that's not clumping together—this usually indicates freshness. Buffalo sauce should have a bright color and a strong aroma. If you have any doubts about the freshness of any ingredient, it's best to choose alternatives or make a trip to the store!
How should I store leftover Buffalo dip?
To keep your leftover Buffalo dip fresh, store it in an airtight container in the fridge, where it can last up to 3 days. When reheating it, do so gently in the microwave or oven to maintain that creamy texture. Covering it partially while reheating will help retain moisture, ensuring every bite is as delightful as the first!
Can I freeze Buffalo dip, and if so, how?
Yes, you certainly can! To freeze your Buffalo dip, transfer it to a freezer-safe container, making sure to leave some space for expansion. It can be stored in the freezer for up to 2 months. When you're ready to enjoy it, simply thaw it in the fridge overnight. Reheat it at 350°F (175°C) for about 15-20 minutes until it's bubbly and delicious!
What if my Buffalo dip is too thick after baking?
Very few things are worse than an overly thick dip! If you find your dip is thicker than desired, you can stir in a tablespoon or two of milk or cream after baking to loosen it up. Mix it well until you achieve the texture you want. This can also enhance the creaminess—adding a velvety finish that makes everyone come back for more!
Are there any allergen considerations for this recipe?
Yes, it's important to be mindful of allergies. This Buffalo dip contains dairy, so it's not suitable for those with lactose intolerance or dairy allergies. For a dairy-free alternative, consider using vegan cream cheese and a dairy-free cheddar. Always check the ingredients of the Buffalo sauce as some brands may include gluten or other allergens. If sharing with guests, informing them of the ingredients ensures everyone enjoys this festive dip safely.
Can I add additional ingredients to this Buffalo dip?
The more the merrier! You can definitely customize this dip by adding ingredients like cooked chicken for a heartier dish, or some diced celery for a refreshing crunch. Mixing in some shredded carrots can also add a hint of sweetness and color, balancing out the spicy Buffalo sauce. Just adjust the amount of Buffalo sauce depending on your new additions for the perfect flavor burst!
Creamy Buffalo Dip That's Perfect for Game Day Fun
Ingredients
Equipment
Method
- Preheat your oven to 350°F (175°C).
- In a medium mixing bowl, combine cream cheese, shredded cheddar cheese, and Buffalo sauce.
- Transfer the mixture into a baking dish and spread evenly.
- Arrange blue corn chips around the edge of the dip to create wings.
- Bake for 20-25 minutes until edges are bubbling and top is golden.
- Let cool for a minute, then place a plastic bat on top for decoration.
- Serve warm with additional blue corn chips on the side.


Leave a Reply