
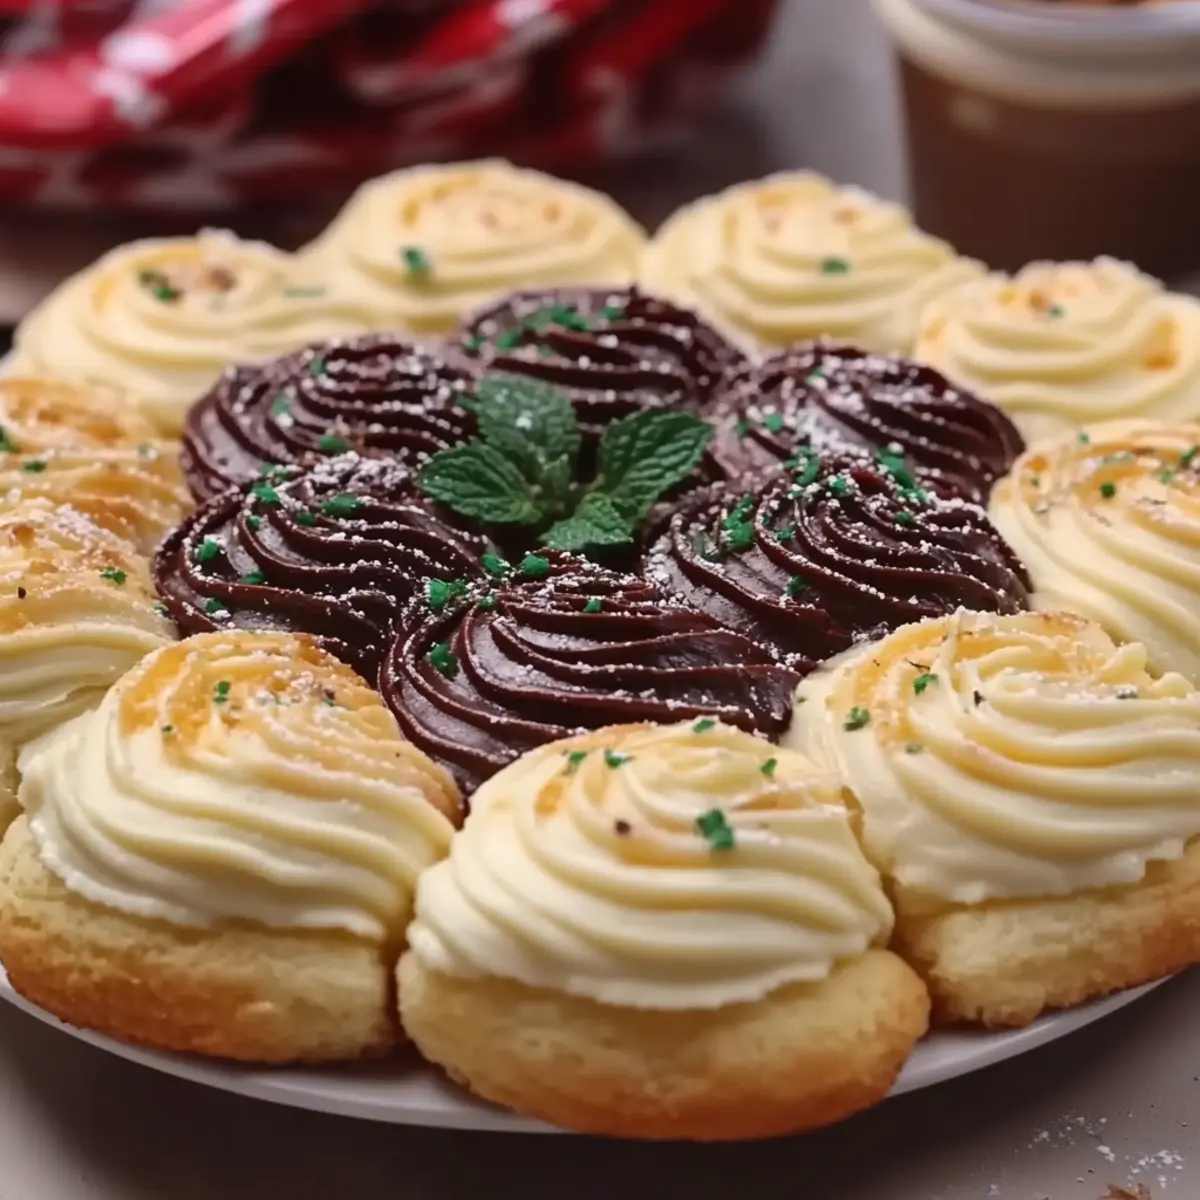
The first time I whipped up Danish Butter, I was amazed at how something so simple could elevate my breakfast to a new level of delight. This quick and easy recipe transforms ordinary meals into extraordinary moments with just a few ingredients: unsalted butter, powdered sugar, and a splash of vanilla. Best of all, the result is a creamy, sweet spread that can make even the simplest slice of bread feel like a gourmet experience. Whether you're a busy home chef or someone simply looking to add a comforting touch to your pantry, this Danish Butter is a must-try. What’s your favorite way to enjoy this rich and creamy delight?
Why is Danish Butter a Game Changer?
Creamy, Irresistible Flavor: Danish Butter is more than just a spread; it’s a flavor experience that elevates even the simplest dishes.
Quick to Prepare: With just 10 minutes of active prep time, this buttery delight comes together effortlessly, making it a perfect addition to your culinary adventures.
Versatile Use: Spread it on fresh bread, drizzle over pancakes, or incorporate it into baked goods for a hint of sweetness that transforms your meals.
Crowd-Pleasing Delight: Whether you're hosting brunch or enjoying a quiet morning alone, this butter is sure to impress and satisfy everyone at the table.
Discover other delightful ideas for your breakfast table with this tasty dessert pairing or learn how to prep homemade breads that would complement this delicious spread perfectly!
Danish Butter Ingredients
For the Butter Mixture
• Unsalted butter – ensures the perfect creamy texture without overpowering flavors.
• Powdered sugar – adds sweetness and creates that smooth consistency you’ll love.
• Vanilla extract – elevates the taste with a warm, aromatic note that’s simply irresistible.
• Salt – enhances the flavors and balances the sweetness of the other ingredients.
Optional Additions
• Heavy cream – adds extra richness, making your Danish Butter even creamier.
• Lemon juice – provides a refreshing zing that lifts the overall flavor profile.
Get ready to transform your ordinary bread experience into something extraordinary with this delightful Danish Butter.
Step‑by‑Step Instructions for Danish Butter
Step 1: Soften the Butter
Begin by allowing 1 cup of unsalted butter to reach room temperature, which takes about 30 minutes. This step ensures the butter is soft enough to blend smoothly with other ingredients, making it the perfect creamy base for your Danish Butter. You’ll know it’s ready when it easily holds an indentation when pressed.
Step 2: Mix the Base Ingredients
In a mixing bowl, combine the softened butter, 1 cup of powdered sugar, 1 teaspoon of vanilla extract, and 1 teaspoon of salt. Using a spatula, gently mix the ingredients together until somewhat incorporated. This process sets the stage for your delicious Danish Butter, ensuring a harmonious blend of flavors.
Step 3: Blend Until Creamy
Using an electric mixer on medium speed, beat the mixture for about 2 to 3 minutes until it's smooth and creamy. The texture should be light and fluffy, with no lumps remaining. Make sure to scrape down the sides of the bowl as needed, so all ingredients are well blended into your rich Danish Butter.
Step 4: Add Optional Ingredients
If you want to elevate the flavor further, slowly add 1 tablespoon of heavy cream or 1 tablespoon of lemon juice to the mixture. Mix on low speed until everything is fully incorporated. The extra richness from the cream or the tangy brightness from the lemon will take your Danish Butter to new delicious heights.
Step 5: Taste and Adjust
Before finalizing your Danish Butter, take a moment to taste the mixture. You can adjust the sweetness or saltiness as desired by adding a bit more powdered sugar or a pinch of salt, blending for another minute. This ensures that your butter is perfectly balanced for whatever delicious dish you decide to pair it with.
Step 6: Containerize the Butter
Spoon the smooth butter mixture into an airtight container or a silicone mold. Ensure an even surface for a neat presentation if using a mold; this will make serving even more delightful. It’s essential to have a securely closed container to keep your Danish Butter fresh and delicious.
Step 7: Chill the Butter
Place the filled container in the refrigerator for at least 30 minutes. This chilling time allows the butter to firm up, making it easier to spread later. You’ll know it’s ready when it’s no longer soft to the touch, providing the ideal consistency for serving or using in your favorite recipes.
Step 8: Serve and Enjoy
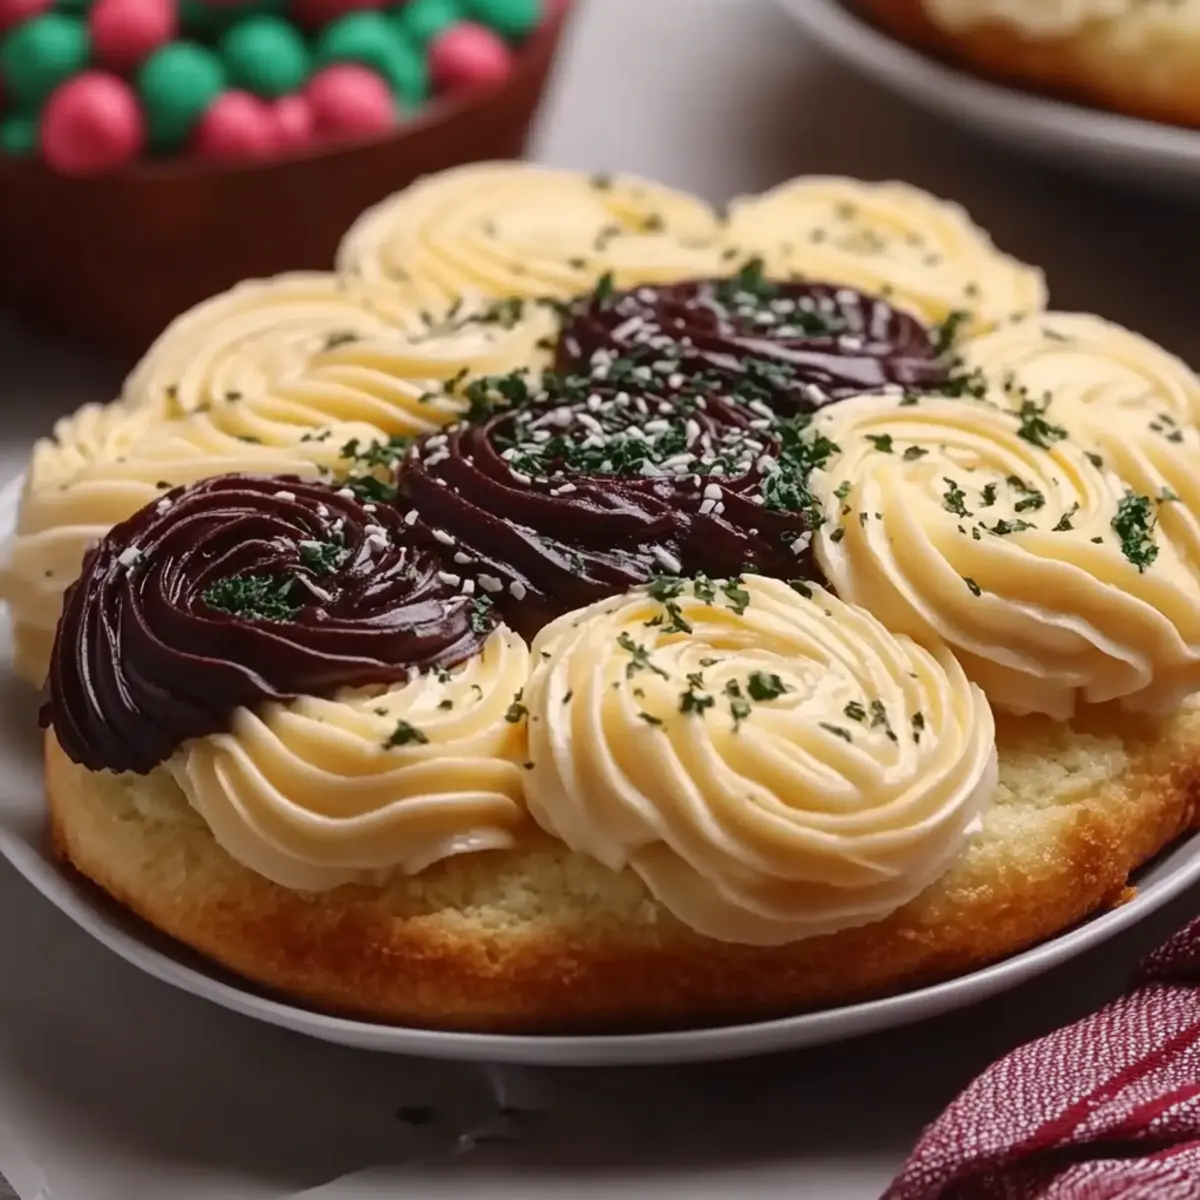
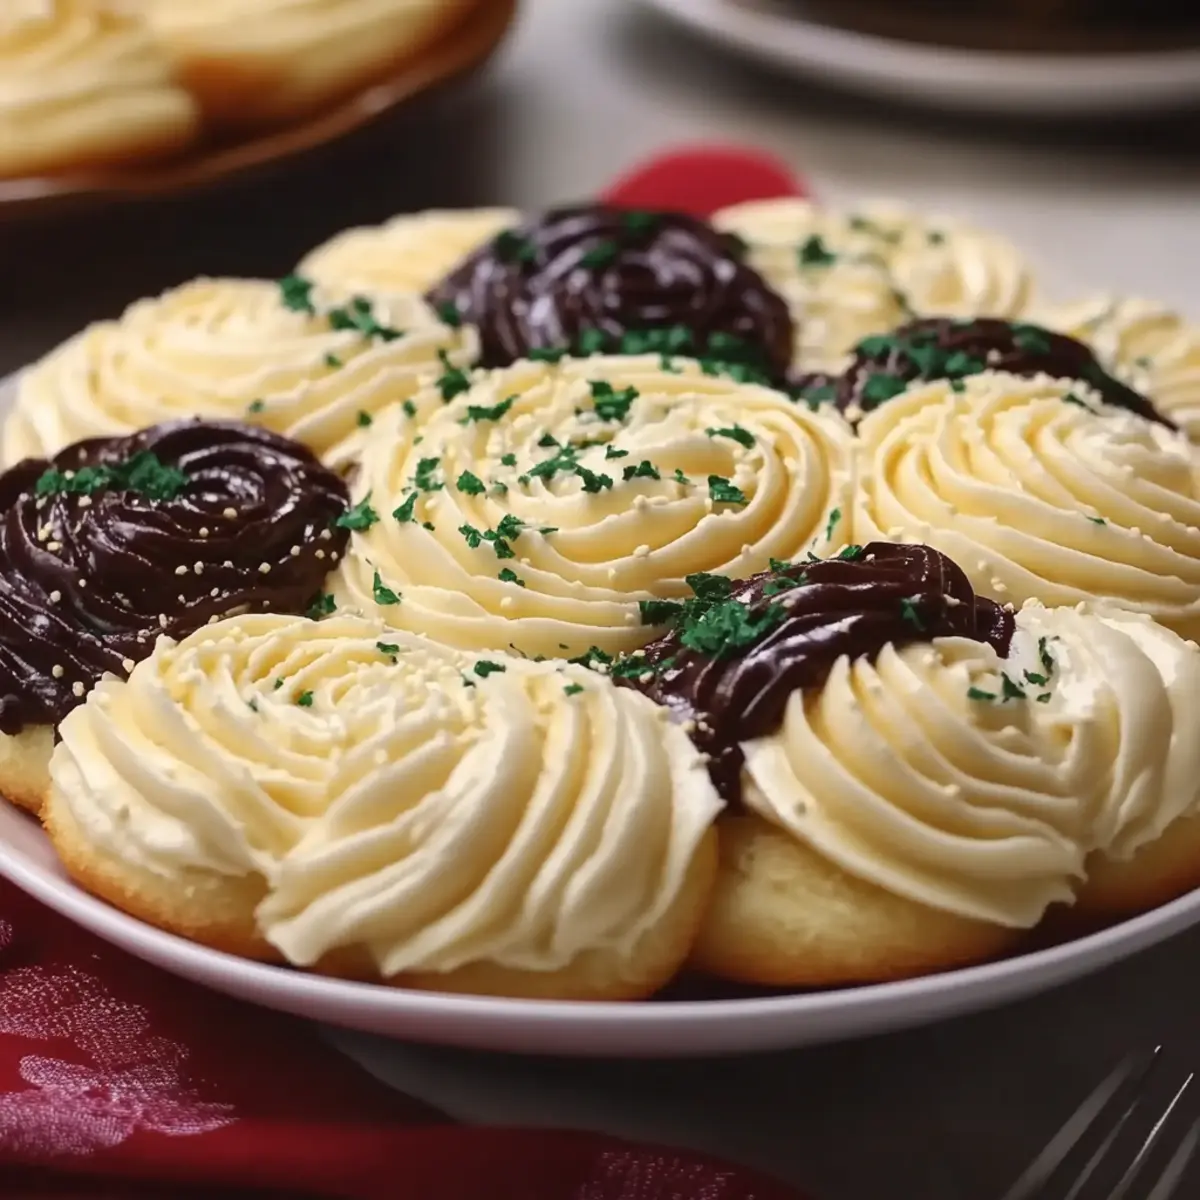
Once chilled, your delightful Danish Butter is ready for use! Spread it on fresh bread, drizzle it over pancakes, or incorporate it into baked goods for a touch of sweetness. Experience how this simple treat enhances the flavors of your meals and brings joy to every bite.
What to Serve with Danish Butter
Transform your simple mornings into a feast of flavors that will linger in your heart.
- Fresh Baguette: The crusty exterior and soft interior of a baguette are perfect for slathering on the rich Danish Butter, creating a delightful contrast in textures.
- Fluffy Pancakes: Drizzling warm pancakes with this sweet spread adds an irresistible creaminess that makes breakfast feel like a special occasion.
- Cinnamon Rolls: Slathering Danish Butter over freshly baked cinnamon rolls elevates them into a decadent treat that feels like a warm hug.
- Scones: Pair Danish Butter with freshly baked scones for an indulgent tea-time experience, balancing the light flakiness with creamy sweetness.
- Fruit Salad: Add a touch of Danish Butter to a fruit salad for a delightful twist, blending the sweetness of the butter with fresh, juicy flavors.
- Herb-Infused Bread: Serve this butter with artisanal herb-infused bread to enhance its savory profile, creating a gourmet twist that will impress your guests.
- Chilled Rosé: A glass of chilled rosé pairs beautifully, balancing the richness of Danish Butter with its crisp and refreshing notes.
- Chocolate Croissants: Enjoy Danish Butter on chocolate croissants for a luxurious breakfast, bringing together sweet chocolate and creamy butter like a match made in heaven.
Storage Tips for Danish Butter
Fridge: Keep your Danish Butter in an airtight container for up to 2 weeks. This will ensure it stays fresh and retains its creamy texture.
Freezer: For longer storage, freeze your Danish Butter in small portions using silicone molds. It can be frozen for up to 3 months; just thaw it in the fridge before use.
Reheating: If you’ve frozen your Danish Butter, let it thaw overnight in the fridge. Once thawed, give it a good stir for that perfect spreadable consistency.
Room Temperature: You can leave it out for up to 1 hour before serving to soften slightly, making it easier to spread on your favorite bread or pancakes.
Expert Tips for Danish Butter
Butter Softening: Ensure your unsalted butter is truly softened by leaving it at room temperature for about 30 minutes. Avoid using microwaves, which can create hot spots.
Mixing Technique: Start mixing the butter and sugar slowly to prevent a sugary cloud! Gradually increase the speed to combine until everything is smooth and creamy.
Flavor Tweaks: Feel free to experiment with flavors—add a dash of cinnamon or a splash of orange zest to customize your Danish Butter, but taste as you go!
Chilling Time: Don’t rush the chilling process. Allow at least 30 minutes in the refrigerator for the best spreadability. This helps the butter firm up nicely.
Taste Adjustment: Always taste and adjust your mixture before chilling. A pinch more salt or sugar can make all the difference in your final Danish Butter.
Storage Tips: Store your butter in an airtight container to maintain freshness longer. It can be refrigerated for up to 2 weeks—or freeze for even longer enjoyment!
Variations & Substitutions for Danish Butter
Feel free to get creative and tailor your Danish Butter to match your taste buds and dietary needs!
-
Dairy-Free: Substitute unsalted butter with a plant-based butter alternative to create a creamy vegan spread.
Think about how lovely a dairy-free choice can complement your fresh bread or pancakes without missing out on that delightful texture! -
Sugar-Free: Use a sugar substitute like erythritol in place of powdered sugar for a low-calorie version.
This will keep the sweetness without the calories, ensuring you can indulge without the guilt! -
Citrus Twist: Add a teaspoon of orange zest for a refreshing flavor boost.
The vibrant citrus notes can brighten the butter, perfect for serving with scones or toast. -
Nutty Flavor: Incorporate a tablespoon of finely ground nuts, such as almonds or hazelnuts.
This will give your Danish Butter a delightful crunch and a subtle earthy taste that pairs beautifully with breads. -
Herb Infusion: Mix in some finely chopped fresh herbs like chives or dill for a savory twist.
The herbaceous notes can transform your butter into a gourmet experience, especially when spread on warm biscuits! -
Spicy Kick: Add a pinch of cayenne pepper or chili powder for a surprising heat.
This fiery twist will give your Danish Butter an unexpected zing—perfect for those who love a little spice in their life! -
Chocolate Love: Stir in some cocoa powder for a rich, chocolatey variation.
This sweet version can be sublime on pancakes or even spread between layers of cake! -
Maple Sweetness: Swap out the vanilla extract for maple syrup for a deliciously unique flavor.
This will add a charming touch to your breakfast table, pairing wonderfully with muffins or bagels!
Explore delightful pairings to elevate your meals, like this tasty dessert that complements the rich flavors of your Danish Butter or consider trying homemade breads that would perfectly showcase this luscious spread. Enjoy customizing your Danish Butter journey!
Make Ahead Options
These Danish Butter preparations are perfect for busy home cooks looking to streamline their meal planning! You can prepare the butter mixture up to 3 days in advance, allowing the flavors to meld beautifully. Simply follow the recipe until you spoon the butter into an airtight container, then refrigerate it. To maintain its creamy consistency, ensure it's sealed tightly to prevent any absorption of other odors. When you're ready to enjoy, simply remove it from the fridge and allow it to soften at room temperature for about 15 minutes before serving. This way, your Danish Butter will be just as delicious and ready to elevate your meals!
Danish Butter Recipe FAQs
How do I select the best butter for Danish Butter?
Absolutely! Look for unsalted butter that’s fresh, with no dark spots or unusual odors. It should be soft enough at room temperature, and if it's sweeter, more reputable brands provide a richer flavor profile.
How should I store Danish Butter?
Very good question! For the best freshness, store your Danish Butter in an airtight container in the fridge. It will stay tasty for about 2 weeks. Make sure to keep it sealed tightly to maintain its creamy texture.
Can I freeze Danish Butter? What’s the best way?
Yes, you can! To freeze Danish Butter, pour it into small silicone molds or an airtight container in portion sizes. It can be kept in the freezer for up to 3 months. When you're ready to use it, just thaw it in the fridge overnight.
What if my Danish Butter mixture is too runny?
If it turns out runny, the most likely culprit is that the butter wasn't chilled properly after mixing. Simply refrigerate it for additional time until it firms up, or consider blending in a bit more powdered sugar to thicken the consistency.
Is Danish Butter suitable for people with allergies?
Excellent question! Danish Butter contains dairy and sugar, so it's not suitable for those with lactose intolerance or sugar sensitivities. You can experiment with dairy-free alternatives, like non-dairy margarine, and adjust the sweetness accordingly.
Can I add other flavors to my Danish Butter?
Absolutely! The Danish Butter is versatile—consider adding spices like cinnamon, or extracts like almond or maple for a unique twist. Just remember to taste as you go to achieve your ideal flavor!

Creamy Danish Butter: Elevate Your Homemade Bread Game
Ingredients
Equipment
Method
- Soften the Butter by allowing it to reach room temperature for about 30 minutes.
- Mix the Base Ingredients in a mixing bowl: combine softened butter, powdered sugar, vanilla extract, and salt.
- Blend Until Creamy using an electric mixer on medium speed for about 2 to 3 minutes until smooth.
- Add Optional Ingredients like heavy cream or lemon juice and mix on low speed.
- Taste and Adjust by adding more powdered sugar or salt as necessary.
- Containerize the Butter into an airtight container or silicone mold.
- Chill the Butter in the refrigerator for at least 30 minutes.
- Serve and Enjoy your Danish Butter on fresh bread or pancakes.


Leave a Reply