As I was gathering ingredients for the Halloween festivities, the sight of those vibrant candy melts instantly transported me back to my childhood, where treats were always the highlight of every spooky celebration. This year, I’m excited to share my recipe for Halloween Pretzels, a deliciously fun and visually captivating snack that takes only 20 minutes to whip up! What I love about these pretzels is how easy they are to make—perfect for both seasoned chefs and kitchen novices alike. Plus, they’re a delightful crowd-pleaser that can be customized with your favorite toppings to impress guests or delight little goblins. And let's be honest, who can resist a sweet-and-salty combination? Are you ready to bring some deliciously creepy vibes to your Halloween gathering?
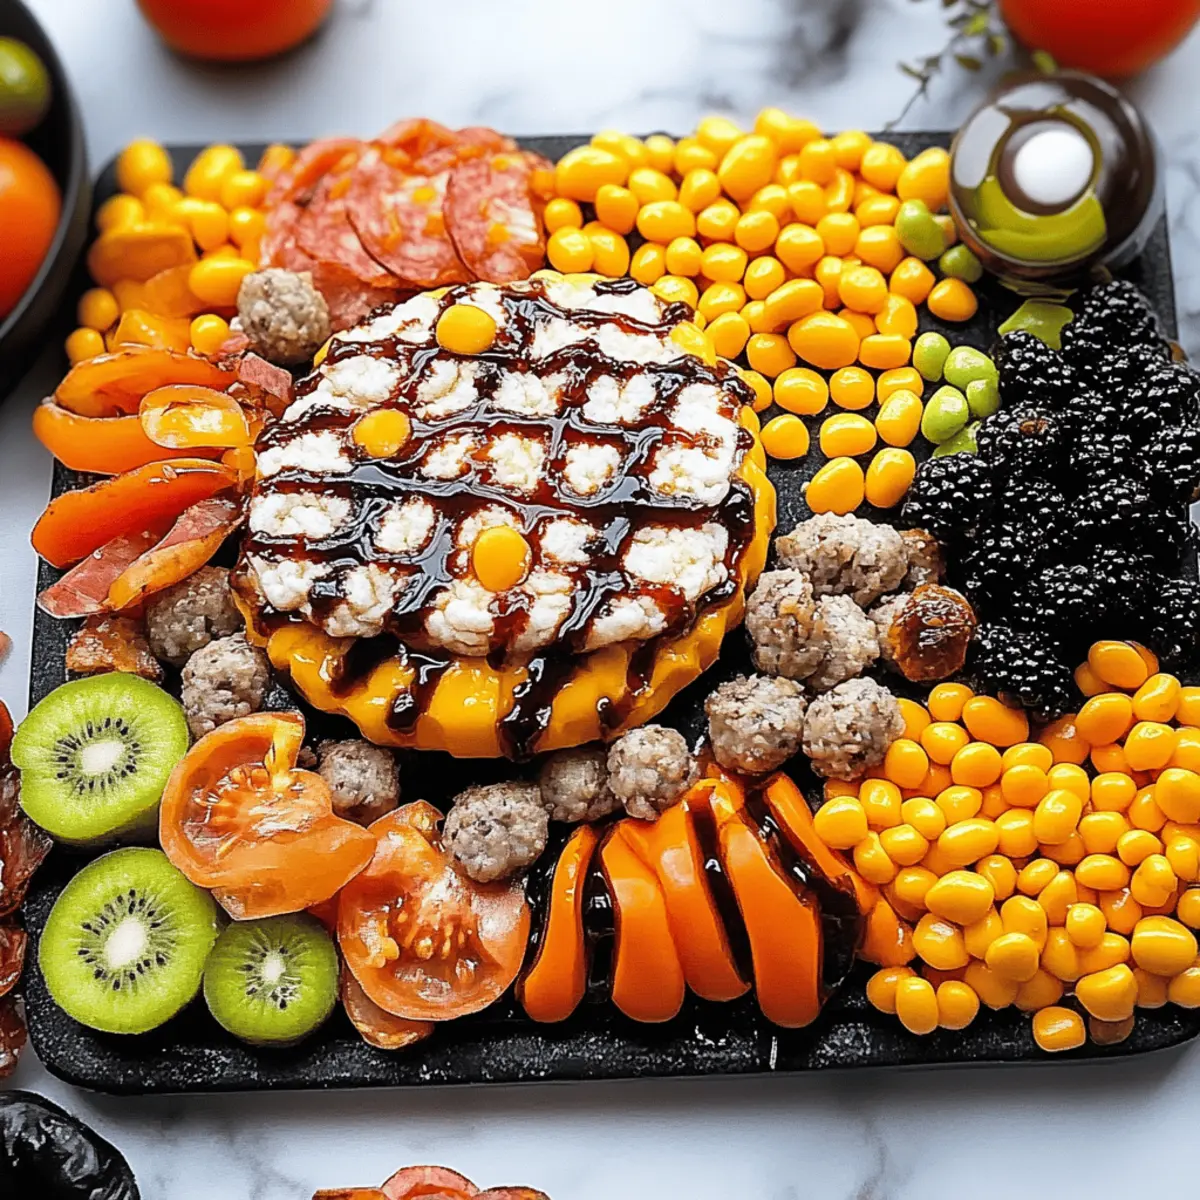
Why Are Halloween Pretzels So Irresistible?
Quick and Easy: In just 20 minutes, you can create delightful treats that impress without the fuss.
Creative Freedom: Personalize these bites with colors and toppings like crushed Oreos or candy eyes for even more festive fun!
Sweet and Salty: The combination of crunchy pretzels and sweet candy melts is simply addictive—perfect for family gatherings or spooktacular parties.
Crowd-Pleasing: Everyone loves a treat that looks as good as it tastes! Your Halloween Pretzels are sure to be the star of any spread.
Versatile Treat: Whether you’re making them for kids or adults, these pretzels can easily fit any theme. For similar festive snacks, consider checking out my other Halloween-themed treats for more ideas.
Halloween Pretzels Ingredients
For the Pretzels
• Mini pretzels – Use twists or rods to create fun variations for your Halloween treats.
For the Coating
• Candy melts (white, orange, black) – Perfect for achieving that vibrant, spooky look; feel free to swap colors as desired!
For the Decorations
• Halloween sprinkles – Add a festive touch to your Halloween Pretzels that makes them even more appealing.
• Candy eyes – These little additions bring your pretzels to life, adding an adorable creepiness!
• Crushed Oreos (optional) – Introduce a rich texture and flavor that complements the sweet and salty mix beautifully.
Step‑by‑Step Instructions for Halloween Pretzels
Step 1: Prepare the Baking Sheet
Start by lining a baking sheet with parchment paper to create a non-stick surface for your Halloween Pretzels. This will ensure easy removal once the candy coating is set. Lay the parchment flat, smoothing out any wrinkles to prevent sticking. This simple step will make your cleanup a breeze!
Step 2: Melt the Candy Melts
In a microwave-safe bowl, melt your choice of candy melts according to package instructions, typically in 30-second intervals, stirring well between each until smooth and fully melted. You’re aiming for a silky consistency, so ensure there are no lumps. Once melted, remove from the microwave, and be careful as the bowl may be hot!
Step 3: Dip the Pretzels
Now it’s time to bring your Halloween Pretzels to life! Dip each mini pretzel into the melted candy, ensuring its surface is fully covered. If you prefer a drizzle, use a spoon to drizzle the melted candy over the pretzels artistically. Let any excess drip off, and place them on the prepared baking sheet, creating a delightful array.
Step 4: Add Decoration Before Setting
Before the melted candy sets, sprinkle your Halloween-themed decorations like sprinkles and candy eyes over the pretzels generously. This is your moment to unleash creativity—go wild with toppings! Make sure to do this quickly, as the candy hardens as it cools, locking in all those vibrant additions.
Step 5: Allow to Harden
Let your wonderfully decorated Halloween Pretzels sit at room temperature until they are fully hardened. This takes about 15 minutes. You’ll know they’re ready when the candy coating feels firm to the touch. Patience here pays off, resulting in treats that are not only tasty but visually appealing!
Step 6: Store Your Treats
Once your Halloween Pretzels are set, carefully lift them from the parchment paper and place them in an airtight container. This will keep your delightful treats fresh for sharing or snacking. Store them in a cool, dry place, and they’ll be ready to impress all the little goblins at your Halloween festivities!
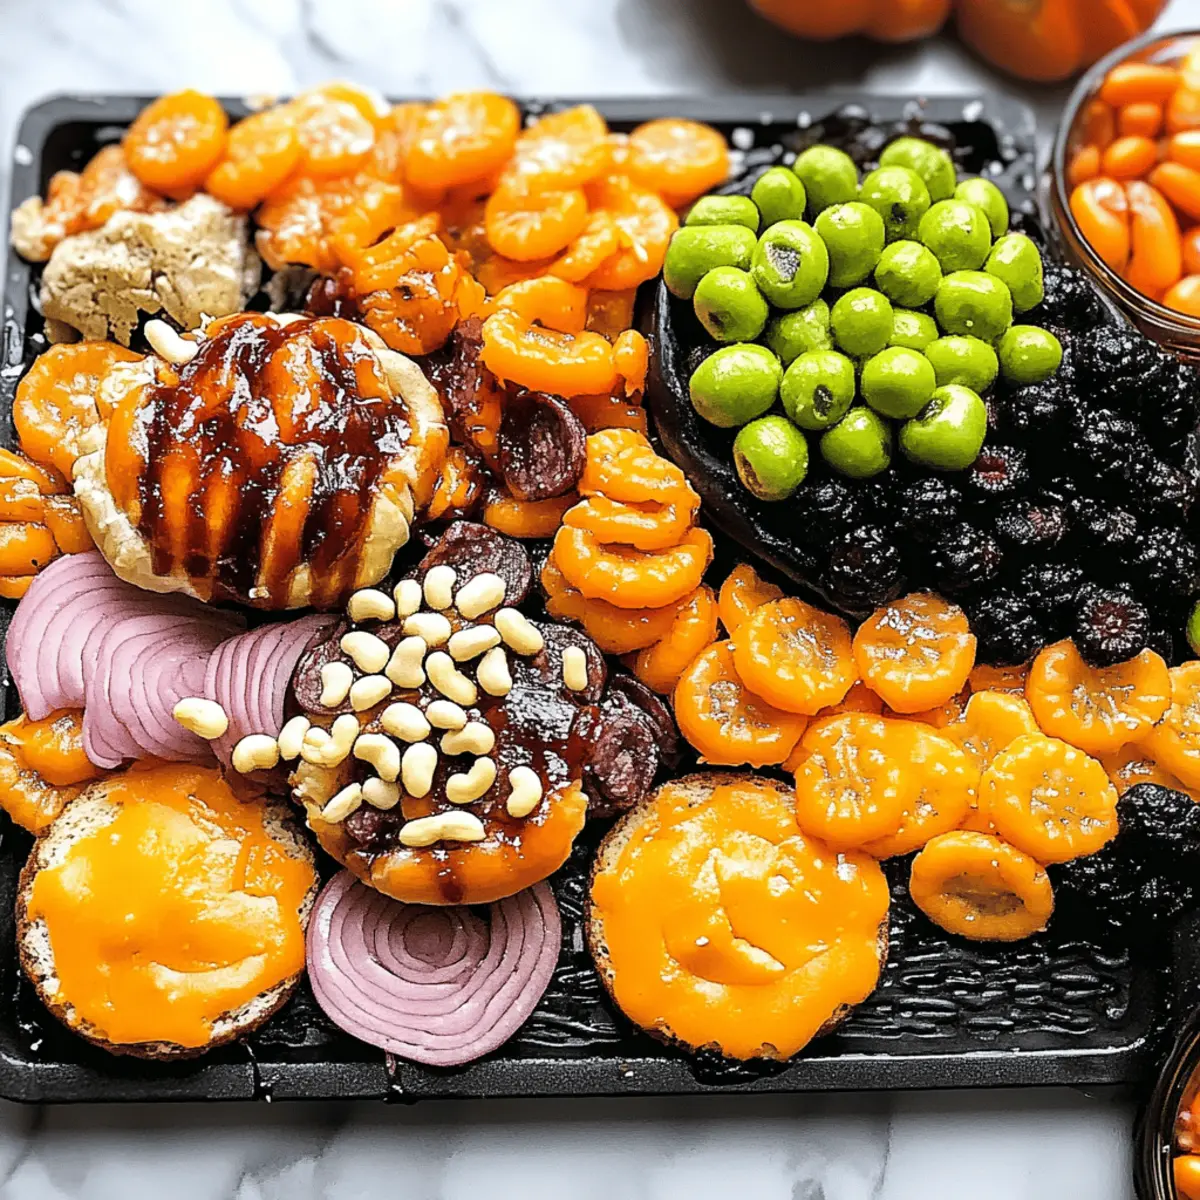
What to Serve with Halloween Pretzels?
As you prepare for a spirited Halloween gathering, consider these delightful accompaniments to enhance the fun and flavor of your festive pretzels.
- Spooky Fruit Skewers: Juicy melon and pineapple pieces can offer a refreshing contrast to the sweetness of the pretzels—perfect for balancing flavors.
- Pumpkin Spice Hot Chocolate: Indulge in a rich drink that wraps you in warmth; its autumnal spices create a cozy vibe for your Halloween celebrations.
- Ghostly Cupcakes: Light and fluffy cupcakes topped with creamy frosting are a hit, making your dessert table not only delicious but also visually appealing.
Add a touch of fall-inspired sweets to your spread with caramel apples. The crunchy sweetness pairs beautifully with the salty pretzels, ensuring guests enjoy delightful bites.
- Crispy Veggie Platter: Crunchy vegetables and a creamy dip help to cleanse the palate, providing a fresh and healthy crunch that balances all the sweet treats.
- Mummy Dogs: These fun, savory treats wrapped in dough bring a savory twist to your sweet table, pleasing every Halloween lover's cravings.
Give your playful snacking a festive twist with these suggestions that harmonize beautifully with your Halloween Pretzels!
Expert Tips for Halloween Pretzels
Timing Is Key: Dip and decorate the pretzels quickly while the candy melts are still warm—this helps toppings stick better.
Choose Wisely: Use quality candy melts for vibrant colors and a smooth texture. Low-quality melts might not set well or may clump.
Keep It Cool: Store your Halloween Pretzels in a cool, dry place. Humidity can make them sticky and ruin their delightful crunch.
Don't Overcrowd: Arrange your pretzels with space on the baking sheet; overcrowding can lead to them sticking together before they harden.
Mix It Up: Feel free to experiment with different toppings like nuts or dried fruit for unique flavor combinations alongside your Halloween Pretzels!
Make Ahead Options
These Halloween Pretzels are perfect for meal prep enthusiasts! You can melt the candy melts and dip the pretzels up to 24 hours in advance, allowing you to focus on other party preparations. After they've set, store them in an airtight container at room temperature to maintain their crunch and vibrant colors. If you prefer, you can also prepare the pretzels and add all your spooky decorations right before serving for maximum freshness. Just remember to work quickly when adding toppings, as the candy will set fairly fast. With these make-ahead options, you’ll have more time to enjoy the festivities while still serving delightful treats!
Halloween Pretzels: Fun Customizations
Feel free to let your creativity shine and add a personal twist to these delightful treats!
-
Dairy-Free: Opt for dairy-free chocolate melts or dark chocolate to cater to lactose-intolerant guests. The rich flavor adds a delicious depth to your pretzels.
-
Nutty Addition: Drizzle with melted almond or peanut butter before adding sprinkles for a nutty flavor boost. This variation will satisfy all those nut lovers and bring a wonderful creaminess.
-
Spicy Kick: Sprinkle some cayenne pepper or chili powder over the melted candy for a surprising heat. This fiery twist will make your Halloween Pretzels stand out from the traditional sweet varieties!
-
Festive Sprinkles: Change up the sprinkles for themed decorations like mini pumpkins or ghosts. This adds not only color but also a delightful crunch that kids will love!
-
Chocolate Drizzle: Instead of coating the pretzels entirely, do a half-dip in chocolate for a sweet and salty experience. Pair this with some sea salt flakes on top to balance out the sweetness beautifully.
-
Cookie Butter: Swap the candy melts for cookie butter for a unique flavor. The warmth in the cookie butter makes it a cozy alternative that fits right in with the comforting vibes of Halloween.
-
Gourmet Touch: Top with edible glitter or gold leaf for a high-end presentation. Perfect for adult-themed Halloween parties, these will certainly impress your guests.
For even more fun ideas, check out my other Halloween-themed treats that will keep the spooky spirit alive! And don’t forget to adapt the recipe to fit your family’s favorites or your Halloween party theme!
How to Store and Freeze Halloween Pretzels
Room Temperature: Keep your Halloween Pretzels in an airtight container at room temperature for up to 1 week, ensuring they remain crunchy and delicious.
Fridge: If you’d like to keep your treats fresher for longer, store them in the fridge for up to 2 weeks. Just remember to seal them well to prevent moisture.
Freezer: For longer storage, you can freeze your Halloween Pretzels for up to 3 months. Place them in a single layer on a baking sheet to freeze, then transfer to a freezer-safe container.
Reheating: To enjoy your frozen pretzels, simply let them thaw at room temperature for a few hours. There's no need for reheating—just indulge in their sweet and salty goodness!
Halloween Pretzels Recipe FAQs
What type of pretzels should I use?
Absolutely! For Halloween Pretzels, mini twists or rods work perfectly. Twists offer a fun shape, while rods can be easier for dipping. Choose based on your preference and how adventurous you’re feeling!
How can I store Halloween Pretzels?
To keep your Halloween Pretzels fresh and crunchy, store them in an airtight container at room temperature for up to 1 week. If you want them to last longer, refrigerate them for up to 2 weeks. Just ensure they’re well-sealed to avoid moisture!
Can I freeze Halloween Pretzels?
Very much so! You can freeze your Halloween Pretzels for up to 3 months. Here’s how: First, place them in a single layer on a baking sheet and freeze until solid. Then, transfer them to a freezer-safe container. When you’re ready to enjoy them, let them thaw at room temperature—no need to reheat!
What should I do if the candy melts aren't setting properly?
If you find that the candy melts are not setting, check a few things: first, ensure they were fully melted and not overheated, as this can ruin their texture. Also, make sure you’re adding decorations before the candy cools down too much; that way, you lock in your colorful toppings. If it still doesn't set, try placing them in the refrigerator for 10-15 minutes to speed up the hardening process.
Are Halloween Pretzels suitable for pets or individuals with allergies?
Certainly! However, the candy melts usually contain ingredients like sugar and artificial colors that are not pet-friendly, so keep these treats away from furry friends. If you or someone has a food allergy, check the label on your candy melts and pretzels to avoid allergens. You can also consider making a nut-free or gluten-free version of this treat with appropriate substitutes.
How can I make my Halloween Pretzels more festive?
To ramp up the festivity, consider layering your toppings! Start with a drizzle of white candy melt, then add crushed Oreos followed by orange or black candy melts. You can also switch it up by using seasonal-themed sprinkles or even edible glitter for that extra magical touch!
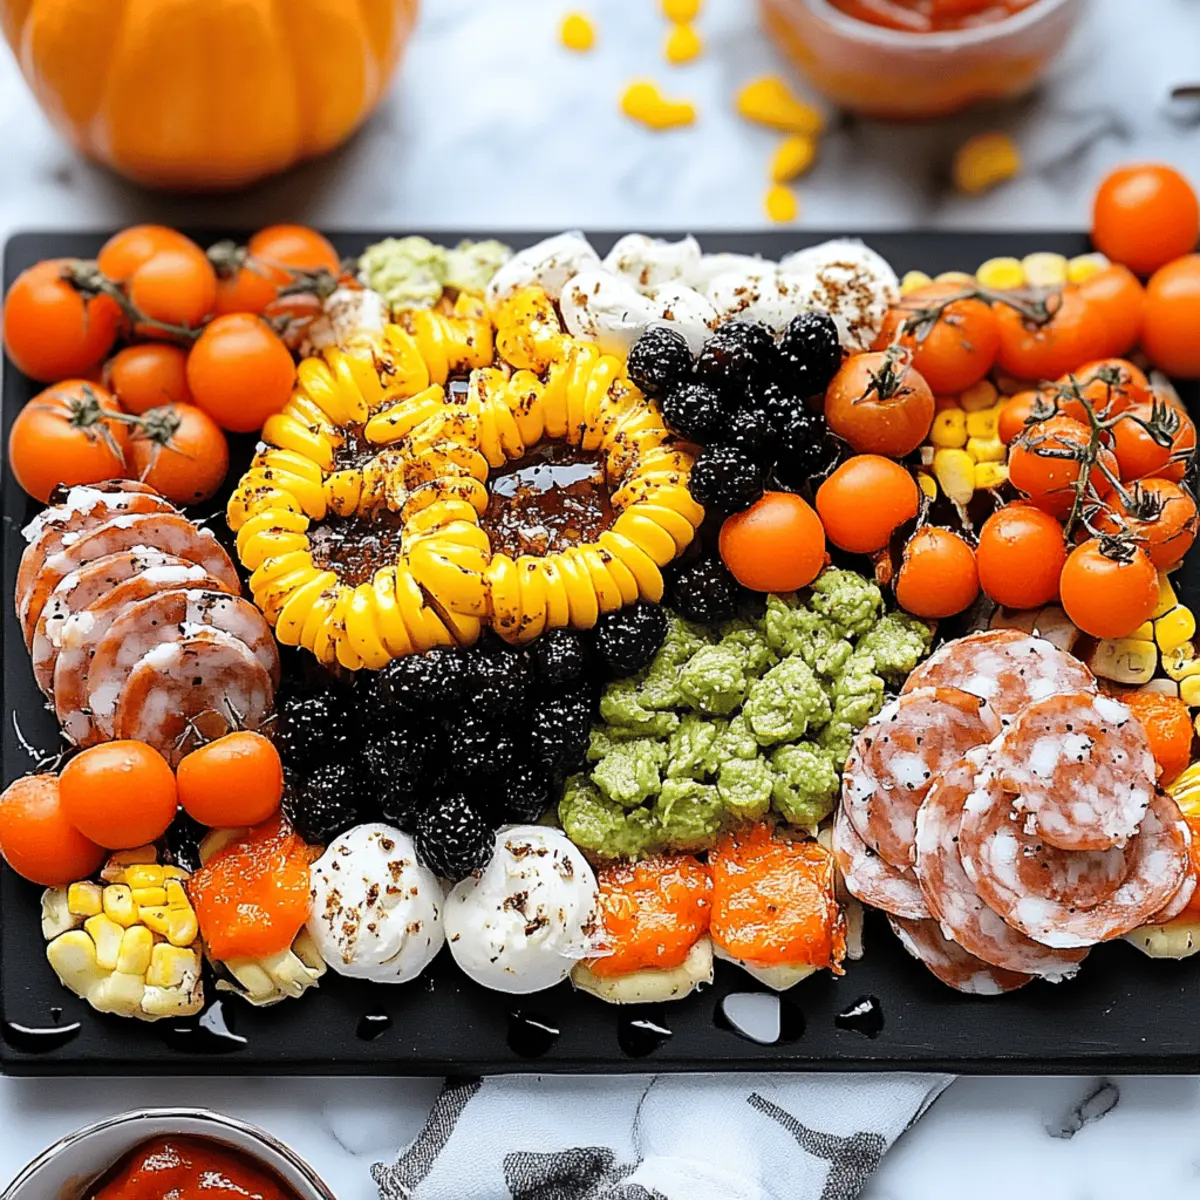
Delicious Halloween Pretzels: A Fun Treat for Spooky Nights
Ingredients
Equipment
Method
- Prepare the Baking Sheet: Line a baking sheet with parchment paper.
- Melt the Candy Melts: Melt your choice of candy melts in a microwave-safe bowl.
- Dip the Pretzels: Dip each mini pretzel into the melted candy until fully covered.
- Add Decoration Before Setting: Sprinkle Halloween-themed decorations over the pretzels before the candy sets.
- Allow to Harden: Let the decorated pretzels sit at room temperature until fully hardened, about 15 minutes.
- Store Your Treats: Once hardened, lift the pretzels and place them in an airtight container.

Leave a Reply