
As soon as I took my first bite of these No Bake Peanut Butter Oat Cups, I felt like I was transported back to my childhood, where sweet, simple treats often graced the kitchen counter. These delightful little cups are not just a trip down memory lane; they also offer the perfect solution for busy weeknights when the lure of takeout can feel overwhelming. With just 10 minutes of prep time, you can whip up a batch of these tasty snacks that are both satisfying and packed with wholesome ingredients. They are freezer-friendly and make for a quick, nutritious grab-and-go breakfast or an afternoon pick-me-up. What’s better than a sweet treat that makes you feel good about what you're eating? Let’s dive into the recipe together and discover how easy it is to make something truly special!
Why are No Bake Peanut Butter Oat Cups irresistible?
Simplicity is key: With just 10 minutes of prep, you can have delicious snacks ready in no time.
Nutritious ingredients: Packed with peanut butter, oats, and honey, they provide a perfect balance of energy and taste.
Versatile options: Feel free to customize with nuts or dried fruit for added flavor!
Crowd-pleaser appeal: Kids and adults alike will love these tasty morsels, making them ideal for any gathering.
Freezer-friendly: Simply pop them in the freezer for a quick treat on busy days! These No Bake Peanut Butter Oat Cups are perfect for avoiding fast food traps while still enjoying a sweet indulgence.
No Bake Peanut Butter Oat Cups Ingredients
Get ready for a treat!
For the Base
• Peanut butter – a rich source of protein that holds everything together in these scrumptious No Bake Peanut Butter Oat Cups.
• Honey – naturally sweetens the mixture while also helping bind the ingredients.
• Vanilla extract – adds a warm depth of flavor that elevates the overall taste.
For the Oats
• Rolled oats – provide a hearty texture and wholesome fiber that keeps you feeling full.
For the Mix-ins
• Chocolate chips – offer a delightful burst of sweetness in every bite; feel free to use dark chocolate for a healthier twist!
• Milk – helps to achieve the right consistency, making the mixture thick and sticky.
These ingredients will guide you to create delicious No Bake Peanut Butter Oat Cups that make snacking a joy!
Step‑by‑Step Instructions for No Bake Peanut Butter Oat Cups
Step 1: Mix the Base Ingredients
In a medium-sized mixing bowl, combine 1 cup of peanut butter, ¼ cup of honey, and 1 teaspoon of vanilla extract. Using a spatula or spoon, mix these ingredients together for about 2–3 minutes until the blend becomes smooth and creamy. This will be the delightful base of your No Bake Peanut Butter Oat Cups.
Step 2: Incorporate the Oats
Next, add 2 cups of rolled oats to the peanut butter mixture. Stir well, using a firm hand to ensure each oat is evenly coated with the peanut butter blend. This step takes around 2–3 minutes and will create a thick, sticky consistency, indicating that the oats are perfectly mixed with the peanut butter.
Step 3: Fold in the Chocolate Chips
Gently fold in ¼ cup of chocolate chips into the oat and peanut butter mixture for a sweet addition. Use a spatula and take care to distribute the chips evenly throughout the mixture, giving it that decadent chocolatey touch. This step should take about 1–2 minutes for an even distribution.
Step 4: Add Milk for Creaminess
Pour in ¼ cup of milk, choosing your favorite type, to help bring the mixture together. Stir continuously for about 1–2 minutes until the mixture becomes thick and sticky, perfect for forming into cups. If your mixture feels too dry, add a bit more milk until you reach the desired consistency.
Step 5: Prepare the Muffin Tin
Line a muffin tin with paper liners or lightly grease it with cooking spray. This will prevent the No Bake Peanut Butter Oat Cups from sticking. Having the right preparation ensures easy removal after chilling, so take a moment to get this set up before moving to the next step.
Step 6: Spoon the Mixture into Muffin Cups
Spoon the peanut butter and oat mixture evenly into each muffin cup, filling them to the top. Use about a generous tablespoon for each cup, ensuring that you distribute the mixture evenly across all 12 cups. This should take about 3–5 minutes, and the mixture should be heaping and generous.
Step 7: Press Down Firmly
After filling the muffin cups, press the mixture down firmly with the back of a spoon to help it hold together. Take your time with this step for about 2–3 minutes; a good press ensures that your No Bake Peanut Butter Oat Cups will maintain their shape once chilled.
Step 8: Chill in the Refrigerator
Place the muffin tin in the refrigerator, allowing the cups to chill for at least 1 hour. This resting time is essential for them to become firm to the touch, making removal easy. Enjoy the anticipation while these tasty treats set in the cool air of the fridge.
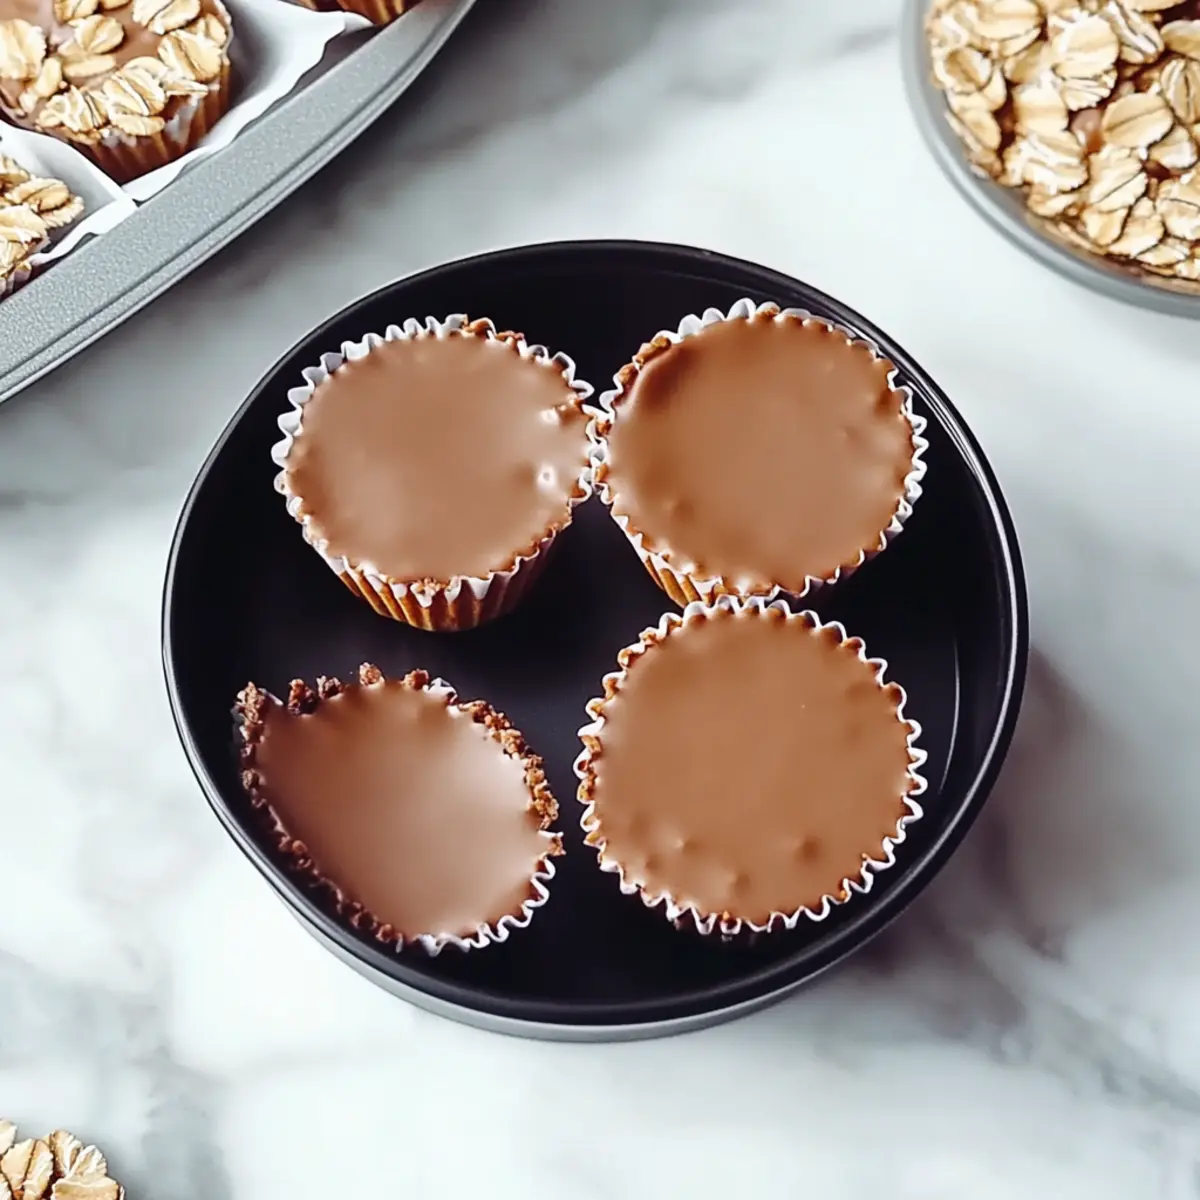
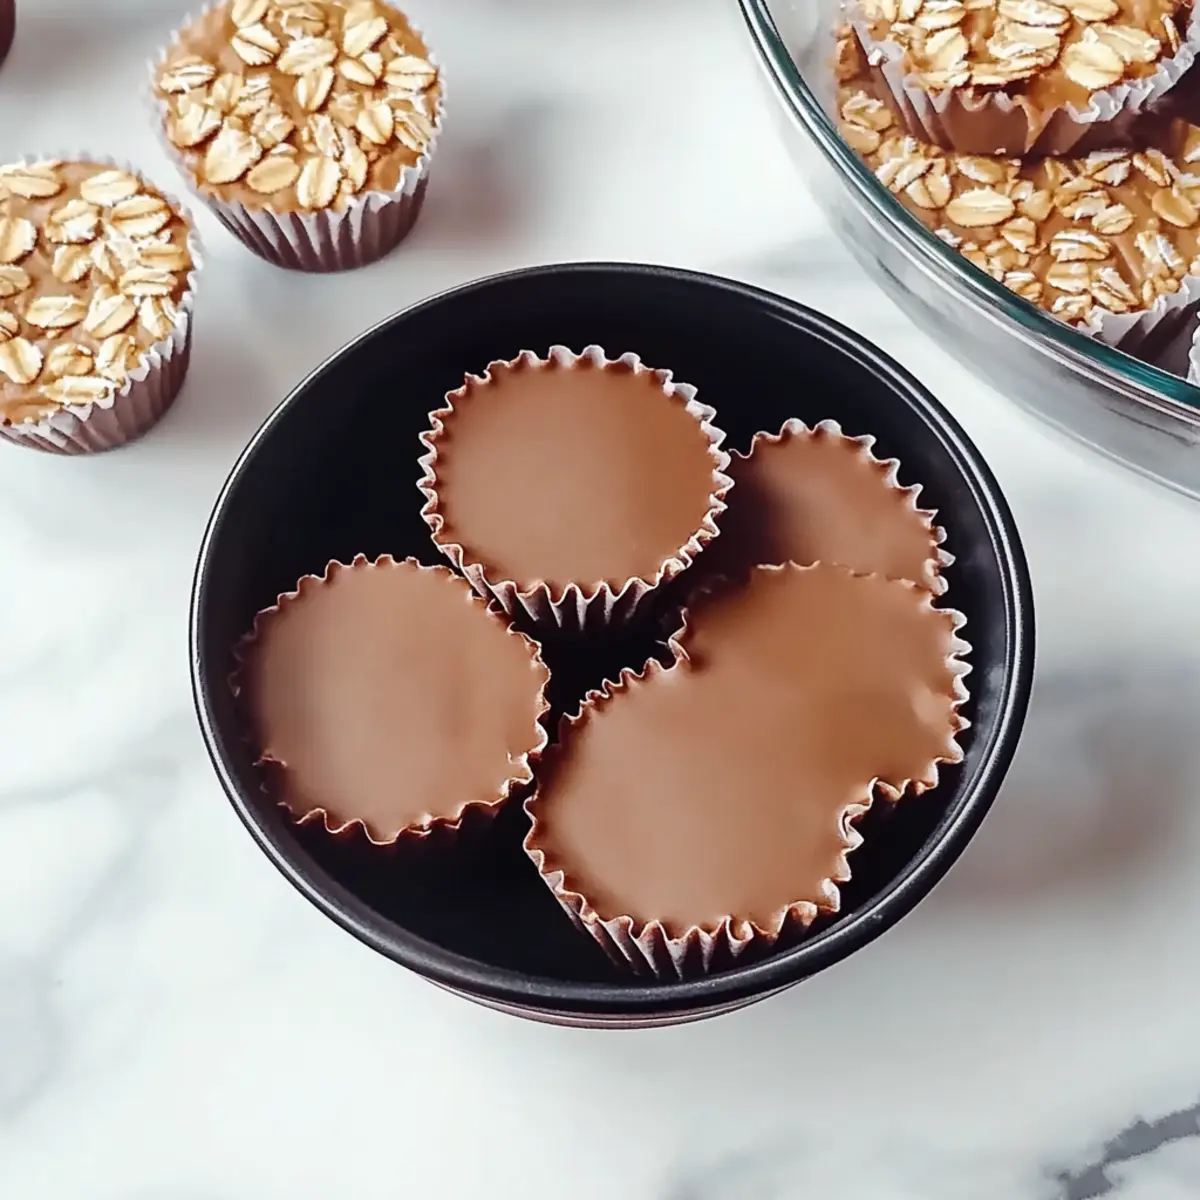
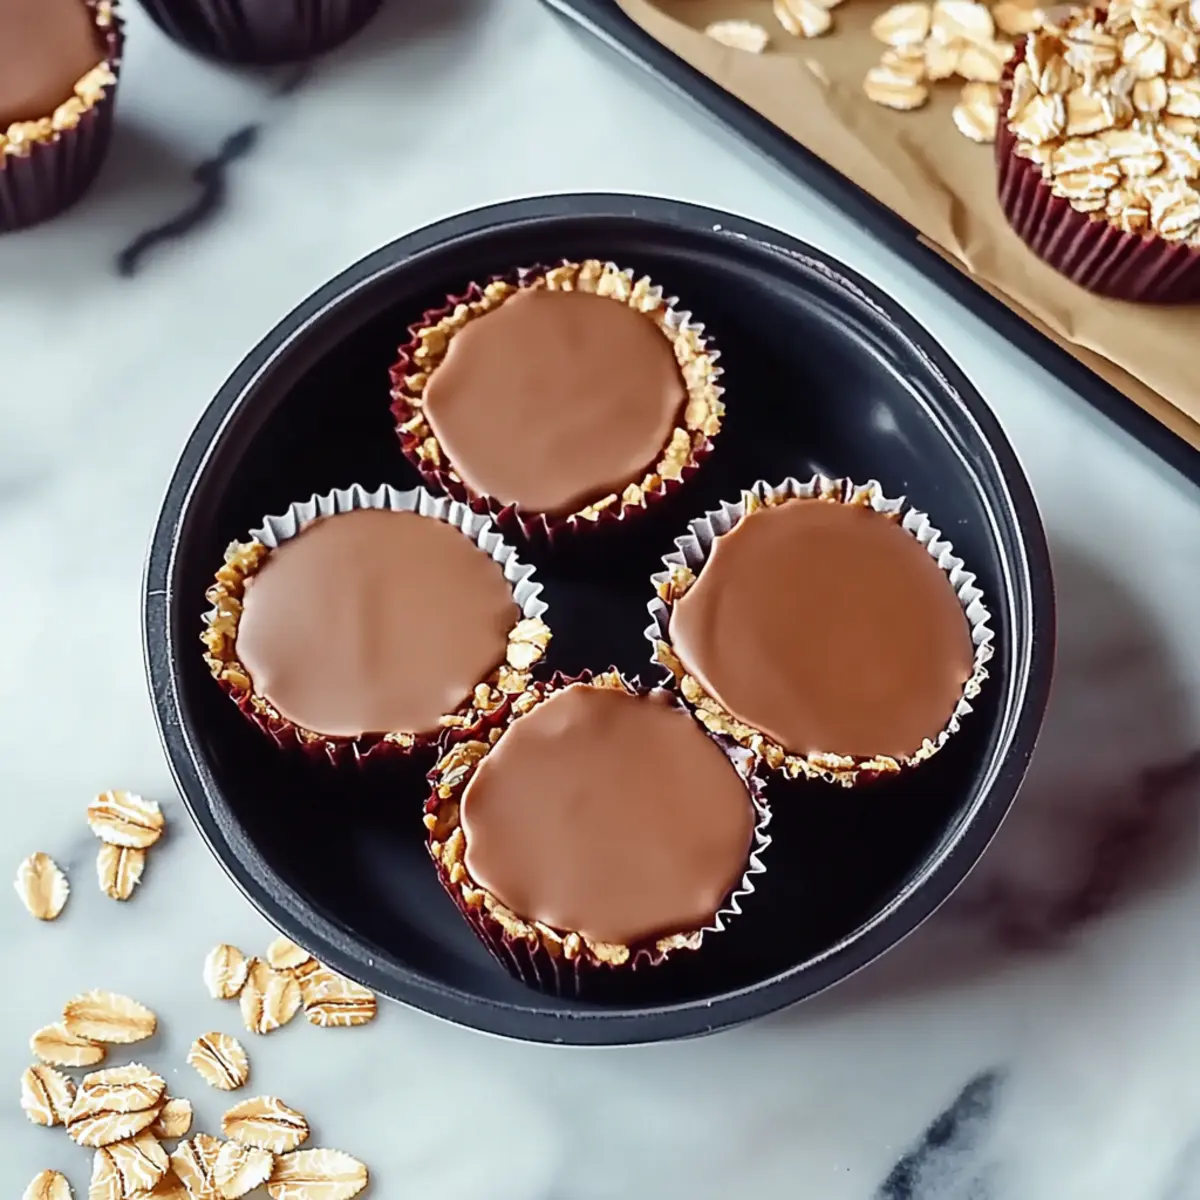
Step 9: Remove from Muffin Tin
Once chilled and firm, carefully remove the No Bake Peanut Butter Oat Cups from the muffin tin. If you used liners, gently peel them off. This step should be done with care, ensuring your delicious creations stay intact for the best presentation.
Step 10: Store for Later
Store your No Bake Peanut Butter Oat Cups in an airtight container in the refrigerator. They will stay fresh for up to a week, making them a perfect go-to snack for busy days. Enjoy knowing you have a nutritious option ready whenever the craving strikes!
No Bake Peanut Butter Oat Cups Variations
Feel free to let your creativity shine as you customize these delightful No Bake Peanut Butter Oat Cups!
-
Gluten-Free: Substitute rolled oats with certified gluten-free oats, ensuring a safe and scrumptious treat for gluten-sensitive folks.
-
Nut-Free: For a nut-free alternative, replace peanut butter with sun butter or coconut butter, giving a delicious twist for those with allergies.
-
Vegan: Use maple syrup instead of honey and dairy-free chocolate chips for a plant-based version of these tasty cups.
-
Extra Crunchy: Add ½ cup of chopped nuts like almonds or walnuts for a delightful crunch that contrasts beautifully with the soft chewiness of the oats.
-
Fruit-Infused: Mix in ½ cup of dried fruits such as cranberries or apricots. The sweetness of the fruit adds a refreshing burst of flavor in every bite!
-
Spicy Kick: Stir in a pinch of cinnamon or a dash of cayenne pepper for an unexpected kick that warms up the flavor profile beautifully.
-
Coconut Lovers: Fold in ¼ cup of shredded coconut for a tropical flair that transports you to an island paradise with each bite.
As you explore these variations, you might also want to check out my recipes for Chocolate Peanut Butter or Salted Caramel Butter. Each offers its unique twist that can inspire further tweaks to your No Bake Peanut Butter Oat Cups!
What to Serve with No Bake Peanut Butter Oat Cups
Elevate your snacking experience with these delightful treats by pairing them with complimentary sides and drinks that keep the sweetness flowing.
-
Fresh Fruit Salad: A colorful mix of seasonal fruits adds a burst of freshness that balances the richness of the oat cups.
-
Greek Yogurt: Creamy and tangy, this option serves as a perfect dip that enhances the flavors while providing a protein boost.
-
Nutty Granola: The crunch of granola creates a delightful contrast in texture, making every bite of the oat cups even more satisfying.
-
Chocolate Milk: Indulge your sweet tooth by pairing these cups with a glass of chocolate milk that complements the chocolate chips perfectly.
-
Ice Cream: A scoop of vanilla ice cream on the side brings a luxurious touch, transforming your snack into an irresistible dessert moment.
-
Herbal Iced Tea: The subtle flavors of herbal iced tea refresh the palate, making it a delightful, calming accompaniment to the sweet oat cups.
-
Peanut Butter Banana Smoothie: For a wholesome boost, sip on a smoothie that echoes the flavors of the oat cups but adds creamy bananas for added richness.
These pairings not only enhance the flavor but also create a well-rounded treat that you'll want to savor time and again!
Make Ahead Options
These No Bake Peanut Butter Oat Cups are a fantastic solution for meal prep enthusiasts looking to save time! You can prepare the oat mixture up to 24 hours in advance; simply follow the initial steps and then place the mixture in the muffin tin to chill. Once set, you can store them in an airtight container in the refrigerator for up to a week. To maintain their chewy texture, be sure to keep them chilled until you're ready to enjoy! When it's time to serve, there’s no need to thaw—just grab one and savor a delicious snack that's just as tasty as the day you made them!
How to Store and Freeze No Bake Peanut Butter Oat Cups
Airtight Container: Store the No Bake Peanut Butter Oat Cups in an airtight container in the refrigerator for up to 1 week to maintain freshness and prevent them from drying out.
Freezer: For longer storage, you can freeze the cups for up to 3 months. Just ensure they are individually wrapped or placed in a freezer-safe bag to prevent freezer burn.
Thawing: When you're ready to enjoy, simply transfer a cup to the fridge for a few hours to thaw or leave it at room temperature for about 30 minutes.
Reheating: These treats can be enjoyed cold or at room temperature; however, if you prefer them slightly warm, a quick 10-second microwave zap will do the trick!
Expert Tips for No Bake Peanut Butter Oat Cups
-
Choose Quality Peanut Butter: Opt for natural peanut butter without added sugars or oils to keep your No Bake Peanut Butter Oat Cups wholesome and delicious.
-
Adjust Sweetness: If you prefer less sweetness, reduce the honey or substitute with maple syrup. Taste the mixture before chilling to ensure it's to your liking!
-
Avoid Dry Mixture: If the mixture feels too dry, add a bit more milk slowly until you achieve the right thick and sticky consistency needed for holding the cups together.
-
Press Firmly: Make sure to press the mixture down firmly into the muffin tin. This step is crucial for keeping the No Bake Peanut Butter Oat Cups together once removed.
-
Chill Long Enough: Don’t rush the chilling process; letting them set for at least an hour ensures they’re firm and easier to handle during removal.
-
Experiment with Mix-ins: Feel free to add nuts, dried fruit, or even seeds to customize your No Bake Peanut Butter Oat Cups. Get creative!
No Bake Peanut Butter Oat Cups Recipe FAQs
How do I choose ripe or high-quality ingredients?
Absolutely! For the peanut butter, choose a natural brand with minimal additives—look for one where peanuts are the only ingredient. For honey, opt for raw or local honey, which tends to have a richer flavor. When it comes to oats, ensure that they are fresh and without any strange smells or discoloration. These simple choices make a big difference in the taste of your No Bake Peanut Butter Oat Cups!
What’s the best way to store No Bake Peanut Butter Oat Cups?
To keep your No Bake Peanut Butter Oat Cups fresh, store them in an airtight container in the refrigerator. They will stay deliciously soft and flavorful for up to 1 week. If you prefer them chilled, leaving them in the fridge is perfect. Just be sure not to stack them unless they're well-separated, as they are delicate!
Can I freeze No Bake Peanut Butter Oat Cups?
Very much so! To freeze your No Bake Peanut Butter Oat Cups, first, allow them to set in the refrigerator. Once firm, individually wrap each cup in plastic wrap or place them in a freezer-safe bag, ensuring to remove as much air as possible. They can be stored in the freezer for up to 3 months. For the best flavor and texture, it's ideal to thaw them in the refrigerator overnight before enjoying.
What should I do if the mixture feels too dry?
If your mixture seems dry, no worries! Simply add a little more milk—start with a tablespoon at a time—until you reach the perfect thick and sticky consistency. Stir it in well before spooning into the muffin tin. This will help everything stick together beautifully in your No Bake Peanut Butter Oat Cups.
Are there any dietary considerations for these treats?
Absolutely! Always check for allergies, especially with peanut butter, which is a common allergen. If you're making them for someone with nut allergies, feel free to substitute with sunbutter or another nut-free spread. For those watching their sugar intake, you can reduce the honey or swap it for a sugar-free sweetener. Just be sure to adjust based on the sweetener's conversion ratio!
Can I customize the mix-ins?
The more the merrier! Feel free to add your favorite dried fruits, like cranberries or raisins, or some chopped nuts for extra crunch. You might even consider adding some seeds for an extra boost of nutrition. Get creative with flavors to suit your taste, and make your No Bake Peanut Butter Oat Cups uniquely yours!

Delicious No Bake Peanut Butter Oat Cups for Easy Snacking
Ingredients
Equipment
Method
- In a medium-sized mixing bowl, combine 1 cup of peanut butter, ¼ cup of honey, and 1 teaspoon of vanilla extract. Mix for about 2–3 minutes until smooth.

- Add 2 cups of rolled oats to the peanut butter mixture and stir for about 2–3 minutes until evenly coated.
- Gently fold in ¼ cup of chocolate chips until evenly distributed.
- Pour in ¼ cup of milk and stir for 1–2 minutes until thick and sticky.
- Line a muffin tin with paper liners or grease it. This prevents sticking.
- Spoon the mixture into muffin cups, filling them generously. This should take about 3–5 minutes.
- Press the mixture down firmly into the muffin cups with the back of a spoon for about 2–3 minutes.
- Place the muffin tin in the refrigerator to chill for at least 1 hour.
- Carefully remove the No Bake Peanut Butter Oat Cups from the muffin tin.
- Store your cups in an airtight container in the refrigerator for up to a week.


Leave a Reply