
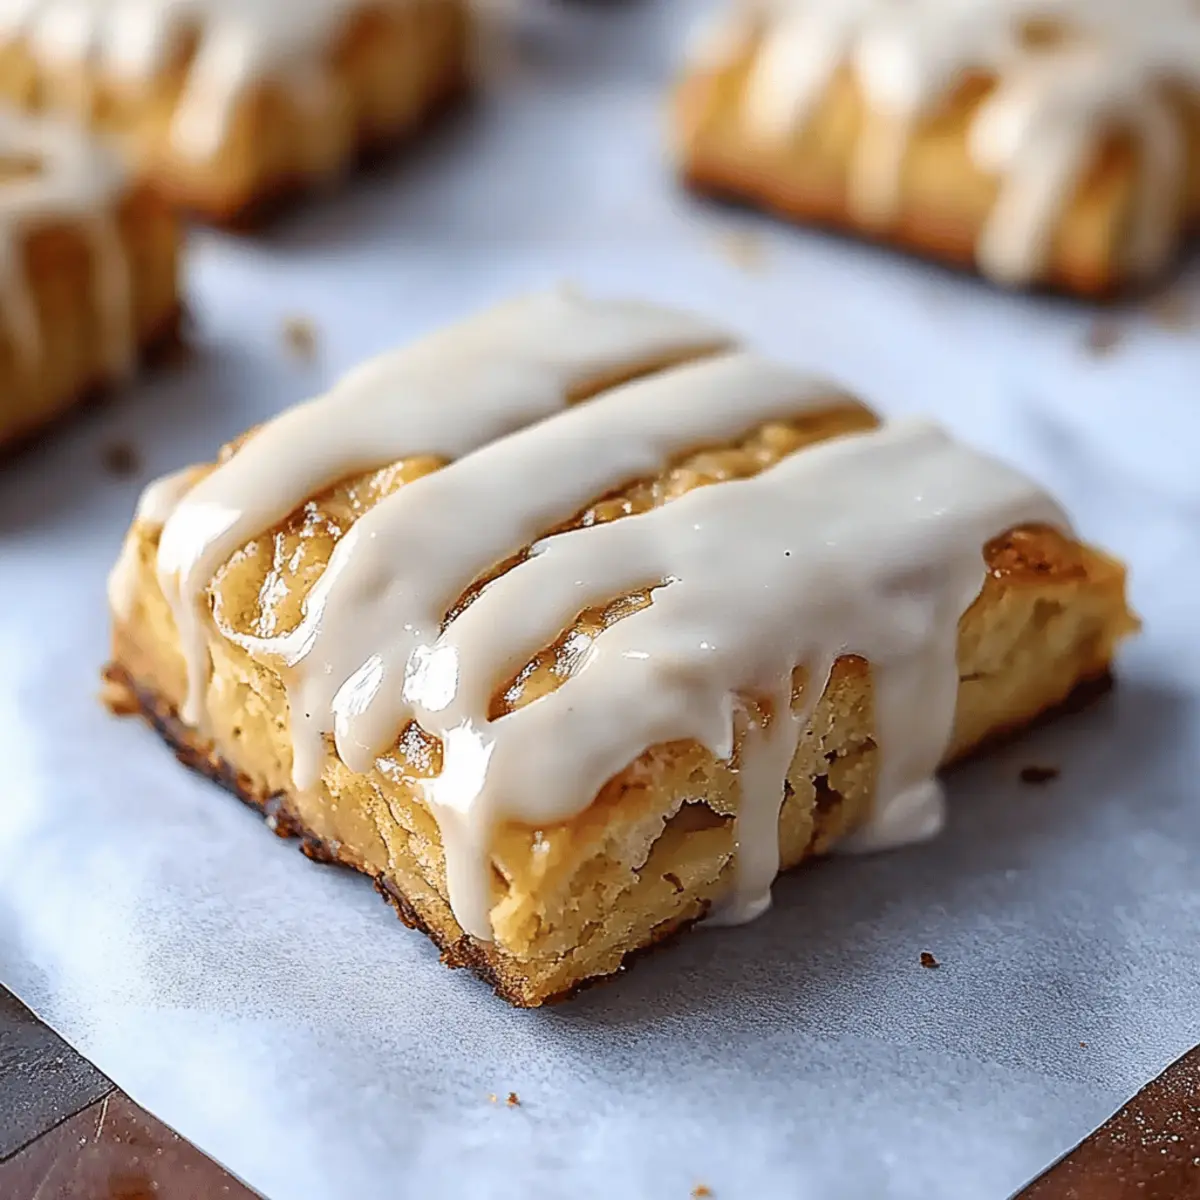
As the leaves turn and the air fills with a crispness that calls for cozy moments, I can't help but feel excited about baking. Today, I’m sharing my delightful Pumpkin Scones recipe—a perfect blend of seasonal warmth and comforting flavors. These scones are incredibly quick to whip up, making them an ideal choice for busy mornings or spontaneous get-togethers with friends. Plus, they freeze beautifully, so you can always have a tasty treat on hand! Whether you enjoy them with a cup of coffee or paired with your favorite breakfast spread, these scones are sure to brighten your day. So, are you ready to fill your kitchen with the irresistible aroma of autumn? Let’s get baking!
Why are these Pumpkin Scones irresistible?
Warmth of Fall: These scones capture the essence of autumn with spices like cinnamon, nutmeg, and ginger, inviting you to enjoy a cozy moment.
Quick Delight: In just 35 minutes, you’ll have fresh, fluffy scones that require minimal effort—perfect for busy mornings or unexpected guests.
Versatile Pairing: Enjoy them as a delightful breakfast on their own or with toppings like whipped cream or cream cheese for a special treat.
Make-Ahead Magic: Freeze extras for an easy, delicious snack later; simply reheat for a taste of fall anytime!
A Crowd-Pleaser: Share these scones at gatherings, and you’ll be the star of the show—everyone will be clamoring for the recipe.
Pumpkin Scone Ingredients
For the Scones
• All-purpose flour – 2 ¼ cups; essential for structure and fluffiness in your pumpkin scones.
• Brown sugar – ⅓ cup; adds a rich, caramel-like sweetness that complements the spices perfectly.
• White sugar – 2 tbsp; balances the flavor among the spices and pumpkin puree.
• Ground cinnamon – 1 tsp; infuses warmth and is a staple spice for autumn baking.
• Ground cloves – ¼ tsp; provides a subtle depth of flavor, perfect for cozy scones.
• Ground ginger – ¼ tsp; adds a bit of zing that brightens the flavor of the scones.
• Ground nutmeg – ¼ tsp; enhances the warm, festive aroma that makes these scones irresistible.
• Baking soda – 1 tsp; helps the scones rise and achieve that beautiful fluffy texture.
• Baking powder – ½ tsp; works in tandem with baking soda for a perfect rise.
• Salt – ¼ tsp; enhances all the flavors and balances the sweetness.
• Unsalted butter – ½ cup, cold and diced; critical for a tender texture and rich flavor.
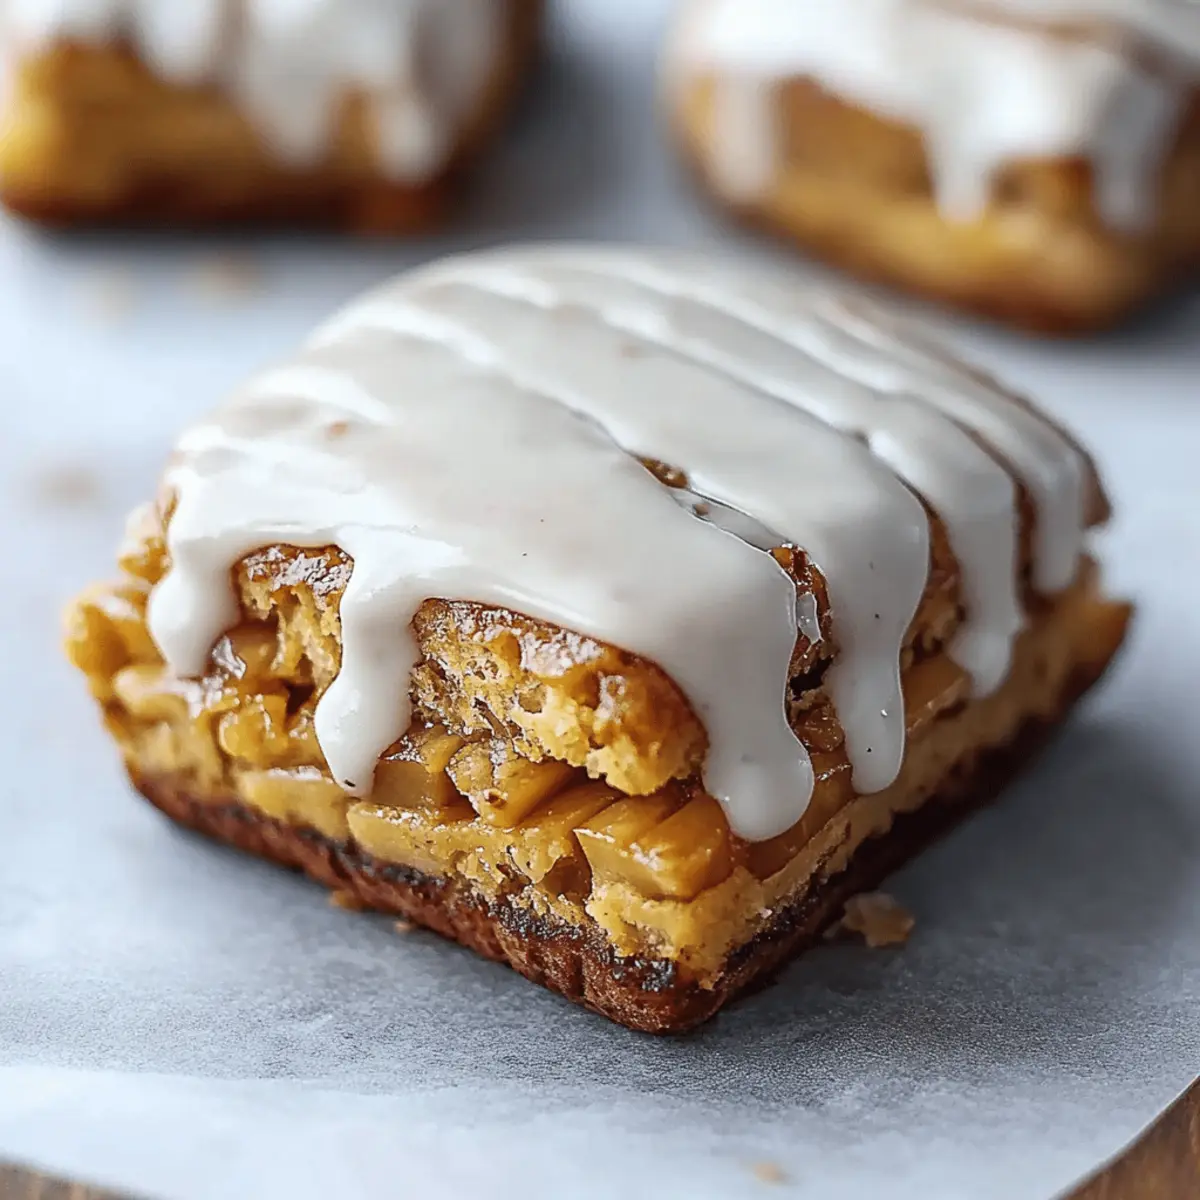
• Pumpkin puree – ½ cup, chilled; brings moisture and that signature pumpkin flavor to the scones.
• Cold milk – ¼ cup; adds richness and helps bind the ingredients together.
• Cold egg – 1; provides moisture and richness, helping bind everything into a soft dough.
• Vanilla extract – 1 tsp; adds a lovely undertone to enhance the scone's flavor.
For the Glaze
• Powdered sugar – 1 cup; creates a smooth and sweet finishing touch for your scones.
• Heavy cream – 2–3 tbsp; thins the glaze for spreading while adding richness.
• Powdered sugar – 1 tablespoon (for spiced glaze); adds sweetness to the decorative drizzle.
• Pumpkin puree – ¼ teaspoon (for spiced glaze); a touch of pumpkin that ties the flavors together beautifully.
• Pumpkin pie spice – ¼ teaspoon (for spiced glaze); brings a delightful spice blend that enhances the pumpkin flavor.
These Pumpkin Scone ingredients promise to result in not only beautiful scones but an inviting aroma that fills your kitchen with warmth and joy!
Step‑by‑Step Instructions for Pumpkin Scones
Step 1: Preheat and Prepare
Preheat your oven to 400°F (200°C) to create the perfect baking environment for your pumpkin scones. While it heats up, line a baking sheet with parchment paper or a silicone mat to prevent sticking. This small step will ensure your scones come out beautifully golden without any fuss.
Step 2: Mix Wet Ingredients
In a medium bowl, combine the chilled pumpkin puree, cold milk, cold egg, and vanilla extract. Whisk these ingredients together until you achieve a smooth, cohesive mixture. Once combined, pop this bowl into the fridge to chill while you prepare the dry ingredients—this will help create a tender texture in your scones.
Step 3: Combine Dry Ingredients
In a large mixing bowl, whisk together the all-purpose flour, brown sugar, white sugar, ground cinnamon, ground cloves, ground ginger, ground nutmeg, baking soda, baking powder, and salt. Stir thoroughly until the dry ingredients are well mixed and evenly incorporated, creating a fragrant blend that embodies the essence of pumpkin scones.
Step 4: Incorporate Butter
Add the cold, diced unsalted butter to your dry mixture. Using a pastry cutter or your fingers, work the butter into the flour blend until it resembles coarse crumbs, with pea-sized bits of butter remaining. This step is key for achieving a flaky, tender scone, so take your time to incorporate the butter thoroughly.
Step 5: Form the Dough
Create a well in the center of the dry ingredients and pour in the chilled pumpkin mixture. Using a rubber spatula, gently mix until a soft, cohesive dough forms. Be careful to avoid overmixing, as this can lead to tough scones—just blend until you see no dry flour visible.
Step 6: Shape the Dough
Turn the dough onto a lightly floured surface. With clean hands, gently fold the dough over itself 2-3 times to incorporate any remaining flour. Shape it into a rectangle approximately 8×5 inches and about 1 inch thick, ensuring it maintains a consistent thickness for even baking.
Step 7: Cut the Scones
Using a sharp knife, cut the dough into 6 squares or wedges, depending on your preference. Carefully place the cut scones onto the prepared baking sheet, ensuring there’s enough space between them for rising. This will set the stage for fluffy, evenly baked pumpkin scones as they expand in the oven.
Step 8: Bake the Scones
Bake your pumpkin scones in the preheated oven for 17–18 minutes, until they have risen and are lightly golden on top. You’ll know they’re ready when a toothpick inserted into the center comes out clean. Once baked, let them rest on the baking sheet for 10 minutes to firm up before transferring to a wire rack to cool completely.
Step 9: Prepare the Glaze
While the scones are cooling, whisk together 1 cup of powdered sugar and 2 tablespoons of heavy cream in a medium bowl until smooth and drizzly. Adjust the thickness of the glaze by adding more cream if needed. This sweet topping will take your pumpkin scones to the next level!
Step 10: Glaze the Scones
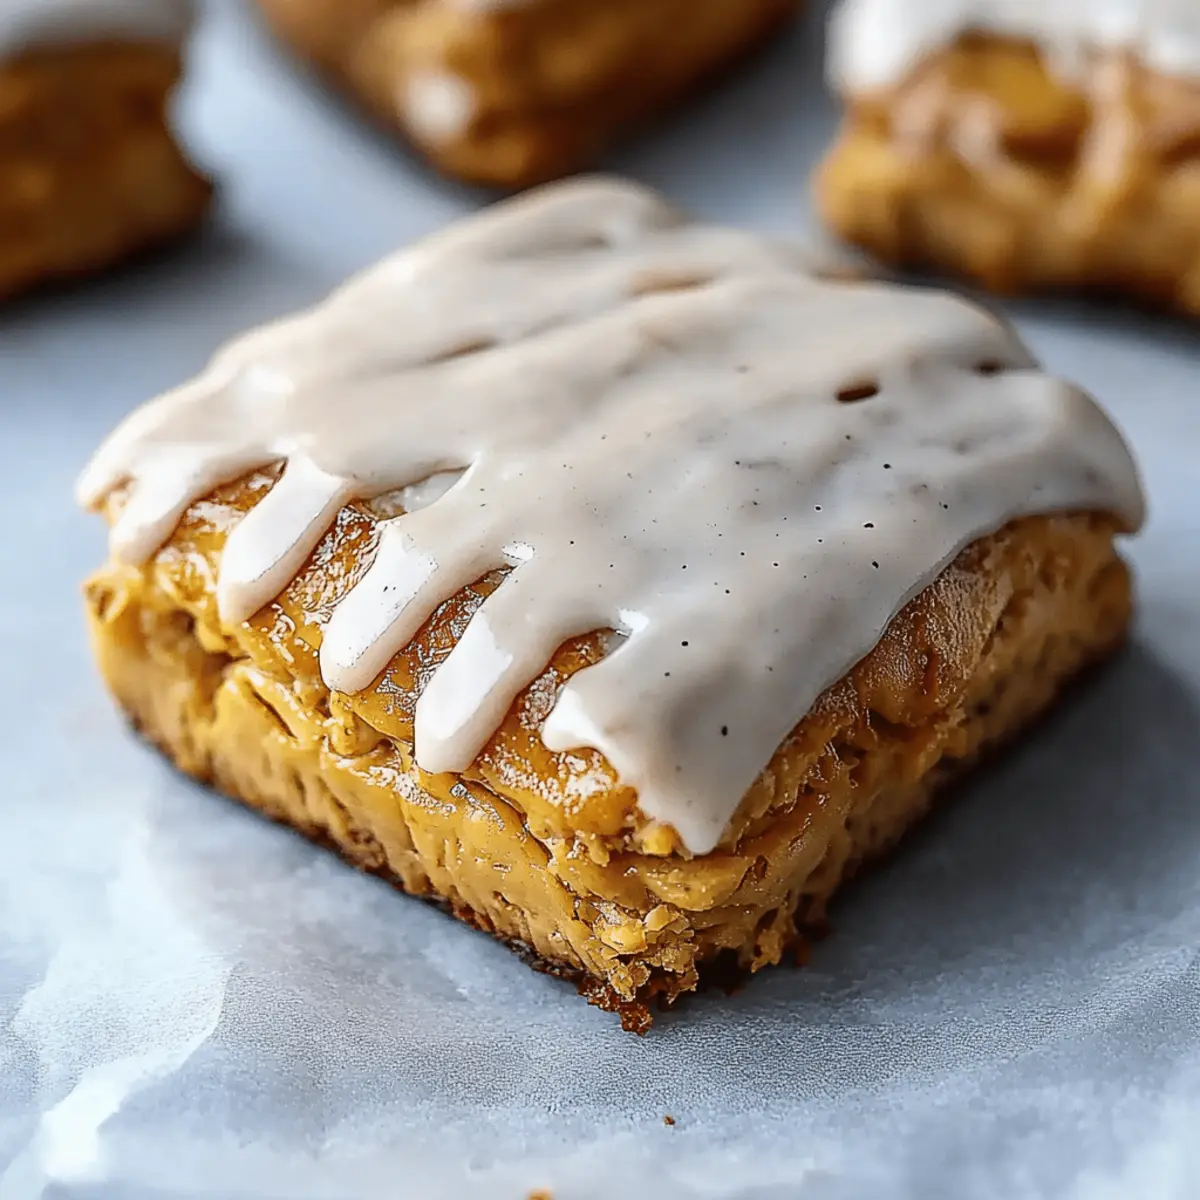
Once the scones have cooled, spread 1.5–2 tablespoons of the glaze over each one using the back of a spoon. Allow the glaze to set for 5–10 minutes, giving a lovely shine to your scones while enhancing their irresistible appeal.
Step 11: Create the Spiced Glaze
For the spiced glaze, take the reserved glaze and mix in 1 tablespoon of powdered sugar, ¼ teaspoon pumpkin puree, and ¼ teaspoon pumpkin pie spice. This blend will add an extra layer of flavor and a delightful touch to your pumpkin scones, perfect for a decorative finish.
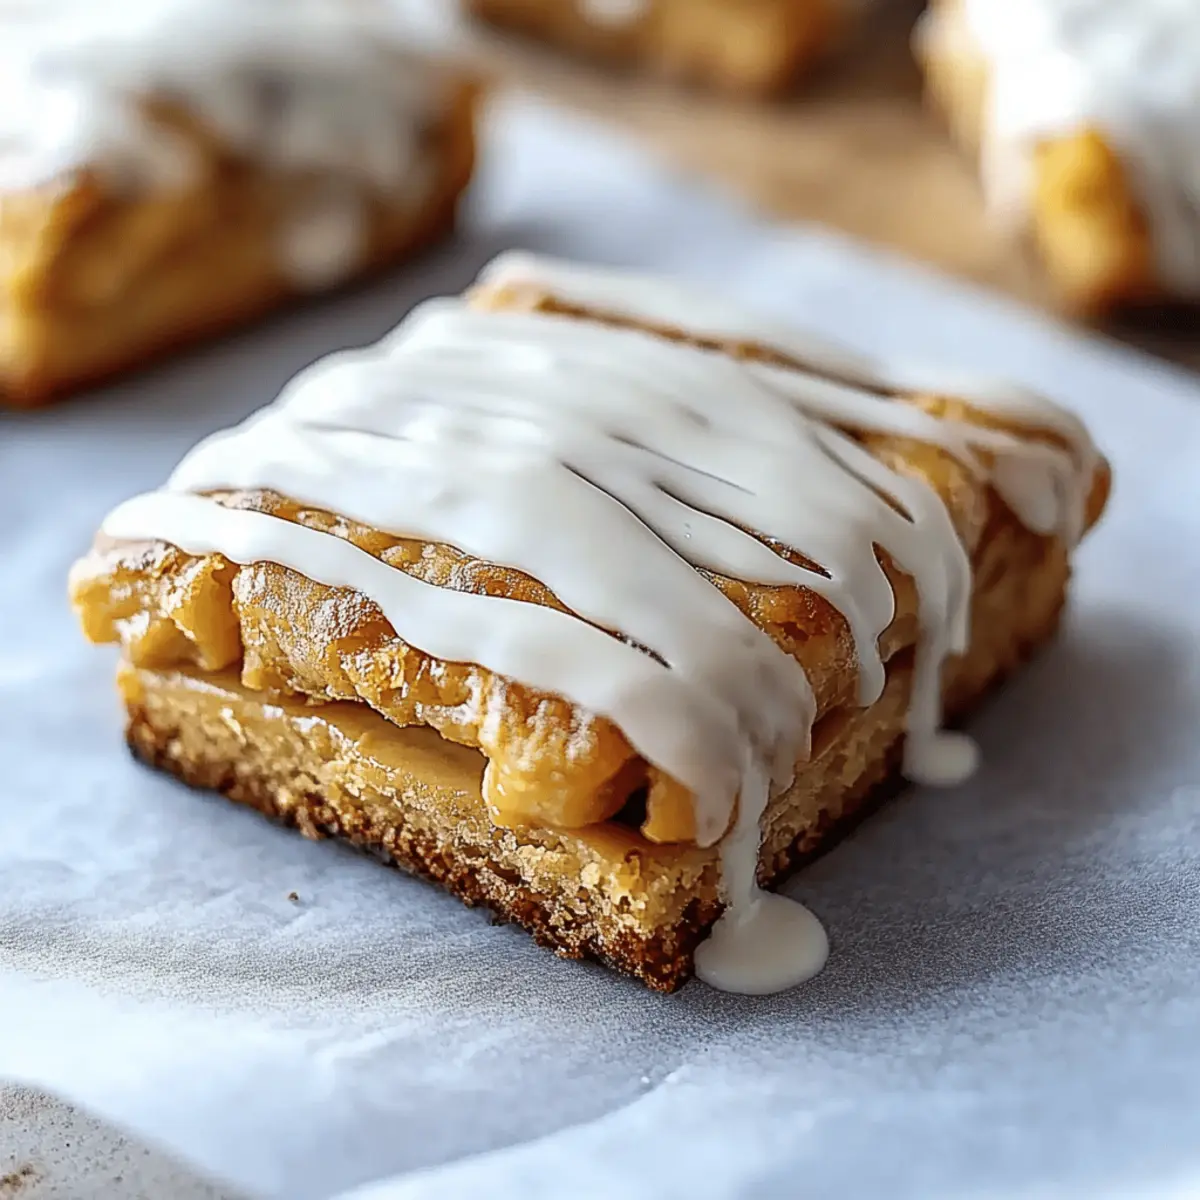
Step 12: Final Touch
Using a piping bag or a ziplock bag with the corner snipped off, pipe the spiced glaze over the decorated scones in creative stripes. Allow them to set for an additional 15–20 minutes before serving, ensuring every bite is packed with the flavors of fall and a delightful sweet crunch.
What to Serve with Pumpkin Scones
As you prepare to savor these delightful pumpkin scones, consider pairing them with complementary dishes and drinks that enhance their cozy, spiced goodness.
- Spiced Chai Tea: The aromatic spices in chai mirror those in the scones, creating a warm and comforting sipping experience.
- Crispy Bacon: The smoky flavor of bacon adds a delightful contrast to the sweetness of the scones—perfect for a hearty breakfast.
- Breakfast Sausage: Savory sausage links make for a filling contrast, balancing the sweet flavors of your pumpkin scones nicely.
- Whipped Cream: A dollop of fluffy whipped cream elevates your scones into dessert territory, making them irresistible!
- Cream Cheese Spread: Cream cheese adds a rich, tangy touch that harmonizes with the pumpkin flavor and enhances the overall taste.
- Maple Syrup Drizzle: A light drizzle of maple syrup brings an extra layer of sweetness that complements the pumpkin beautifully.
- Fresh Fruit Salad: Bright, juicy fruit provides a refreshing contrast, enhancing your scone experience with a burst of color and flavor.
- Apple Cider: Enjoying your scones with warm apple cider introduces a comforting fall beverage that perfectly pairs with the seasonal theme.
- Vanilla Ice Cream: As a dessert option, the creaminess of vanilla ice cream alongside warm scones is a heavenly match for a cozy treat.
Make Ahead Options
These Pumpkin Scones are perfect for those busy mornings when time is tight! You can prepare the dry ingredients and mix them in advance, storing them in an airtight container for up to 3 days. Additionally, you can make the dough itself and refrigerate it for up to 24 hours to keep them fresh. When you're ready to bake, simply cut the scones, and pop them in the oven as instructed. If you'd like to enjoy them later, unglazed scones can be frozen for up to 3 months; just thaw at room temperature and glaze before serving. They’ll be just as delicious as when freshly baked, giving you a cozy treat without the fuss!
Pumpkin Scones Variations & Substitutions
Feel free to get creative and make these pumpkin scones your own with these friendly twists!
-
Gluten-Free: Substitute all-purpose flour with a gluten-free baking blend for a deliciously inclusive option.
-
Dairy-Free: Use coconut oil or plant-based butter instead of unsalted butter, and swap the milk with almond or oat milk for a dairy-free delight.
-
Spice It Up: Add an extra ½ teaspoon of cinnamon or a pinch of cayenne pepper to elevate the flavor and add warmth to your scone experience.
-
Sweetness Adjustment: Reduce or increase the sugar slightly based on your taste preference; these scones can be customized to be more or less sweet.
-
Fruit Boost: Mix in ½ cup of dried cranberries or chocolate chips for an exciting flavor combination that adds a delightful surprise in every bite.
-
Nuts for Crunch: Fold in ¼ cup of chopped pecans or walnuts for an appealing texture contrast and added nuttiness that enhances the scone's warmth.
-
Pumpkin Spice Kick: For more decadence, sprinkle a little additional pumpkin pie spice on top of the dough before baking; it will enhance the aroma and flavor wonderfully.
-
Make-Ahead Glaze: For a unique twist, use maple syrup in place of heavy cream for the glaze—this will add a beautiful sweetness and depth that pairs perfectly with pumpkin.
These variations and substitutions open up a world of delicious possibilities while keeping the spirit of the pumpkin scones alive! And if you’re still looking for more flavors, consider serving your scones alongside a comforting cup of spiced chai tea or even a delicious creamy whipped cream to create cozy breakfast bliss. Enjoy experimenting!
How to Store and Freeze Pumpkin Scones
Room Temperature: Store your pumpkin scones in an airtight container for up to 3 days to keep them fresh. This is best for unglazed scones, as glazing them before storing may make them soggy.
Fridge: If you want to extend their freshness, you can keep the scones in the fridge for up to 5 days, but remember to allow them to come to room temperature before serving for the best flavor.
Freezer: For longer storage, freeze pumpkin scones for up to 3 months. Wrap each scone individually in plastic wrap and place them in a zip-top freezer bag.
Reheating: To enjoy your frozen pumpkin scones, simply thaw them at room temperature, then reheat in a preheated oven at 300°F (150°C) for about 10 minutes to regain that fresh-baked warmth.
Expert Tips for Pumpkin Scones
• Chill Ingredients: Keep all your ingredients as cold as possible, especially the butter and pumpkin puree. This helps achieve a flaky, tender scone texture.
• Don’t Overmix: When combining your wet and dry ingredients, mix just until incorporated. Overmixing can lead to tough scones, so be gentle!
• Proper Cutting: When cutting the scone dough, use a sharp knife or bench scraper for clean edges. This encourages even baking and gives your pumpkin scones a lovely shape.
• Cool Before Glazing: Allow the scones to cool completely before glazing. Glazing on warm scones can cause the icing to melt and lose its shape.
• Experiment with Spices: Feel free to adjust the spices to your taste or add extras like nutmeg or cardamom for a personalized spin on these pumpkin scones.
Pumpkin Scones Recipe FAQs
How do I select ripe pumpkin for my scones?
Absolutely! When choosing pumpkin for your scones, look for a 100% pure pumpkin puree (not pumpkin pie filling) in a can for convenience. Check the label to ensure it’s made from high-quality pumpkins. If using fresh pumpkin, select one that feels heavy and has a hard skin, indicating ripeness; a small, sweet sugar pumpkin works best.
How should I store leftover pumpkin scones?
Store your pumpkin scones in an airtight container at room temperature for up to 3 days. For the best flavor and texture, consider glazing them just before serving rather than storing them already glazed, as this helps them remain fluffy and not soggy.
Can I freeze pumpkin scones?
Very! To freeze, wrap each scone tightly in plastic wrap and place them in a zip-top freezer bag, ensuring to remove as much air as possible. They can be stored in the freezer for up to 3 months. When you’re ready to enjoy them, simply thaw at room temperature and reheat in a preheated oven at 300°F (150°C) for about 10 minutes for that fresh-baked taste.
What should I do if my scones don’t rise properly?
If your pumpkin scones don’t rise as expected, it could be due to expired leavening agents. Make sure your baking soda and baking powder are fresh before use. Additionally, avoid overmixing your dough, as this can cause the scones to become dense rather than fluffy. Gently incorporate the wet and dry ingredients for the best results.
Are pumpkin scones suitable for those with allergies?
While pumpkin scones are generally safe, they do contain common allergens like wheat (gluten) and dairy. For an allergy-friendly version, you can substitute all-purpose flour with a certified gluten-free flour blend and use dairy-free butter and milk alternatives. Always check the labels to ensure they meet your dietary needs!
How long can I keep pumpkin scones?
In an airtight container, homemade pumpkin scones can last up to 3 days at room temperature or up to 5 days in the fridge. If freezing, they can remain delightful for up to 3 months. Make sure to allow them to cool completely before wrapping; this helps prevent sogginess.
Delicious Pumpkin Scones Perfect for Cozy Mornings
Ingredients
Equipment
Method
- Preheat your oven to 400°F (200°C) and line a baking sheet with parchment paper.
- In a bowl, whisk together pumpkin puree, cold milk, egg, and vanilla. Chill.
- In another bowl, mix all-purpose flour, brown sugar, white sugar, spices, baking soda, baking powder, and salt.
- Cut in cold butter until it resembles coarse crumbs.
- Pour wet mixture into dry ingredients and mix until a dough forms.
- Shape dough into a rectangle about 1 inch thick.
- Cut dough into squares or wedges and place on baking sheet.
- Bake for 17-18 minutes until golden and a toothpick comes out clean.
- Cool on a rack for 10 minutes.
- Mix powdered sugar and cream for the glaze until smooth.
- Glaze each scone and allow to set.
- For spiced glaze, mix additional ingredients and pipe over scones.
- Allow spiced glaze to set for 15-20 minutes before serving.


Leave a Reply