
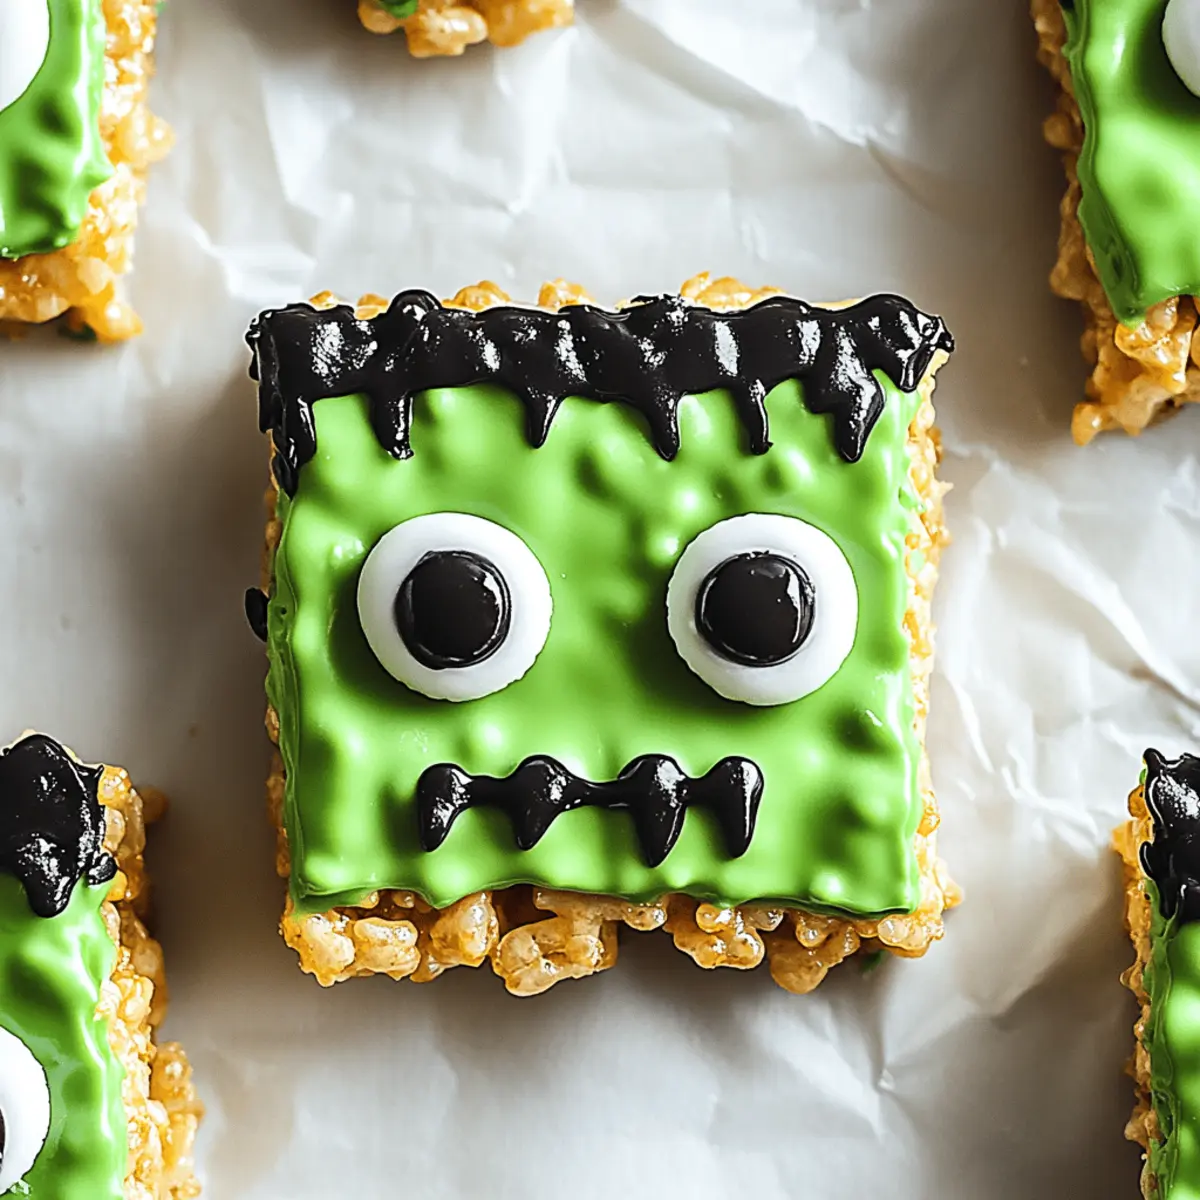
As I reached into the pantry, I found the last of those crispy Rice Krispies just waiting for a makeover. Halloween is just around the corner, and what better way to celebrate than with a spooky twist on a classic treat? Enter my Frankenstein Rice Krispie Bars—a vibrant green delight that’ll satisfy both your sweet tooth and your creativity! These no-bake bars are not only super simple to whip up, but they’re also a guaranteed hit at any Halloween gathering. With just a few ingredients, you can create a fun, festive dessert that the entire family will love. Are you ready to transform your kitchen into a cauldron of deliciousness? Let’s dive into this haunted recipe together!
Why Are Frankenstein Rice Krispie Bars Perfect?
Creativity Unleashed: These bars are a fun way to express your spooky side and engage kids in the kitchen.
No-Bake Simplicity: With minimal effort and no oven time required, you'll save time for more Halloween fun.
Screaming Flavor: The delightful combination of sweet marshmallows and Rice Krispies creates a crunchy, chewy texture that is irresistibly tasty.
Crowd-Pleasing Treat: Perfect as a party snack, these vibrant green treats will draw everyone in and become the highlight of your Halloween festivities.
For more whimsical ideas, check out my Witch Hat Cupcakes or try the delightful Candy Corn Cheesecake Bars!
Frankenstein Rice Krispie Bars Ingredients
• Get ready to create a hauntingly delicious treat with these enchanting Frankenstein Rice Krispie Bars!
For the Bars
- 6 cups Rice Krispies – The cereal base provides the perfect crunch for our spooky treats.
- 1 cup marshmallows – Melted marshmallows give these bars their irresistible chewiness.
- 3 tablespoon butter – Butter adds richness and helps combine all the ingredients nicely.
- Green food coloring – A dash of this will transform your bars into vibrant Frankenstein creations.
- Candy eyes – These adorable decorations bring your Frankenstein bars to life!
Embrace the Halloween spirit with these delightful treats that are sure to enchant everyone at your gathering!
Step‑by‑Step Instructions for Frankenstein Rice Krispie Bars
Step 1: Prepare Your Ingredients
Gather all your ingredients for the Frankenstein Rice Krispie Bars. Measure out 6 cups of Rice Krispies, 1 cup of marshmallows, and 3 tablespoons of butter, placing them within easy reach. Also, get your green food coloring ready alongside the candy eyes for decoration. This will ensure a smooth workflow as you create your spooky treats!
Step 2: Melt the Butter and Marshmallows
In a large saucepan, melt 3 tablespoons of butter over low heat. Once the butter is melted, add 1 cup of marshmallows, stirring constantly until they are completely melted and the mixture is smooth. This should take about 5-7 minutes. Keep an eye on it to prevent burning, and enjoy the sweet aroma wafting through your kitchen!
Step 3: Incorporate the Rice Krispies
Remove the saucepan from the heat and add 6 cups of Rice Krispies to the melted marshmallow mixture. Stir gently but thoroughly, ensuring every piece of cereal is coated in that sticky, sweet goodness. The color will be a lovely light shade for now, but we’ll make it spooky in the next step!
Step 4: Add Green Food Coloring
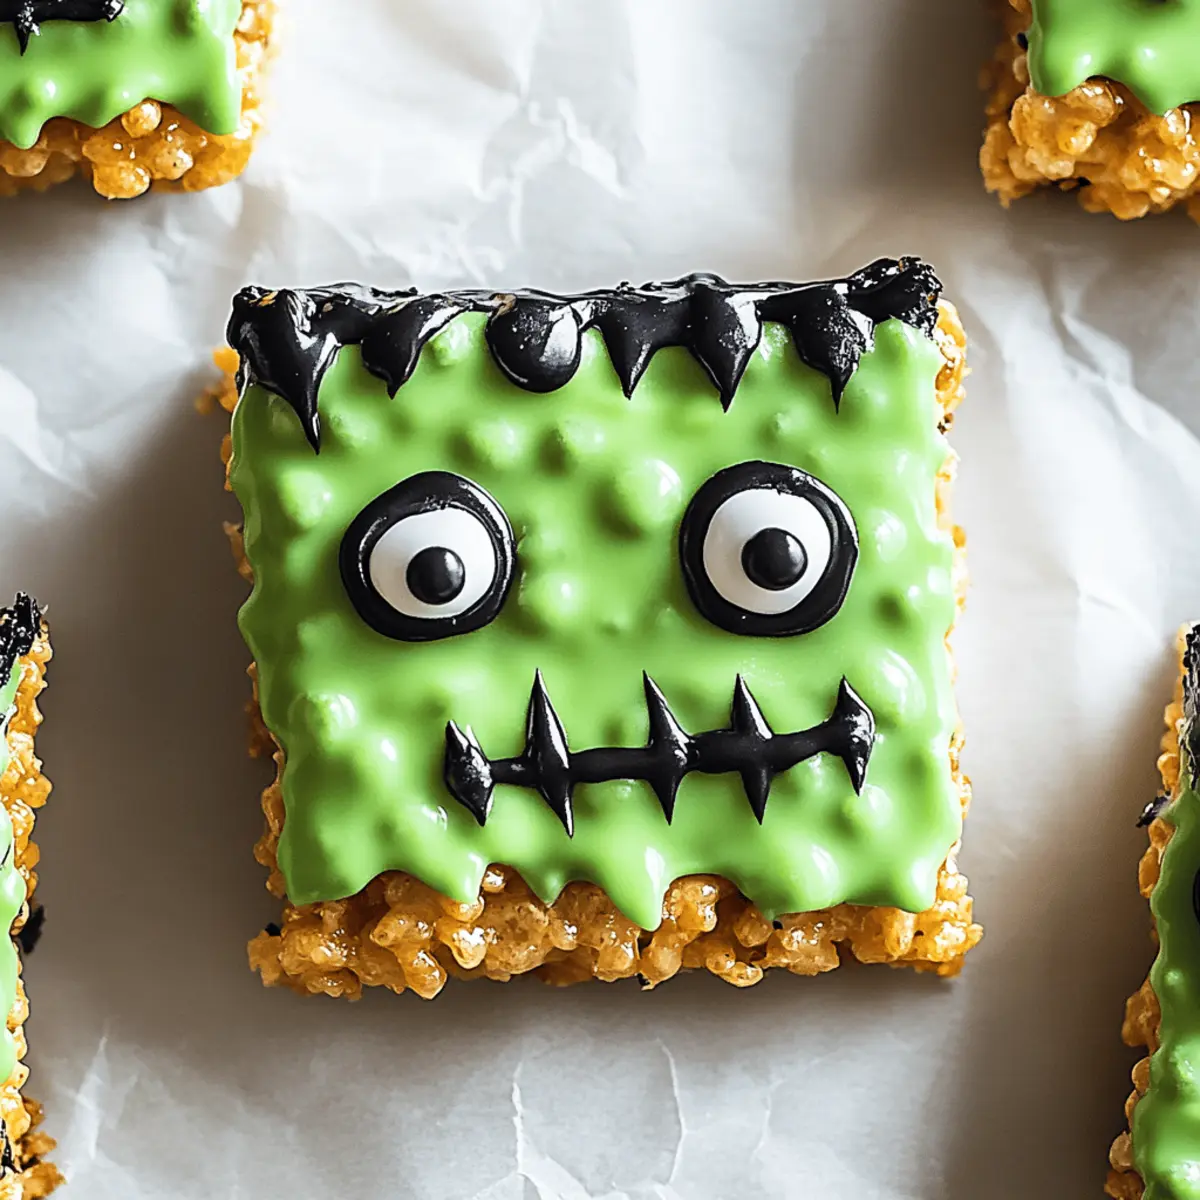
Once the Rice Krispies are fully mixed, add a few drops of green food coloring to the mixture. Stir until the color is evenly distributed, transforming your treat into a vibrant green suitable for Frankenstein! You might not have a cauldron, but this will feel like a potion in your very own kitchen!
Step 5: Press into the Baking Dish
Line an 8x8-inch baking dish with parchment paper for easy removal. Then, pour the colorful mixture into the dish, pressing it down firmly with a spatula or your hands. Make sure it’s evenly spread and compacted—this creates the perfect base for your Frankenstein Rice Krispie Bars. Let it rest for about 30 minutes at room temperature to set properly.
Step 6: Decorate with Candy Eyes
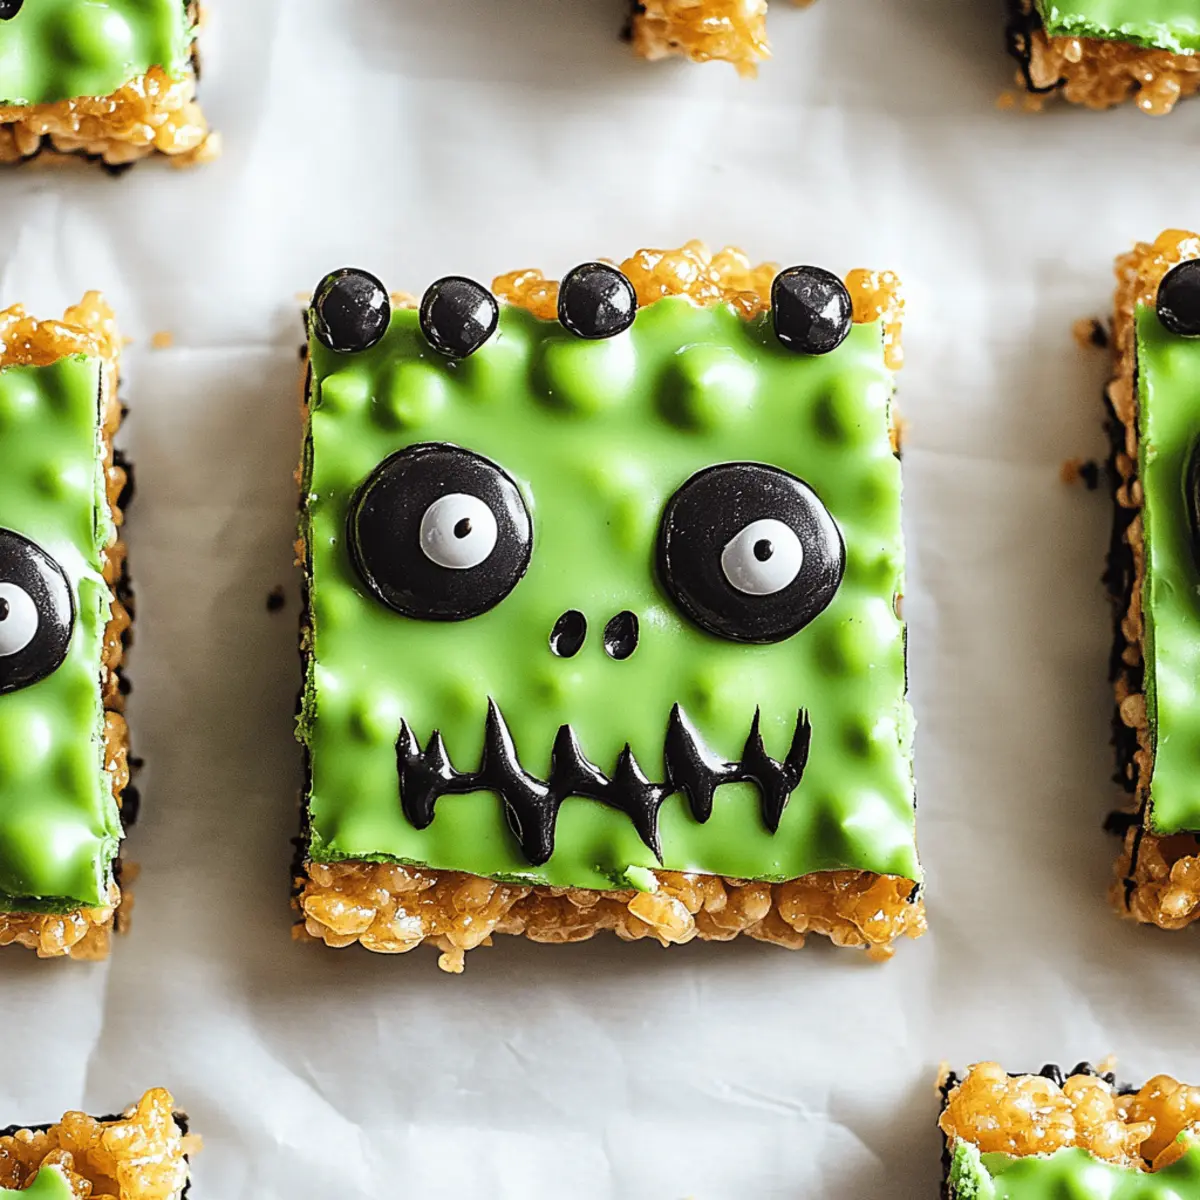
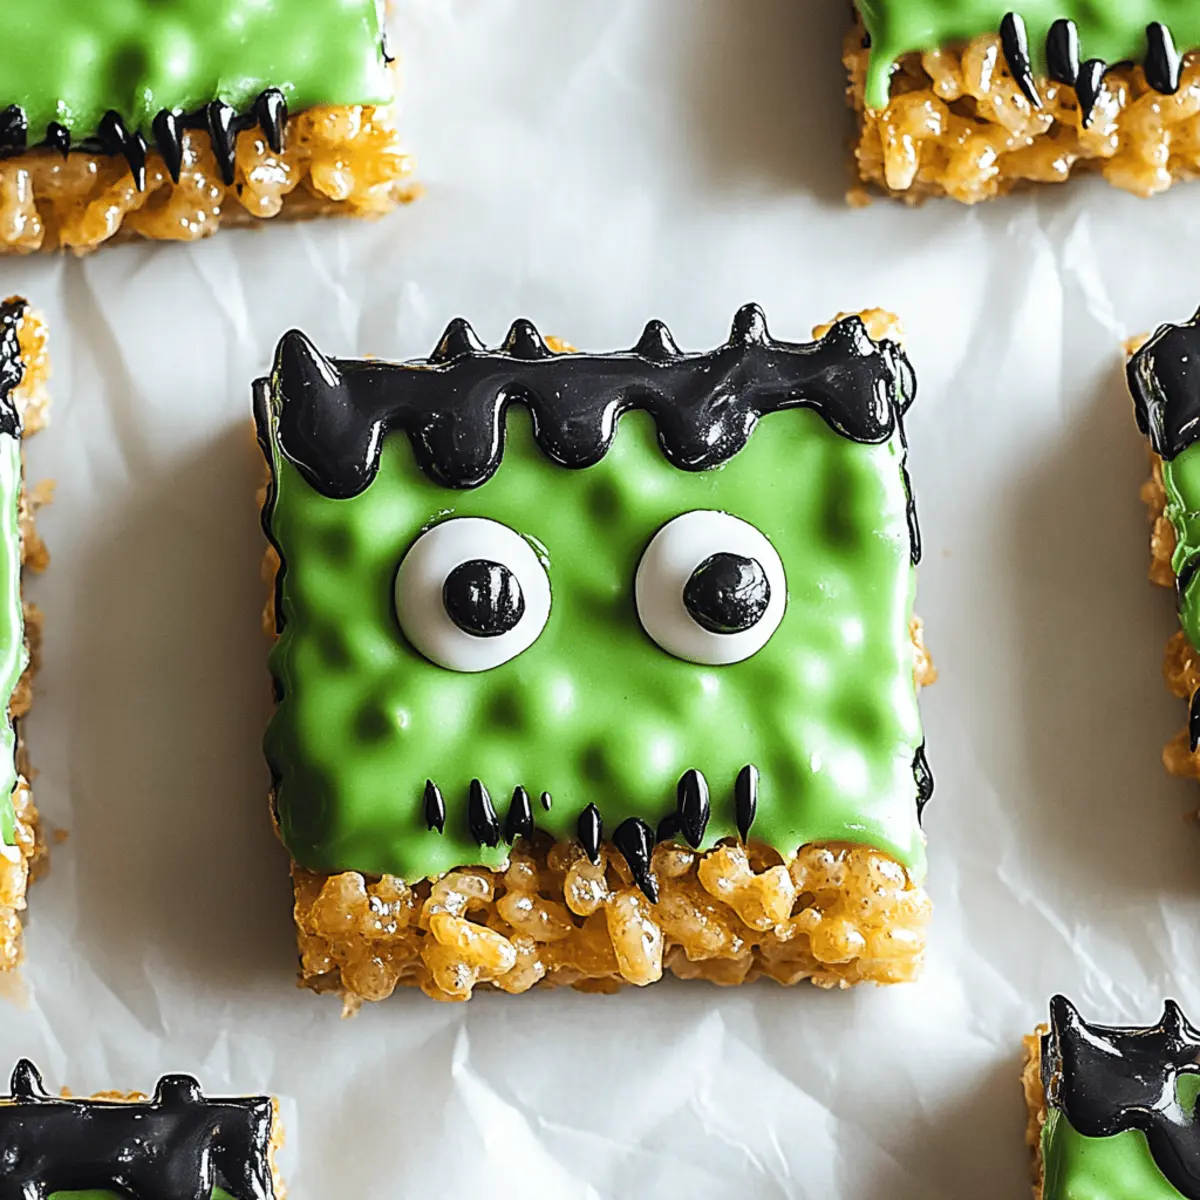
Once cooled, carefully remove the Rice Krispie treat from the baking dish and cut it into squares or bars. Now, it’s time to bring your Frankenstein creations to life! Top each bar with adorable candy eyes, pressing them gently into the surface. The finishing touch will make it look even more fun and festive for Halloween gatherings!
Step 7: Serve and Share
Your Frankenstein Rice Krispie Bars are ready to delight friends and family! Arrange them on a spooky platter and watch as everyone is drawn to these festive treats. The combination of crunch and chewiness will make them a hit, ensuring your Halloween celebration is filled with joy and creativity!
Make Ahead Options
These Frankenstein Rice Krispie Bars are perfect for busy home cooks looking to save time during the Halloween rush! You can make the mixture and press it into the baking dish up to 24 hours in advance. Simply prepare the bars as directed and let them cool completely before covering them tightly with plastic wrap to maintain their freshness. When it's time to serve, you can quickly cut them into squares and top with candy eyes right before the party. This way, your spooky treats will taste just as delightful and vibrant, ensuring that everyone will enjoy them without the last-minute rush!
Storage Tips for Frankenstein Rice Krispie Bars
Room Temperature: Keep your Frankenstein Rice Krispie Bars in an airtight container at room temperature for up to 5 days. This ensures they stay chewy and delicious!
Refrigerator: If you prefer a firmer texture, store the bars in the fridge for up to a week. Make sure to wrap them tightly to prevent them from absorbing moisture.
Freezer: For longer storage, freeze individual bars in plastic wrap, then place them in an airtight container. They will keep for up to 2 months! Thaw in the fridge before enjoying.
Reheating: If desired, you can microwave a bar for about 5-10 seconds to soften it slightly before serving. Enjoy your spooky treats fresh!
Tips for the Best Frankenstein Rice Krispie Bars
Perfect Consistency: Use fresh marshmallows for better melting and stickiness; old marshmallows can lead to a dry texture.
Color Control: Add green food coloring gradually. Start with a few drops and mix until you reach your desired shade; intense color can enhance the fun!
Press Firmly: Ensure to press the mixture firmly into the baking dish. This helps the bars hold together and prevents them from crumbling when cut.
Cut with Care: Use a sharp knife for cutting the bars; a sawing motion prevents squishing your spooky treats.
Creative Garnish: Get creative with decorations! In addition to candy eyes, consider adding Halloween sprinkles for an extra festive touch to your Frankenstein Rice Krispie Bars.
What to Serve with Frankenstein Rice Krispie Bars
Elevate your Halloween festivities with playful and delicious side dishes that complement these vibrant treats.
-
Witch Hat Cupcakes: The chocolatey goodness and whimsical hats pair perfectly with the marshmallowy crunch of the Rice Krispie Bars.
-
Ghost Meringues: These delicate treats are light and airy, creating a delightful contrast against the chewy texture of the bars.
-
Pumpkin Spice Cookies: The warm spices of pumpkin cookies add a comforting flavor, balancing the sweetness of your Frankenstein Rice Krispie Bars.
-
Bloody Red Velvet Cake Pops: These striking pops not only look great but also offer a soft, cake-like texture alongside the crunchy bars.
-
Vampire Donuts: A deliciously spooky addition, these donuts with red icing bring a fun charm that kids will love, making them a great party treat.
-
Spooky Eyeball Truffles: These rich truffles offer a smooth mouthfeel that beautifully contrasts with the Frankenstein Rice Krispie Bars’ crunchiness, enhancing the overall dessert experience.
-
Candy Corn Cheesecake Bars: The creamy, sweet layers of cheesecake complemented with the Rice Krispie Bars create a perfect blend of flavors that’s sure to please at any Halloween gathering.
Frankenstein Rice Krispie Bars Variations
Feel free to shake things up and unleash your creativity with these fun twists on your Frankenstein Rice Krispie Bars!
-
Cereal Mix-In: Add 1 cup of chocolate or Halloween-themed cereal for an exciting texture variation. The extra crunch will add delightful surprises in every bite!
-
Nutty Flavor: Incorporate ½ cup of chopped nuts like almonds or pecans for added richness. This gives a heartier bite and a tasty contrast to the sweet marshmallows.
-
Chocolate Drizzle: Melt dark or white chocolate and drizzle it over the top for a touch of elegance. This will create a deliciously rich flavor contrast with the marshmallow base.
-
Festive Sprinkles: Instead of just candy eyes, top with an assortment of Halloween sprinkles. The colorful addition will make your bars even more festive and visually appealing!
-
Creamy Filling: Before pressing the mixture into the pan, add dollops of peanut butter or Nutella. This hidden layer will surprise and delight everyone who takes a bite!
-
Spicy Twist: For a unique kick, add a pinch of cayenne pepper to the melted marshmallow mixture. It’s a subtle surprise that balances the sweetness.
-
Edible Glitter: Sprinkle some edible glitter on top right before serving for an added touch of magic! It’s sure to dazzle both kids and adults alike.
-
Vegan Version: Swap the butter with coconut oil and use vegan marshmallows for a plant-based treat. Beautifully green and utterly delicious, everyone can join in the fun!
Pair these delightful variations with the Witch Hat Cupcakes or treat your guests to festive Candy Corn Cheesecake Bars to create an entertaining Halloween dessert spread!
Frankenstein Rice Krispie Bars Recipe FAQs
What type of Rice Krispies should I use?
Use standard Rice Krispies for the best texture. Ensure they're fresh for optimal crunchiness in your Frankenstein Rice Krispie Bars!
How should I store my Frankenstein Rice Krispie Bars?
Keep your bars in an airtight container at room temperature for up to 5 days. If you prefer them firmer, the refrigerator will keep them fresh for about a week. For longer storage, wrap individual bars in plastic wrap and freeze them for up to 2 months. Thaw in the fridge before enjoying!
Can I customize the decorations?
Absolutely! While candy eyes are fun, feel free to add more Halloween-themed sprinkles or edible glitter to make your Frankenstein Rice Krispie Bars extra festive. You can also change the color by mixing in other shades of food coloring for a unique look.
What do I do if the mixture is too sticky?
If your mixture is overly sticky when mixing your Rice Krispies, you may not have melted the marshmallows completely. Just return the saucepan to low heat and stir until smooth again. Alternatively, you can add a touch more Rice Krispies to balance the texture.
How long does it take for the bars to set?
Allow the bars to cool and set at room temperature for about 30 minutes after pressing them into the baking dish. This waiting time ensures they hold together nicely when you cut them into squares.
Are these bars suitable for kids?
Yes! They’re perfect for kids, as they're fun to make and eat. However, make sure to supervise younger children, especially when using sharp utensils for cutting or melting ingredients on the stove.
Frankenstein Rice Krispie Bars: Spooky Sweet Treats to Share
Ingredients
Equipment
Method
- Gather all your ingredients for the Frankenstein Rice Krispie Bars. Measure out 6 cups of Rice Krispies, 1 cup of marshmallows, and 3 tablespoons of butter, placing them within easy reach.
- In a large saucepan, melt 3 tablespoons of butter over low heat. Once melted, add 1 cup of marshmallows, stirring constantly until smooth, about 5-7 minutes.
- Remove from heat and add 6 cups of Rice Krispies to the melted mixture. Stir gently to coat each piece evenly.
- Add a few drops of green food coloring to the mixture and stir until the color is evenly distributed.
- Line an 8x8-inch baking dish with parchment paper. Pour the mixture into the dish, pressing down firmly with a spatula or your hands.
- Let it rest for about 30 minutes at room temperature to set properly.
- Once cooled, cut into squares or bars and top each with candy eyes, pressing gently into the surface.
- Arrange on a spooky platter and serve!

Leave a Reply