
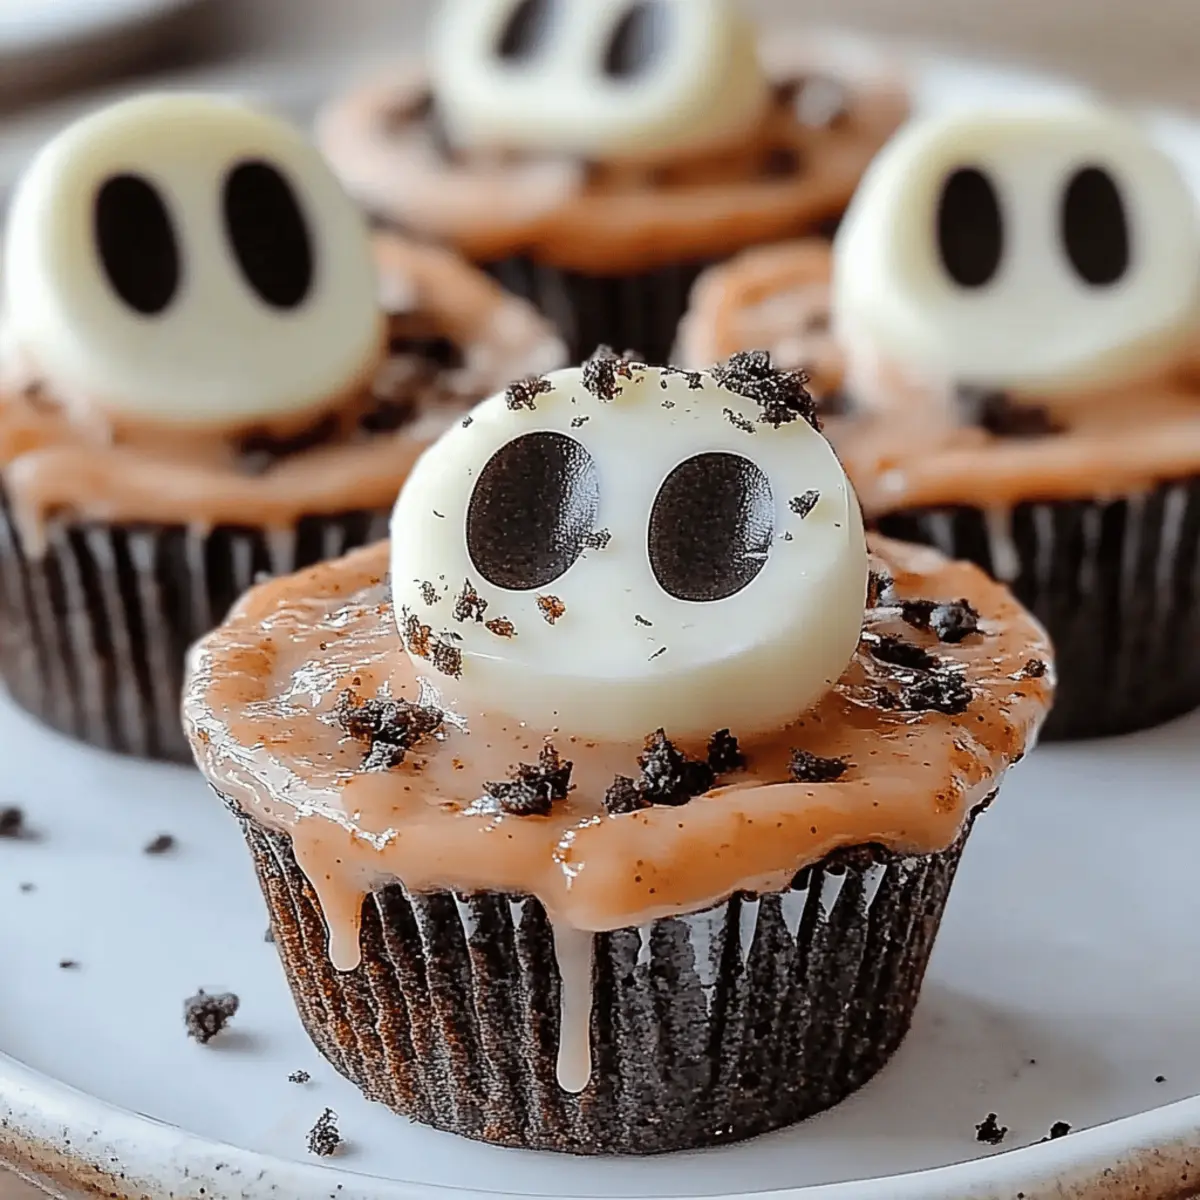
As I was rummaging through my pantry for a little Halloween inspiration, my eyes landed on a tub of gummy worms and candy eyeballs. It struck me—what if I paired them with cookie cups and pudding for a fun dessert? That’s how these Graveyard Pudding Cookie Cups came to life! Not only are they a visual treat that’s sure to impress both kids and adults alike, but they also offer a delightful mix of textures and flavors. With just 20 minutes of prep and a total time of 32 minutes, you can whip up these crowd-pleasers without breaking a sweat. So, are you ready to add a spooky twist to your dessert table? Let’s dive into this deliciously eerie recipe!
Why Are These Cookie Cups So Fun?
Spooktacular Treats: These Graveyard Pudding Cookie Cups are not just a dessert; they're a playful masterpiece that brings out your inner child.
Easy to Make: With just a 20-minute prep time and minimal baking skills needed, anyone can create these show-stoppers!
Crowd-Pleasing Appeal: Kids and adults alike will love their whimsical presentation, making them perfect for Halloween parties or any festive gathering!
Decadent Flavor: The rich chocolate cookie base paired with creamy vanilla pudding is a match made in dessert heaven.
Customizable Fun: Use different candies or toppings to match the theme of your party—let your creativity shine!
Add these easy-to-make delights to your dessert lineup and watch everyone swoon over their fun, spooky charm!
Graveyard Pudding Cookie Cups Ingredients
Prepare to whip up a spooktacular delight with these ingredients!
For the Cookie Cups
• Chocolate chip cookie dough – perfect for creating the base of your spooky dessert!
For the Pudding
• Vanilla pudding mix – adds a creamy layer to balance the chocolate cookie flavor.
• Whole milk – helps achieve the desired creamy consistency for the pudding.
For the Decoration
• Gummy worms – these wriggly candies are sure to add an element of fun!
• Candy eyeballs – they bring a whimsical touch to your Graveyard Pudding Cookie Cups.
Step-by-Step Instructions for Graveyard Pudding Cookie Cups
Step 1: Preheat and Prepare
Begin by preheating your oven to 350°F (175°C). While the oven heats up, line a muffin tin with parchment paper. This will prevent your cookie cups from sticking and make it easier to remove them later. Gather your cookie dough for the next steps, ensuring it's at room temperature for easy handling.
Step 2: Shape the Cookie Cups
Take tablespoon-sized portions of the chocolate chip cookie dough and press them into the muffin tins. Be sure to create wells in the center of each portion, which will hold the delicious vanilla pudding later. This is key for the structure of your Graveyard Pudding Cookie Cups, so make sure the walls are evenly shaped and not too thin.
Step 3: Bake the Cookie Cups
Carefully place the muffin tin in your preheated oven and bake for 10-12 minutes, or until the edges are golden brown. Keep an eye on them towards the end, as you want a slight softness in the centers for that perfect cookie cup texture. Once baked, remove them from the oven and let them cool completely before adding the pudding.
Step 4: Prepare the Vanilla Pudding
While your cookie cups are cooling, whisk together the vanilla pudding mix and whole milk in a mixing bowl. Continue whisking for about 2-3 minutes until the mixture thickens, following the package instructions. The creamy texture of the pudding will beautifully offset the richness of the chocolate cookie base in your Graveyard Pudding Cookie Cups.
Step 5: Fill the Cookie Cups
Once your cookie cups have cooled, it’s time to fill them with your prepared vanilla pudding. Generously heap the pudding into each cup, ensuring they are filled high for a delightful presentation. The contrast between the cookie and the creamy topping will not only look appealing but also create that delicious mix of flavors in your Graveyard Pudding Cookie Cups.
Step 6: Garnish with Fun
To make your Graveyard Pudding Cookie Cups come to life, it's time to decorate! Sprinkle gummy worms on top of the pudding, letting them hang over the edges for a fun, spooky effect. Add candy eyeballs randomly to enhance the playful presentation, and make your dessert eye-catching and perfect for any festive occasion.
How to Store and Freeze Graveyard Pudding Cookie Cups
Fridge: These Graveyard Pudding Cookie Cups can be stored in the refrigerator for up to 3 days. Keep them in an airtight container to maintain freshness and prevent the cookies from becoming soggy.
Freezer: To freeze, assemble the cookie cups without the pudding and store them in a freezer-safe container for up to 2 months. Thaw in the fridge before adding pudding and toppings for the best texture.
Reheating: If you prefer warm cookie cups, slightly warm them in the oven at 300°F (150°C) for about 5 minutes before adding the cold pudding. This creates a delightful contrast between warm cookie and cool pudding.
Helpful Tricks for Graveyard Pudding Cookie Cups
Bake Time Check: Ensure your cookie cups are slightly soft in the center when baking; they’ll firm up as they cool for perfect texture.
Cool Completely: Allow your cookie cups to cool completely before filling. This prevents the pudding from melting and maintains the layers beautifully.
Pudding Consistency: Whisk the pudding mix and milk thoroughly to avoid lumps. The right thickness ensures it stays in the cookie cups without spilling.
Creative Garnishes: Get creative with decorations! Consider adding crushed cookies or sprinkles for an extra touch of fun on your Graveyard Pudding Cookie Cups.
Serving Size: Keep in mind that these cookie cups are rich! Aim for smaller portions if serving at a large gathering to let everyone enjoy a taste.
Graveyard Pudding Cookie Cups Variations
Feel free to take these spooky delights up a notch with some creative substitutions and variations!
-
Gluten-Free: Use gluten-free chocolate chip cookie dough to ensure everyone can enjoy these spooky treats. You won’t miss the original flavor!
-
Dairy-Free: Swap the whole milk and pudding mix for almond milk and coconut-based pudding for a creamy yet dairy-free option. The coconut adds a wonderfully tropical twist!
-
Nutty Chocolate: Add a sprinkle of crushed nuts on top for a delightful crunch. Pecans or almonds work perfectly to give an extra layer of flavor.
-
Flavor Infusion: Try adding peppermint extract to the pudding mix for a refreshing burst of flavor that perfectly complements the chocolate cookie. It will feel like a winter wonderland!
-
Fruit Fun: Incorporate fresh fruit like strawberries or blueberries for a pop of color and added nutrients. They create an exciting contrast against the pudding’s creamy white backdrop.
-
Spicy Kick: Add a dash of cinnamon or cayenne pepper to the cookie dough for a subtle warmth that adds depth to the flavor profile. The spice will awaken your taste buds in delightful ways!
-
S'mores Version: Replace gummy worms with mini marshmallows and crushed graham crackers for a s'mores-inspired treat. Chocolate and marshmallow are a classic pairing that everyone loves!
-
Vegan Option: Use vegan cookie dough and a plant-based pudding mix to create a delicious vegan-friendly dessert. The options are endless when you savor in every bite!
Explore these variations, and let your creativity shine as you make these Graveyard Pudding Cookie Cups even more delightful. If you’re looking to impress, check out how to prepare easy no-bake desserts that will wow your guests!
What to Serve with Graveyard Pudding Cookie Cups
Looking to create a memorable meal that adds to the fun of these spooky treats?
- Chocolate Milkshake: This thick, creamy delight resonates perfectly with the cookie cups' chocolate base, making for an indulgent pairing.
- Vanilla Ice Cream: A scoop of vanilla ice cream on the side offers a cool counterbalance to the warm cookies, creating a deliciously comforting contrast.
- Spooky Fruit Salad: A mix of seasonal fruits like apples, oranges, and grapes can brighten up the palate, bringing freshness to this dessert-centric feast.
- Pumpkin Pie: Embrace the fall spirit with a slice of pumpkin pie for a seasonal twist that harmonizes beautifully with the flavors of your cookie cups.
- Caramel Sauce Drizzle: Adding a drizzle of warm caramel sauce over your cookie cups elevates them to a new level of decadence, enhancing their sweetness with a buttery richness.
- Cinnamon Sugar Donuts: These soft, fluffy bites offer a delightful texture alongside the pudding cups, adding a touch of warmth and spice to round out your dessert spread.
- Hot Cocoa: This cozy drink, topped with whipped cream, creates an all-around comforting scene, perfect for celebrating any festive occasion.
- Candy Corn: For an extra Halloween touch, serve candy corn in a bowl next to your cookie cups, appealing to the season and enticing guests to indulge!
- Gummy Worm Cake Pops: Continue the gummy theme with cake pops decorated like worms, seamlessly uniting all your spooky sweet temptations into one playful dessert table!
Make Ahead Options
These Graveyard Pudding Cookie Cups are perfect for home cooks looking to save time during busy days! You can prepare the cookie cups up to 24 hours in advance; simply bake them, allow them to cool completely, and store them in an airtight container at room temperature to maintain their deliciously soft texture. The vanilla pudding can be whisked together up to 3 days prior, so it’s ready to go whenever you need it. When you're ready to serve, simply fill the cooled cookie cups with the prepared pudding, garnish with gummy worms and candy eyeballs, and watch as these spooky treats steal the show—just as delightful as if they were made fresh!
Graveyard Pudding Cookie Cups Recipe FAQs
What type of chocolate chip cookie dough should I use?
You can use store-bought cookie dough for convenience, but if you're feeling adventurous, homemade cookie dough adds a special touch! Just ensure it's at room temperature for easy handling before shaping the cookie cups.
How do I store leftover Graveyard Pudding Cookie Cups?
Store your cookie cups in an airtight container in the fridge for up to 3 days. Make sure the container is well-sealed to keep the cookie cups fresh and avoid sogginess. If you've just assembled them, try to consume them within the first couple of days for the best flavor and texture!
Can I freeze Graveyard Pudding Cookie Cups?
Absolutely! To freeze, assemble the cookie cups without the pudding filling. Place them in a freezer-safe container or bag and store them for up to 2 months. When you're ready to enjoy, simply thaw in the fridge overnight before adding pudding and decorations.
What should I do if the cookie cups overflow during baking?
If your cookie cups overflow while baking, simply remove them from the oven and let them cool for a couple of minutes, then use a spoon to gently press the overflow back into shape. This helps to maintain the look and structure of your Graveyard Pudding Cookie Cups!
Can I make this recipe gluten-free or dairy-free?
Certainly! For a gluten-free version, swap out the chocolate chip cookie dough for gluten-free alternatives available at grocery stores. For a dairy-free pudding, opt for plant-based milk and a suitable pudding mix. Just check that all your ingredients align with your dietary preferences!
Are these cookie cups pet-friendly?
No, these Graveyard Pudding Cookie Cups are not safe for pets. Ingredients like chocolate and certain toppings can be harmful to dogs and other animals. Keep your spooky treats away from them to ensure their safety!
Spooky Graveyard Pudding Cookie Cups for Fun Party Treats
Ingredients
Equipment
Method
- Preheat your oven to 350°F (175°C) and line a muffin tin with parchment paper.
- Press tablespoon-sized portions of the cookie dough into the muffin tins and create wells in the center.
- Bake for 10-12 minutes until edges are golden brown and let them cool completely.
- Whisk together pudding mix and milk in a mixing bowl for 2-3 minutes until thickened.
- Fill the cooled cookie cups generously with the pudding.
- Garnish with gummy worms and candy eyeballs for decoration.


Leave a Reply