
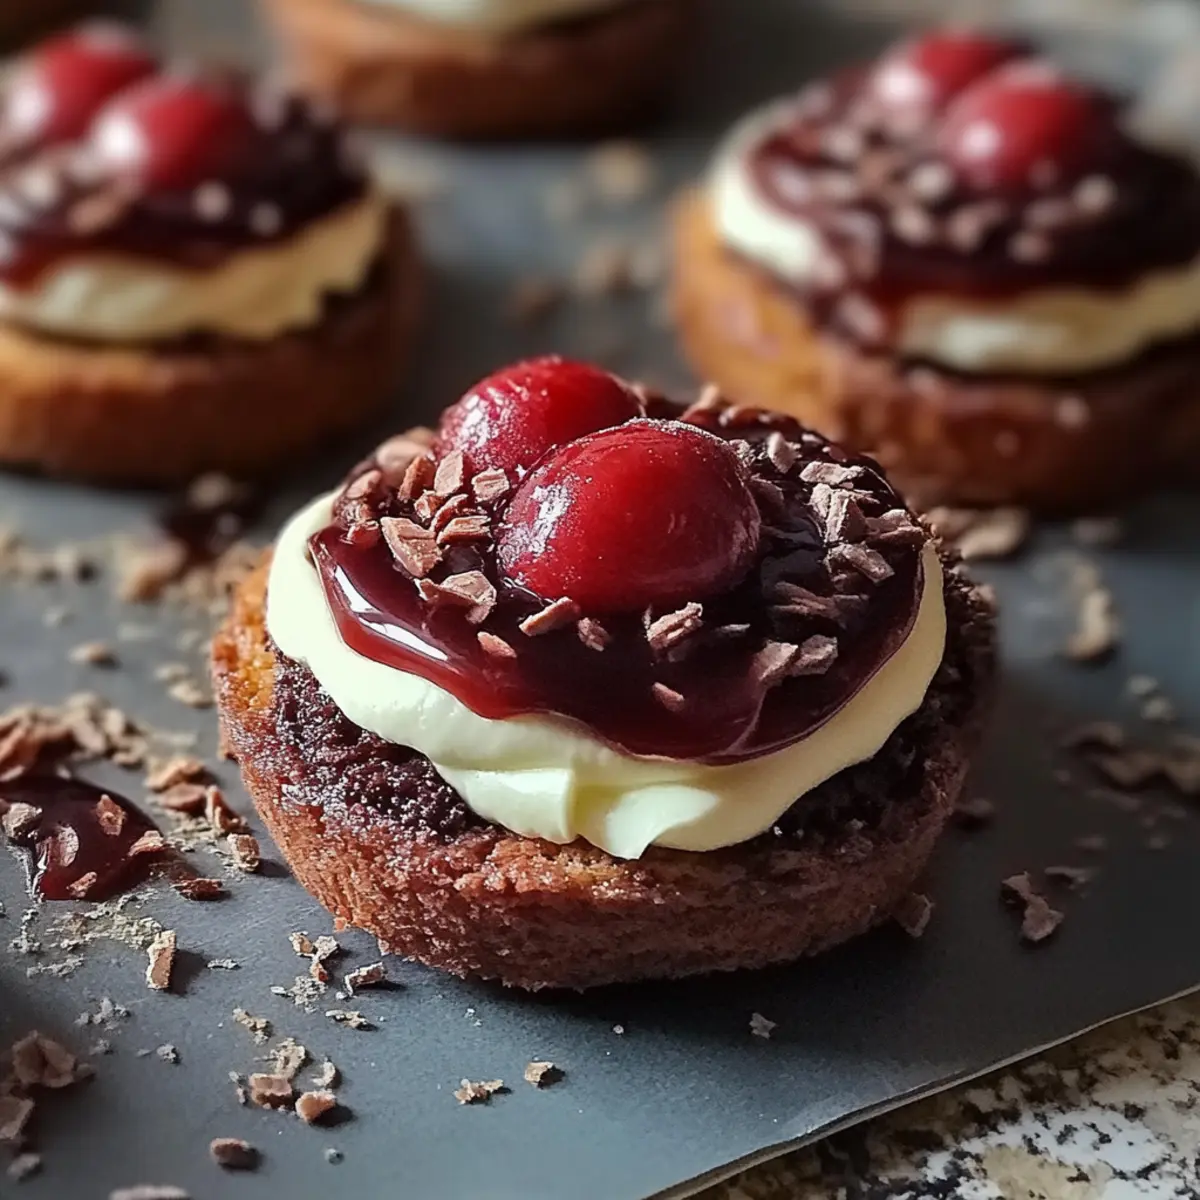
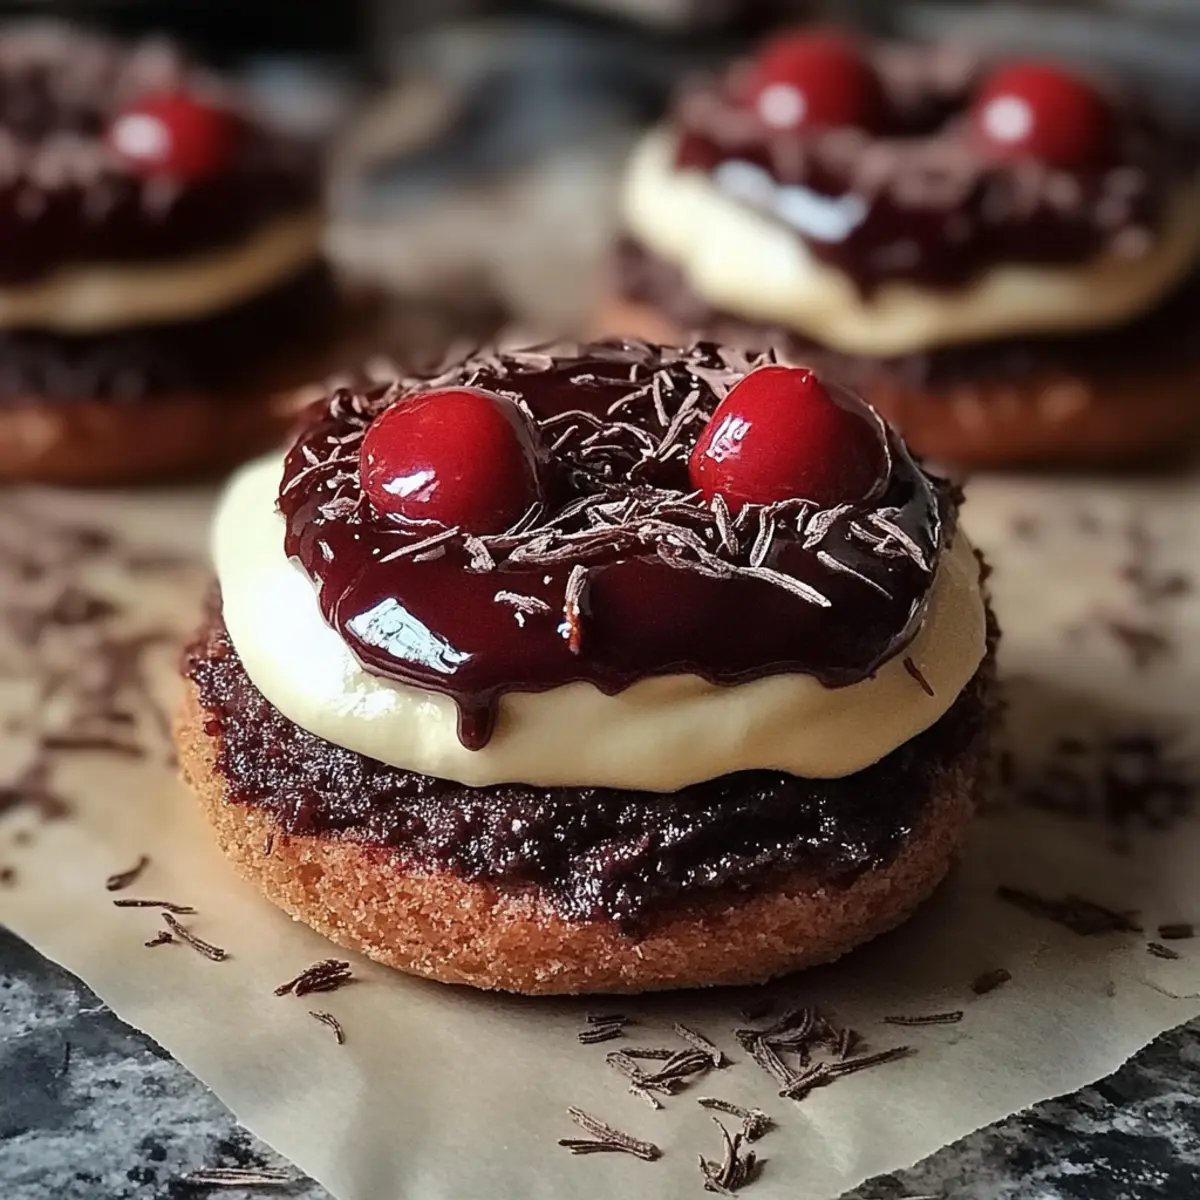
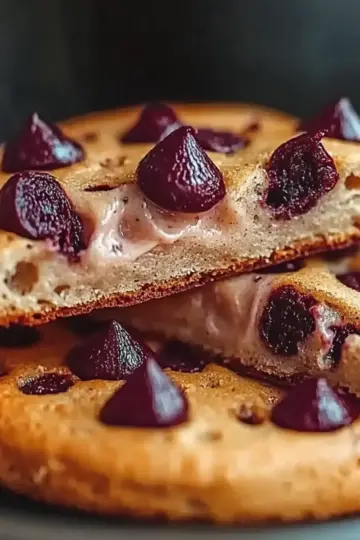
As the winter chill embraces the air and the holiday spirit begins to twinkle, I find myself craving something sweet yet comforting—like these delightful Black Forest Christmas Cookies. This festive treat offers a fun twist on the classic Black Forest cake, combining rich cocoa flavors with luscious cherry preserves. With just a little chilling time, you can whip up these cookies in under an hour, making them the perfect last-minute addition to your holiday baking lineup. Not only are they a show-stopper on any dessert table, but they also bring a warm, homemade charm that fast food simply can’t match. Ready to bring a little joy to your kitchen? Let’s dive into this scrumptious cookie wonder!
Why are these cookies a must-try?
Decadent flavors: Each bite is filled with the rich taste of cocoa and the sweetness of cherry preserves, creating a delightful harmony that evokes holiday cheer.
Quick prep time: In just 20 minutes plus chilling time, you’ll be ready to bake a batch of these scrumptious cookies.
Crowd-pleaser: Perfect for gatherings, these cookies will capture the hearts of friends and family alike—who can resist chocolate and cherry?
Versatile: Enjoy them as a festive treat or an everyday indulgence! Pair them with hot cocoa or coffee for a cozy experience.
Impressive presentation: The whipped cream and chocolate shavings give these cookies a stunning look, making them the highlight on any dessert table—no one will guess how easy they were to make!
If you’re looking for something truly delightful and memorable, check out my tips on easy homemade desserts to elevate your baking game!
Black Forest Christmas Cookies Ingredients
Get ready to create the joy of the season!
For the Cookies
- Unsalted butter – 1 cup, softened, for a creamy texture that adds richness.
- Granulated sugar – 1 ½ cups, sweetening the cookies to perfection.
- Large eggs – 2, they act as the binding agent for our delicious dough.
- Vanilla extract – 1 teaspoon, for a fragrant warmth that elevates the flavor.
- All-purpose flour – 2 cups, the base that holds everything together.
- Cocoa powder – ¾ cup, bringing that deep, chocolatey goodness to the cookies.
- Baking powder – 1 teaspoon, helping the cookies rise and stay soft.
- Baking soda – ½ teaspoon, balancing the flavors and promoting a lovely texture.
- Salt – ¾ teaspoon, enhancing all the delicious flavors in every bite.
For the Whipped Cream Topping
- Heavy cream – 1 cup, the secret to that light and fluffy topping!
- Powdered sugar – ½ cup, sweetening the cream without any graininess.
For the Garnish
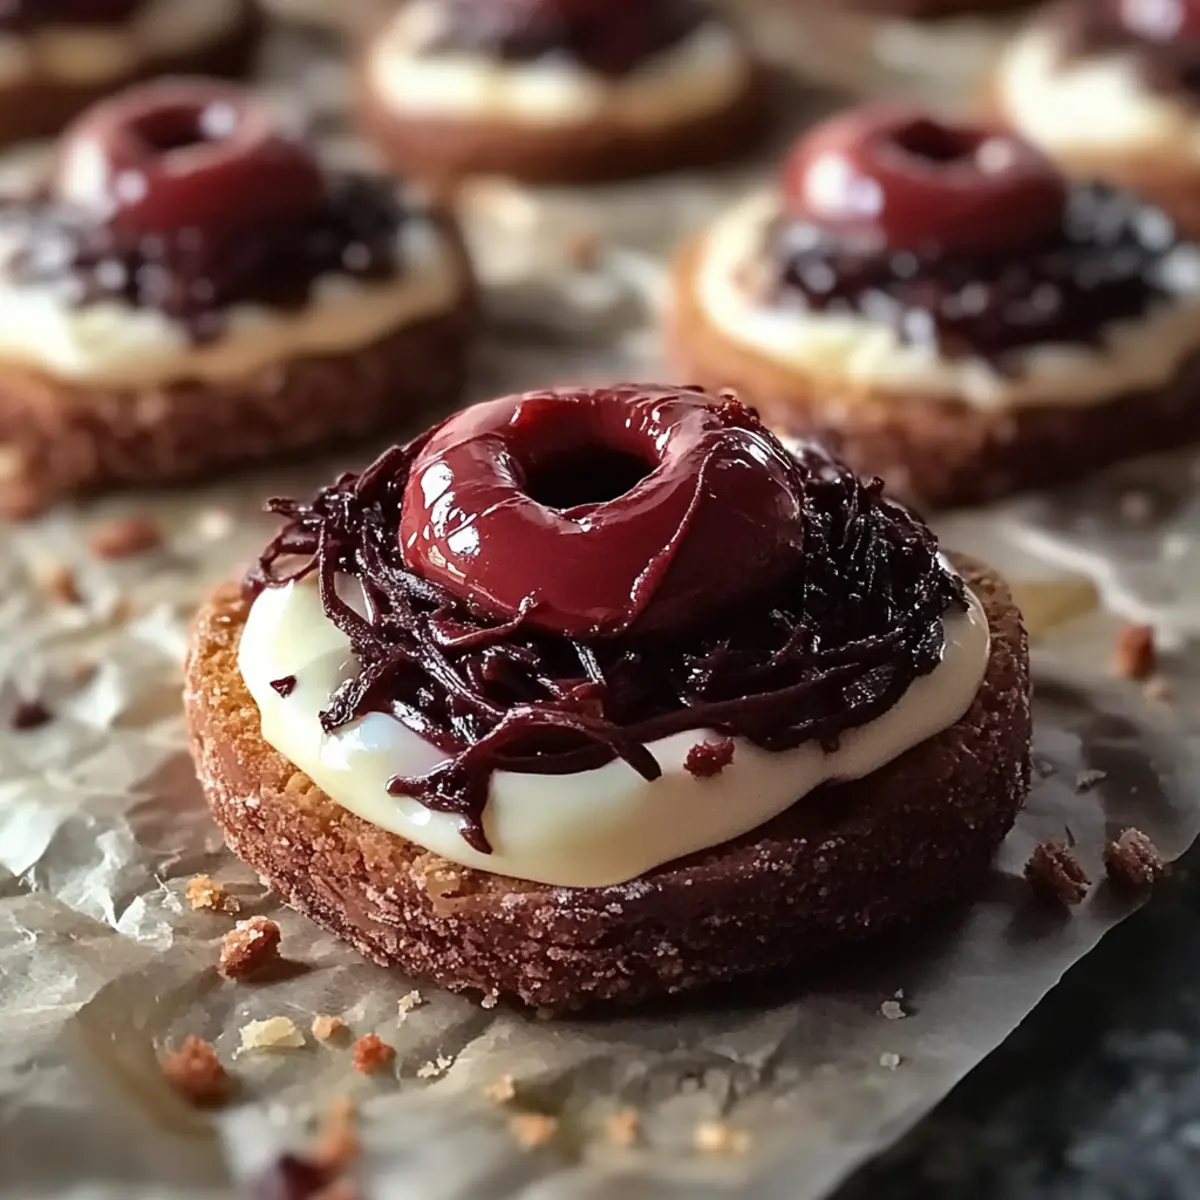
- Cherry preserves – enough to generously spread on each cookie, offering a delightful burst of flavor.
- Dark chocolate shavings – to sprinkle on top, adding an elegant touch and extra chocolate joy!
These Black Forest Christmas Cookies will quickly become a family favorite, perfect for gathering around the table. Happy baking!
Step‑by‑Step Instructions for Black Forest Christmas Cookies
Step 1: Cream the Butter and Sugar
In a large mixing bowl, beat together 1 cup of softened unsalted butter and 1 ½ cups of granulated sugar using an electric mixer on medium speed. Continue mixing until the mixture becomes light and fluffy, approximately 3-4 minutes. This creamy base is essential for your Black Forest Christmas Cookies, providing a rich texture.
Step 2: Incorporate the Eggs and Vanilla
Add 2 large eggs to your creamy mixture, one at a time, ensuring each egg is fully integrated before adding the next. Stir in 1 teaspoon of vanilla extract for that delightful warmth. Beat the mixture on medium speed until smooth and well-combined, about 1-2 minutes, creating a luscious batter.
Step 3: Combine Dry Ingredients
In a separate bowl, whisk together 2 cups of all-purpose flour, ¾ cup cocoa powder, 1 teaspoon baking powder, ½ teaspoon baking soda, and ¾ teaspoon salt. This dry mixture is crucial for the structure of the cookies. Gradually add this to the wet ingredients, mixing on low speed until just combined, avoiding over-mixing for a tender cookie texture.
Step 4: Chill the Dough
Wrap the cookie dough tightly in plastic wrap and refrigerate for at least 1 hour. Chilling allows the flavors to meld and firms up the dough, making it easier to scoop. Once chilled, the dough should be slightly firm yet pliable, perfect for shaping into balls for baking.
Step 5: Preheat the Oven
Preheat your oven to 350°F (175°C) while you prepare your baking sheet. Line a baking sheet with parchment paper to prevent sticking and to ensure even baking. Preparing the sheet in advance ensures a smooth transition from dough to oven for your Black Forest Christmas Cookies.
Step 6: Shape the Cookies
After chilling, scoop tablespoon-sized portions of the dough and roll them into balls using your hands. Place each ball on the prepared baking sheet, leaving about 2 inches of space between them to allow for spreading during baking. You should have enough dough for about 24 cookies.
Step 7: Bake the Cookies
Bake the cookies in your preheated oven for 10-12 minutes or until the edges are set but the centers appear soft. Carefully monitor for a slight firming around the edges while they remain a bit soft in the middle. Allow the cookies to cool on the baking sheet for a few minutes before transferring them to a wire rack.
Step 8: Whip the Cream
In a clean mixing bowl, pour in 1 cup of heavy cream and add ½ cup of powdered sugar. Using an electric mixer, beat on medium-high speed until stiff peaks form, which should take about 3-4 minutes. This light, fluffy whipped cream will be the perfect topping for your cookies.
Step 9: Assemble the Cookies
Once the cookies have cooled completely, spread a generous tablespoon of cherry preserves on top of each cookie. Follow with a piping or dolloping of the whipped cream on top, giving your Black Forest Christmas Cookies a delightful finish.
Step 10: Garnish and Serve
Sprinkle dark chocolate shavings over the whipped cream for added elegance and flavor. Arrange your beautifully decorated Black Forest Christmas Cookies on a festive platter. These impressive cookies are now ready to be shared and enjoyed on your holiday dessert table!
Make Ahead Options
These Black Forest Christmas Cookies are perfect for busy home cooks looking to save time during the holiday rush! You can prepare the cookie dough up to 24 hours in advance by wrapping it tightly in plastic wrap and refrigerating it. This not only makes the dough easier to scoop, but also allows the flavors to develop beautifully. For the whipped cream, whip it up to 3 days ahead of time and store it in an airtight container in the refrigerator; just give it a quick whisk before using, as it may deflate slightly. When you’re ready to serve, simply bake the chilled cookie dough and assemble with cherry preserves and whipped cream right before your guests arrive—creating an impressive dessert without the last-minute stress!
Black Forest Christmas Cookies Variations
Feel free to let your creativity shine by adding your own personal touch to these delightful cookies!
-
Gluten-Free: Substitute all-purpose flour with a gluten-free blend to cater to dietary needs without compromising taste. Enjoy the same rich flavors while embracing a gluten-free lifestyle!
-
Vegan: Replace butter with a plant-based alternative and use flax eggs for a crowd-pleasing vegan version. Simply mix 1 tablespoon of ground flaxseed with 2.5 tablespoons of water for each egg.
-
Nutty Delight: Add chopped walnuts or pecans to the dough for a crunchy contrast to the soft cookie texture. The nuts will add an extra layer of richness, perfect for those who love a little crunch!
-
Spicy Kick: Mix in a teaspoon of cinnamon or a pinch of cayenne pepper for a warm spice that elevates the flavor. It's a wonderful way to surprise your taste buds with a comforting hint of heat.
-
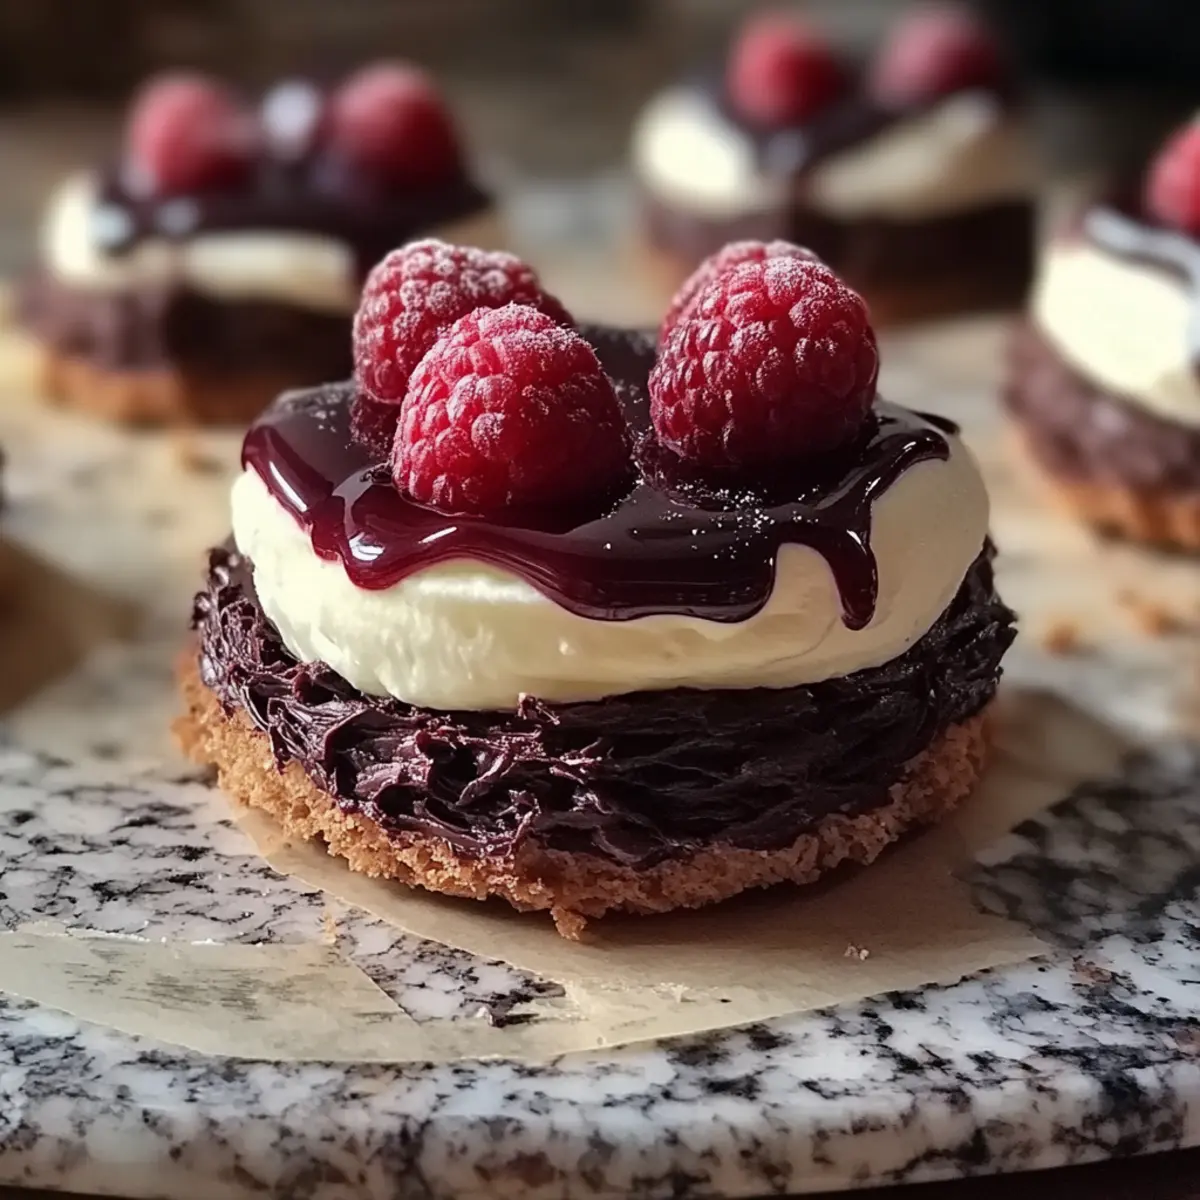
Cherry Swap: Use raspberry or strawberry preserves instead of cherry for a fruity twist. This swap will give the cookies a colorful variation that’s equally delicious!
-
Chocolate Lovers: Replace the dark chocolate shavings with white chocolate or even caramel bits for a sweeter treat. Each of these options brings a unique flair that chocolate aficionados will adore.
-
Caramel Drizzle: After topping with whipped cream, drizzle with caramel sauce for a multipronged flavor explosion. This delicious addition elevates the cookies to a whole new level of indulgence.
-
Peppermint Infusion: Add crushed peppermint candies to the cookie dough or as a garnish. The refreshing mint will add an exciting twist, perfect for the festive season!
For more delightful baking ideas, explore my tips on how to store and freeze cookies or dive into my favorite collection of easy homemade desserts to keep your dessert game strong!
Expert Tips for Black Forest Christmas Cookies
• Chill the Dough: Be sure to chill the dough for at least 1 hour. This step prevents spreading, ensuring perfect cookie shapes and textures.
• Sift the Cocoa: Sift your cocoa powder before adding it to the dry ingredients. This prevents clumps and ensures a smooth, rich chocolate flavor in your Black Forest Christmas Cookies.
• Avoid Overmixing: When combining the wet and dry ingredients, mix just until combined. Overmixing can lead to tough cookies—aim for a soft, tender texture!
• Watch Baking Time: Keep a close eye on your cookies as they bake. Remove them when the edges are set but the centers are still soft for that gooey delight.
• Customize Your Toppings: Feel free to play with the preserves and toppings. Raspberry preserves or white chocolate shavings can offer a delightful twist while still capturing that classic Black Forest charm.
• Storage Tips: Store leftover cookies in an airtight container. They maintain freshness for several days, making them perfect for enjoying or sharing later!
How to Store and Freeze Black Forest Christmas Cookies
Room Temperature: Store cookies in an airtight container at room temperature for up to 3 days to keep them soft and flavorful.
Fridge: For longer freshness, keep the cookies in the fridge in a sealed container for up to a week. Just allow them to sit at room temperature before serving.
Freezer: To freeze, wrap each cookie individually in plastic wrap and place them in a freezer-safe bag. They can stay fresh for up to 3 months.
Reheating: When ready to enjoy frozen cookies, let them thaw at room temperature. For a warm treat, microwave for about 10-15 seconds or bake at 350°F (175°C) for a few minutes.
What to Serve with Black Forest Christmas Cookies
Imagine a cozy holiday gathering where the rich aroma of chocolate meets the sweetness of cherry—these cookies are just the beginning of your festive feast!
- Rich Hot Chocolate: The warm, velvety texture of hot chocolate complements the cookies' flavors, creating a comforting pairing for chilly evenings.
- Vanilla Ice Cream: Creamy vanilla ice cream provides a delightful contrast to the lush chocolate, enhancing the overall flavor experience.
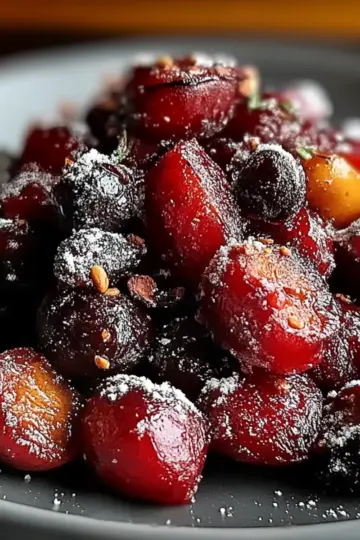
- Festive Fruit Salad: A fresh fruit salad with pomegranate, mango, and berries introduces a burst of color and zest, balancing the sweetness of the cookies.
- Spiced Mulled Wine: The aromatic spices in mulled wine offer a warm and inviting drink option, perfectly setting the holiday mood as you enjoy your cookies.
- Chocolate-Dipped Strawberries: For an elegant twist, serve chocolate-dipped strawberries alongside the cookies—it's a duo that celebrates decadence!
- Whipped Cream Variations: Consider flavors like peppermint or orange zest for your whipped cream, adding a unique twist that enhances each bite of the cookies.
With these delightful pairings, your holiday celebration will be sweet, festive, and memorable—just like the Black Forest Christmas Cookies themselves!
Black Forest Christmas Cookies Recipe FAQs
How do I select ripe ingredients for this recipe?
Absolutely! For the best cherry preserves, look for ones that are thick and have a vibrant color without any dark spots. If you're using fresh cherries, ensure they are firm and juicy, avoiding any that are soft or bruised.
How should I store leftover cookies?
Very! Store your Black Forest Christmas Cookies in an airtight container at room temperature for up to 3 days. If you want them to last longer, place them in the refrigerator where they will stay fresh for about a week. Just be sure to let them come to room temperature before serving for the best texture!
Can I freeze Black Forest Christmas Cookies?
Absolutely! To freeze your cookies, wrap each one individually in plastic wrap and place them in a freezer-safe bag or container. They can stay fresh for up to 3 months. When you’re ready to enjoy them, simply allow the cookies to thaw at room temperature, or warm them up in the microwave for 10-15 seconds until soft.
What if my cookie dough is too sticky?
No worries! If your dough feels too sticky after chilling, sprinkle a little extra flour onto your hands and the work surface while shaping the cookies. If that doesn't help, you can refrigerate the dough a bit longer until it firms up. This will make rolling the dough into balls much easier!
Are there any dietary considerations with this recipe?
Very! For those with allergies, be sure to verify that your cherry preserves do not contain any allergens, such as nuts. Additionally, if you are making these cookies for someone with a dairy allergy or lactose intolerance, you can substitute the heavy cream with a non-dairy whipping cream alternative. Just be mindful of ingredient labels to ensure they fit all dietary needs!
Indulge in Decadent Black Forest Christmas Cookies Today
Ingredients
Equipment
Method
- Cream the butter and sugar until light and fluffy, about 3-4 minutes.
- Incorporate the eggs and vanilla, beating until smooth, about 1-2 minutes.
- Combine dry ingredients in a separate bowl, then mix with wet ingredients until just combined.
- Chill the dough in plastic wrap for at least 1 hour.
- Preheat the oven to 350°F (175°C) and line a baking sheet with parchment paper.
- Shape the cookies into balls and place them on the baking sheet, spaced 2 inches apart.
- Bake for 10-12 minutes until edges are set but centers are soft.
- Whip the cream and powdered sugar until stiff peaks form, about 3-4 minutes.
- Spread cherry preserves on each cookie, followed by whipped cream.
- Garnish with dark chocolate shavings and serve.
Leave a Reply