
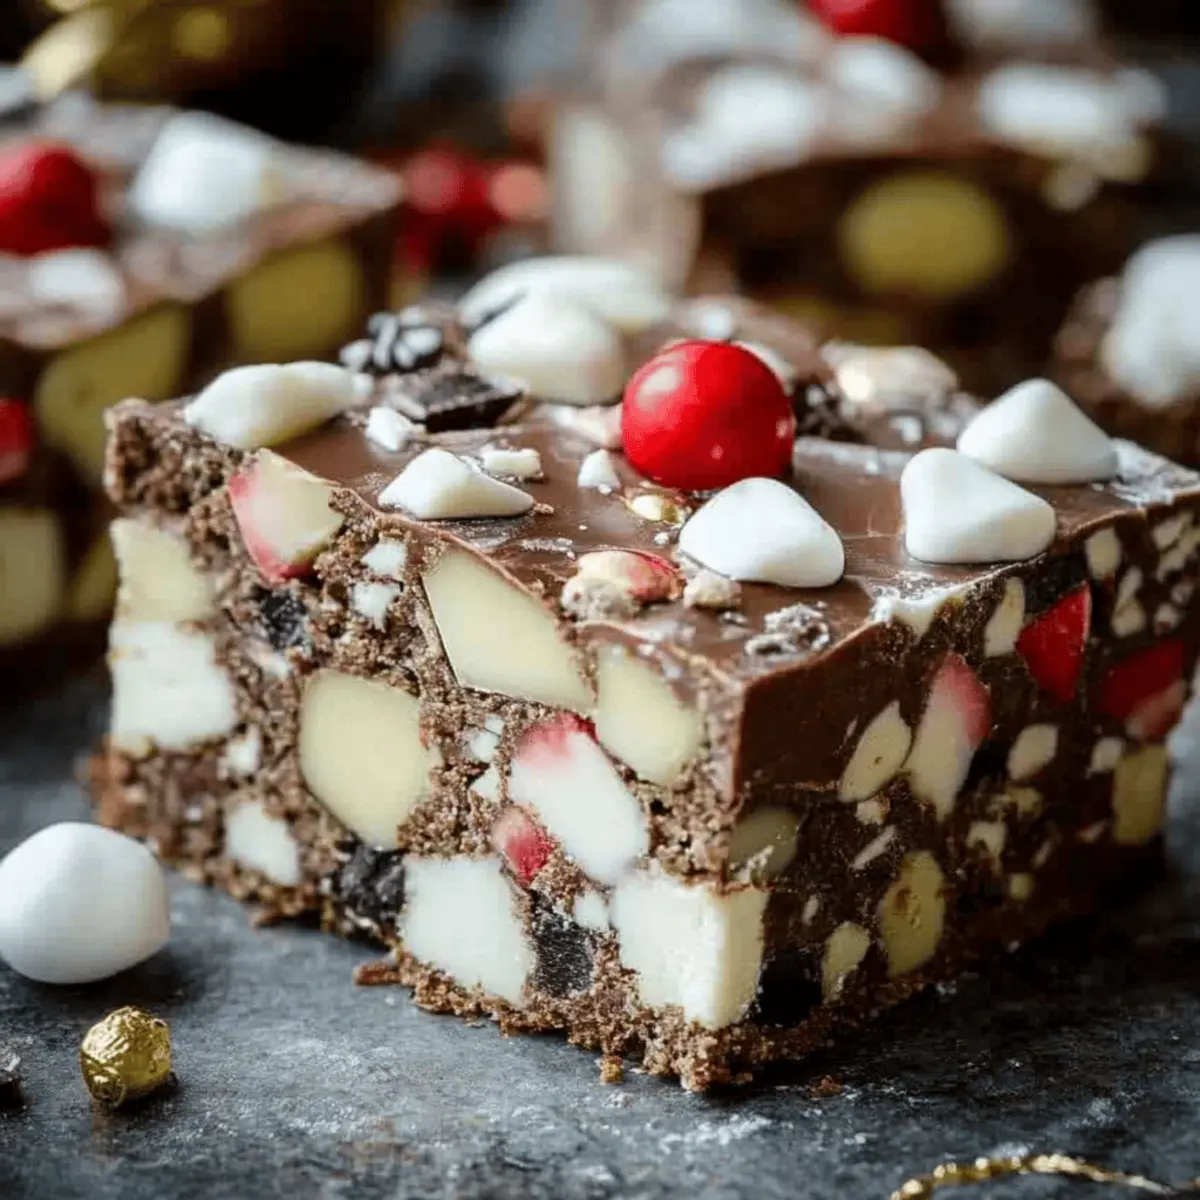
The moment I sunk my teeth into a rich piece of Christmas Rocky Road, I felt transported back to holiday gatherings filled with laughter and warmth. These delightful no-bake Christmas treats are a joyous twist on the classics, perfect for anyone who wants to indulge without the stress of turning on the oven. Not only do they come together in a snap, but they’re also a fantastic way to impress friends and family—who wouldn’t love a homemade gift during the festive season? As we dive into this easy, blissful recipe, I can already envision the smiles on your loved ones’ faces as they savor every bite. Ready to create some magical moments this holiday season?
Why is Christmas Rocky Road a Must-Try?
Simplicity: You’ll appreciate how effortlessly these treats come together, perfect for busy holiday schedules.
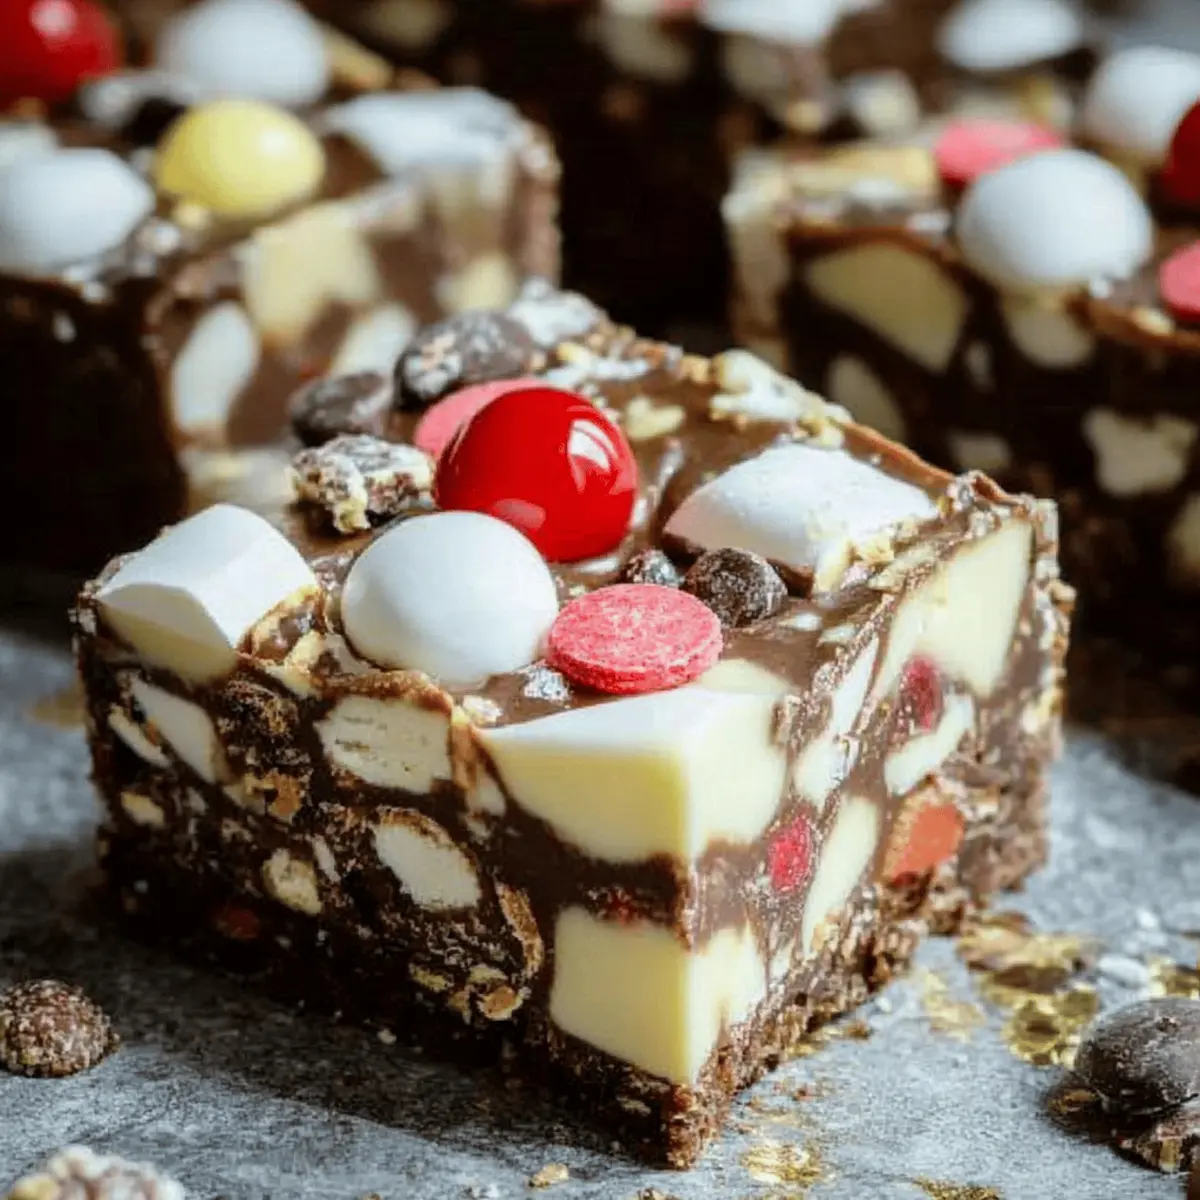
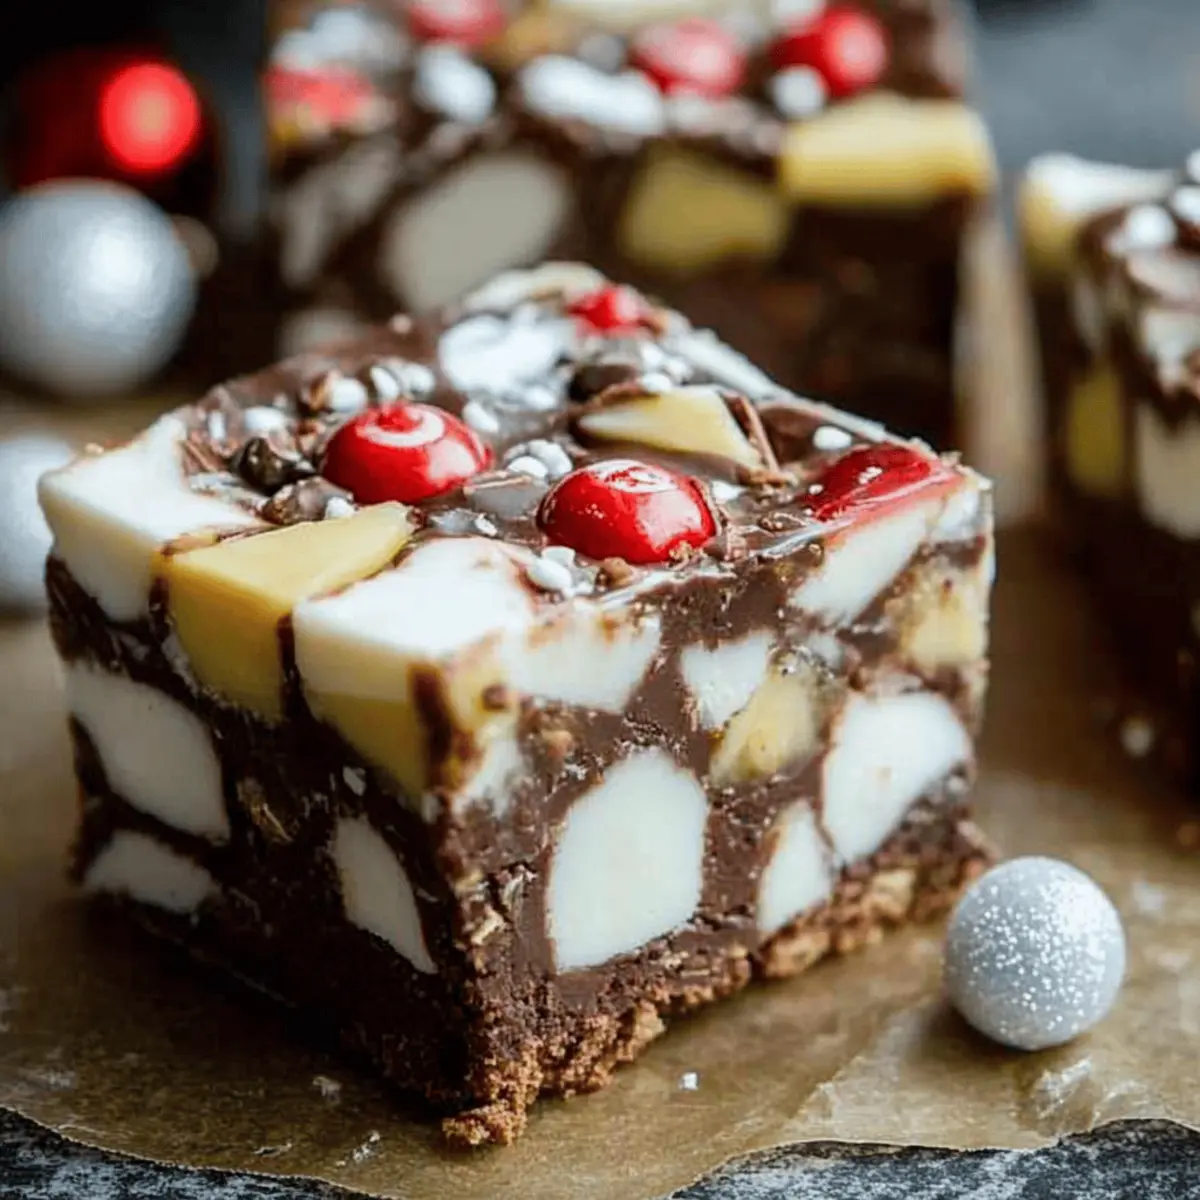
Flavor Explosion: Layers of chocolate, nuts, and marshmallows create an indulgent treat bursting with delightful flavors.
Customizable: Add your favorite mix-ins like dried fruit or different nuts to make it uniquely yours!
No Baking Required: Skip the oven and enjoy a hassle-free cooking experience—ideal for all skill levels!
Gift-Worthy: Pretty and delicious, they make stunning homemade gifts that your friends and family will love.
These festive little bites are perfect alongside other favorites like Christmas Thumbprint Cookies or Christmas Gooey Butter Cookies. Celebrate the season with this sweet and simple treat!
Christmas Rocky Road Ingredients
Get ready to delight in a festive treat!
For the Base
- Dark Chocolate – A rich chocolate base adds depth; feel free to substitute with milk chocolate for a sweeter taste.
- Sweetened Condensed Milk – Helps bind the ingredients together and adds creaminess for that unforgettable texture.
For the Mix-Ins
- Mini Marshmallows – These fluffy bites provide a chewy texture; try using flavored marshmallows for a fun twist!
- Chopped Nuts – Walnuts or almonds add a delightful crunch; use your favorite nuts or go nut-free for a healthier option.
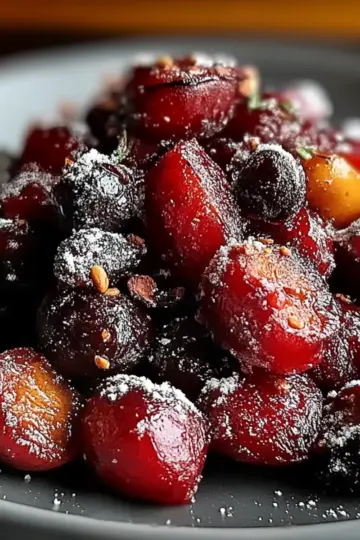
- Dried Fruit – Incorporate some dried cherries or cranberries for a tangy burst of flavor that complements the chocolate well.
For Topping
- Cocoa Powder – Dust the top for a finishing touch; this enhances the chocolate flavor and adds a touch of elegance.
- Candy Canes – Crushed candy canes not only add a festive crunch but also a refreshing peppermint flavor to each bite.
Now that you have all your ingredients ready, you’re one step closer to making delightful Christmas Rocky Road treats!
Step‑by‑Step Instructions for Christmas Rocky Road
Step 1: Melt the Chocolate
Begin by setting up a double boiler or a heatproof bowl over a pot of simmering water. Add the dark chocolate and sweetened condensed milk to the bowl, stirring gently until fully melted and smooth—this should take about 5–8 minutes. Once smooth, remove from heat and let it cool slightly while you prepare the mix-ins.
Step 2: Combine the Mix-Ins
In a large mixing bowl, add the mini marshmallows, chopped nuts, and dried fruit of your choice. Pour the melted chocolate mixture over the ingredients and mix thoroughly until everything is well-coated. The chocolate should be warm but not hot, making it easy to combine without melting the marshmallows down too much.
Step 3: Prepare the Pan
Line an 8x8 inch baking pan with parchment paper, allowing some overhang for easy removal later. Transfer the Christmas Rocky Road mixture into the prepared pan, and use a spatula to evenly spread and gently press the mixture down. This helps create a tightly packed and uniform layer—look for a flat surface to ensure even setting.
Step 4: Chill to Set
Place the pan in the refrigerator and allow the Christmas Rocky Road to set for at least 2 hours. Keep an eye on the time, as the mixture should become firm but still slightly soft. You’ll know it’s ready when it holds its shape when you press lightly on the surface.
Step 5: Cut into Squares
Once set, remove the pan from the fridge and carefully lift out the Christmas Rocky Road using the overhanging parchment paper. Place it on a cutting board and, with a sharp knife, cut it into squares or rectangles of your desired size. Aim for about 1-inch pieces for perfect bite-sized treats!
Step 6: Add Finishing Touches
For a decorative finish, dust the top of your Christmas Rocky Road with cocoa powder and sprinkle crushed candy canes for that festive crunch. This not only elevates the visual appeal but adds a delightful flavor twist that captures the spirit of the holiday season.
Step 7: Serve or Gift
Finally, arrange your beautifully cut Christmas Rocky Road pieces on a serving platter or package them in festive boxes for gifting. These treats are best enjoyed fresh, but you can store any leftovers in an airtight container in the refrigerator for up to a week. Share the joy of homemade goodness with friends and family!
Expert Tips for Christmas Rocky Road
• Quality Ingredients: Use high-quality dark chocolate for the best flavor. Don’t skimp on the chocolate for your Christmas Rocky Road, as it makes all the difference!
• Chill Time: Ensure you chill the mixture long enough; under-chilling can lead to a too-soft treat that doesn’t hold its shape.
• Mix-In Balance: Avoid overcrowding your mix-ins. Stick to a balanced ratio of nuts and marshmallows to achieve the perfect texture without overwhelming the chocolate.
• Cutting Technique: Use a sharp knife and a gentle sawing motion to cut your Christmas Rocky Road. This prevents squishing the treats and keeps edges neat.
• Flavor Enhancements: Consider adding a pinch of sea salt to elevate the chocolate flavor or using flavored marshmallows for a fun twist!
• Storage: Store leftovers in an airtight container in the refrigerator to maintain freshness, but enjoy them within a week for the best taste!
How to Store and Freeze Christmas Rocky Road
Room Temperature: Keep your Christmas Rocky Road at room temperature for up to 3 days in an airtight container to maintain its delightful texture.
Fridge: Store in the refrigerator for up to a week; make sure it’s wrapped tightly to prevent drying out and absorbing other odors.
Freezer: For longer storage, freeze pieces wrapped individually in plastic wrap and place in an airtight container for up to 3 months. Thaw in the fridge overnight before enjoying.
Reheating: If you prefer a softer texture, let the Christmas Rocky Road sit at room temperature for about 30 minutes before serving.
Christmas Rocky Road Variations & Substitutions
Feel free to sprinkle your own magic with these delightful twists on the classic Christmas Rocky Road!
-
Nut-Free: Substitute chopped nuts with more mini marshmallows or sunflower seeds for a crunchy, nut-free alternative.
-
Dairy-Free: Use dairy-free chocolate and coconut milk to create a rich and creamy base that everyone can enjoy!
-
Flavor Boost: Add a dash of vanilla extract or a splash of orange zest to the melted chocolate for a fragrant twist.
-
Textural Twist: Replace mini marshmallows with crispy rice cereal for a fun crunchy sensation that kids will adore.
-
Fruity Addition: Mix in some dried apricots or banana chips to give your dessert a surprising sweet and chewy layer.
-
Spicy Kick: Add a pinch of cayenne pepper or cinnamon for an unexpected warmth that pairs wonderfully with chocolate's richness.
-
Supreme Chocolate: Drizzle melted white chocolate on top for a stunning visual effect and a creamy contrast to the dark chocolate.
-
Candy Bar Remix: Chop up your favorite candy bars like Snickers or Reese's to create a decadent and uniquely flavored Rocky Road!
These variations not only make your Christmas Rocky Road treats deliciously unique but also ensure there’s something for everyone to enjoy this holiday season. Pair these delightful treats with some Christmas Ice Cream Floats or send them off as gifts in a delightful box alongside some White Christmas Margaritas. Celebrate the love of homemade goodies and make new cherished memories together!
Make Ahead Options
These Christmas Rocky Road treats are perfect for meal prep, allowing you to enjoy the festive flavors without the last-minute rush! You can prepare the chocolate mixture up to 24 hours in advance; just melt the chocolate and mix with the ingredients, then transfer it into the lined pan and refrigerate. To maintain quality, ensure the mixture is tightly packed in the pan to avoid air exposure. When you’re ready to finish, simply take the pan out, cut into squares, and add your cocoa powder and crushed candy canes for that special touch before serving. With this prep, you'll impress loved ones with minimal effort!
What to Serve with Christmas Rocky Road?
Imagine a festive gathering where every mouthful evokes the sweet warmth of holiday traditions—it's all about striking the perfect balance!
-
Rich Hot Chocolate: A steaming cup of rich hot chocolate creates a cozy pairing that enhances the indulgent chocolate flavors in the Rocky Road.
-
Fresh Fruit Platter: A colorful assortment of fresh berries and citrus adds a refreshing contrast, cutting through the sweetness beautifully.
-
Buttery Shortbread Cookies: These melt-in-your-mouth cookies offer a lovely crunch and buttery flavor, complementing the chewy texture of the Christmas Rocky Road.
-
Peppermint Ice Cream: Creamy peppermint ice cream adds a festive flair and refreshing chill that pairs harmoniously with the flavors of the treats.
-
Spiced Mulled Wine: Warm spiced mulled wine brings in those delightful holiday spices, creating the perfect atmosphere for enjoying Christmas sweets.
-
Chocolate-Covered Pretzels: The salty sweetness of chocolate-covered pretzels offers an exciting crunch that balances the soft marshmallows in your Rocky Road.
-
Caramel Sauce Drizzle: A drizzle of warm caramel sauce can elevate the experience, adding a luxurious layer of sweetness with each bite.
-
Gingerbread Cookies: The warm spices of gingerbread cookies create a nostalgic flavor pairing that resonates perfectly with the holiday spirit.
-
Festive Candied Nuts: Sugary, spiced nuts provide crunch and a hint of salty contrast, enhancing every delicious mouthful of Rocky Road.
Christmas Rocky Road Recipe FAQs
What type of chocolate is best for Christmas Rocky Road?
Absolutely! Using high-quality dark chocolate is key to achieving that rich flavor in your Christmas Rocky Road. However, if you prefer a sweeter treat, feel free to substitute with milk chocolate. Either option will ensure your dessert is delicious!
How should I store leftover Christmas Rocky Road?
You can store your Christmas Rocky Road at room temperature for up to 3 days in an airtight container, keeping it fresh and delightful. For longer storage, place it in the refrigerator for up to a week, ensuring it is wrapped tightly to prevent drying out or picking up other odors.
Can I freeze Christmas Rocky Road for later?
Very! To freeze your treats, wrap each piece individually in plastic wrap, and then store them in an airtight container. They can be frozen for up to 3 months. When you’re ready to enjoy them, simply thaw in the refrigerator overnight. This helps maintain the flavor and texture!
How do I prevent my Christmas Rocky Road from being too soft?
It's essential to chill the mixture long enough—at least 2 hours after pressing it into the pan. If your treats are too soft, they may not hold their shape. Make sure to check that they are firm but still slightly soft to the touch before cutting them into squares.
Can I include nuts if I have allergies?
Definitely! If you or someone you’re serving has nut allergies, simply omit the nuts from your Christmas Rocky Road. You can still enjoy wonderful flavors and textures by adding more marshmallows or dried fruits. Customizing to meet dietary needs ensures everyone can join in on the festive fun!
How long can I store Christmas Rocky Road in the fridge?
Your Christmas Rocky Road will stay fresh in the fridge for up to a week. Make sure it’s wrapped tightly or stored in an airtight container to keep it from drying out. Enjoy them within this timeframe for the best flavor and texture!

Indulge in Easy Christmas Rocky Road Bliss
Ingredients
Equipment
Method
- Melt the dark chocolate and sweetened condensed milk in a double boiler, stirring until smooth.
- Combine mini marshmallows, chopped nuts, and dried fruit in a bowl. Pour melted chocolate over and mix.
- Line an 8x8 baking pan with parchment paper and transfer the mixture into it. Spread evenly.
- Chill in the refrigerator for at least 2 hours to set.
- Cut into squares after removing from fridge.
- Dust with cocoa powder and sprinkle crushed candy canes before serving or gifting.


Leave a Reply