
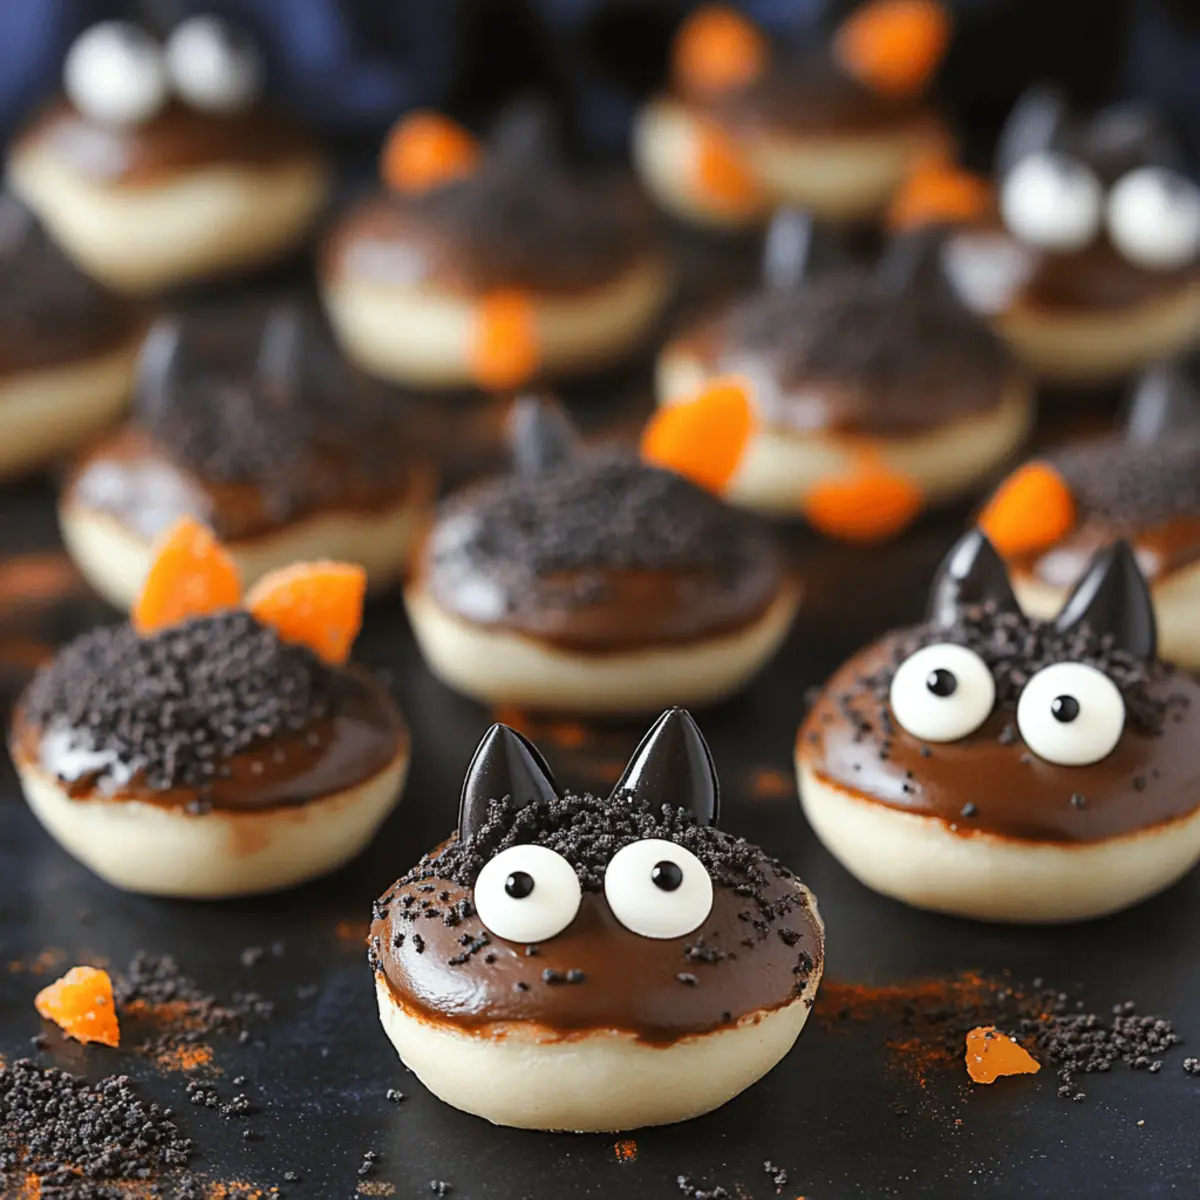
As I stood in my kitchen, I felt a wave of nostalgia wash over me, reminiscent of childhood treats that never quite lost their charm. These Bat Oreo Cookie Balls take the beloved chocolate sandwich cookie and elevate it into a whimsical dessert that will captivate friends and family alike. Not only are these little delights a breeze to make, but they also double as a fun centerpiece for parties or Halloween gatherings. With a creamy interior of cream cheese and crushed Oreos, and a chocolatey outer layer, they’re sure to satisfy your sweet tooth. Plus, they’re the perfect make-ahead treat, allowing you to save time for all the festivities. Intrigued? Let’s dive into the details and get your kitchen buzzing with creativity!
Why Are These Oreo Cookie Balls Special?
Simplicity makes these Oreo Cookie Balls a delight to prepare; no baking required, just mix and roll! Creative presentation turns a simple treat into a charming party centerpiece, perfect for Halloween or any festive gathering. Decadent flavors of rich chocolate and creamy filling will impress even the pickiest sweet tooth. Versatile in decoration, you can customize them with different toppings or shapes. Plus, they can be made in advance, freeing up your time for family and fun. Visit our easy dessert recipes for more delightful inspirations!
Oreo Cookie Balls Ingredients
• Get ready to create something delightful!
For the Cookie Mixture
- 14.3 oz chocolate sandwich cookies (Oreo) – The star of this recipe; their rich flavor gives the balls a nostalgic taste.
- 8 oz cream cheese – Adds creaminess and binds the cookie crumbs into a delicious mixture.
For the Coating
- 10 oz chocolate candy coating (e.g., Ghirardelli melting wafers or Wilton Candy Melts) – This outer layer provides a perfect chocolatey crunch and makes these Oreo Cookie Balls look irresistible.
For Decoration
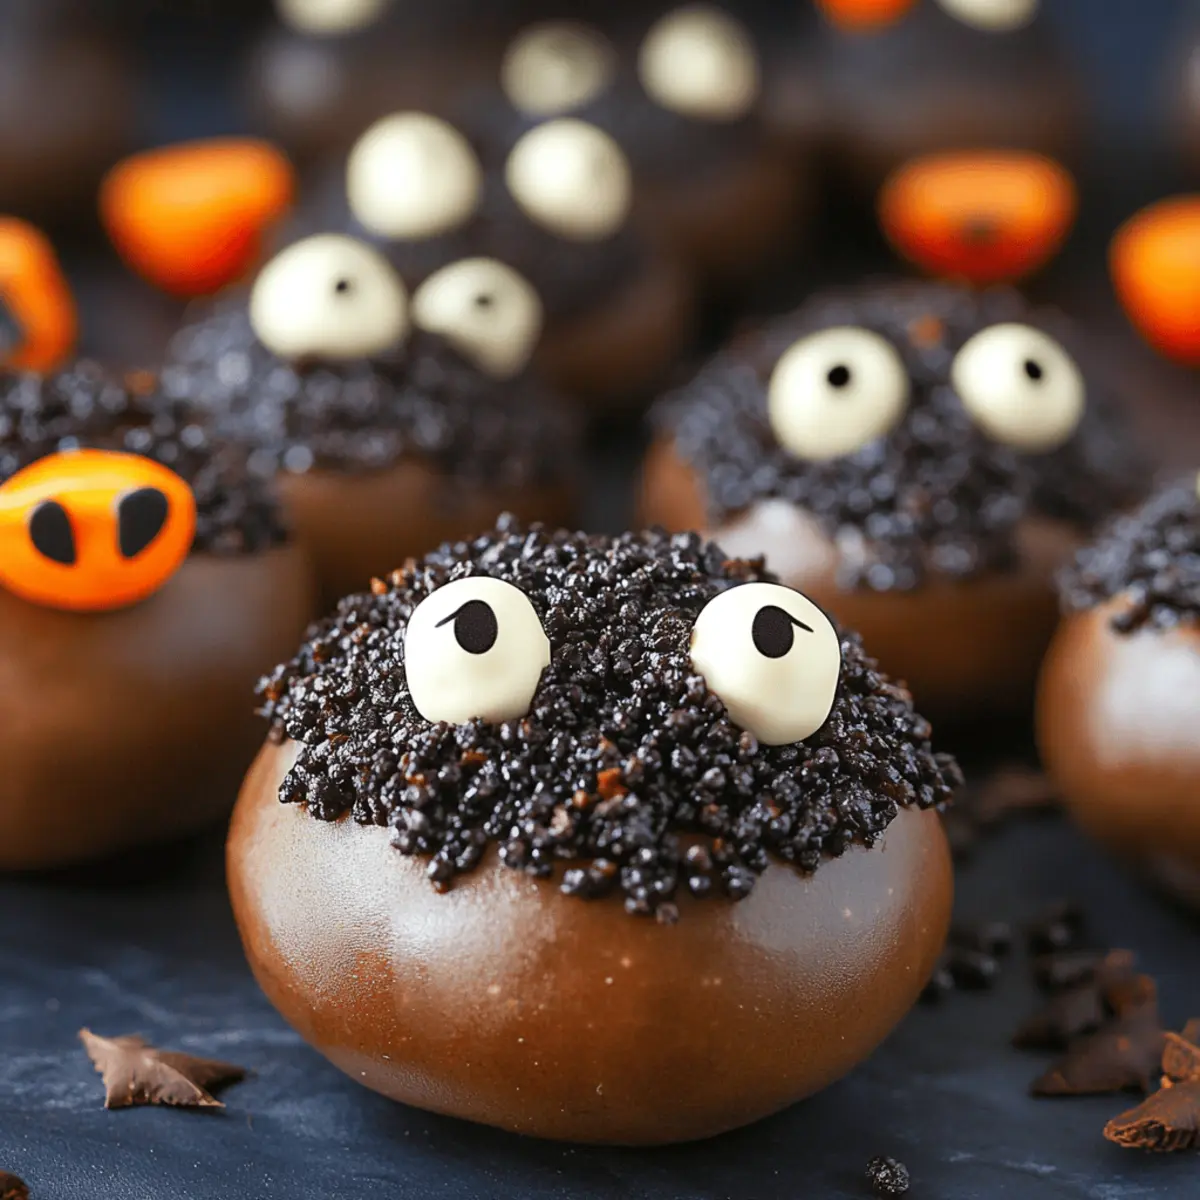
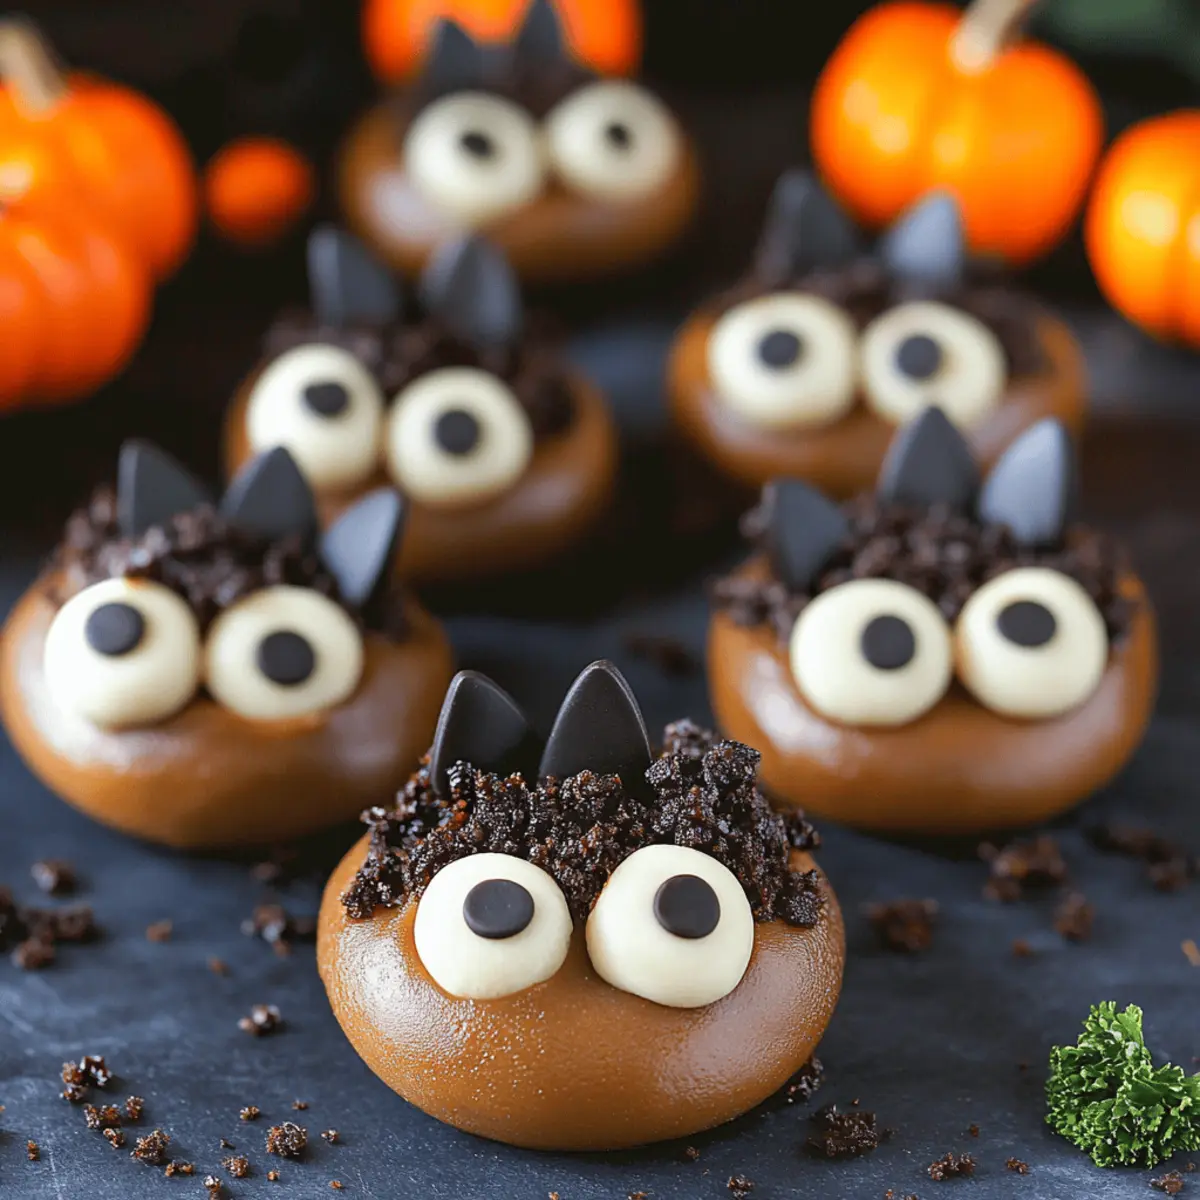
- Mini chocolate chips – Great for adding personality as the eyes and ears, turning your treats into adorable bats!
Step‑by‑Step Instructions for Oreo Cookie Balls
Step 1: Crush the Cookies
Begin by crushing the chocolate sandwich cookies in a food processor or blender, aiming for a fine crumb texture. This should take about 1-2 minutes. You want enough crumbs to bind with the cream cheese, so ensure there are no large pieces remaining. Once done, transfer the crumbs to a large mixing bowl for the next step.
Step 2: Mix the Ingredients
Add the 8 oz of cream cheese to the bowl with the crushed Oreo crumbs. Using a spatula, mix thoroughly until the cream cheese is fully incorporated and the mixture is smooth and cohesive. This should take about 2-3 minutes of blending, and the mixture should hold together nicely when pressed.
Step 3: Form the Cookie Balls
Now it’s time to form the mixture into balls. Take about 1 tablespoon of the mixture and roll it into a ball roughly 1 inch in diameter. Continue this process until all the mixture is shaped into approximately 28-30 cookie balls. Once formed, place them on a tray or plate, ready for chilling.
Step 4: Chill the Cookie Balls
Chill the formed cookie balls in the refrigerator for 1 hour, allowing them to firm up. This step is crucial as it helps maintain the shape during coating. You’ll know they are ready when they feel firm to the touch, making them easier to dip into the melted chocolate without losing form.
Step 5: Prepare the Wings
While the cookie balls are chilling, take the remaining Oreos designated for the wings. Carefully remove the filling and cut each cookie in half, creating about 30 pairs of wings. Set these aside to use later, as they’ll add a charming touch to your Oreo Cookie Balls.
Step 6: Melt the Candy Coating
Next, melt the chocolate candy coating in a microwave-safe bowl, heating in 30-second intervals until completely smooth. This should take about 1-2 minutes total. Stir well after each interval to ensure even melting, achieving a silky consistency that will beautifully coat your Oreo Cookie Balls.
Step 7: Dip the Cookie Balls
Once melted, take the chilled cookie balls and dip each one into the chocolate coating, using a fork to ensure an even layer. Allow excess chocolate to drip off before placing the balls on a parchment-lined tray. You want them to have a smooth, glossy finish, so work quickly to avoid the chocolate setting before all balls are coated.
Step 8: Attach the Wings
Immediately after dipping, attach the Oreo wing halves to each ball. Gently hold them in place for a few seconds until they stabilize. The warmth from the freshly-coated balls will help secure the wings, creating an adorable bat shape. Repeat this for all cookie balls, ensuring every one has its wings.
Step 9: Add Mini Chocolate Chips
For the finishing touch, add mini chocolate chips to each cookie ball as eyes and ears. If necessary, use a little bit of extra melted chocolate to help them stick. This quick addition will elevate your Oreo Cookie Balls, making them irresistibly cute and ensuring they are a highlight at your celebration.
Step 10: Store the Treats
Finally, once all decorations are in place, store the completed Oreo Cookie Balls in an airtight container in the refrigerator. They can be enjoyed for up to one week, making them ideal for planning ahead for parties or festive gatherings.
Expert Tips for Oreo Cookie Balls
-
Crushing Technique: Ensure cookie crumbs are fine: Larger pieces can lead to uneven texture. A food processor works best for this step.
-
Chilling Time: Don't skip the refrigeration: Proper chilling keeps the cookie balls firm during dipping, preventing them from losing shape.
-
Coating Tips: Use a fork for dipping: This allows excess chocolate to drip off easily, creating a smooth, glossy finish on your Oreo Cookie Balls.
-
Wing Attachment: Act quickly with wings: Attach Oreo wing halves immediately after coating, as the warmth helps them stick without additional chocolate.
-
Storage Method: Keep them airtight: Store in an airtight container in the fridge, ensuring they remain fresh and delicious for up to a week.
What to Serve with Bat Oreo Cookie Balls
Imagine indulging in a delightful spread that perfectly complements your charming Bat Oreo Cookie Balls, enhancing every bite.
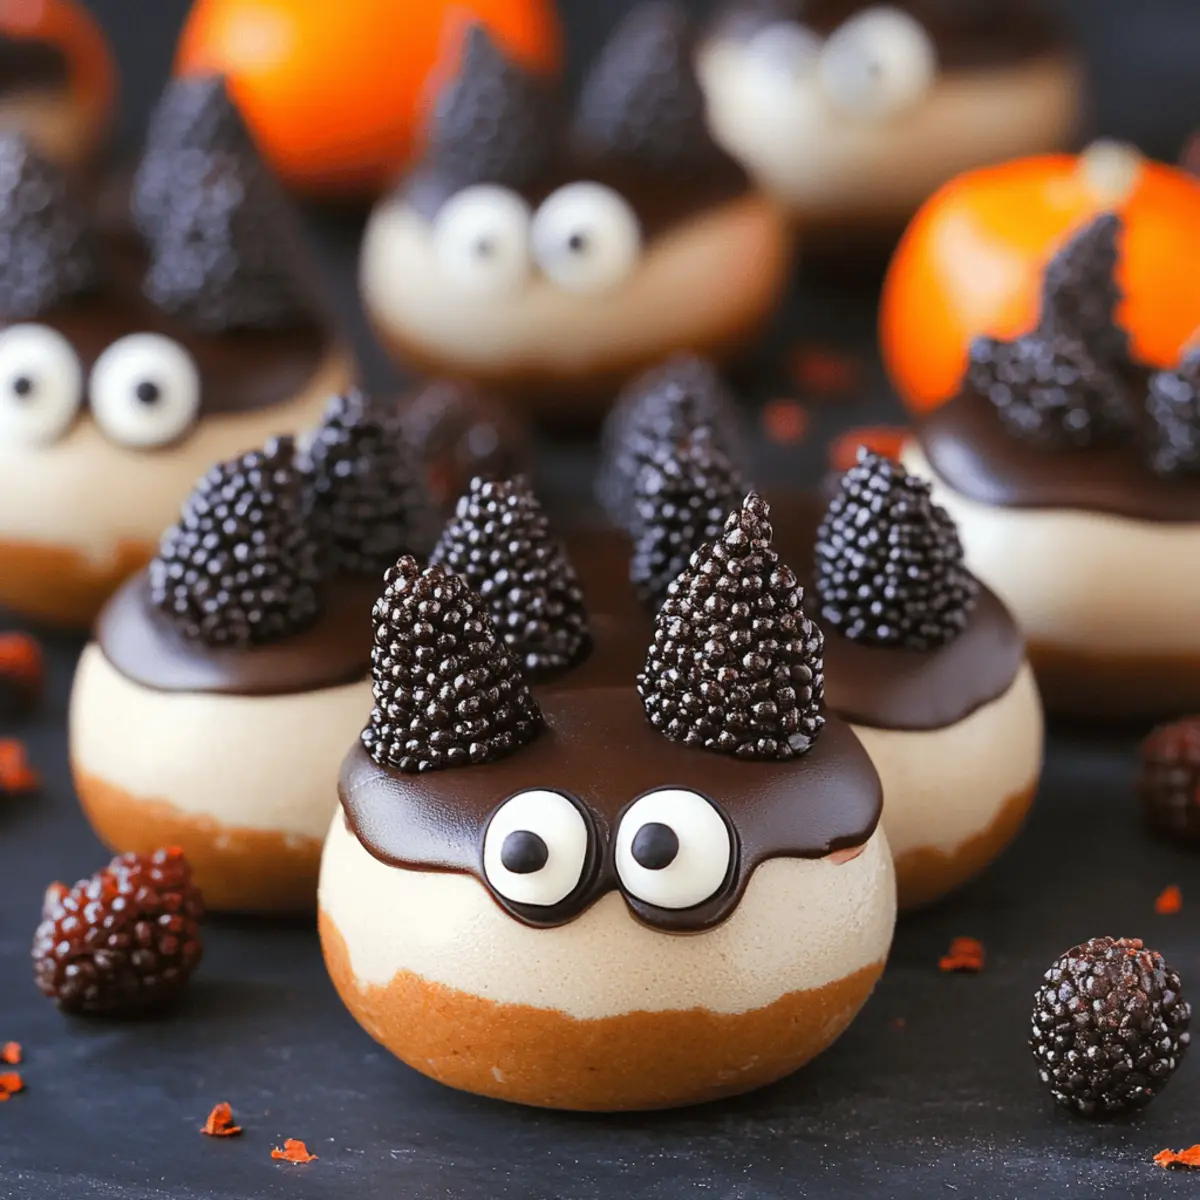
- Spooky Fruit Salad: A medley of seasonal fruits with oranges, grapes, and blackberries creates a refreshing contrast to the rich cookies.
- Warm Cinnamon Apples: Sweet, spiced apples bring warmth and a hint of nostalgia, creating a comforting side that balances the sweetness.
- Chocolate Milkshakes: Creamy and decadent, these drinks provide a rich pairing with the cookie balls, making every bite feel like a celebration.
- Ghostly Marshmallow Dip: A fluffy, whipped dip enhances the treat experience, allowing for delightful swirling of fresh fruit or pretzels alongside.
- Pumpkin Spice Cookies: This seasonal treat adds a dash of warmth and earthiness, perfectly aligning with the fun and whimsy of your dessert.
- Vanilla Ice Cream Sundaes: Creamy ice cream with fudge sauce can take the game to the next level, adding a cold counterpoint to the rich cookie flavors.
The combination of contrasts in temperature and flavor will make your gathering unforgettable!
How to Store and Freeze Oreo Cookie Balls
Fridge: Keep the Oreo Cookie Balls stored in an airtight container in the refrigerator for up to 1 week to maintain freshness and flavor.
Freezer: To freeze, place the cookie balls in a single layer on a baking sheet, then once frozen, transfer them to a freezer bag. They can last up to 3 months!
Thawing: When ready to enjoy, thaw the frozen Oreo Cookie Balls in the fridge for a few hours or at room temperature for about 30 minutes before serving.
Reheating: No need to reheat; these treats are best enjoyed cold!
Oreo Cookie Balls Variations
Feel free to unleash your creativity with these delightful twists that will add unique flavors and textures to your Oreo Cookie Balls!
-
Gluten-Free: Substitute regular Oreos with gluten-free sandwich cookies. This small swap ensures gluten-intolerant friends can indulge too!
-
Nutty Delight: Mix in ½ cup of finely chopped nuts like walnuts or pecans for an added crunch. The nutty flavor beautifully complements the chocolate.
-
Peanut Butter Swirl: Add ¼ cup of creamy peanut butter to the cookie mixture for a luscious twist. The result is a peanut butter lover’s dream come true!
-
Spicy Kick: Incorporate a pinch of cayenne pepper into the chocolate coating for a surprising heat. This unexpected kick pairs well with the sweetness!
-
Vegan-Friendly: Use vegan cream cheese and dairy-free chocolate coating. You can enjoy these treats while being kind to your dietary choices.
-
Minty Fresh: Mix in ½ teaspoon of peppermint extract to the cookie mixture. This refreshing addition will have your taste buds dancing in delight!
-
Fruit Flavors: Fold in ½ cup of crushed freeze-dried raspberries for a tangy touch. Their vibrant color and tartness will make your cookie balls stand out.
-
Coconut Bliss: Roll the chilled cookie balls in shredded coconut after dipping them in chocolate. This tropical twist creates a delightful texture and flavor contrast.
Let your imagination run wild and reap the delicious rewards! And if you're looking for more sweet adventures, check out our tempting collection of easy dessert recipes or dive into our delightful chocolate treats for even more inspiration!
Make Ahead Options
These Oreo Cookie Balls are perfect for busy home cooks looking to save time! You can prepare the cookie mixture and form the balls up to 24 hours in advance; simply cover them tightly in the refrigerator until you’re ready to dip them. For best quality, ensure they are properly chilled before coating to maintain their shape. You can also assemble and decorate the Oreo Cookie Balls, storing them in an airtight container for up to 3 days before serving. Just be sure to refrigerate them to keep the chocolate coating fresh and delicious. When you're ready to enjoy, simply remove the cookie balls from the fridge and indulge in these delightful treats!
Bat Oreo Cookie Balls Recipe FAQs
How do I select the right Oreos for this recipe?
Absolutely! When choosing Oreos, look for the classic chocolate sandwich cookies with a fresh date on the package. Avoid any with dark spots or unusual odors, which can indicate they are past their prime.
What is the best way to store leftover Oreo Cookie Balls?
To keep your Oreo Cookie Balls fresh, place them in an airtight container in the refrigerator for up to 1 week. Make sure they are completely cooled before storing, and separate layers with parchment paper to prevent sticking.
Can I freeze Oreo Cookie Balls for later enjoyment?
Yes, you can freeze them! First, arrange the cookie balls in a single layer on a baking sheet and freeze for about 1 hour until firm. Then transfer them to a freezer-safe bag or container. They can be kept frozen for up to 3 months. When you're ready to enjoy, thaw them in the fridge for a few hours or at room temperature for about 30 minutes.
What should I do if my chocolate coating is too thick?
If your chocolate coating feels too thick for dipping, try adding a small amount of vegetable oil or shortening to the melted chocolate. This will help thin it out, making it easier to pour and achieve a smooth finish. Stir it in gradually until you reach your desired consistency.
Are these Oreo Cookie Balls safe for kids and pets?
When making Oreo Cookie Balls, it's important to note that they contain chocolate and cream cheese, which may not be suitable for pets. For kids, everything is great! However, be mindful of any allergies to dairy or gluten, and consider using gluten-free cookies if that's a concern.
What can I use instead of chocolate candy coating?
If you prefer not to use chocolate candy coating, you can melt white chocolate or even use yogurt coating as a lighter alternative. Adjust the decoration color accordingly if you're going for a specific theme to keep these delightful Oreo Cookie Balls visually appealing!
Deliciously Cute Oreo Cookie Balls for Sweet Celebrations
Ingredients
Equipment
Method
- Crush the chocolate sandwich cookies in a food processor or blender until fine crumbs. Transfer to a mixing bowl.
- Add cream cheese to the Oreo crumbs and mix thoroughly until smooth.
- Roll the mixture into balls about 1 inch in diameter, making about 28-30 cookie balls.
- Chill the cookie balls in the refrigerator for 1 hour to firm up.
- Prepare the wings by removing the filling from additional Oreos and cutting each cookie in half.
- Melt the chocolate candy coating, stirring until smooth.
- Dip each chilled cookie ball in the melted chocolate, letting excess drip off.
- Immediately attach the Oreo wing halves to each ball before the chocolate sets.
- Add mini chocolate chips to each cookie ball as eyes and ears.
- Store the completed Oreo Cookie Balls in an airtight container in the refrigerator.


Leave a Reply