
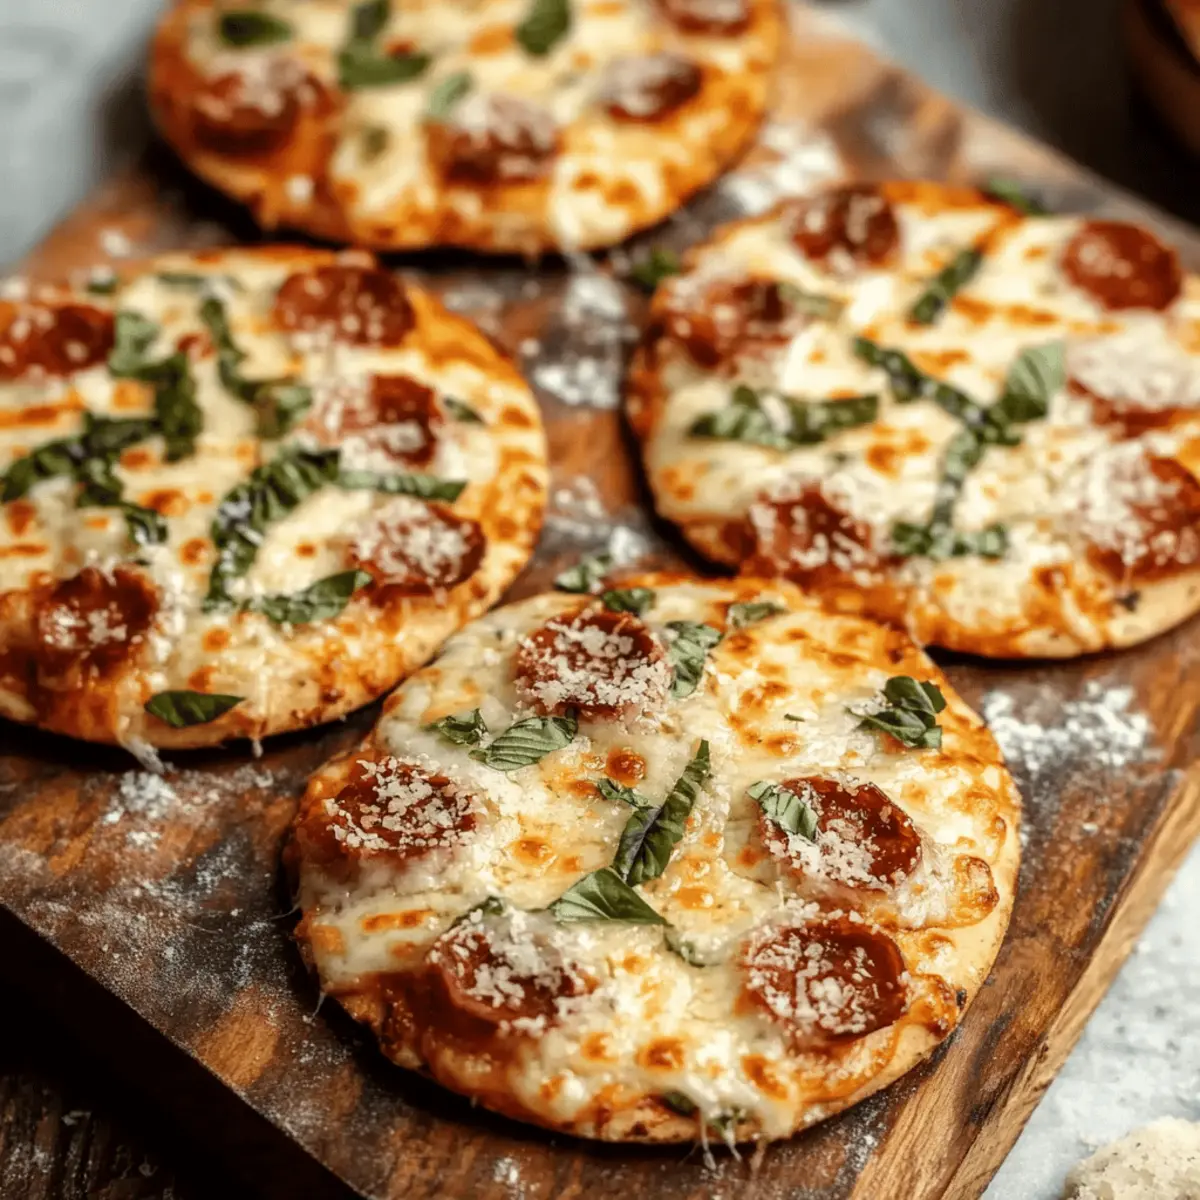
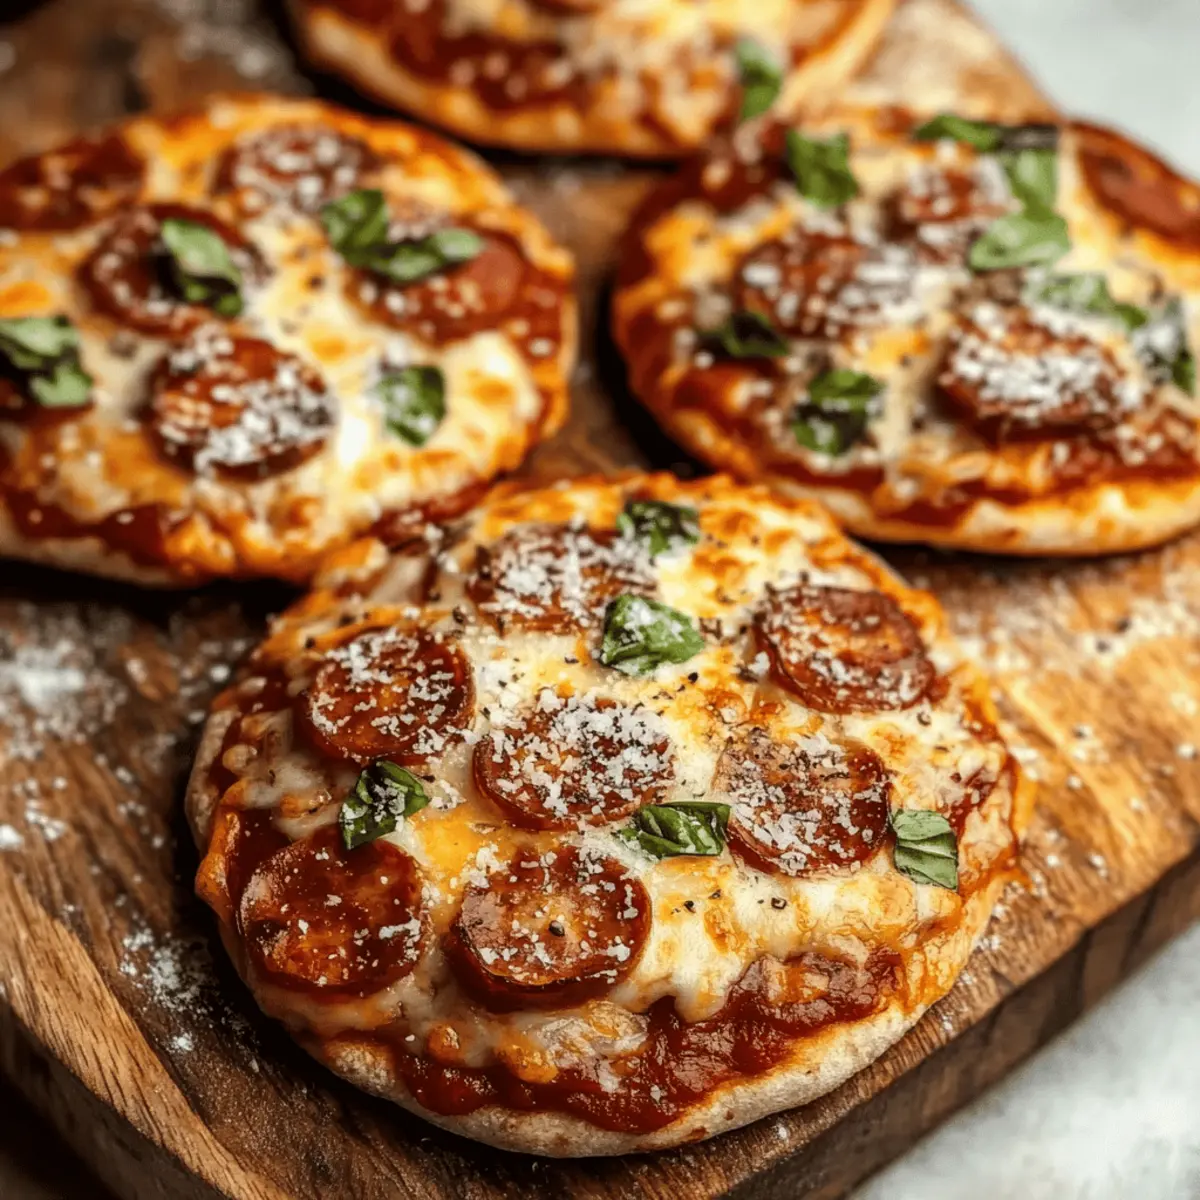
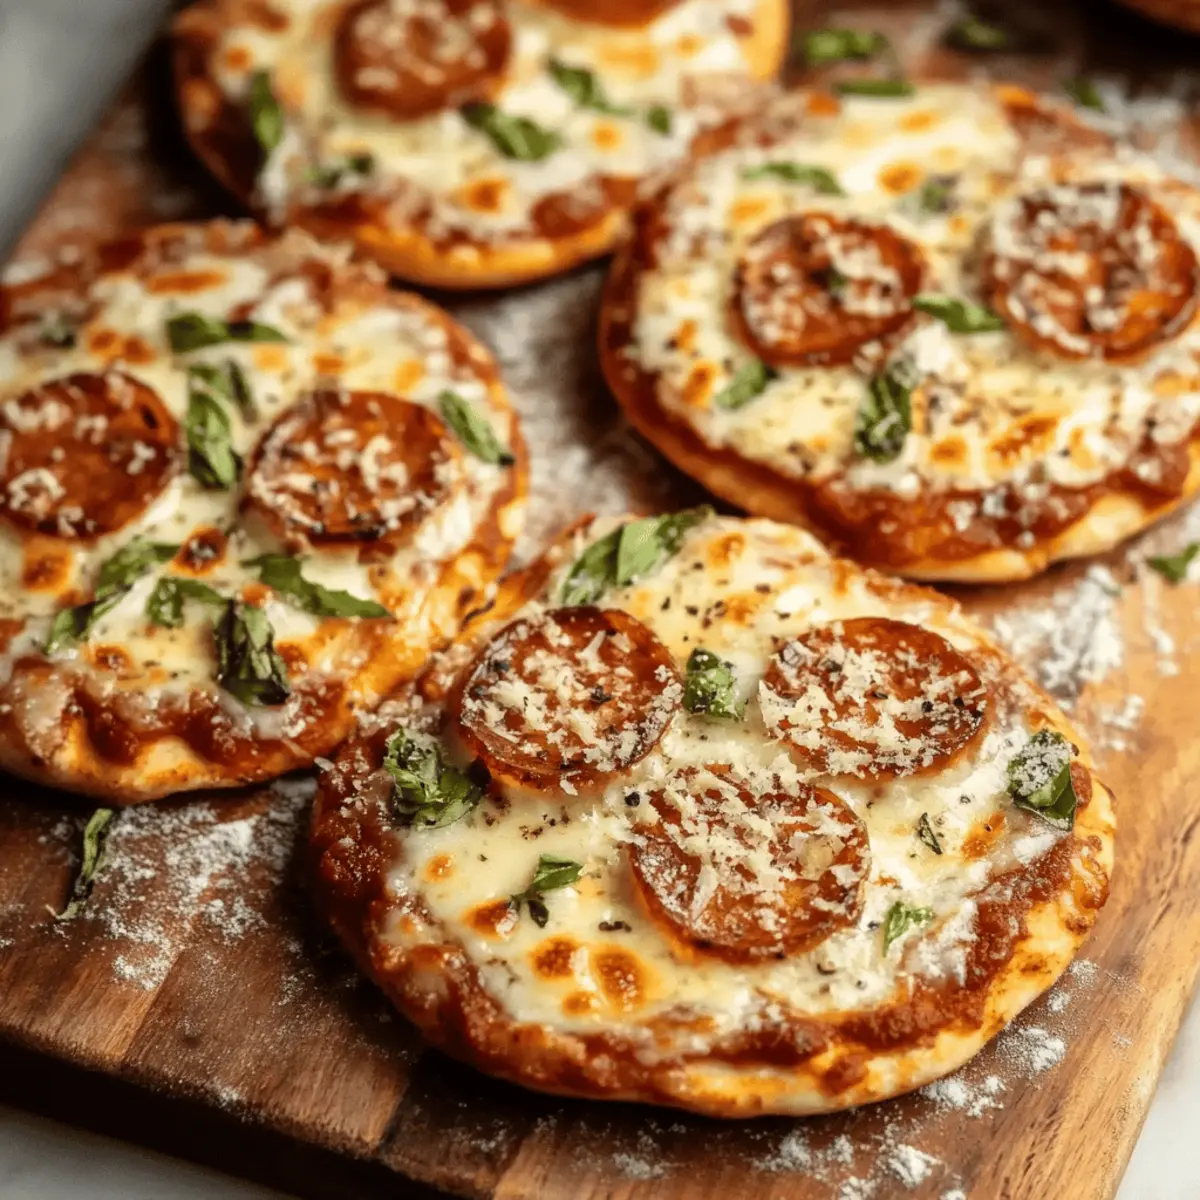
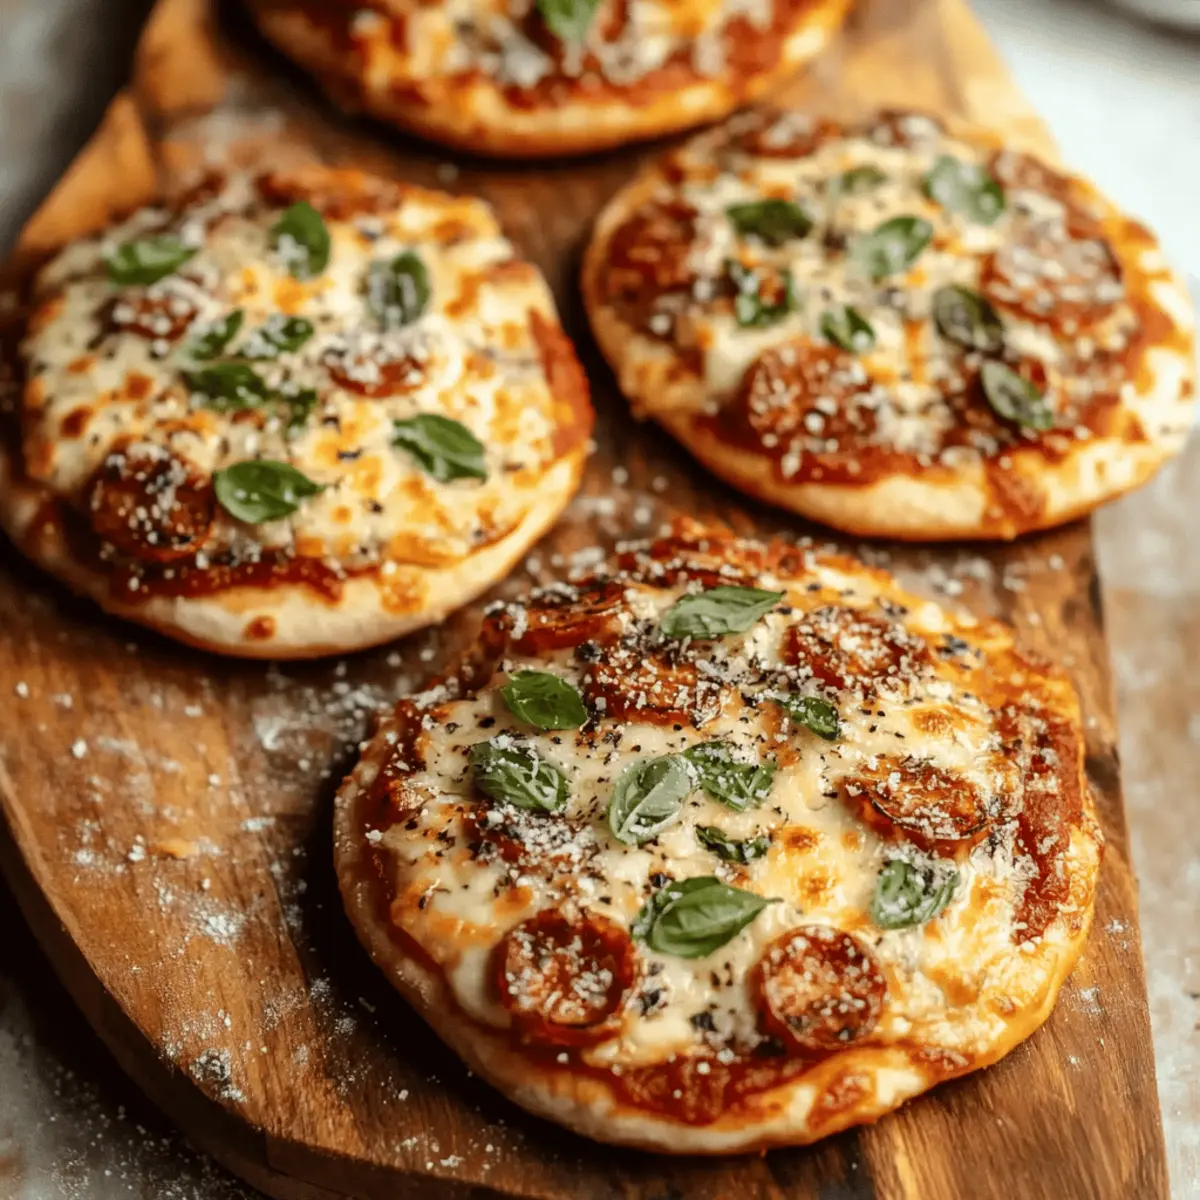
If there’s one thing that can turn a busy evening around, it’s the anticipation of biting into a gooey, cheesy mini pizza fresh from the oven. These delightful little rounds of joy not only satisfy those pizza cravings but also come together in just 20 minutes, making them a quick and effortless meal option for any night of the week. With only a few simple ingredients, like refrigerated biscuit dough and your favorite toppings, you can create a fun, customizable pizza experience that’s perfect for kids and adults alike. Plus, they’re freezer-friendly, so you can whip up a batch and have a tasty snack ready to go anytime you need. If you’re ready to transform your kitchen into a mini pizzeria, let's dive into making these crispy, cheesy mini pizzas that are sure to become a staple in your home! What toppings will you add to make them your own?
Why Are Mini Pizzas So Irresistible?
Quick and Easy: With just 20 minutes from start to finish, these mini pizzas are a lifesaver for busy nights, offering a delicious meal in no time.
Endless Variety: Whether you prefer classic pepperoni or adventurous toppings, these pizzas cater to every craving and can be customized for every taste.
Crowd-Pleasing: Perfect for parties or a family game night, they make great finger food and are sure to impress guests and kids alike.
Kid-Friendly Fun: Let the little chefs in your life take charge by allowing them to design their own unique mini pizzas, making mealtime exciting!
Freezer-Friendly: You can easily make a batch ahead of time and store them, ensuring you always have a tasty snack handy.
Mini Pizzas Ingredients
For the Crust
- Refrigerated biscuit dough – A quick base that saves time and effort, perfect for creating mini pizzas.
- Cornmeal – Adds a delightful crispiness when dusting the baking sheets for those perfect, golden bottoms.
For the Sauce
- Pizza sauce – The classic flavor base that brings your mini pizzas to life; feel free to make your own for added depth!
For the Toppings
- Shredded mozzarella cheese – A gooey essential that binds all the flavors together, making every bite comforting and delicious.
- Pepperoni or favorite toppings – Personalize each pizza to suit your taste—go wild with veggies, or keep it simple with cheese!
- Grated Parmesan – A lovely finishing touch that enhances flavor and adds a bit of elegance to your mini creation.
These mini pizzas are not just a meal; they're a canvas for creativity and deliciousness!
Step‑by‑Step Instructions for Mini Pizzas
Step 1: Preheat the Oven
Begin by preheating your oven to 400°F (200°C) to ensure it's hot and ready for your mini pizzas. This temperature will help achieve the perfect crispy crust. While the oven heats, gather your ingredients and equipment, including a rolling pin, baking sheets, and a spatula, to streamline the process.
Step 2: Prepare the Dough
On a lightly floured surface, take each piece of refrigerated biscuit dough and roll it out into flat rounds, about ¼ inch thick. The dough should be slightly larger than the palm of your hand for perfect pizza bases. As you work, keep an eye on your rolled dough, ensuring they maintain a uniform thickness to bake evenly.
Step 3: Arrange the Pizzas
Dust two baking sheets with cornmeal, which will give your mini pizzas a delightful crunch. Arrange the rolled dough rounds about 1 inch apart on the baking sheets, allowing room for expansion while they bake. This spacing is crucial to avoid overlap and ensures even cooking for your delicious mini pizzas.
Step 4: Add the Sauce
Spoon 1–2 tablespoons of pizza sauce onto each dough round, spreading it evenly, leaving a small border around the edges. This flavorful base will infuse your mini pizzas with that classic Italian charm. Make sure the sauce covers the dough well, but don’t drown it—too much sauce can make the pizzas soggy.
Step 5: Sprinkle the Cheese
Generously sprinkle shredded mozzarella cheese over the sauced mini pizzas, ensuring each one gets a good layer for that gooey, melty texture. The cheese is a key player in your mini pizza masterpiece, creating a bridge between the crust and toppings. Get creative with the amount based on how cheesy you’d like your pizzas!
Step 6: Add Your Favorite Toppings
Now it's time to customize your mini pizzas! Scatter pepperoni or your favorite toppings over the cheese, personalizing each pizza to your taste. Whether you prefer classic or adventurous ingredients, this is your moment to make these mini pizzas uniquely yours. Aim for an even distribution to ensure every bite is packed with flavor.
Step 7: Bake the Mini Pizzas
Slide the baking sheets into your preheated oven and bake the mini pizzas for 15–18 minutes. Keep an eye on them, looking for a golden crust and bubbling cheese as visual signs that they're ready. If you desire a crispier finish, you can broil the mini pizzas for 1–2 minutes at the end for an extra touch of browning.
Step 8: Garnish and Serve
Once your mini pizzas are perfectly baked, remove them from the oven and allow them to cool for a minute. Garnish each pizza with a sprinkle of grated Parmesan cheese for added flavor. Serve them warm to enjoy the melty goodness right away, sharing the joy of your homemade creations with family and friends!
How to Store and Freeze Mini Pizzas
Fridge: Store leftover mini pizzas in an airtight container in the refrigerator for up to 3 days. Reheat in the oven or microwave for a few minutes before serving.
Freezer: For longer storage, freeze mini pizzas individually on a baking sheet until solid, then transfer to a freezer-safe bag or container. They can be kept for up to 2 months.
Reheating: To reheat frozen mini pizzas, preheat your oven to 375°F (190°C), place them on a baking sheet, and bake for about 10–12 minutes until heated through and crispy.
Wrap Properly: If freezing, wrap the mini pizzas tightly in plastic wrap or foil before placing them in the bag to prevent freezer burn and maintain that cheesy goodness.
Mini Pizzas Variations & Substitutions
Feel free to let your creativity shine while making these mini pizzas, as there are endless ways to customize each bite to your liking!
- Gluten-Free: Substitute the refrigerated biscuit dough with gluten-free pizza dough for a delicious gluten-free option.
- Vegetarian: Top with an abundance of fresh veggies like bell peppers, mushrooms, and spinach for a colorful twist.
- Meat Lovers: Add a mix of your favorite cooked meats such as sausage, bacon, or ham for a hearty option that packs a punch.
- Spicy Kick: Sprinkle crushed red pepper flakes on top before baking to introduce a delightful heat that will awaken your taste buds.
- Pesto Base: Swap pizza sauce for pesto for an aromatic and flavorful twist that elevates the entire pizza experience.
- Cheese Choices: Experiment with different cheeses like cheddar, gouda, or feta for unique flavor combinations that will surprise and delight.
- Sweet Touch: Design a dessert version by using Nutella as the base and topping with banana slices or strawberries before serving.
- Inspired Crusts: Try using different types of bread like naan or pita for a unique textured crust that’s full of flavor, while still keeping it simple.
Whether you're looking to make a comforting classic or a bold new creation, these mini pizzas can transform into something uniquely yours with just a few adjustments! For even more fun variations, check out how to get creative with homemade pizza dough tips in our guide on easy homemade pizza dough.
Make Ahead Options
These Mini Pizzas are perfect for meal prep lovers looking to save time during busy weeknights! You can prepare the dough rounds and top them with sauce and cheese up to 24 hours in advance. Simply roll out the biscuit dough, arrange the assembled pizzas on a baking sheet, cover them tightly with plastic wrap, and refrigerate. This keeps the crust fresh and prevents sogginess. When you're ready to serve, just pop them in a preheated oven (400°F) for 15–18 minutes, adding your favorite toppings before baking if desired. You’ll enjoy the same cheesy, delicious results with minimal effort!
What to Serve with Mini Pizzas?
Imagine a cozy evening filled with delectable sides that perfectly complement your mini pizzas, creating a feast of flavors and textures.
- Caesar Salad: A crisp and refreshing option that adds a burst of flavor, balancing the richness of the cheesy mini pizzas.
- Garlic Bread Sticks: Soft, buttery, and infused with garlic — they are an excellent side that pairs wonderfully with dipping sauces.
- Roasted Vegetables: Colorful veggies roasted to perfection lend a healthy touch while providing a delightful contrast to the warm, cheesy pizzas.
- Fruit Platter: A vibrant assortment of seasonal fruits adds a sweet, refreshing element, making your meal feel more well-rounded and satisfying.
- Mozzarella Sticks: For the cheese lovers, these crispy bites are like a cheesy appetizer that complements the mini pizzas in the best possible way.
- Iced Tea or Lemonade: Refreshing beverages that cleanse the palate and enhance the entire meal experience, perfect for balancing savory flavors.
- Brownie Bites: Ending on a sweet note, these dense and fudgy treats will delight your guests and leave everyone wanting more.
- Buffalo Wings: If you're craving a bit of spice, crispy buffalo wings add a fiery kick, making for an exciting and hearty meal atmosphere.
Expert Tips for Mini Pizzas
Choose the Right Dough: Opt for high-quality refrigerated biscuit dough for a perfect base that's both fluffy and crispy.
Avoid Soggy Crust: Be careful not to overload your mini pizzas with sauce; keeping it moderate ensures a crispy crust.
Fresh Ingredients: Use fresh toppings whenever possible; fresh veggies and high-quality cheese elevate the flavor of your mini pizzas.
Uniform Thickness: Roll the dough into consistent thickness for even baking. Too thick can leave doughy centers, while too thin may burn.
Watch the Bake Time: Keep an eye on your mini pizzas in the last few minutes of baking; ovens vary, and you want that golden-brown finish!
Mini Pizzas Recipe FAQs
How do I select the best refrigerated biscuit dough for mini pizzas?
Absolutely! Look for refrigerated biscuit dough that is fresh and has no visible damage on the packaging. Check the expiration date to ensure maximum freshness. If possible, choose varieties that are labeled as flaky or buttery, as they often provide a better texture and flavor for your mini pizzas.
What’s the best way to store leftover mini pizzas?
Very simple! Just place any leftover mini pizzas in an airtight container in the refrigerator. They will stay delicious for up to 3 days. When you're ready to enjoy them again, just reheat in the oven or microwave for a couple of minutes until warm.
Can I freeze mini pizzas for later? How?
Yes, you can! For best results, freeze the mini pizzas individually on a baking sheet until they are completely solid. Then, transfer them to a freezer-safe bag or container. By sealing them tightly, you can keep them frozen for up to 2 months. When you’re craving a snack, simply preheat your oven to 375°F (190°C), place the frozen pizzas on a baking sheet, and bake for about 10–12 minutes until heated through and crispy.
What should I do if my mini pizzas come out soggy?
Don't worry, it happens! To prevent sogginess, ensure that you don't overload the pizzas with sauce—just 1–2 tablespoons is ideal. Also, be sure to watch your baking time closely. If, after baking, they are still soggy, try placing them under the broiler for 1–2 minutes to help crisp up the crust without overcooking the toppings.
Are mini pizzas safe for pets? Any dietary considerations?
While mini pizzas can be fun for us, it's best to keep them away from pets. The cheese and spices can be harmful to dogs and cats. Always store your mini pizzas out of their reach. For anyone with allergies, be mindful of ingredients like gluten in the biscuit dough or dairy in the cheese, and consider gluten-free or vegan options!
Can I customize my mini pizzas with unusual toppings?
The more the merrier! Yes, you can absolutely personalize your mini pizzas with unique toppings! Consider using fresh vegetables, different types of cheese, or even exotic toppings like goat cheese or pesto. This is a fun way to experiment and find your perfect flavor combinations!
Quick and Delightful Mini Pizzas for Any Craving
Ingredients
Equipment
Method
- Preheat your oven to 400°F (200°C).
- Roll each piece of refrigerated biscuit dough into flat rounds, about ¼ inch thick.
- Dust baking sheets with cornmeal and arrange dough rounds about 1 inch apart.
- Spoon 1–2 tablespoons of pizza sauce onto each dough round.
- Sprinkle shredded mozzarella cheese over the sauced dough.
- Add pepperoni or favorite toppings over the cheese.
- Bake for 15–18 minutes, watching for a golden crust.
- Garnish with grated Parmesan cheese and serve warm.


Leave a Reply