
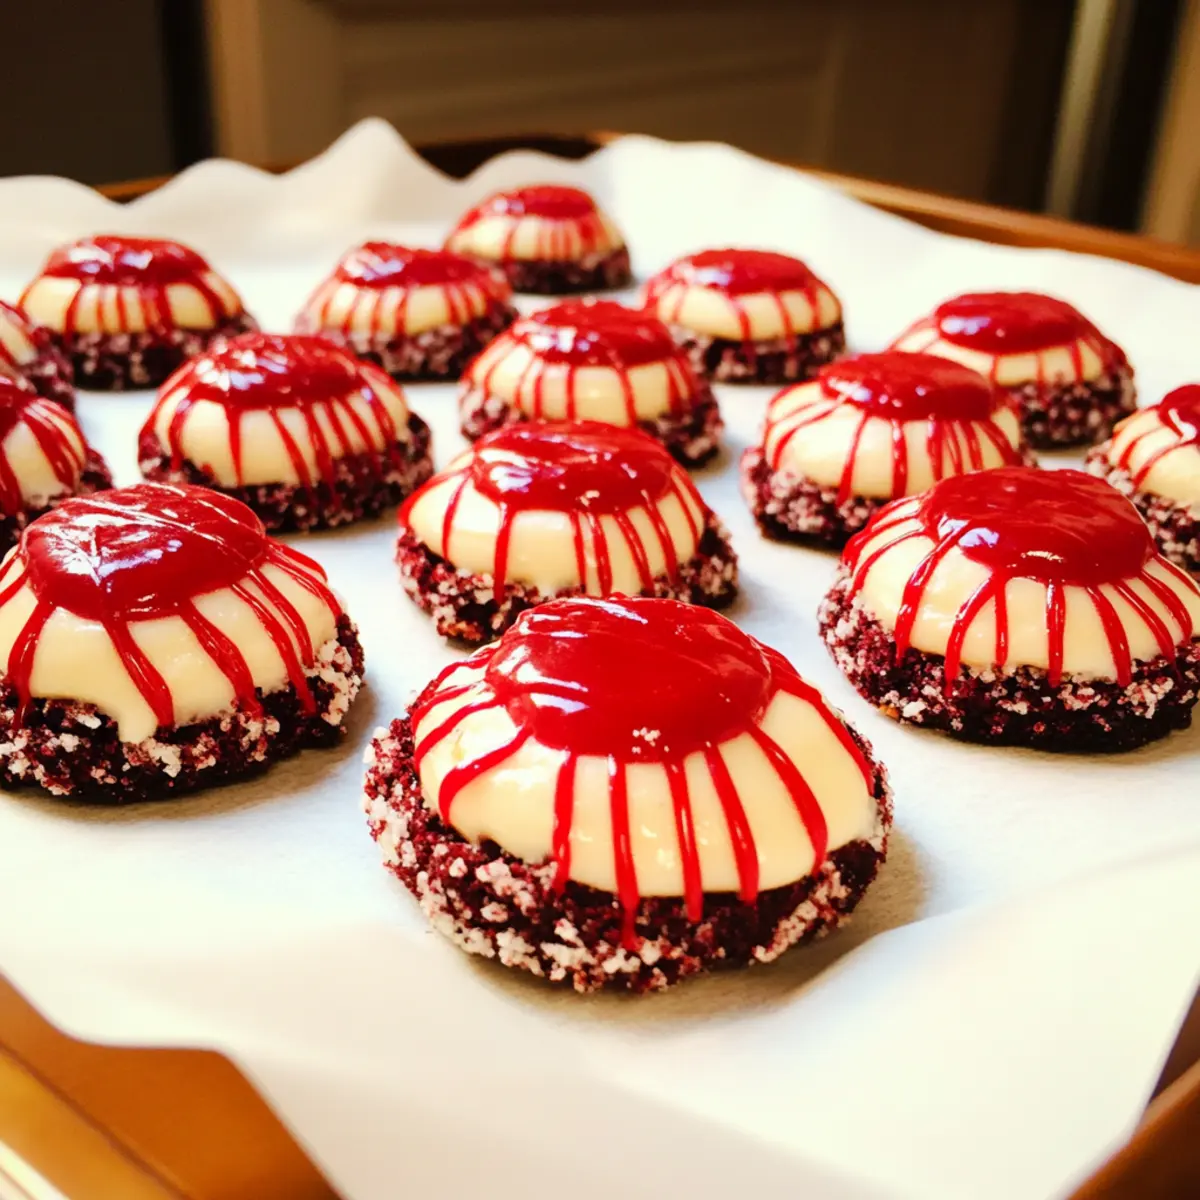
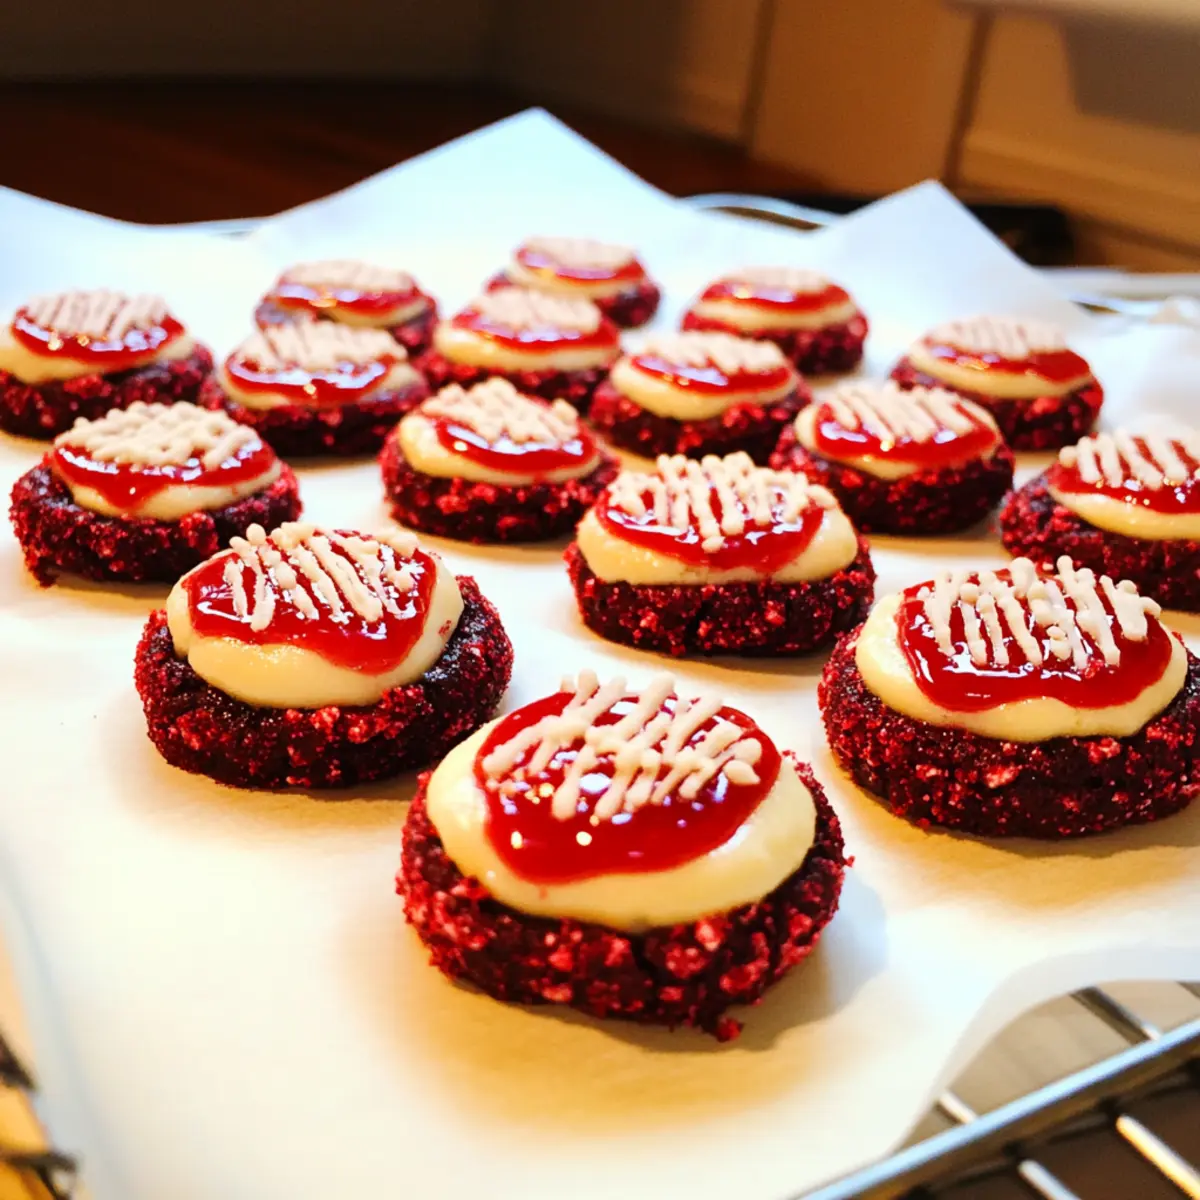
Did you know that the vibrant red hue of red velvet cake is not just for looks? This eye-catching color carries a history as rich as its taste! When I first encountered Red Velvet Cream Cheese Thumbprint Cookies, I was instantly smitten. The combination of the soft, chewy texture infused with the crème de la crème of cheesecakes creates a delightful experience for the senses. These cookies are not only visually stunning; they pack a flavor profile that makes them impossible to resist.
Perfect for holiday baking or any occasion that calls for a little flair, you’ll find that these treats are a fantastic crowd-pleaser. They deliver a sweet surprise thanks to a luscious cream cheese filling that perfectly complements the rich red velvet cookie base. Plus, they can be made in record time, making them a low-effort indulgence you’ll want to whip up on repeat.
Are you ready to impress your family and friends with these festive cookies? Let's dive into the simple steps to create your own batch of Red Velvet Cream Cheese Thumbprint Cookies!
Why love Red Velvet Cream Cheese Thumbprint Cookies?
Irresistible Flavor Combination: Packed with rich red velvet cake and creamy cheesecake, these cookies deliver a taste experience like no other.
Effortless Baking: With simple steps and readily available ingredients, crafting these beauties is a breeze!
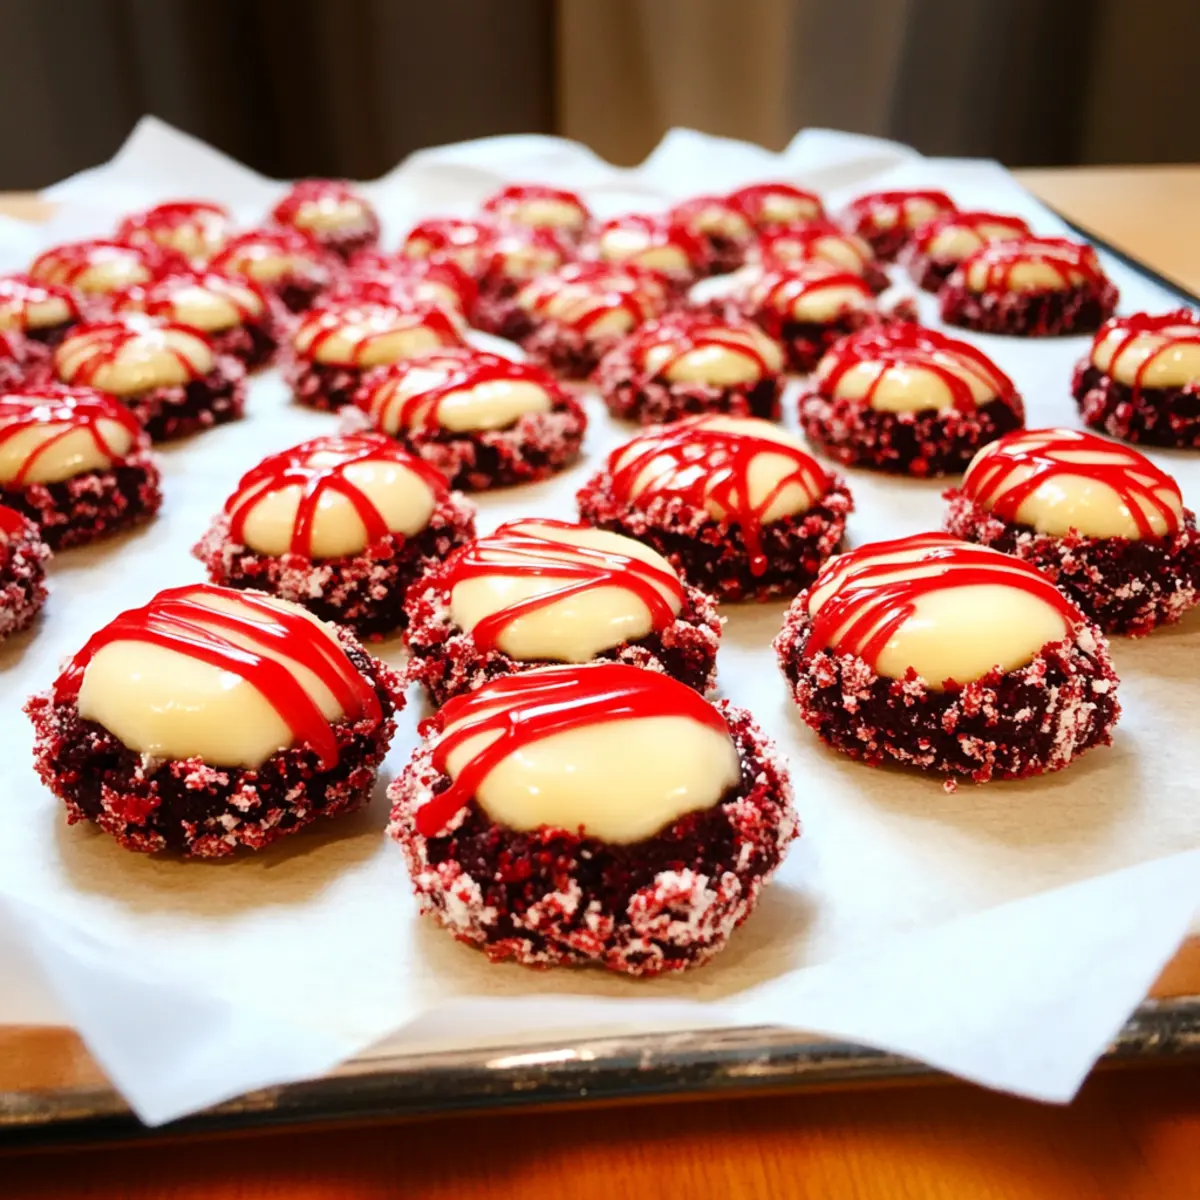
Perfect for Celebrations: Their vibrant color makes them a showstopper on any dessert table, ideal for holiday gatherings or gifting.
Chewy Meets Creamy: Enjoy the delightful contrast between the soft cookie exterior and the smooth, luscious cream cheese center.
Make Ahead Magic: Prepare the dough in advance and store it in the fridge, ensuring you're always ready to bake up a batch of joy!
Red Velvet Cream Cheese Thumbprint Cookies Ingredients
• Get ready to make something amazing!
For the Cookie Base
- Butter – Adds richness and moisture; remember to soften it to room temperature for best results.
- Brown Sugar – Provides moisture and a delightful hint of caramel; granulated sugar works as a substitute if needed.
- Egg Yolks – Binds the ingredients together; save the egg whites if you want to use them for a different recipe!
- Vanilla Extract – Elevates the overall flavor; seek out pure vanilla for a more robust taste.
- All-Purpose Flour – Forms the structure of these delicious cookies; you can swap it for whole wheat flour for a nuttier flavor.
- Red Food Coloring – Give the cookies their signature bright red hue; gel food coloring offers a vibrant result.
- Cocoa Powder – Imparts a subtle chocolate flavor; opt for unsweetened cocoa powder for the best taste.
- Granulated Sugar or Sanding Sugar – Adds sweetness for rolling the dough; sanding sugar enhances texture beautifully.
For the Cream Cheese Filling
- Cream Cheese – Introduces a creamy texture and tangy flavor to the filling; Neufchâtel can lighten it up if desired.
- Salt – Balances flavors and elevates sweetness; a small pinch can make all the difference!
- Additional Vanilla – Included in the filling to create a consistent flavor profile throughout.
Step-by-Step Instructions for Festive Red Velvet Cream Cheese Thumbprint Cookies
Step 1
Preheat your oven to 300°F (150°C) and line a baking sheet with parchment paper or a silicone mat. This initial preparation is essential to ensure that your cookies bake evenly and don’t stick to the pan. As the oven warms up, gather all your ingredients to make the process smooth and enjoyable.
Step 2
In a large mixing bowl, cream together the softened butter and brown sugar using an electric mixer on medium speed. Beat until the mixture is light and fluffy, which should take about 3-5 minutes. Then, add the egg yolks and vanilla extract, mixing well until fully combined. This step creates a rich base for your Red Velvet Cream Cheese Thumbprint Cookies, ensuring a soft and chewy texture.
Step 3
Gradually sift in the all-purpose flour, red food coloring, and cocoa powder to the creamed mixture. Blend on low speed until a soft, cohesive dough forms, about 2-3 minutes. Be careful not to overmix, as you want the cookies to retain their tender texture. The vibrant red hue will begin to become apparent, filling your kitchen with an inviting sight!
Step 4
Scoop heaping tablespoons of dough and roll them into balls, then roll each ball in granulated or sanding sugar before placing them on the prepared baking sheet, spacing them about 2 inches apart. This should yield roughly 24 cookies. The sugar coating will create a delightful crunch, complementing the soft center of your cookies once baked.
Step 5
Using the back of a teaspoon, gently press into the center of each dough ball to create an indentation. This is where the cream cheese filling will go later. Bake the cookies in the preheated oven for 10 minutes or until they are just set. Keep an eye on them to ensure they are evenly baked without browning too much.
Step 6
While the cookies are baking, prepare the cream cheese filling. In a separate bowl, blend the softened cream cheese, egg yolk, sugar, salt, and additional vanilla extract until smooth and creamy, about 2-3 minutes. This filling will bring the luxurious cheesecake flavor to your Red Velvet Cream Cheese Thumbprint Cookies, enhancing their overall appeal.
Step 7
After the initial baking time, carefully remove the cookies from the oven. Use a small spoon to deepen the indentations formed earlier and spoon a dollop of the cream cheese filling into each one. Return the cookies to the oven and bake for an additional 12 minutes, or until the filling is set. The edges of the cookies should look slightly firm while the centers remain soft and pillowy.
Step 8
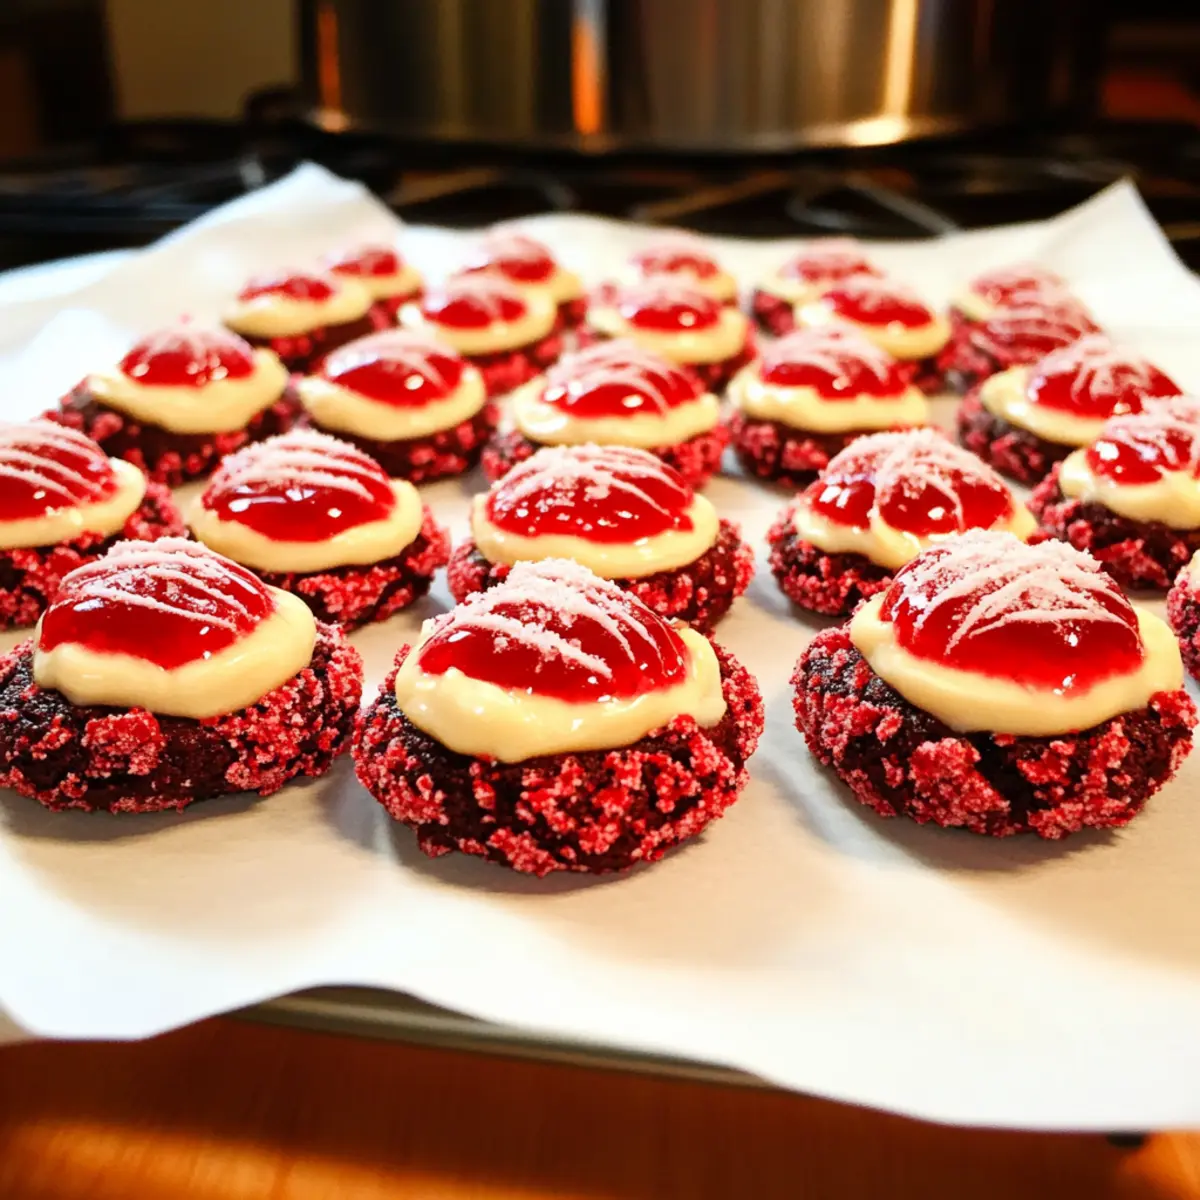
Once baked, remove the cookies from the oven and allow them to cool completely on a wire rack. This cooling step is vital for the cookies to maintain their shape and texture. After they’ve cooled, you can serve them right away or store them in an airtight container in the refrigerator, where they will remain fresh for up to a week. Enjoy your delightful Festive Red Velvet Cream Cheese Thumbprint Cookies!
What to Serve with Red Velvet Cream Cheese Thumbprint Cookies?
Looking to create a delightful dessert experience alongside your vibrant cookies? These pairing ideas will elevate your sweet treat game!
- Creamy Vanilla Ice Cream: The cool, creamy texture of vanilla ice cream complements the rich flavors of the cookies, offering a delightful contrast with each bite. Served alongside, it transforms your simple cookie treat into a decadent dessert experience.
- Fresh Berries: Strawberries, raspberries, or blueberries add a refreshing burst of flavor and a pop of color on your dessert table. Their natural tartness beautifully balances the sweetness of the cream cheese filling.
- Chocolate Drizzle: Drizzling a rich chocolate sauce on your cookies infuses an extra layer of indulgence and sophistication. It adds a decadent chocolatey richness that pairs incredibly well with the cream cheese and red velvet.
- Whipped Cream: Light and airy, a dollop of freshly whipped cream makes each cookie bite even more sumptuous. It enhances the cream cheese center and adds a lovely volume to your dessert presentation.
- Mini Cheesecakes: If you're in the mood for variations on a theme, mini cheesecakes echo the cheesecake flavor in your cookies while providing different textures. Their creamy and tangy disposition will delight guests.
- Sparkling Cider: For a festive touch, serve sparkling cider. Its effervescence brightens the overall dessert experience, making it perfect for gatherings or holiday cheer.
- Coconut Macaroons: These chewy delights offer a delightful contrast in texture. Their sweetness and coconut flavor harmonize beautifully with your red velvet cookies, creating a blissful combination.
- Coffee or Espresso: A warm cup of coffee or espresso provides a robust counterpoint to the sweetness of the cookies, making it a perfect pairing for an afternoon treat or post-dinner delight, ensuring everyone feels cozy.
Make Ahead Options
These Red Velvet Cream Cheese Thumbprint Cookies are perfect for meal prep enthusiasts looking to save time during the busy holiday season! You can prepare the cookie dough up to 24 hours in advance and refrigerate it until you're ready to bake, ensuring the dough stays fresh and flavorful. Additionally, you can mix the cream cheese filling and store it in an airtight container for up to 3 days in the refrigerator. When you're ready to enjoy, simply scoop and bake the chilled dough as directed, add the filling, and bake until set. This way, you’ll have a delightful treat at hand with minimal effort, perfect for impressing guests or indulging yourself!
Expert Tips for Red Velvet Cream Cheese Thumbprint Cookies
- Room Temperature Ingredients: Ensure butter and cream cheese are at room temperature for a smoother batter and filling, preventing any lumps during mixing.
- Chill the Dough: If the dough feels too sticky, refrigerate it for 30 minutes before shaping. This will make it easier to work with and produce better cookies.
- Food Coloring Precision: Measure red food coloring carefully to achieve the desired vibrancy; don’t be afraid to adjust it for a deeper red hue!
- Indentation Technique: Use the back of a teaspoon to create a deep enough well for the cream cheese filling, ensuring the flavor is concentrated with each bite.
- Short Bake Time: Keep an eye on your cookies to avoid overbaking; they're perfect when the edges are set but the centers remain soft, providing that lovely chewy texture.
- Serve in Style: Present your Red Velvet Cream Cheese Thumbprint Cookies on a festive platter to enhance their visual appeal at gatherings and celebrations!
Red Velvet Cream Cheese Thumbprint Cookies Variations
Feel free to explore these fun twists to make this recipe your own and delight your taste buds!
- Chocolate Filling: Swap the cream cheese filling for chocolate ganache for a rich and decadent twist.
- Almond Extract: Add a teaspoon of almond extract to the cookie dough for a lovely nutty flavor that complements the red velvet beautifully.
- Green Food Coloring: Use green food coloring instead of red for a festive St. Patrick's Day version that’s just as fun and delicious!
- Nutty Texture: Fold in chopped nuts, like pecans or walnuts, into the cookie dough for an added crunch and flavor dimension.
- Fruit Filling: Replace the cream cheese filling with a fruit jam—raspberry or blackberry works wonderfully for a fruity surprise!
- Spicy Kick: Add a pinch of cayenne pepper or cinnamon to the dough for an unexpected heat that will leave your guests intrigued.
- Mini Cookies: Make mini versions using a teaspoon of dough for smaller bites, perfect for a sweet snack!
- Savory Twist: Mix crumbled bacon or caramelized onions into the cream cheese filling for a sweet and savory fusion experience.
How to Store and Freeze Red Velvet Cream Cheese Thumbprint Cookies
Room Temperature: These cookies can be kept at room temperature for up to 3 days in an airtight container to maintain their chewy texture.
Fridge: For longer freshness, store your Red Velvet Cream Cheese Thumbprint Cookies in the refrigerator for up to a week. Ensure they’re in a covered container to prevent drying out.
Freezer: Freeze the baked cookies in a single layer on a baking sheet, then transfer them to a freezer-safe container. They can stay fresh for up to 3 months.
Reheating: To enjoy them warm, reheat the cookies in a 300°F (150°C) oven for about 5 minutes, or until warmed through, restoring their delightful texture.
Red Velvet Cream Cheese Thumbprint Cookies Recipe FAQs
Should you fill thumbprint cookies before or after baking?
Absolutely! For Red Velvet Cream Cheese Thumbprint Cookies, you fill them after the initial baking. Bake them for 10 minutes, then create a deeper indentation and add the cream cheese filling before returning them to the oven for an additional 12 minutes. This method ensures the filling sets perfectly and combines with the cookie, creating that creamy core we all love.
What cream cheese to use for red velvet?
I recommend using regular cream cheese for your thumbprint filling; it provides a rich, tangy flavor that beautifully complements the sweetness of the cookie. If you're looking for a lighter option, you can use Neufchâtel cheese, which has less fat but still offers a creamy consistency for that luscious filling.
Do cream cheese thumbprint cookies need to be refrigerated?
Yes, they do! After baking, it's best to store your Red Velvet Cream Cheese Thumbprint Cookies in an airtight container in the refrigerator. They can stay fresh for up to a week, allowing the flavors to meld beautifully while retaining their chewy texture.
How to stop thumbprint cookies from spreading?
If you’re concerned about your cookies spreading too much, there are a few helpful tips to follow. First, ensure your butter is well-softened but not melted, as too much moisture can lead to spreading. Additionally, refrigerating the cookie dough for about 30 minutes before baking will help them maintain their shape. Lastly, don’t overmix the dough, as this can lead to a more liquid consistency.
Why are my thumbprint cookies cracking when putting a thumbprint?
Cracking often occurs when the dough is too dry or hasn't been properly combined. Make sure to cream the butter and sugar until light and fluffy, and ensure your ingredients are measured correctly. If you're still encountering cracks, consider adding a touch more moisture to the dough; a little extra egg yolk could do the trick!
Why did my thumbprint cookies flatten out?
If your cookies flatten out too much, it’s likely due to the dough being too warm or over-creamed. When making the dough, make sure it’s chilled enough before shaping. Chilling for 30 minutes before baking can prevent them from spreading too thin, ensuring you achieve that soft, chewy texture in your Red Velvet Cream Cheese Thumbprint Cookies.
Irresistibly Indulgent Red Velvet Cream Cheese Thumbprint Cookies
Ingredients
Method
- Preheat your oven to 300°F (150°C) and line a baking sheet with parchment paper or a silicone mat.
- Cream together the softened butter and brown sugar using an electric mixer on medium speed until light and fluffy, then add the egg yolks and vanilla extract, mixing well.
- Gradually sift in the all-purpose flour, red food coloring, and cocoa powder, blending on low speed until a soft dough forms.
- Scoop heaping tablespoons of dough, roll into balls, and coat each ball in sugar before placing on the baking sheet.
- Press into the center of each dough ball to create an indentation and bake for 10 minutes.
- Prepare the cream cheese filling by blending cream cheese, egg yolk, sugar, salt, and additional vanilla until smooth.
- Remove cookies from the oven, deepen the indentations, spoon in the cream cheese filling, and bake for an additional 12 minutes.
- Allow cookies to cool completely on a wire rack before serving or storing.
Nutrition
Notes
- Ensure butter and cream cheese are at room temperature for a smoother batter.
- Refrigerate the dough for 30 minutes if it's too sticky.
- Measure red food coloring carefully for desired vibrancy.
- Use the back of a teaspoon to create a deep enough well for the filling.
- Monitor baking time to achieve the perfect chewy texture.
- Serve cookies on a festive platter for visual appeal at gatherings.


Leave a Reply