Go Back
+ servings
Red Velvet Cream Cheese Thumbprint Cookies
Aria West

Irresistibly Indulgent Red Velvet Cream Cheese Thumbprint Cookies

Discover the delightful Red Velvet Cream Cheese Thumbprint Cookies, a sweet treat featuring vibrant red velvet cake and creamy cheesecake filling.
Prep Time 20 minutes
Cook Time 22 minutes
Total Time 42 minutes
Servings: 24 cookies
Course: Dessert
Cuisine: American
Calories: 150

Ingredients
  

  • 1 cup butter
  • 1 cup brown sugar
  • 3 egg yolks
  • 1 teaspoon vanilla extract
  • 3 cups all-purpose flour
  • 1 tablespoon red food coloring
  • 2 tablespoons cocoa powder
  • ½ cup granulated sugar or sanding sugar
  • 8 oz cream cheese
  • ¼ teaspoon salt
  • 1 teaspoon additional vanilla

Method
 

  1. Preheat your oven to 300°F (150°C) and line a baking sheet with parchment paper or a silicone mat.
  2. Cream together the softened butter and brown sugar using an electric mixer on medium speed until light and fluffy, then add the egg yolks and vanilla extract, mixing well.
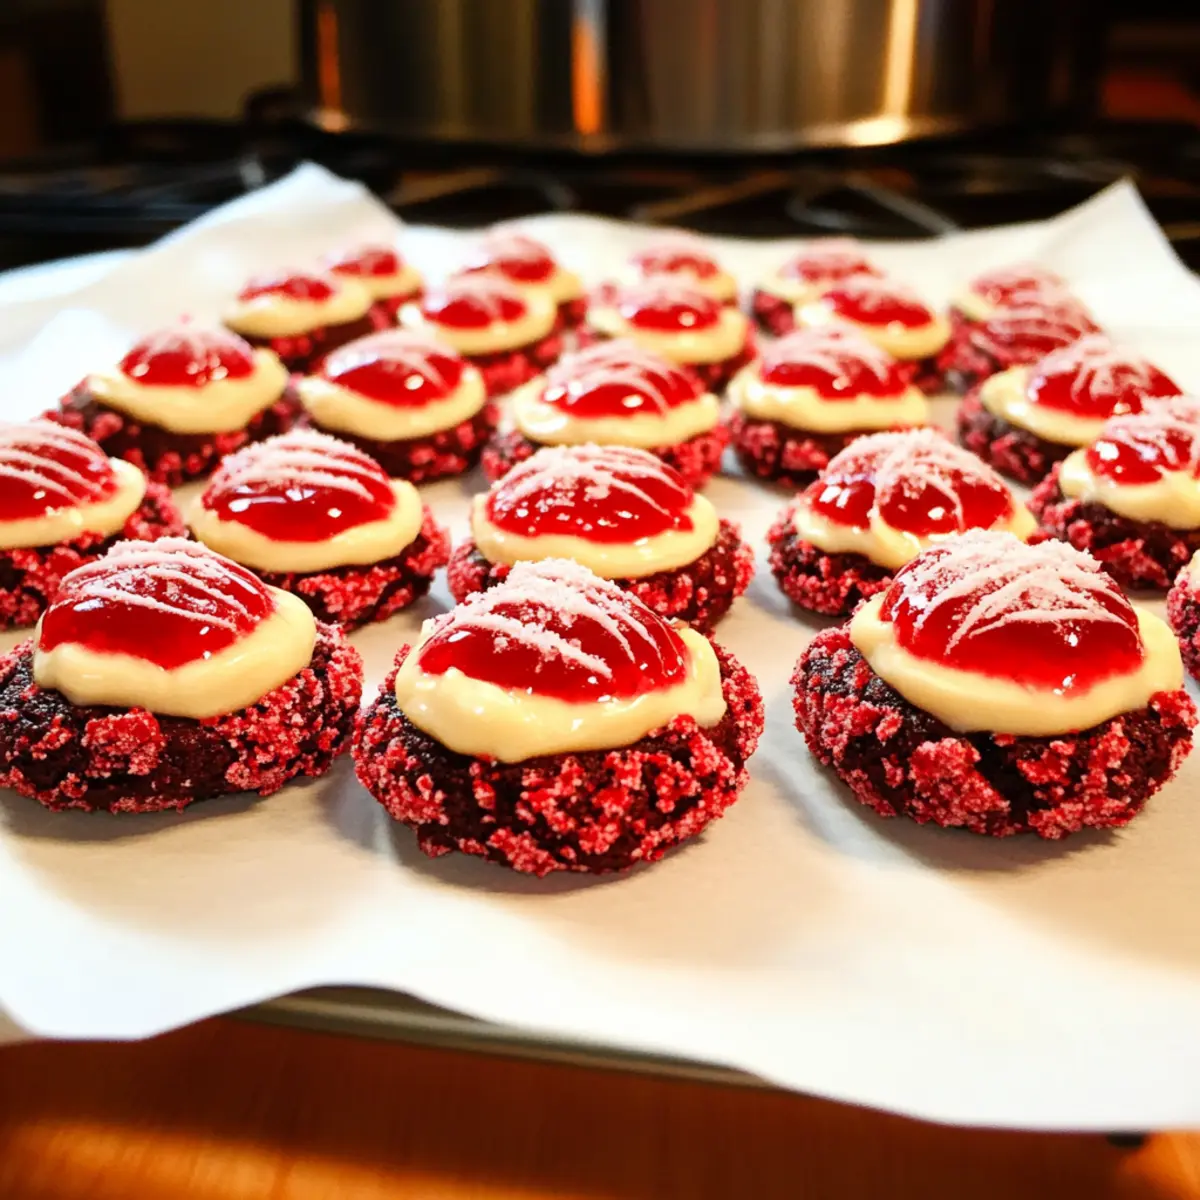
  3. Gradually sift in the all-purpose flour, red food coloring, and cocoa powder, blending on low speed until a soft dough forms.
  4. Scoop heaping tablespoons of dough, roll into balls, and coat each ball in sugar before placing on the baking sheet.
  5. Press into the center of each dough ball to create an indentation and bake for 10 minutes.
  6. Prepare the cream cheese filling by blending cream cheese, egg yolk, sugar, salt, and additional vanilla until smooth.
  7. Remove cookies from the oven, deepen the indentations, spoon in the cream cheese filling, and bake for an additional 12 minutes.
  8. Allow cookies to cool completely on a wire rack before serving or storing.

Nutrition

Serving: 1cookieCalories: 150kcalCarbohydrates: 20gProtein: 2gFat: 8gSaturated Fat: 5gPolyunsaturated Fat: 2gCholesterol: 30mgSodium: 100mgSugar: 10g

Notes

  • Ensure butter and cream cheese are at room temperature for a smoother batter.
  • Refrigerate the dough for 30 minutes if it's too sticky.
  • Measure red food coloring carefully for desired vibrancy.
  • Use the back of a teaspoon to create a deep enough well for the filling.
  • Monitor baking time to achieve the perfect chewy texture.
  • Serve cookies on a festive platter for visual appeal at gatherings.

Tried this recipe?

Let us know how it was!